Table of Contents
Shopify is a go-to choice for eCommerce, especially because of its easy-to-use functionalities. And things got even better in 2021 when Shopify launched Online Store 2.0. This update gave store owners more control and flexibility over their website’s design and functionality than ever before. One of the most exciting parts of this upgrade? The ability to add and customize sections on any page—not just your homepage.
Now, you can easily tweak your store’s layout, style, and features without needing to dive into complex coding. But what if you want something truly unique? That’s where custom Shopify sections come into play.
Creating a custom Shopify section might sound complicated, but it’s actually a straightforward process once you know the steps. In this guide, we’ll show you how expert Shopify developers create custom sections in themes. So, let’s start!
What are Shopify Sections
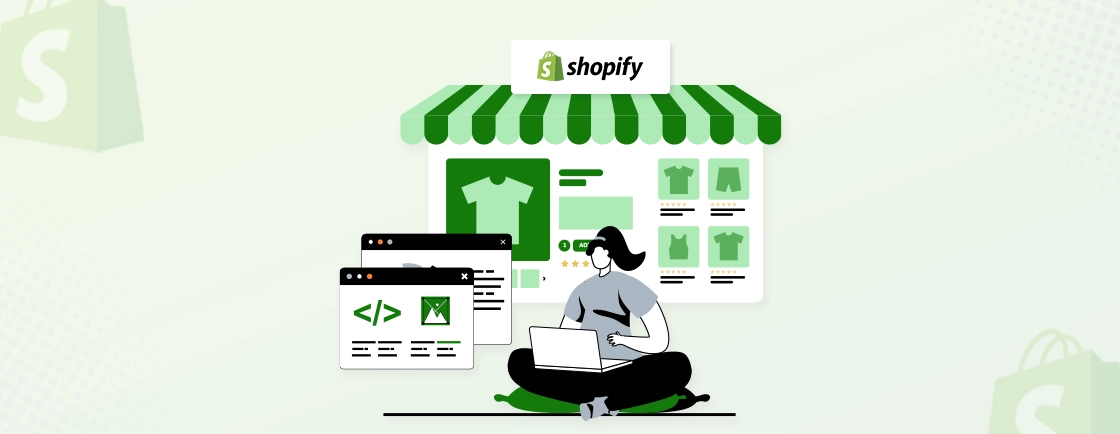
Shopify sections are modular components that serve as building blocks for your online store’s design. They enable you to customize various areas of your store, such as product pages, home pages, and slideshows, without requiring extensive coding knowledge. These sections are flexible, allowing you to adjust them to fit your brand and specific needs.
Within each section, you can tweak various settings, including:
- Adding text and images
- Incorporating custom HTML
- Utilizing advanced features like menus and videos
Shopify provides a wide range of options for personalization, and the best part is that you can make these changes directly from the Shopify theme editor. This feature allows you to see your updates in real time, making the design process intuitive and straightforward.
All section files are stored in the /sections directory of your theme. Sections can be categorized as either static or dynamic. Static sections are included in all layouts, such as headers and footers, ensuring consistency across your site. In contrast, dynamic sections can be dragged and dropped onto different pages, offering greater flexibility for page-specific customization.
Since the launch of Online Store 2.0, the ability to use sections has expanded significantly. You can now add sections to any page, not just the homepage, enhancing your design capabilities even further.
Using Shopify sections offers several advantages:
- They help you organize and design different parts of your store effectively.
- They allow for customization without the need for coding, making it accessible for all store owners.
- They facilitate the creation of unique user experiences, which can lead to increased engagement and sales.
How to Create a Custom Section in Shopify
Now that you know what Shopify sections are, let’s walk through how to create a custom one. For this example, we’ll build a simple “Welcome” section that you can add to your homepage.
Here’s how you can do it:
Step 1: Access Your Theme Code
From your Shopify dashboard, follow these steps:
- Go to Online Store > Themes.
- Find the theme you want to edit, then click on Actions > Edit Code.
Step 2: Create a New Section
Once you’re in the code editor, follow these steps:
- In the left-hand menu, scroll down to the Sections folder.
- Click Add a New Section.
- Name your new section (for example: welcome), then click Create Section.
Step 3: Add Static HTML Code
Now that you’ve created the section, let’s add some code to it. Copy and paste the following static HTML into your new section file:
<!-- Welcome section starts -->
<section class="welcome">
  <div class="container">
    <div class="welcome-outter">
      <h2 class="section-heading">Heading 1</h2>
      <h1 class="section-large-heading">Heading 2</h1>
      <p class="description">Lorem ipsum is placeholder text commonly used...</p>
    </div>
    <div class="col-xs-12 col-md-12 text-center">
      <button class="view-btn"><a href="">Read more</a></button>
    </div>
  </div>
</section>
<!-- Welcome section ends -->
Step 4: Define the Schema
Below the HTML, you’ll need to add some additional code to define how the section will behave in the theme editor. Add this under the <!– Welcome section ends –> comment:
{% schema %}
{
  "name": "Welcome section",
  "settings": [],
  "presets": [
    {
      "name": "Welcome section Test",
      "category": "ADVANCED LAYOUT"
    }
  ]
}
{% endschema %}
This schema is important because it tells Shopify how to display and use this section in the theme editor. In this case, we’ve created a preset named “Welcome section Test,” which will appear under the “Advanced Layout” category.
Step 5: Save and Test the Section
Once you’ve added the code, save the file.
To test your new section, follow these steps:
- Go back to your Shopify dashboard and click Customize next to your theme.
- In the theme editor, look for the Sections menu and click Add Section.
- Search for the custom section you just created (it should appear as Welcome section Test under the Advanced Layout category).
- Select it, and you’ll see it appear on your homepage.
If everything looks good, save and refresh your site to see the changes live.
Going Dynamic
The code we used above is static, meaning the content is hardcoded. If you want to be able to edit this content from the Shopify theme editor, we need to make it dynamic. Here’s how to tweak the section code to allow for customization of the headings, description, and button.
Replace the static code with this dynamic version:
<!-- Welcome section starts -->
<section class="welcome">
  <div class="container">
    <div class="welcome-outter">
      {% if section.settings.section-heading != blank %}
        <h2 class="section-heading">{{ section.settings.section-heading }}</h2>
      {% endif %}
      {% if section.settings.section-large-heading != blank %}
        <h1 class="section-large-heading">{{ section.settings.section-large-heading }}</h1>
      {% endif %}
      {% if section.settings.description != blank %}
        <p class="description">{{ section.settings.description }}</p>
      {% endif %}
    </div>
    <div class="col-xs-12 col-md-12 text-center">
      {% if section.settings.view-btn != blank %}
        <button class="view-btn">
          <a href="{{ section.settings.view-btn-link }}">{{ section.settings.view-btn }}</a>
        </button>
      {% endif %}
    </div>
  </div>
</section>
<!-- Welcome section ends -->
And update the schema to allow for dynamic settings:
{% schema %}
{
  "name": "Welcome section",
  "settings": [
    {
      "id": "section-heading",
      "type": "text",
      "label": "Heading 1"
    },
    {
      "id": "section-large-heading",
      "type": "text",
      "label": "Heading 2"
    },
    {
      "id": "description",
      "type": "textarea",
      "label": "Description"
    },
    {
      "id": "view-btn-link",
      "type": "url",
      "label": "Button URL"
    },
    {
      "id": "view-btn",
      "type": "text",
      "label": "Button Name"
    }
  ],
  "presets": [
    {
      "name": "Welcome section Test",
      "category": "ADVANCED LAYOUT"
    }
  ]
}
{% endschema %}
Testing Your Dynamic Section
To test, follow the same steps as before:
- Go to Customize Theme.

- Select Add Section and search for “Welcome Section Test.”

- Add it to the page, and you’ll now be able to edit the text, buttons, and links from the Shopify editor.

That’s it! You’ve successfully created a fully customizable custom Shopify section. But if you’re still confused or need assistance, feel free to consult with our Shopify development company for expert support.
How to Create a Custom Section in Shopify (Without Coding)
Not everyone loves diving into code to customize their Shopify store. Luckily, you don’t have to! Shopify makes it easy to create custom sections without touching a single line of code.
Using a drag-and-drop tool like PageFly Landing Page Builder, you can design your own custom Shopify sections in a way that’s as easy as building a page. If you’re familiar with how page builders work, you’ll feel right at home. Let’s go through the process step by step.
Step 1: Access the Sections Tab in PageFly
First, head to your PageFly dashboard. Once you’re in, look for the Sections tab. This will show you all your current sections, but since we’re starting fresh, it’ll be a clean slate.
Step 2: Create a New Section
To get started, click the Create button. This will allow you to start building a new section. Give your new section a name—something simple and easy to recognize when you add it to Shopify later on.
Step 3: Build and Customize Your Section
Now comes the fun part—designing your section! PageFly’s drag-and-drop editor makes this super easy. You can add elements like images, text, buttons, and more, just like when you’re building a full page. The difference here is that you’re focusing on creating a section which can be added to different pages in Shopify.
The visual editor in PageFly is intuitive, so you don’t need any technical skills to arrange your content. You can adjust settings, change fonts, colors, and more—all without leaving the PageFly editor.
Step 4: Add Your Custom Section to Shopify
Once you’ve finished building your section, go back to Shopify’s theme editor.
Here’s how to add your new section to a page:
- Navigate to the page template where you want the section to appear.
- Click Add Section to find your custom section on the list.
- Once you select it, you’ll be able to see and customize it further right in the Shopify theme editor.
- PageFly lets you easily sync the changes you make. When you edit your section in PageFly and hit Save, those updates will automatically reflect wherever the section is used on your store.
Wrapping Up
Now you know how to create custom Shopify sections—both with and without coding. Whether you use Shopify’s built-in tools or leverage a drag-and-drop builder, customizing your store’s layout can be straightforward and flexible. With Shopify sections, you’ll have full control over how your store looks and functions, making it easier to align with your brand’s identity.
Try out these methods and start creating unique sections that fit your specific needs without the hassle. With a few simple steps, you can make your Shopify store truly your own.
If your Shopify store needs major design changes or you want to improve its performance, hire Shopify developers for the best outcome.
FAQs on How to Create A Custom Shopify Section
How do I add a section to a collection page in Shopify?
To add a section to your collection page, go to the theme editor (Customize), select Collections, then choose Default Collection. Click the (+) Add section button, and pick a section from the available options.
What is the difference between template and section in Shopify?
A template is a layout made up of sections and blocks. Sections are the building blocks of your store’s pages, and each section can contain various blocks (like images or text). Templates allow you to customize page layouts by adding, removing, or rearranging sections and blocks.
How do I add a custom class to my Shopify section?
To add a custom class, go to Online Store > Themes in your Shopify admin, click Customize next to your theme, select the section you want to style, and scroll to the bottom of the settings to add your custom CSS.
Accelerate Your Shopify Store
Leverage Shopify's AI tools and expert development to launch and scale your online store.


