
Quick Summary
Unlock the power of Laravel Package Development in this guide. Discover how to develop custom functionality, structure your package, and make it reusable across multiple projects. We cover common pitfalls, best practices, and clear steps to ensure your package is clean, flexible, and easy to maintain. Ideal for those who want to extend Laravel efficiently while maintaining organized and robust code.
Table of Contents
Laravel is one of the most popular PHP frameworks globally. The reason being elegance and simplicity, which make building web applications faster and more organized. But sometimes, the built-in features don’t cover every need. That’s when you need to opt for Laravel package development.
Creating a custom package allows you to add new functionality, share code across projects, and maintain clean architecture. In this guide, we’ll discuss how to develop Laravel packages. We’ll also cover how to structure it, register it, and make it ready for use in any Laravel project. So, let’s start!
What are Laravel Packages?
Laravel packages are self-contained code libraries that add specific functionality to any application. They are like modular plugins or add-ons that you can seamlessly integrate into your project to extend its capabilities without writing everything from scratch.
Features you use every day are all implemented as first-party packages by the Laravel team. Like user authentication, cashier payments, Horizon queue management, and more.
Packages can range from simple single-class libraries to complex suites. The latter contain routes, controllers, views, database migrations, and configuration files. Their primary purpose is to promote code reusability, maintainability, and separation of concerns.
For more details on how these help, check out our blog on the best Laravel packages to use for your web app.
Prerequisites for Laravel Package Development
Before you begin building your first package, a firm grasp of certain core concepts is essential. This foundation ensures your package is not just functional, but also robust, maintainable, and integrated smoothly with the framework.
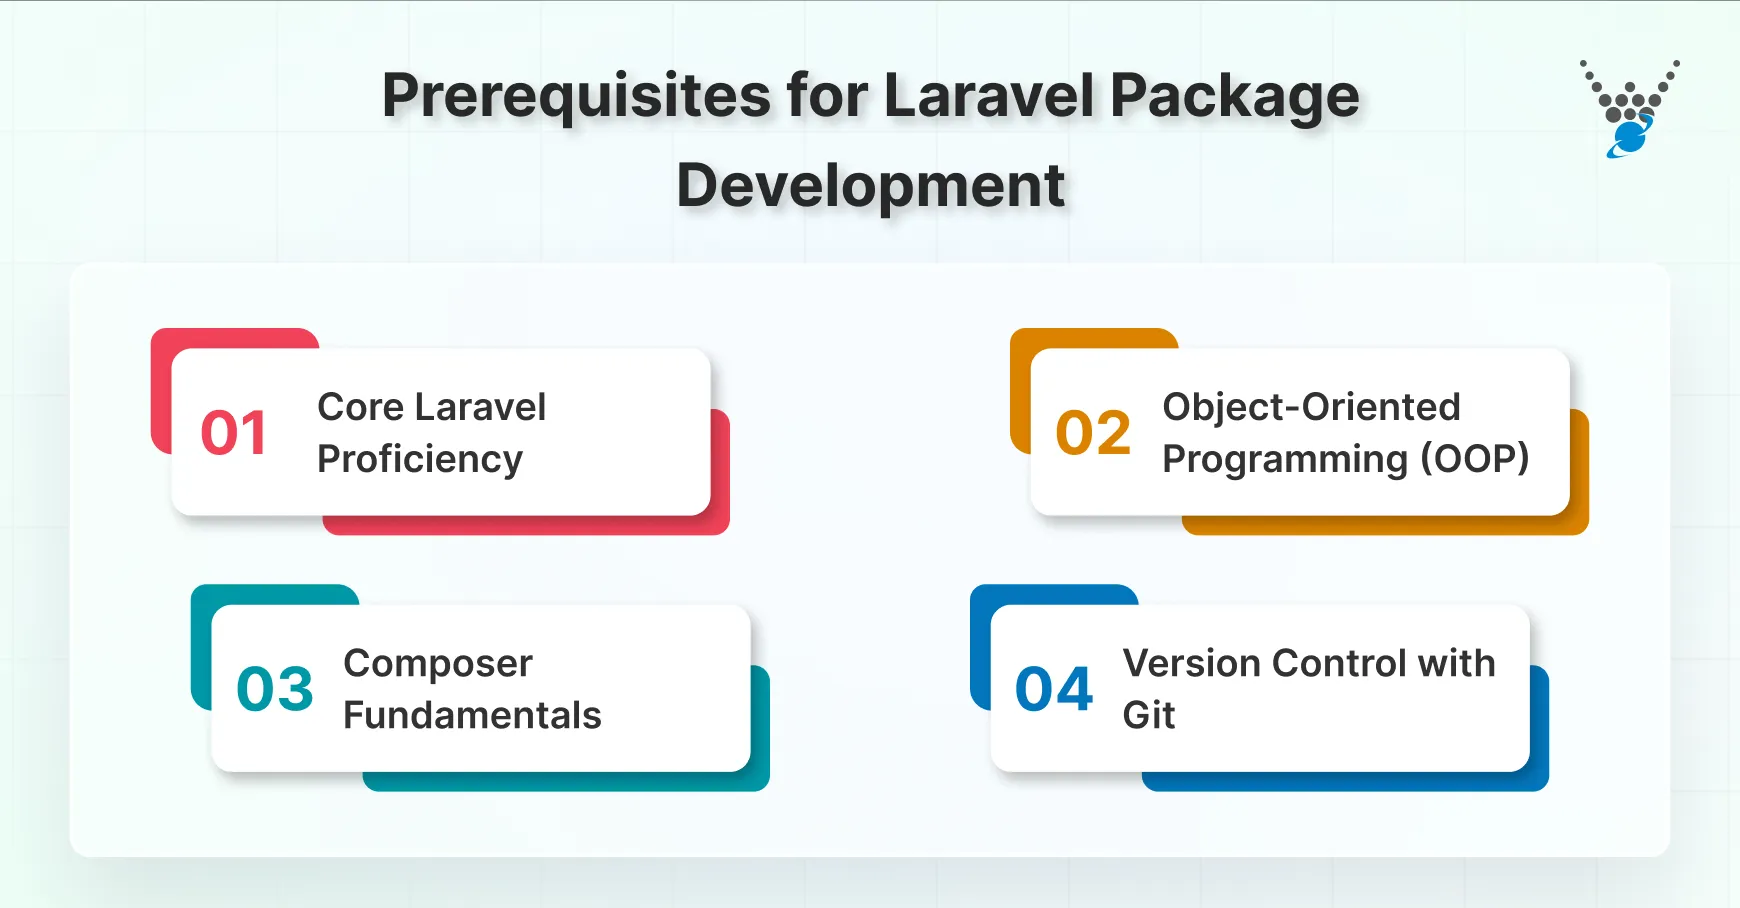
Core Laravel Proficiency
Being comfortable with fundamental Laravel concepts, such as service providers, Facades, the Service Container, and Configuration files, is a must. These are the primary mechanisms that are used to connect your package to an application.
Object-Oriented Programming (OOP)
A strong command of OOP principles—especially classes, namespaces, interfaces, and autoloading—is non-negotiable. Packages are structured, object-oriented code by design.
Composer Fundamentals
Understanding how Composer works is critical. It is one of the fundamental web development tools. You will need to define your package’s dependencies and autoloading rules in its composer.json file to manage its lifecycle effectively.
Version Control with Git
Package development is iterative. Proficiency with Git and version control is required for tracking changes, tagging releases, and distributing your code via repositories like GitHub. While these are the core requirements, you also need to opt for additional skills, such as experience with specific Laravel features. For instance, tools like Laravel Nova offer a great foundation for managing and extending your app’s admin panel efficiently.
This includes testing frameworks such as PHPUnit and command-line tools like Artisan.
How To Create A Laravel Package?
Before you begin building your first package, a firm grasp of certain core concepts is essential. This foundation ensures your package is not just functional, but also robust, maintainable, and integrated smoothly with the framework.
Set Up the Package Structure
First, create a new directory for your package anywhere on your system. While packages often live in their own repositories, for development, you can place it in the packages folder of a Laravel application to simplify testing.
The standard structure mirrors a Laravel app:
packages/
└── your-vendor/
    └── your-package-name/
        ├── src/
        │   ├── Http/
        │   │   └── Controllers/
        │   ├── YourPackageServiceProvider.php
        │   └── Facades/
        ├── resources/
        │   └── views/
        ├── routes/
        │   └── web.php
        └── composer.json
Create these folders manually or use the mkdir -p command.
Define the composer.json File
This is the most important file; it defines your package’s identity, dependencies, and how to autoload its classes. Create a composer.json file in your package’s root.
{
    "name": "acme/blog-stats",
    "description": "A package to display blog statistics.",
    "type": "library",
    "require": {
        "php": "^8.1"
    },
    "autoload": {
        "psr-4": {
            "Acme\\BlogStats\\": "src/"
        }
    },
    "extra": {
        "laravel": {
            "providers": [
                "Acme\\BlogStats\\BlogStatsServiceProvider"
            ]
        }
    }
}
Replace acme with your vendor name and BlogStats with your package name. The autoload section in Composer specifies where your classes are located. To extend functionality and improve code organization, developers often create custom packages in Laravel that can be reused across multiple projects.
Create a Service Provider
The Service Provider is the heart of your package—it’s the entry point that tells Laravel how to load your package’s components. Create BlogStatsServiceProvider.php in the src/ directory.
<?php
// packages/acme/blog-stats/src/BlogStatsServiceProvider.php

namespace Acme\BlogStats;

use Illuminate\Support\ServiceProvider;

class BlogStatsServiceProvider extends ServiceProvider
{
    public function boot()
    {
        // Load package routes
        $this->loadRoutesFrom(__DIR__.'/../routes/web.php');

        // Load package views
        $this->loadViewsFrom(__DIR__.'/../resources/views', 'blogstats');

        // Optional: Publish assets (run `php artisan vendor:publish`)
        $this->publishes([
            __DIR__.'/../resources/views' => resource_path('views/vendor/blogstats'),
        ]);
    }

    public function register()
    {
        // Register any bindings to the service container here
    }
}
Add Your Package routes.php File
Define the routes for your package. Create a web.php file in the routes/ directory.
<?php
// packages/acme/blog-stats/routes/web.php

use Illuminate\Support\Facades\Route;
use Acme\BlogStats\Http\Controllers\BlogStatsController;

Route::get('blog-stats', [BlogStatsController::class, 'index']);
Create a Package Controller
Create a controller to handle the logic for your route. Place it in src/Http/Controllers/.
<?php
// packages/acme/blog-stats/src/Http/Controllers/BlogStatsController.php
namespace Acme\BlogStats\Http\Controllers;
use App\Http\Controllers\Controller;
class BlogStatsController extends Controller
{
    public function index()
    {
        return view('blogstats::index'); // Refers to the 'blogstats' view namespace
    }
}
Add Views for the Package
Create a simple view file. Create index.blade.php in the resources/views/ directory.
<!-- packages/acme/blog-stats/resources/views/index.blade.php -->
<!DOCTYPE html>
<html>
<head>
    <title>Blog Stats</title>
</head>
<body>
    <h1>Welcome to the Blog Stats Package!</h1>
    <p>This message is coming from your custom package.</p>
</body>
</html>
Test the Package
To test your package within a Laravel app, add a local repository path to the main application’s composer.json.
// In your main Laravel app's composer.json
"repositories": [
    {
        "type": "path",
        "url": "../packages/acme/blog-stats"
    }
]
Then, require your package from the app’s root directory:
composer require acme/blog-stats
This command will symlink your package into the application’s vendor folder, allowing you to develop and test simultaneously.
Run the App
Start your Laravel development server (php artisan serve) and navigate to http://your-app.test/blog-stats. The welcome message from your package’s view will appear.
This process establishes the foundation. From here, add database migrations, configuration files, assets, and more complex functionality.However, if this process seems to be too technical, consider opting for our dedicated Laravel development services. It ensures your project is delivered on time, within budget, and built for long-term success.
Laravel Package Development: How to Publish and Maintain It
Once you’ve developed your Laravel package, the next step is to share it with the world and ensure its long-term success. Here’s a breakdown of how to publish and maintain your Laravel package:
Register the Package on Packagist
Here’s how you register your Package.
- Visit the official website of Packagist and sign in to your account.
- Click on ‘Submit’ in the top right corner of the page.
- Fill in the required details of your Package, including the GitHub repository URL and package name.
- Once submitted, Packagist will automatically start tracking your GitHub repository and update your Package.
When registering the Package on Packagist, make sure to use a unique package name that follows the naming conventions. Additionally, provide thorough and concise documentation to assist users in understanding the functionality and implementation of your Package.
Update and Release New Versions
After registering the Package, it’s time to update and release new versions from time to time. Here’s how it goes.
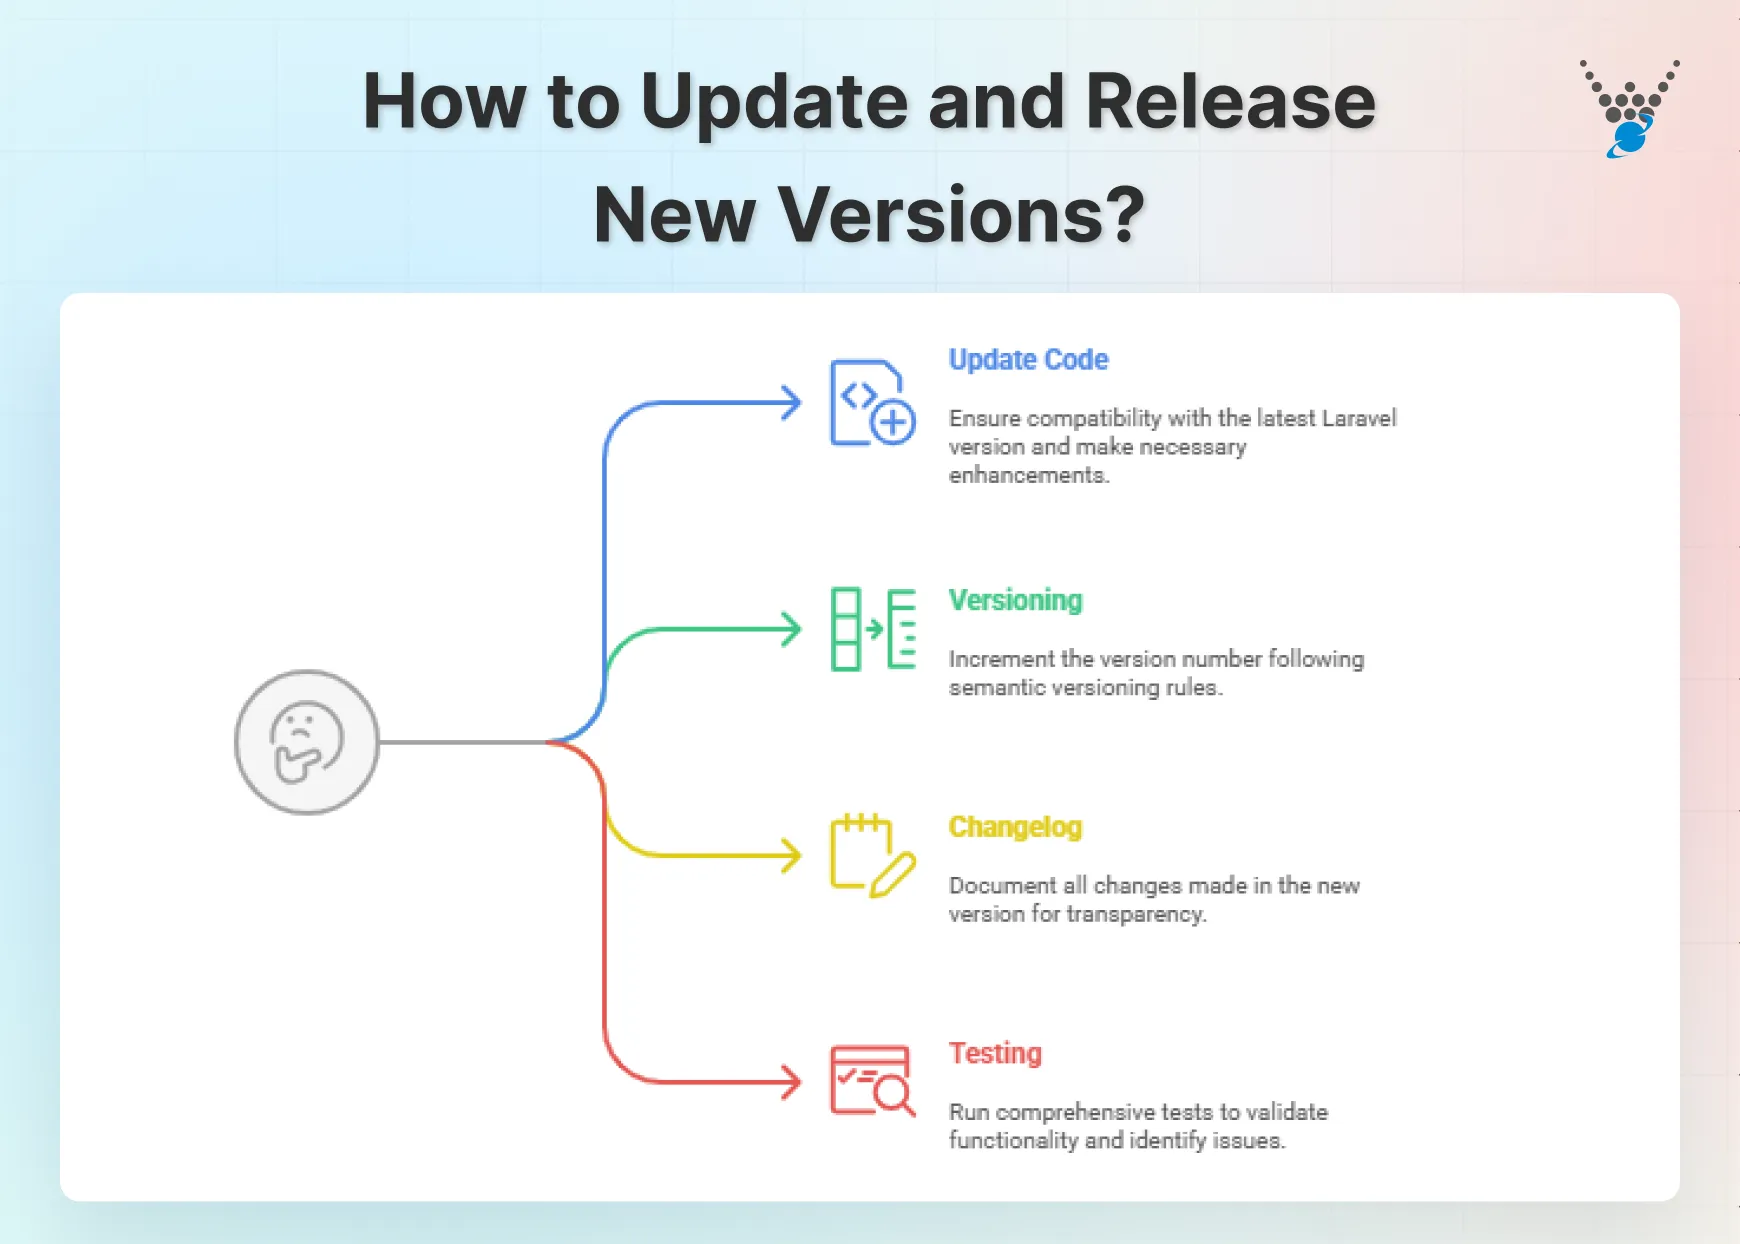
- Update the code: Make necessary updates or enhancements to the package code, ensuring compatibility with the latest Laravel version.
- Versioning: Increment the version number following semantic versioning rules to indicate the nature of changes (major, minor, patch) and release the new version.
- Changelog: Document all changes made in the new version in the changelog file for transparency.
- Testing: Run comprehensive tests to validate the Package’s functionality and identify any issues.
After that, upload the updated Package to the package repository, such as Packagist, making it accessible to users.
Handle the Issues and Pull Requests
With the new packages, you will receive and face some issues. To handle them,
- Understand the issue: When managing issues and pull requests for a Laravel package, it is crucial to fully comprehend the problem or proposed changes.
- Communicate effectively: Engage in clear and respectful communication with contributors and users, offering constructive feedback and guidance.
- Review diligently: Carefully review pull requests, paying attention to code quality, alignment with package goals, and potential impact on existing functionality.
- Address in a timely manner: Swiftly address issues and pull requests to maintain an active and responsive community for the Package.
Taking a proactive approach to handling issues and pull requests cultivates a collaborative and supportive environment within the Laravel development community. If you’re curious how these practices are applied in real-world systems, explore our list of the top Laravel CMS platforms that leverage similar package development principles.
Continuously Improve and Update the Package
In every product or service development lifecycle, you have to continuously improve and update them. The same goes for the Laravel packages. Consider:
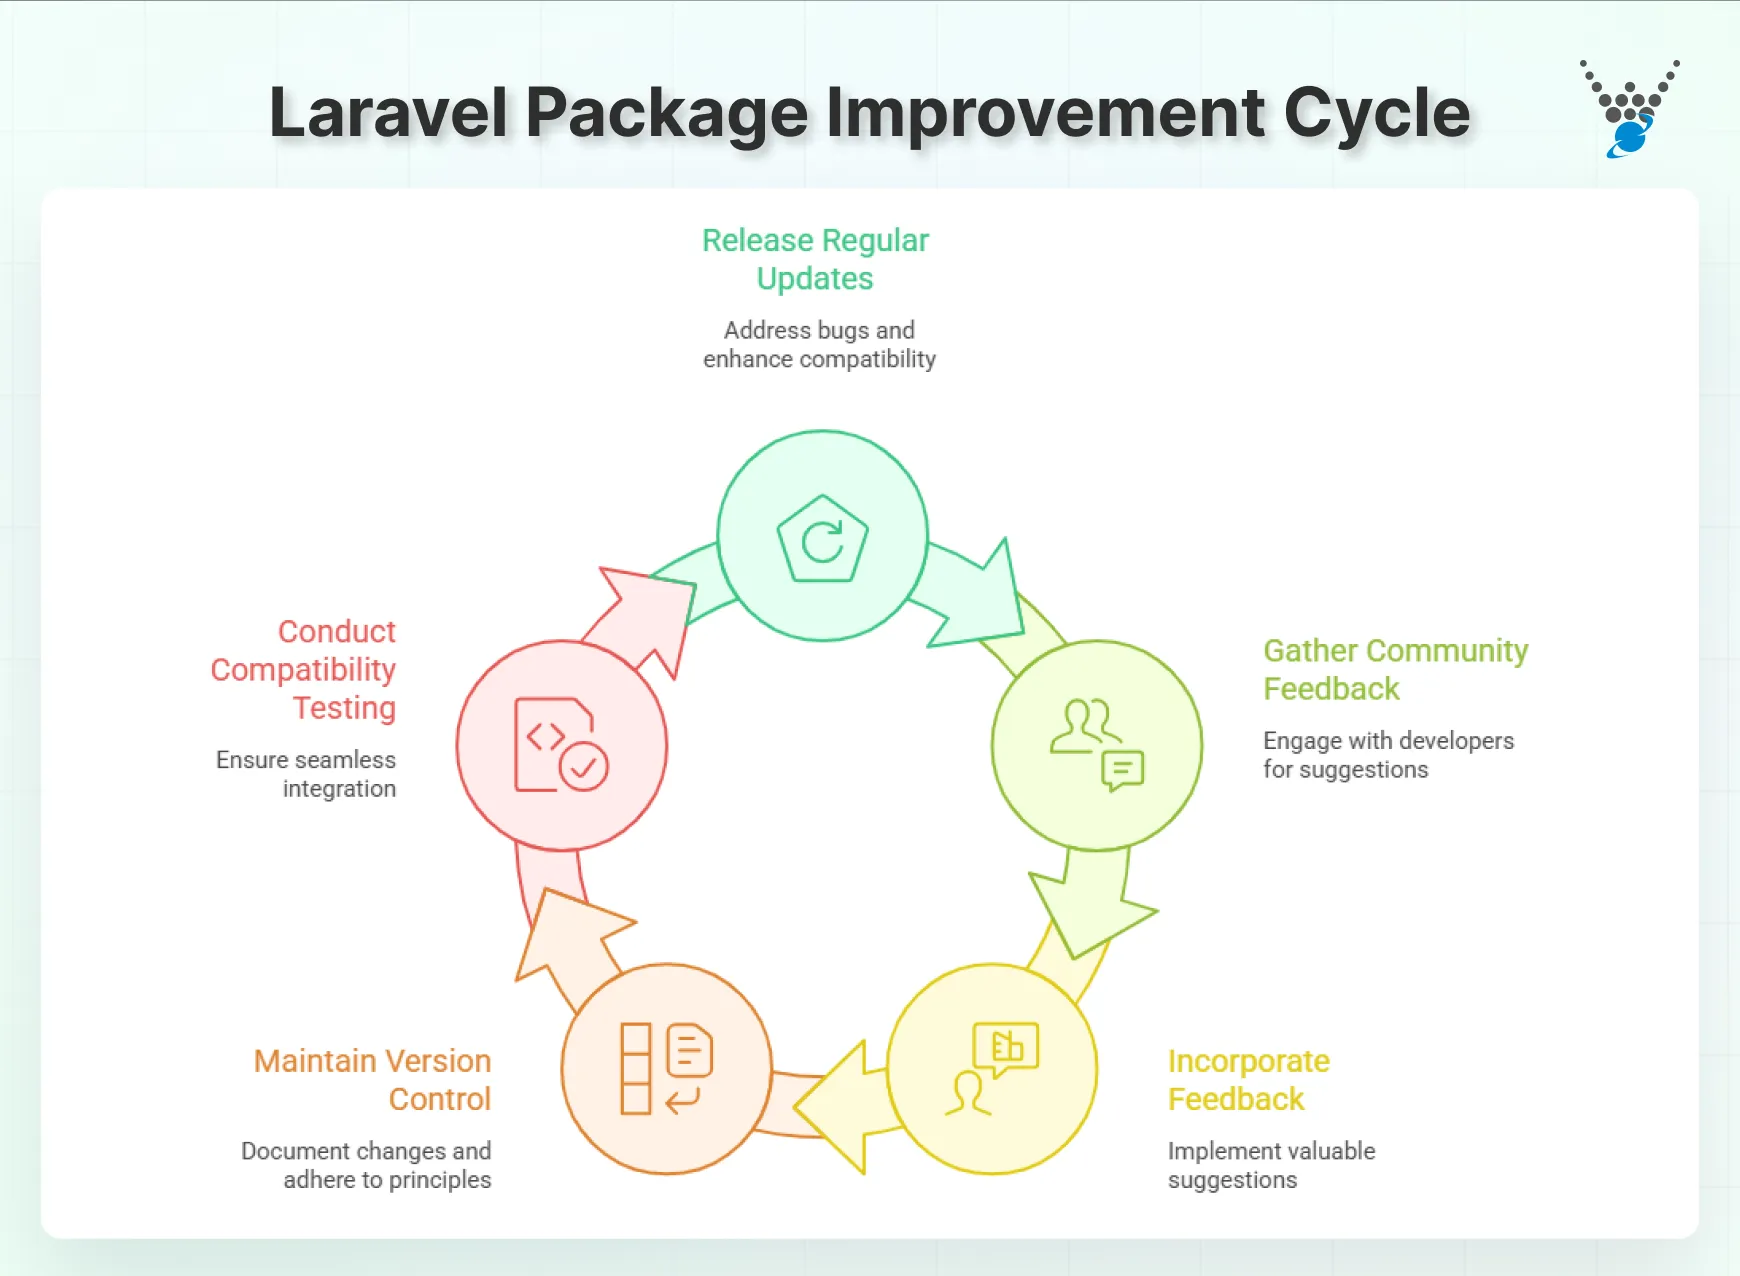
- Regular Updates: Continuously improve and update the Package by releasing regular updates to address bugs, enhance compatibility with the latest Laravel versions, and add new features.
- Community Feedback: Actively engage with the developer community to gather feedback, address issues, and incorporate valuable suggestions into the constantly improving Package.
- Version Control: Maintain a structured approach to version control, clearly documenting changes in each update and adhering to semantic versioning principles.
- Compatibility Testing: Ensure seamless integration with other Laravel packages and applications by conducting thorough compatibility testing with diverse environments and dependencies.
Finally, make sure to establish a comprehensive documentation system to assist users in understanding the latest updates. If you’re exploring how packages integrate into eCommerce platforms, Bagisto Laravel is a great open-source example of scalable package architecture. The functionality of the constantly improving Package also needs to be optimized.
Laravel Package Development Best Practices
The process discussed above will help create outstanding Laravel packages. To achieve the best results, follow these best practices for Laravel development. From following Laravel’s coding standards to maintaining simplicity and writing tests, these practices will help you create efficient and effective packages.
Follow Laravel Coding Standards
Following Laravel coding standards ensures your Package’s code adheres to the same style and conventions as the Laravel framework itself. This makes it easier for other developers to understand and contribute to your Package.
- Consistency: Abide by Laravel’s naming conventions, code organization, and indentation rules.
- PSR Standards: Follow PSR-1 and PSR-2 coding standards.
- Use Laravel Features: Leverage Laravel’s features like Eloquent, Blade templates, and middleware.
- Security Measures: Implement Laravel’s built-in security features and best practices.
The Laravel coding standards were established to ensure code readability, maintainability, and collaboration within the Laravel community. Adhering to these standards guarantees that developers produce high-quality, standardized code that aligns with Laravel’s principles and best practices.
Keep the Package Simple and Focused
Packages should address a well-defined problem or provide a focused functionality. It’s also important to avoid bloating your Package with unnecessary features. Here’s what you need to do.
- Identify purpose: Define the specific problem or functionality the package addresses, aligning with Laravel’s modular nature.
- Focus on core features: Prioritize essential functionalities to avoid feature bloat and maintain simplicity.
- Modular structure: Break down complex functionalities into separate modules to ensure focused and easily maintainable packages.
- Clean API: Develop a clear and concise API that streamlines interactions with the Package, enhancing usability and keeping the Package simple and focused.
For this task, collaborating with a Laravel development company can be beneficial. Using Backpack for Laravel, a package known for its simplicity and modular structure, helps streamline Laravel app development. With expert guidance, you can create well-structured and efficient Laravel packages tailored to your project needs.
Write Tests for the Packages
Unit tests cover your functionalities to ensure their correctness and prevent regressions. Follow this process:
- Create unit tests to verify the correct functioning of individual components within the Package.
- Incorporate PHPUnit for testing and utilize Laravel’s testing capabilities to efficiently execute tests.
- Develop feature tests to assess the Package’s overall functionality, simulating user interactions.
- Utilize Laravel’s testing helpers and assertions to streamline the testing process and confirm expected results.
Regularly run tests and utilize continuous integration tools to automate the testing process. That ensures the stability and functionality of the Package across various environments.
Use Semantic Versioning
Semantic versioning ensures clear and consistent communication about changes introduced in new versions of thePackage. Here’s how to use semantic versioning:
- Assign version numbers to the Package following the semantic versioning format: MAJOR.MINOR.PATCH.
- Increment the MAJOR version when making incompatible API changes.
- Increase the MINOR version for backwards-compatible feature additions.
- Bump the PATCH version for backwards-compatible bug fixes.
Along with these, also utilize composer scripts, consider security vulnerabilities, and contribute to the community. That way, you’ll develop high-quality Laravel packages that are valuable to the community, easy to use, and maintainable in the long run.
Common Mistakes to Avoid in Laravel Package Development
Developing a Laravel package can be smooth, but beginners often stumble over some common pitfalls. Knowing these early can save you time and frustration.
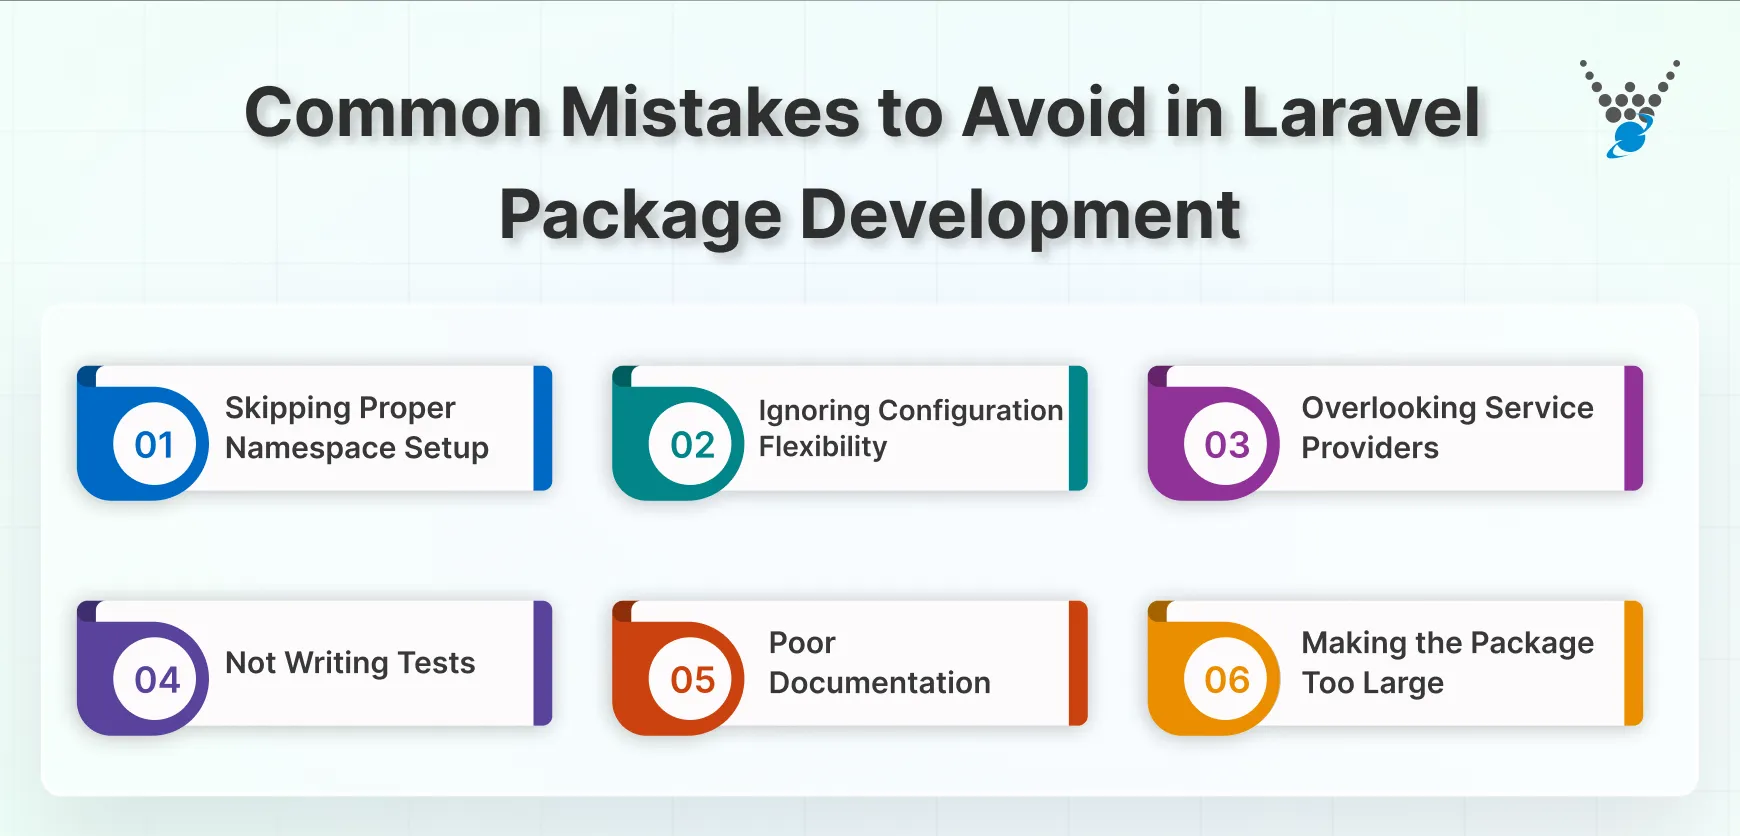
- Skipping Proper Namespace Setup: Namespaces keep your package organized. Using incorrect or generic namespaces can cause conflicts with other packages or your main app. Always define a clear, unique namespace from the start.
- Ignoring Configuration Flexibility: Hardcoding paths, settings, or options makes your package rigid. Provide configuration files so users can adjust settings without needing to modify your code.
- Overlooking Service Providers: Service providers are the backbone of Laravel packages. Forgetting to register services or bindings properly can cause your package to break. Always ensure your provider is correctly loaded.
- Not Writing Tests: Skipping tests may seem faster initially, but it leads to fragile packages. Even simple tests help catch errors before they are introduced into other projects.
- Poor Documentation: No one wants to struggle with unclear instructions. Clear, concise documentation is essential. Include installation steps, configuration guides, and usage examples.
- Making the Package Too Large: A package should solve a focused problem. Packing too many features makes it hard to maintain and confusing for users. Start small, then expand if needed.
By avoiding these mistakes, your Laravel package becomes reliable, clean, and easy for others to use. Good habits early on save headaches later.
Let’s Summarize
Mastering Laravel package development ultimately shifts your focus from writing repetitive code to building powerful, reusable tools. It’s a skill that promotes efficiency, improves application architecture, and allows you to contribute back to the community.
Packaging an internal utility lets you write more modular and maintainable code. Start by identifying a single, common problem in your workflow and build a simple package to solve it.
So, want help with building the best Laravel package for your web app? Then hire expert Laravel developers with us today!
FAQs on Laravel Package Development
Why should I use a Laravel package instead of writing my own code?
Using a Laravel package can save you time and effort by providing pre-built functionality that is extensively tested and maintained by the Laravel community. It also allows for better code organization and reusability, making it easier to scale your projects.
How do I create a Laravel package?
To create a Laravel package, you can follow the steps outlined in the Laravel Package Development Guide. This includes setting up a package repository, defining its structure and dependencies, and implementing its features using Laravel’s package development tools.
How can I ensure the quality and compatibility of my Laravel package?
The Laravel Package Development Guide recommends following coding standards, writing tests, and using continuous integration tools to ensure the quality and compatibility of your Package. It also suggests keeping your Package up-to-date with the latest Laravel releases and providing thorough documentation for its usage and installation.


