
Quick Summary
Laravel Cashier simplifies adding subscription billing to your Laravel application. It provides an expressive interface for managing services like Stripe and Paddle. With Cashier, you can easily handle subscriptions, one-time charges, coupons, and customer invoices, saving significant development time and effort. It’s the perfect tool for launching your SaaS or any application requiring payments.
Table of Contents
Managing subscriptions, recurring payments, and invoicing can be a hassle for any subscription-based business. But with Laravel Cashier, you can simplify it all. This powerful package seamlessly integrates with payment gateways like Stripe, automating everything from setting up subscriptions to handling proration, trial periods, and even single charges.
Laravel Cashier simplifies subscription management, whether you’re building a new platform or upgrading an existing one. It handles everything from integrating with Stripe to managing proration, trials, and one-time charges, making billing more efficient and hassle-free.
Let’s explore this Laravel Cashier tutorial on setting up and using it for seamless subscription management.
What is Laravel Cashier?
Laravel Cashier is an official Laravel package that provides an expressive, fluent interface for subscription billing management. In simple terms, it handles all the complex code required for subscriptions, coupons, invoices, and customer management. That lets you focus on your application’s core features.
Here’s what you can do with Laravel Cashier:
- Creating and managing customers on a payment gateway (like Stripe).
- Generating secure payment forms.
- Handling webhooks (asynchronous events like successful payments, failed charges, or subscription cancellations).
- Generating invoices, applying coupons, and handling billing cycles.
Cashier provides a simple Laravel-esque syntax to manage these tasks, abstracting the complexity away.
Key Features of Laravel Cashier
Cashier provides a full suite of tools features for subscription billing:
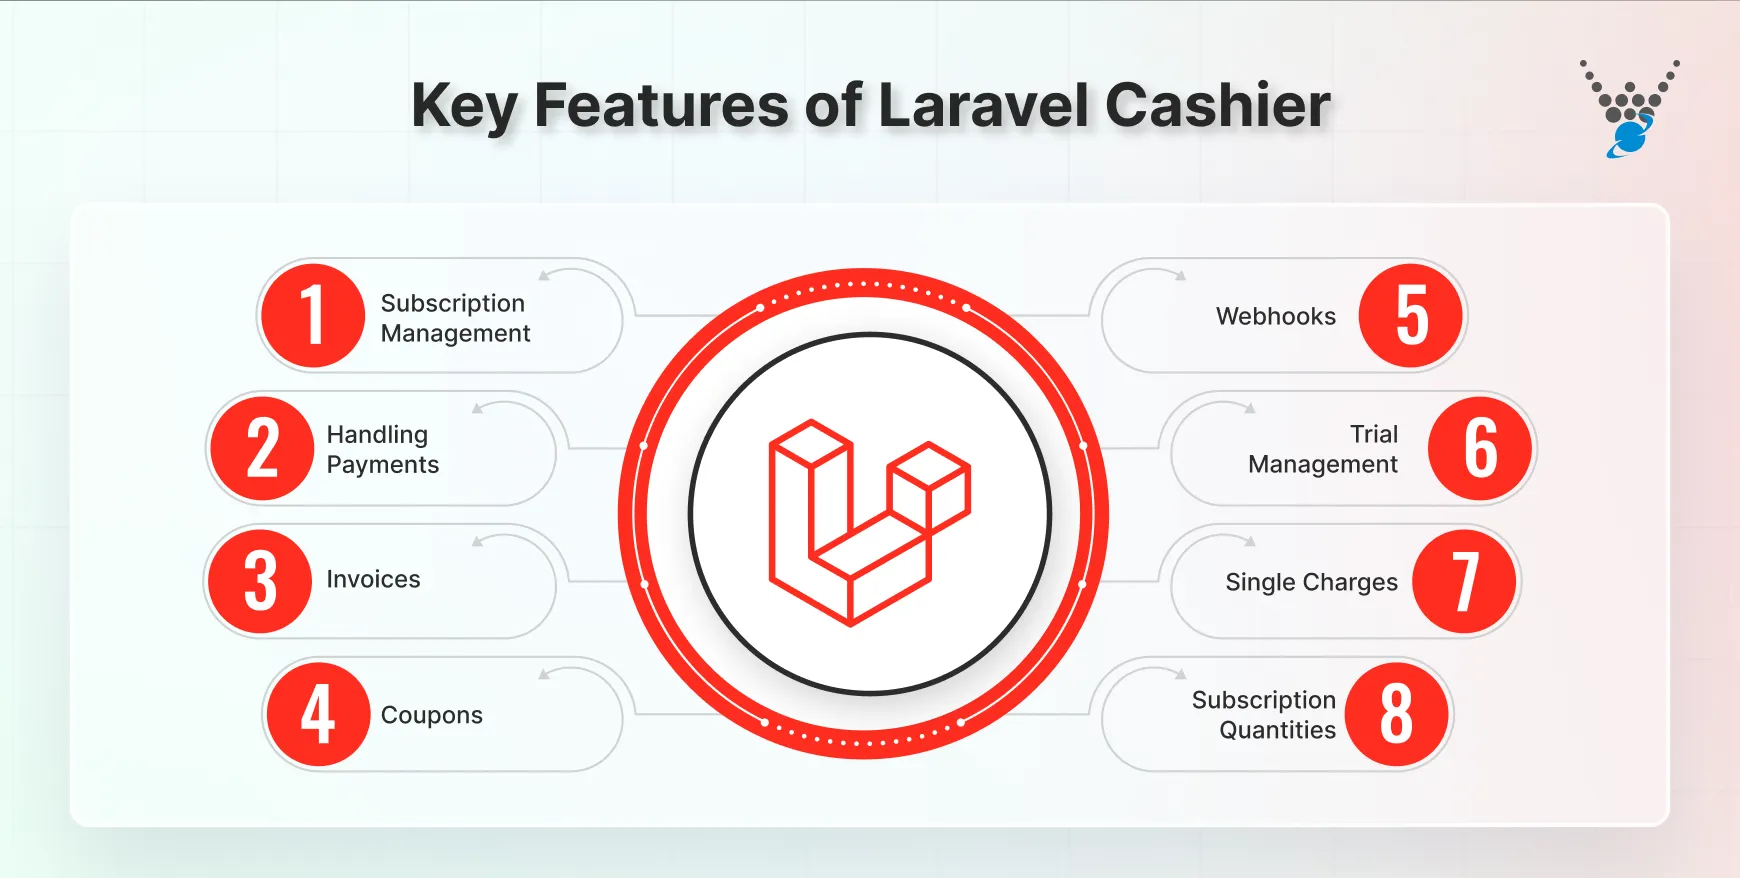
- Subscription Management: Create, cancel, pause, and resume subscriptions with simple methods like $user->newSubscription(‘default’, ‘price_monthly’)->create($paymentMethod);
- Handling Payments: Securely handle payment methods through Stripe Elements or Paddle’s JS widget.
- Invoices: Easily generate and download invoices in PDF format.
- Coupons: Apply coupons and discounts to subscriptions.
- Webhooks: Built-in controllers to handle essential Stripe/Paddle webhooks, ensuring your application’s subscription status stays in sync automatically.
- Trial Management: Easily offer trials with or without requiring a credit card upfront.
- Single Charges: Make one-off charges against a customer’s stored payment method.
- Subscription Quantities: Perfect for SaaS apps where users pay per “seat” (e.g., $user->subscription(‘default’)->incrementQuantity(5);).
Pros & Cons of Laravel Cashier
The pros of Laravel Cashier include:
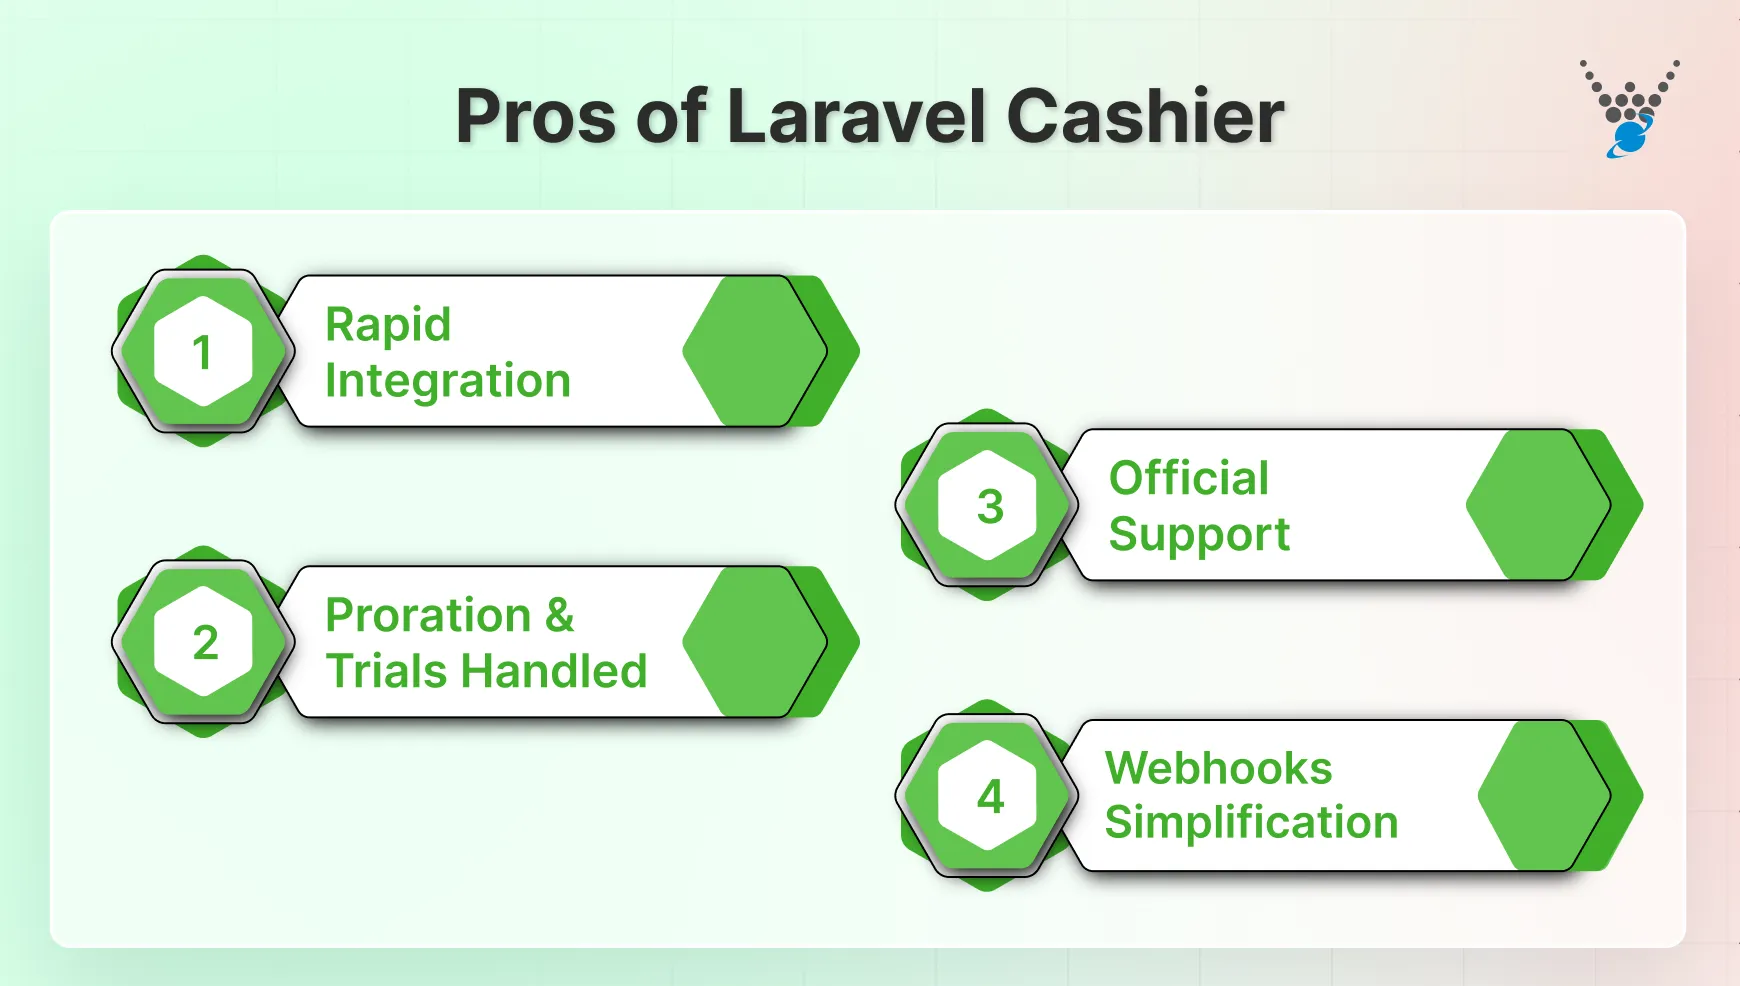
- Rapid Integration: Cuts down months of manual billing integration to days. It abstracts away complex API interactions, letting you focus on product features.
- Proration & Trials Handled: Automatically manages intricate billing logic like mid-cycle plan changes, grace periods, and trial status.
- Official Support: Being an official Laravel package ensures high quality, consistent updates, and reliability, especially around security and payment provider changes.
- Webhooks Simplification: Provides pre-built controllers for handling asynchronous payment events (webhooks), which is one of the most tedious and critical parts of subscription management with Laravel cashier.
Laravel Cashier also has some cons. Some of them are:
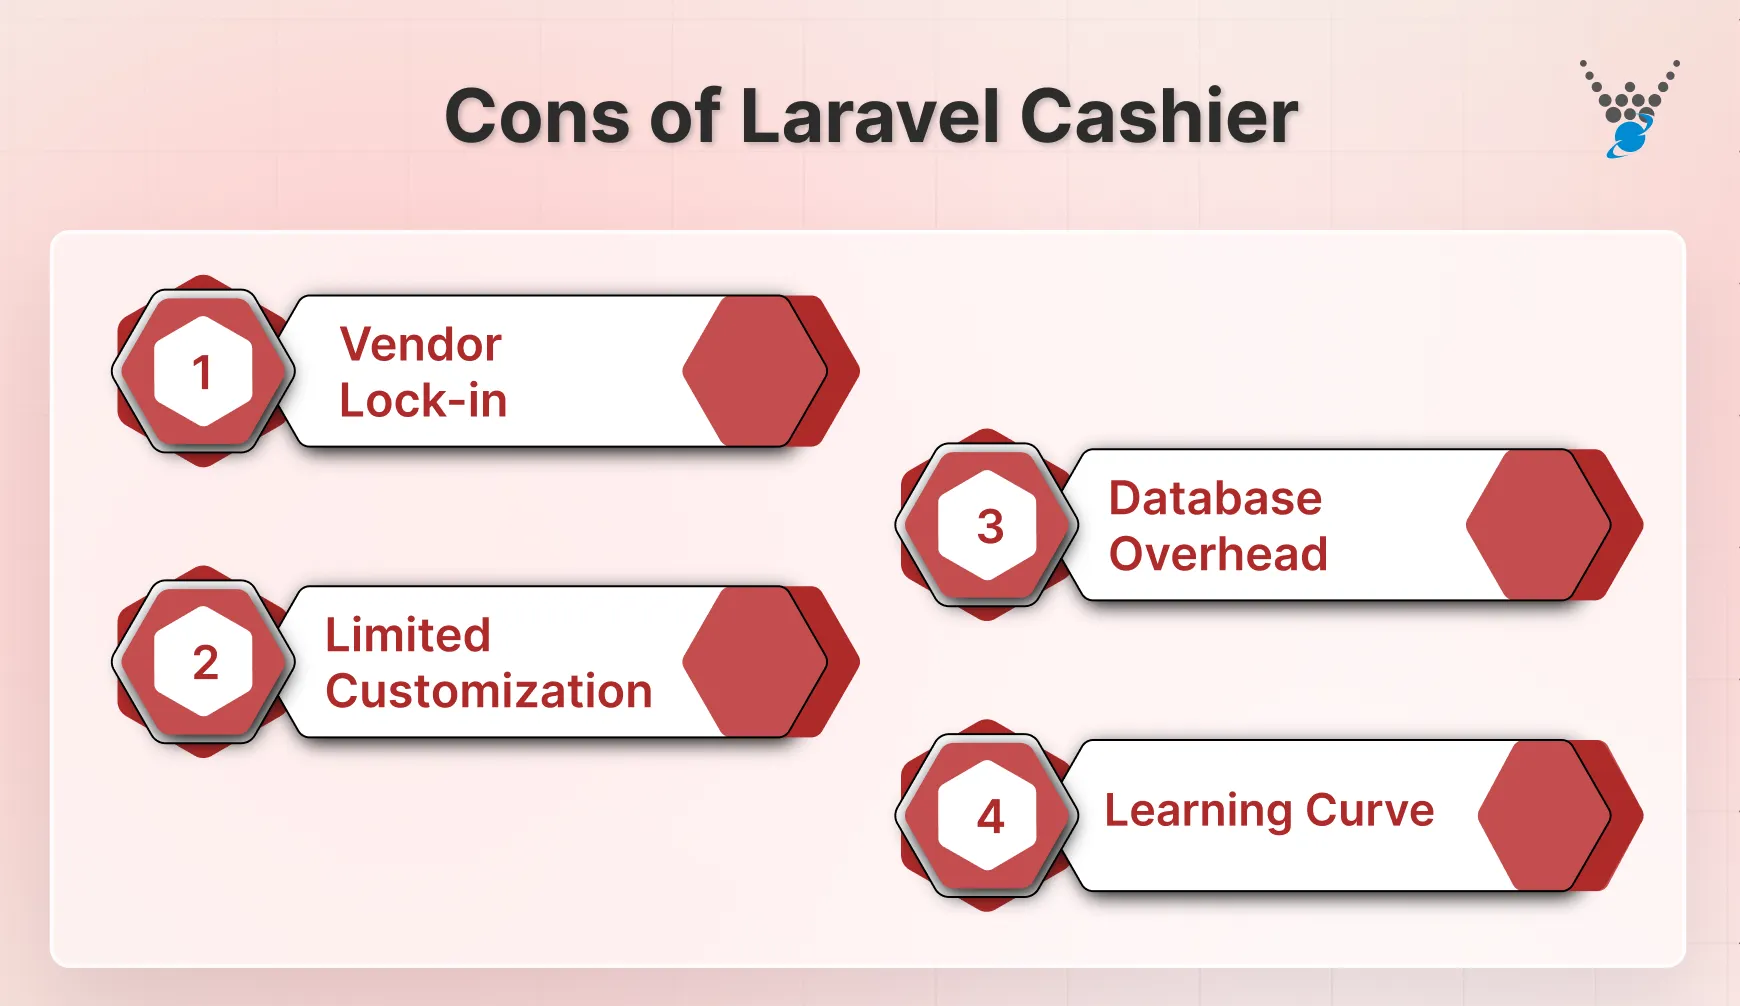
- Vendor Lock-in: The structure is closely tied to Stripe (or Paddle). Switching providers later requires a substantial code overhaul.
- Limited Customization: While Cashier is great for standard SaaS models, complex custom billing logic or intricate usage-based pricing models may necessitate bypassing Cashier methods entirely.
- Database Overhead: Cashier adds several columns and tables to your database to track subscription status, payment methods, and customer IDs, which can feel redundant if you only need very basic functionality.
- Learning Curve: While simple in practice, understanding the underlying Stripe or Paddle model (Customers, Subscriptions, Payment Methods) is still required to debug Cashier effectively.
Simply put, Laravel Cashier provides a fluent interface for subscription billing, automating complex payment logic, customer management, and webhooks via Stripe or Paddle. It offers rapid setup and handles prorations and trials, but requires understanding the underlying provider and can limit deep customization.
How does Laravel Cashier Work?
Laravel Cashier is a powerful subscription billing management system that simplifies the process of handling user subscriptions and managing payment methods. Let’s see how Laravel Cashier works:
Set Up the Database
When you first install Laravel Cashier, it brings along its own set of database migrations that need to be run to create the tables necessary for storing your subscription data.
Creating Subscription Plans
Creating subscription plans is the most important part of your recurring revenue engine, and Laravel Cashier makes it a breeze.
Handling User Subscriptions
After you have created different subscription plans, the subscribers will start to pour in. But the Laravel Cashier will help you manage your journey flawlessly.
Managing Payment Methods
You have to give your users different payment methods to ensure they can pay for your subscription securely and efficiently.
Look for a reliable Laravel development company to integrate Cashier and solve complex logic behind subscription billing. That leaves you free to focus on building a fantastic user experience and growing your business.
How to Set Up Laravel Cashier?
Laravel Cashier is a package designed to handle subscription billing services like Stripe and Braintree, making it easier to implement payment processing, subscription plans, and other billing-related tasks in a Laravel application. Here’s an overview of how it works and some of its key features:
1. Prerequisites for Laravel Cashier
Install this package before installing laravel cashier.
composer require moneyphp/money

It will set up the laravel asset for the laravel cashier.
Note: For installing the moneyphp/money make sure you have install this dependency php-bcmath or if alreday there than in php.ini file this package is enable
2. Installation, Configuration and Migration
Install Cashier: Cashier can be installed using Composer.
composer require laravel/cashier

Setup Configuration: You’ll need to configure your .env file with your Stripe or Braintree API keys, and Cashier will use these credentials to communicate with your payment provider.

Cachiar Configuration: Cashier can be config setup using artisan.
php artisan vendor:publish --tag="cashier-config"

Once the configuration file is published, open it (located at config/cashier.php) and locate the plans section. Add your subscription plans, specifying the plan’s identifier, name, and price. Here’s an example with two plans, ‘basic’ and ‘premium’:
'plans' => [
    'basic' => [
        'name' => 'Basic Plan',
        'price' => 10.00,
    ],
    'premium' => [
        'name' => 'Premium Plan',
        'price' => 20.00,
    ],
],
Migration: Run migrations to add necessary billing columns to the users table, Like: subscription_type, billing_cycle, auto_billing, etc.
php artisan migrate
3. Defining in User Model Setup
Cashier provides billing functionality on an Eloquent model, usually User. To enable this, the model needs to use the Billable trait.
use Laravel\Cashier\Billable;
class User extends Authenticatable
{
    use Billable;
}
This trait adds methods to handle subscriptions, single charges, and other billing operations.
4. Subscription Billing
Creating a Subscription: You can create a subscription by calling the newSubscription method on the billable mode
$user->newSubscription('default', 'premium-plan')
     ->create($paymentMethod);
Trial Periods: Cashier allows for trial periods, where you can define trial durations or start dates for each subscription.
if ($user->subscription('default')->onTrial()) {
   // User is on trial
}
Proration: If users switch plans mid-billing cycle, Cashier will automatically handle proration, ensuring that users are billed only for the amount used.
$user->subscription('default')->swapAndInvoice('new-plan-id');
5. Payment Methods
Cashier integrates with Stripe’s setup for storing and managing payment methods. You can set up a payment method (like a card) and assign it to a customer:
$user->addPaymentMethod('payment_method_id');
6. Invoices and Receipts
Cashier makes it easy to generate invoices and receipts for transactions. For example:
$invoice = $user->findInvoice($invoiceId);
return $invoice->download();
Users can view their invoice history, and admins can generate receipts as needed.
7. Handling Failed Payments
Cashier comes with a built-in webhook that listens for payment failure events from Stripe. This webhook can trigger notifications, retry mechanisms, or suspend the subscription based on your business rules. Here you can use stribe’s suit in webhook class or create you own.
8. Handing the Single Charges and One-Time Payments
Cashier supports single, one-time charges. This can be done using the charge method:
// 1000 = $10.00 if Stripe is set to USD
$user->charge(1000, 'payment_method_id');
9. Payment Gateway Webhooks Implementation
To add custom functionality, extend Cashier’s WebhookController by creating a new controller:
php artisan make:controller StripeWebhookController
Then, extend WebhookController in your new controller (app/Http/Controllers/StripeWebhookController.php):
namespace App\Http\Controllers;
use Illuminate\Http\Request;
use Laravel\Cashier\Http\Controllers\WebhookController as CashierWebhookController;
class StripeWebhookController extends CashierWebhookController
{
    /**
     * Handle the `invoice.payment_succeeded` webhook.
     *
     * @param  array  $payload
     * @return \Symfony\Component\HttpFoundation\Response
     */
    public function handleInvoicePaymentSucceeded(array $payload)
    {
        // Your custom logic for successful payments
        $invoice = $payload['data']['object'];
        // Example: Send a custom email notification
        $user = User::where('stripe_id', $invoice['customer'])->first();
        if ($user) {
            // Notify the user
            $user->notify(new PaymentSuccessNotification($invoice));
        }
        return parent::handleInvoicePaymentSucceeded($payload);
    }
    /**
     * Handle the `invoice.payment_failed` webhook.
     *
     * @param  array  $payload
     * @return \Symfony\Component\HttpFoundation\Response
     */
    public function handleInvoicePaymentFailed(array $payload)
    {
        // Your custom logic for failed payments
        $invoice = $payload['data']['object'];
        $user = User::where('stripe_id', $invoice['customer'])->first();
        if ($user) {
            // Notify the user about the failure
            $user->notify(new PaymentFailureNotification($invoice));
        }
        return parent::handleInvoicePaymentFailed($payload);
    }
    /**
     * Handle the `customer.subscription.deleted` webhook.
     *
     * @param  array  $payload
     * @return \Symfony\Component\HttpFoundation\Response
     */
    public function handleCustomerSubscriptionDeleted(array $payload)
    {
        // Custom logic for subscription cancellations
        $subscription = $payload['data']['object'];
        $user = User::where('stripe_id', $subscription['customer'])->first();
        if ($user) {
            // Notify the user about subscription cancellation
            $user->notify(new SubscriptionCancelledNotification());
        }
        return parent::handleCustomerSubscriptionDeleted($payload);
    }
}
In this example, we customize three webhooks:
- invoice.payment_succeeded: Sends a notification when payment is successful.
- invoice.payment_failed: Notifies the user if a payment fails.
- customer.subscription.deleted: Notifies the user about a subscription cancellation.
Note: Ensure you have appropriate notification classes like PaymentSuccessNotification, PaymentFailureNotification, and SubscriptionCancelledNotification.
Now, update your webhook route to use the custom StripeWebhookController:
Route::post('stripe/webhook', [App\Http\Controllers\StripeWebhookController::class, 'handleWebhook']);
This tells Laravel to use your customized webhook handling controller.
Example: Subscribing a User to a Plan
Here’s a complete Laravel Cashier example of how a user might be subscribed to a plan:
$user = User::find(1); // Retrieve the user
// Attach payment method and create subscription
$user->newSubscription('default', 'plan-id')->create('payment_method_id');
// Check subscription status
if ($user->subscribed('default')) {
    // User is actively subscribed to the default plan
}
You can define this code in your relevant controller where you want to define user subscribtion and mange the billing cycle.
Important Functions to Use with Laravel Cashier.
Our experts have added several built-in methods on models that use the Billable trait to handle subscription billing, single charges, and other billing operations to this Laravel Cashier tutorial. Here’s an overview of the most important ones:
1. Subscription Methods
- newSubscription($subscriptionName, $planId): Initializes a new subscription for the user.
$user->newSubscription('default', 'plan-id')->create($paymentMethod);
- subscribed($subscriptionName): Checks if the user is actively subscribed to a given plan.
if ($user->subscribed('default')) {
    // User is actively subscribed
}
- subscription($subscriptionName): Retrieves a specific subscription instance, which allows you to check details and perform actions.
$subscription = $user->subscription('default');
- cancel(): Cancels a subscription at the end of the billing period.
$user->subscription('default')->cancel();
- cancelNow(): Immediately cancels a subscription without waiting for the billing period to end.
$user->subscription('default')->cancelNow();
- resume(): Resumes a canceled subscription if it is still within the grace period.
$user->subscription('default')->resume();
- onTrial(): Checks if a user is currently on a trial period.
if ($user->subscription('default')->onTrial()) {
    // User is on trial
}
- onGracePeriod(): Checks if a canceled subscription is still within the grace period.
if ($user->subscription('default')->onGracePeriod()) {
    // User is within grace period
}
2. Single Charge and Invoice Methods
- charge($amount, $paymentMethodId = null): Charges a one-time payment to the user.
$user->charge(1000, 'payment_method_id'); // Amount in cents (e.g., 1000 = $10.00)
- invoice(): Attempts to invoice the customer for any pending charges.
$user->invoice();
- findInvoice($invoiceId): Retrieves a specific invoice by its ID.
$invoice = $user->findInvoice('invoice-id');
- downloadInvoice($invoiceId): Downloads a specific invoice as a PDF.
return $user->downloadInvoice('invoice-id', ['vendor' => 'Your Company', 'product' => 'Your Product']);
3. Payment Method Methods
- addPaymentMethod($paymentMethodId): Adds a new payment method for the user.
$user->addPaymentMethod('payment_method_id');
- updateDefaultPaymentMethod($paymentMethodId): Updates the default payment method.
$user->updateDefaultPaymentMethod('new_payment_method_id');
- paymentMethods(): Retrieves all available payment methods for the user.
$paymentMethods = $user->paymentMethods();
- deletePaymentMethods(): Deletes all payment methods for a user.
$user->deletePaymentMethods();
4. Handling Subscription Upgrades and Downgrades
- swap($planId): Switches the user to a different subscription plan.
$user->subscription('default')->swap('new-plan-id');
- swapAndInvoice($planId): Swaps the subscription plan and immediately invoices the user.
$user->subscription('default')->swapAndInvoice('new-plan-id');
- incrementQuantity($quantity = 1): Increases the quantity of the subscription (for per-seat billing).
$user->subscription('default')->incrementQuantity(2); // Adds 2 to the current quantity
- decrementQuantity($quantity = 1): Decreases the quantity of the subscription.
$user->subscription('default')->decrementQuantity(1);
5. Trial and Grace Period Methods
- onTrial(): Checks if the user is currently on a trial period for a specific subscription.
if ($user->subscription('default')->onTrial()) {
    // User is on a trial period
}
- onGracePeriod(): Checks if a canceled subscription is still in the grace period.
if ($user->subscription('default')->onGracePeriod()) {
    // User is in the grace period
}
These methods in Laravel Cashier allow you to handle various aspects of billing, including subscriptions, one-time charges, upgrades, and trial management. They also simplify handling payment methods and managing subscriptions directly on the user model.
Common Errors & Troubleshooting Laravel Cashier
Integrating payment systems means dealing with APIs and webhooks. If you’re aware of the common issues, it will save you hours of debugging.
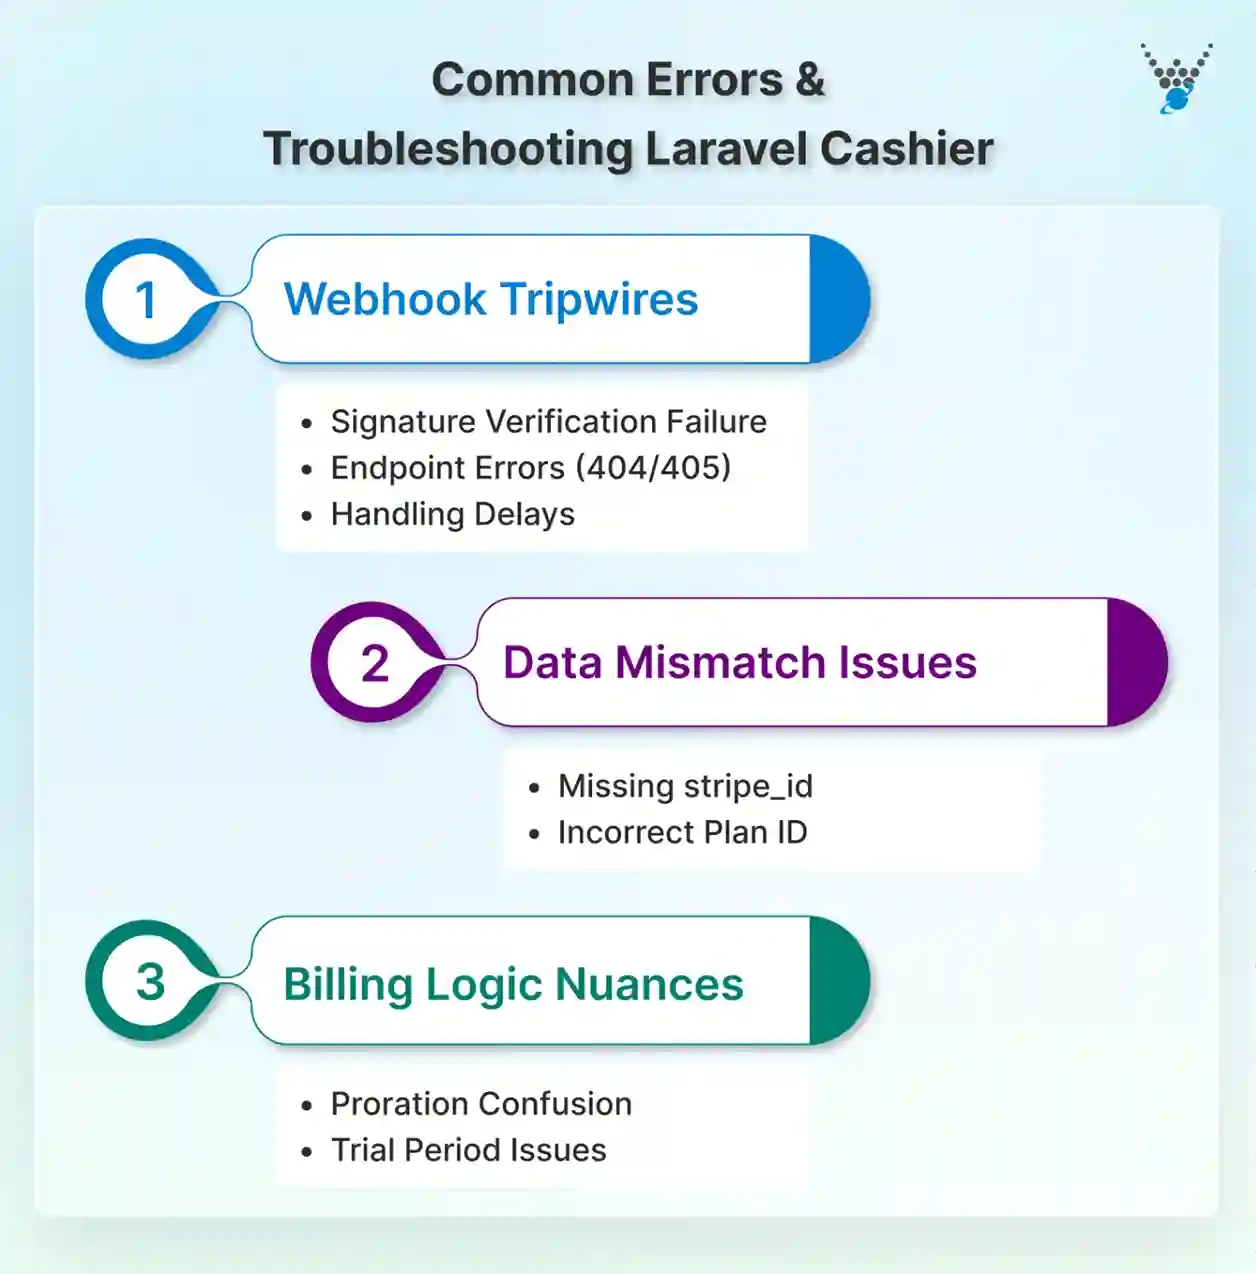
Webhook Tripwires
Webhooks (Stripe/Paddle events) are the main source of initial errors.
- Signature Verification Failure: Your app rejects the webhook because the secret keys don’t match. To fix this, ensure the STRIPE_WEBHOOK_SECRET in your .env file exactly matches the one in your Stripe Dashboard.
- Endpoint Errors (404/405): Stripe can’t reach your webhook URL. For fixing this, confirm your webhook route is defined correctly, and use tools like Ngrok to expose your local environment for testing.
- Handling Delays: If your webhook processing is slow, Stripe times out and retries. The fix is to push heavy tasks (like sending emails or complex updates) into a queued job to ensure a quick response.
Data Mismatch Issues
These happen when your database status doesn’t align with the payment gateway’s status.
- Missing stripe_id: You can’t subscribe a user because they aren’t registered on the gateway. The User model must use the Billable trait; Cashier registers the customer automatically once this is present.
- Incorrect Plan ID: The plan ID in your code doesn’t match the ID on the payment gateway. Use the long, official Price IDs copied directly from the Stripe or Paddle dashboard.
Billing Logic Nuances
Even automated billing needs careful handling.
- Proration Confusion: Users are confused by the credit/charge when they switch plans. Clearly explain proration in your UI. Use swapAndInvoice() if you need the charge to occur immediately.
- Trial Period Issues: A user tries to start a trial but is ineligible (e.g., they had one before). Cashier only allows one trial per customer. If you allow multiple trials, you must manually manage the trial eligibility flag.
In short, troubleshooting Laravel Cashier is about resolving webhook failures (matching STRIPE_WEBHOOK_SECRET and pushing heavy loads to queues) and data mismatches. Always use the Billable trait for customers and the official Price IDs from the gateway to ensure smooth operation.
To Conclude
Laravel Cashier offers a comprehensive solution for managing subscriptions, payments, and billing in your Laravel application. It simplifies everything from setting up subscriptions and handling proration to managing payment methods and generating invoices.
With its seamless integration and robust features, Cashier takes the complexity out of subscription management. It allows you to focus more on enhancing your product and user experience.
If you need expert help to customize billing logic or manage complex payment flows, hire dedicated Laravel developers today!
FAQs Related to Laravel Cashier
How does Laravel Cashier for Subscription Billing Management work?
Laravel Cashier integrates with popular payment gateways, such as Stripe and Braintree, to handle subscription billing. It provides a set of convenient methods for creating and managing subscriptions, as well as webhooks for handling events, such as successful payments and subscription cancellations.
Which payment gateways does Laravel Cashier for Subscription Billing Management support?
Laravel Cashier currently supports Stripe and Braintree as payment gateways. Both Stripe and Braintree are popular and trusted payment processors with extensive documentation and developer support.
Is there a cost to using Laravel Cashier for Subscription Billing Management?
There is no cost to use Laravel Cashier for Subscription Billing Management, as it is an open-source package. However, you may incur fees from the payment gateway you choose to integrate with, such as Stripe or Braintree.


