Quick Summary
Discover how Laravel Events and Listeners transform your app into a clean, organized, and scalable system. This guide walks you from project setup and database configuration to creating models, defining Events, building Listeners, and dispatching actions efficiently. Learn to register, queue, and even automate Event-Listener workflows, unlocking flexibility, performance, and maintainable code for professional, responsive Laravel applications.
Table of Contents
Laravel makes it easy to build clean and organized applications. But as your project grows, keeping track of what happens inside your app can get tricky. Enter Laravel events and listeners. They help you separate logic, keep your code neat, and make your app more flexible.
When something happens in your app, an event fires. Then, one or more listeners quietly step in and handle the work. This simple idea keeps your core code focused and your app structure smooth.
In this guide, we’ll discuss how Events and Listeners work in Laravel. We’ll discuss what they are, why they matter, and how to use them in real projects. So, let’s start!
What are Laravel Events and Listeners?
Laravel Events and Listeners are a dynamic duo used to liberate your code from the clutches of disorganized logic in an era of decoupled functionalities.
Laravel events work as the courier of your app. It broadcasts notifications about significant occurrences – a user registers, places an order, or a post is published. Laravel listeners receive these pronouncements and quickly take action. It can include tasks ranging from dispatching emails and updating databases, to executing any task your app demands.
This separation of concerns grants your code laser-like focus, With each component fulfilling its role in a seamless performance. But what benefits do Laravel events and listeners unlock?
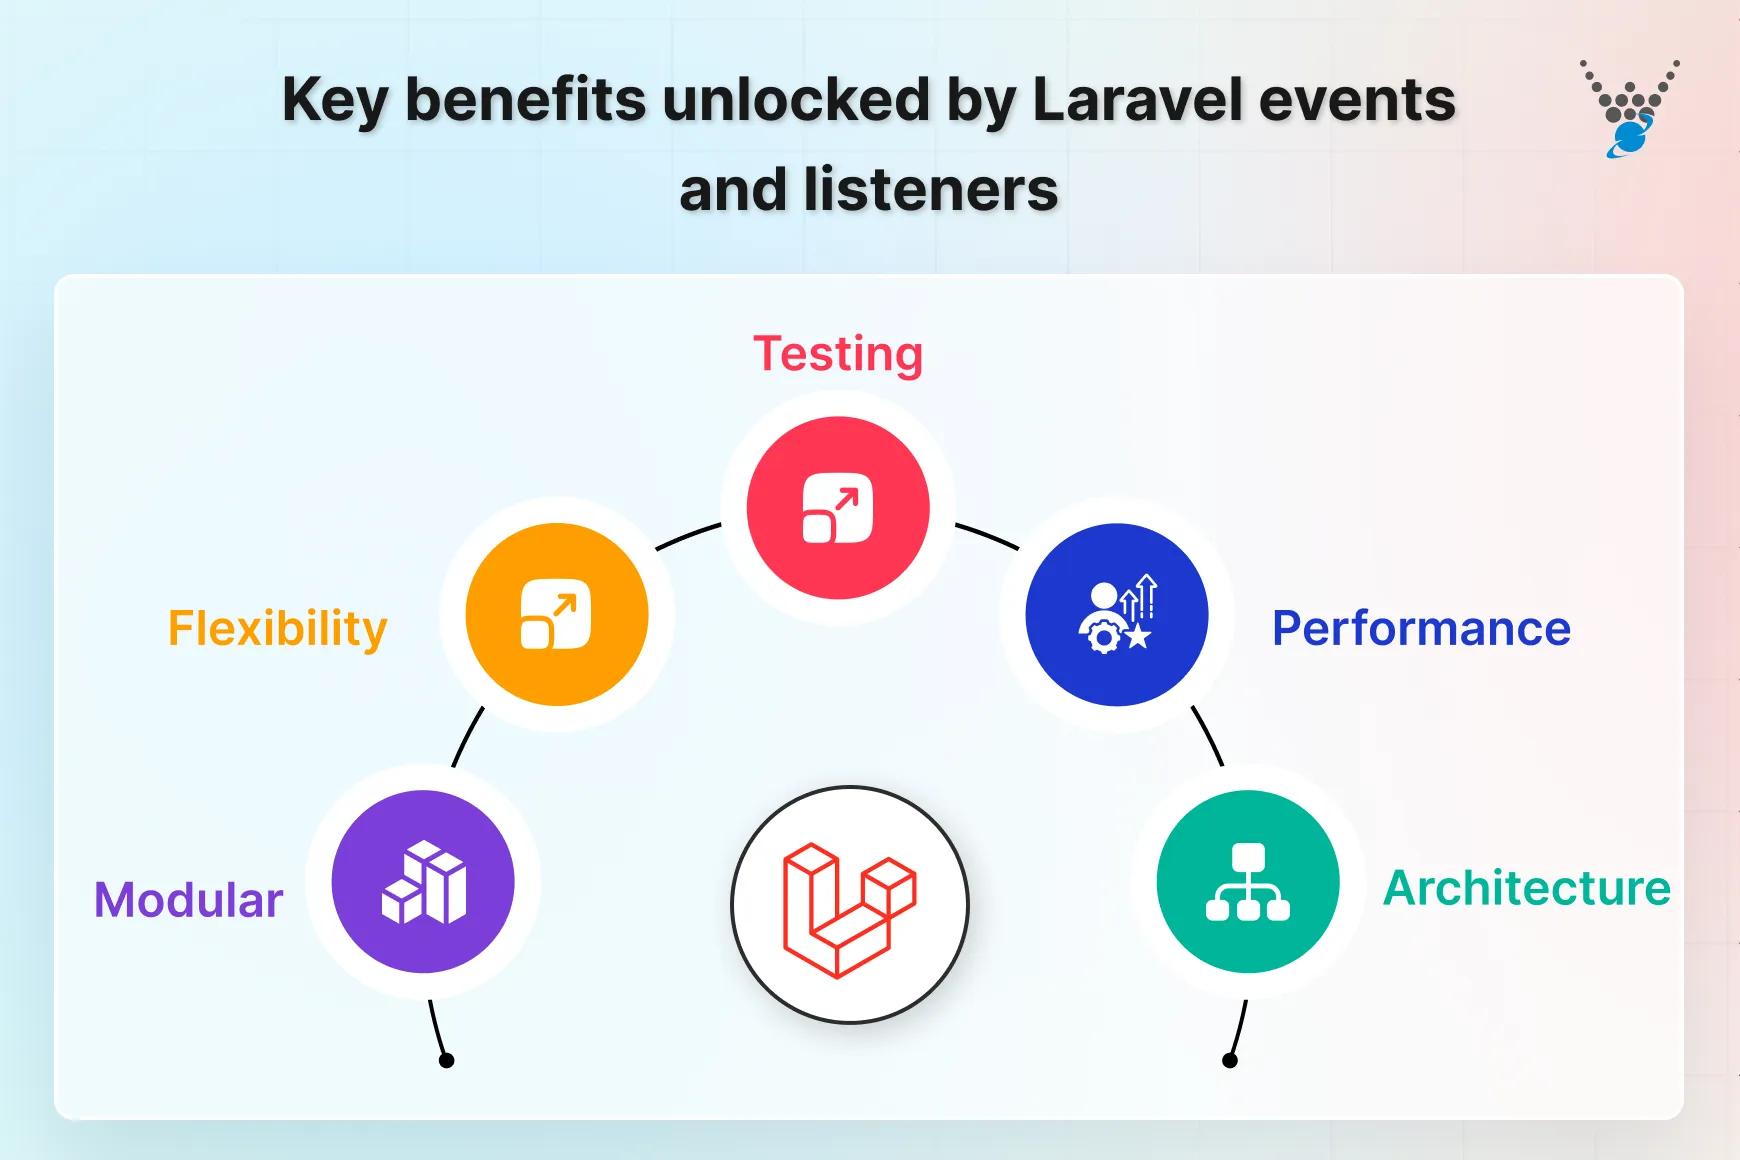
- Modular. Break down intricate logic into independent units. Enabling ease of maintenance and enabling effortless scaling.
- Flexibility. Introduce new functionalities without disturbing existing code. Allowing your app to adapt and evolve with grace.
- Testing. Isolate components for focused functionalities. This ensures reliability and builds developer confidence.
- Performance. Offload resource-intensive tasks to dedicated queues. Maintaining app responsiveness and a smooth user experience.
- Architecture. Develop a clean and organized codebase. Building the way for intuitive collaboration and future development.
Laravel Events and Listeners help keep your code clean, organized, and easy to manage. Events act as messengers, signaling when something important happens, like a user signing up or an order being placed. Listeners then step in to handle the response, such as sending emails in Laravel or updating the database to keep processes automated and consistent.
Prerequisites for Laravel Events and Listeners
Before diving into Events and Listeners, it’s important to set up the right foundation. A solid environment will save you from messy errors and wasted time later.
Here’s what you need in place:
- PHP 8.1 or higher: Laravel runs best on modern PHP versions. This ensures smooth performance and access to the latest features.
- Composer: This is your go-to tool for managing PHP dependencies. It keeps everything organized and makes installations effortless.
- A Neon account: You’ll need a reliable database host. Neon offers a clean, cloud-based setup that fits well with Laravel projects.
- Basic knowledge of Laravel and databases: You don’t need to be an expert. But a clear idea of how Laravel works and how to interact with a database will help you move faster, especially when building forms or workflows like a create contact form using Laravel project.
Once these essentials are ready, setting up Events and Listeners becomes a straightforward process. It’s about starting on the right foot so the rest falls neatly into place.
How to Use Laravel Events and Listeners Jointly?
Before jumping into Events and Listeners, let’s set up the ground. A clean environment saves time, avoids messy errors, and makes the rest of the process effortless.
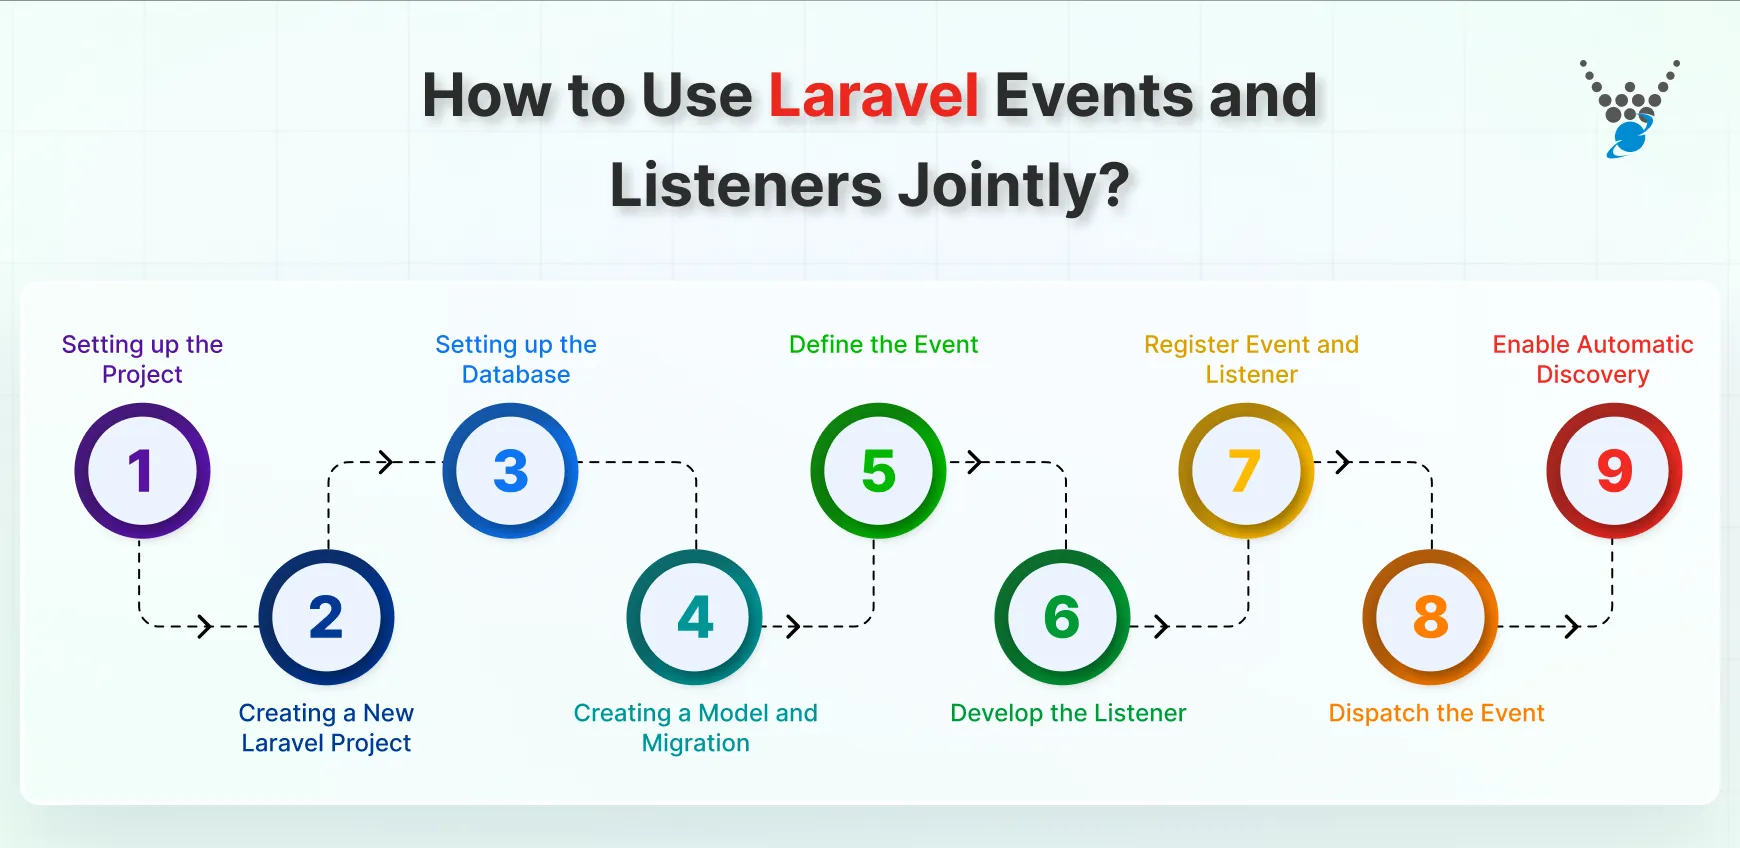
Step 1: Setting up the Project
Start by making sure you have PHP 8.1 or higher, Composer, and a Neon database ready. Then install Laravel in your working directory using:
composer create-project laravel/laravel events-demo
Once installed, open the project in your code editor.
Step 2: Creating a New Laravel Project
If you already have an existing Laravel project, you can skip this step. Otherwise, use the above command to create a fresh setup. After installation, run the server:
php artisan serve
Visit http://localhost:8000 to confirm everything works.
Step 3: Setting up the Database
Head to your .env file and update the database credentials. If you’re using Neon, copy the connection string and configure it here. Once done, run:
php artisan migrate
This sets up the default tables and confirms your database connection.
Step 4: Creating a Model and Migration
For our example, let’s work with an Order model. Generate it using:
php artisan make:model Order -m
Update the migration file to include fields like user_id and status. Then run:
php artisan migrate
Your structure is ready. Now, let’s move to Events and Listeners.
Step 5: Define the Event
An Event is a signal that something happened in your app. It doesn’t execute actions directly — it just broadcasts the message.
- Name Clearly: Pick a meaningful name like OrderShipped or UserLoggedIn.
- Generate the Class:
php artisan make:event OrderShipped
This creates the Event in app/Events.
- Add Properties: Define the data you want to pass to Listeners, such as:
class OrderShipped {
    public $orderId;
    public $shippingDetails;
    public function __construct($orderId, $shippingDetails)
    {
        $this->orderId = $orderId;
        $this->shippingDetails = $shippingDetails;
    }
}
- Use the Constructor: Pass required data when dispatching the Event.
- Optional: Add helper methods inside the Event for data formatting or pre-processing.
A clear, well-structured Event makes your application easier to maintain and scale.
Step 6: Develop the Listener
A Listener reacts to an Event. It carries out the actual work, such as sending an email or updating records.
- Generate the Class:
php artisan make:listener OrderShippedListener
This places the file in app/Listeners.
- Queue if Needed: Implement ShouldQueue for long-running tasks.
class OrderShippedListener implements ShouldQueue {
    public function handle(OrderShipped $event) {
        // Handle logic here
    }
}
- Handle Method: Access Event data through $event->orderId or any other properties.
- Execute Actions: Send notifications, update the database, or trigger other processes. You can streamline this workflow by using the Laravel Notification System for automated alerts and messages.
- Optional: Chain methods if more steps need to run after the initial action.
Keep Listeners focused on a single responsibility. This keeps the logic sharp and predictable.
Step 7: Register Event and Listener
Now, link them together so Laravel knows which Listener belongs to which Event.
- Open: app/Providers/EventServiceProvider.php
- Find: the $listen property.
- Map the Pair:
protected $listen = [
    App\Events\OrderShipped::class => [
        App\Listeners\OrderShippedListener::class,
    ],
];
- Multiple Listeners: Just add more classes under the same Event if needed.
This registration step ensures clean communication between the Event and its Listener.
Step 8: Dispatch the Event
This is where it all comes to life. Dispatching the Event triggers the chain of actions.
- Import the Facade:
use Illuminate\Support\Facades\Event;
- Dispatch:
Event::dispatch(new OrderShipped($orderId, $shippingDetails));
- Optional Queues:
Event::dispatch(new OrderShipped(...))->onQueue('emails');
- Optional Broadcasting: If using real-time features, broadcast the Event to connected clients for instant updates. To manage such interactions efficiently, you can create and test an API in Laravel to handle external communication between applications.
Dispatching is the ignition point. It’s simple, clean, and powerful.
Step 9: Enable Automatic Discovery (Optional)
If you want Laravel to connect Events and Listeners automatically, use the discovery feature.
- Enable in EventServiceProvider:
public function shouldDiscoverEvents()
{
    return true;
}
- Custom Paths:
protected function discoverEventsWithin()
{
    return [
        $this->app->path('Listeners'),
        app_path('OtherListenersDirectory'),
    ];
}
- Clear Cache:
php artisan event:clear
This is disabled by default in production, so enable it manually if needed.
Simply put, you can set up a Laravel project with PHP, Composer, and a database, then create models, migrations, Events, and Listeners. Register and dispatch Events to trigger Listeners, optionally using queues or automatic discovery for efficient, organized workflows.
For complex projects or when seeking expert guidance, consult with a Laravel development agency. They can provide invaluable insights and ensure a truly flawless implementation.
How to Test Laravel Events and Listeners?
When your Laravel app uses Events and Listeners, you need to ensure they work well together. Testing your Events and Listeners helps you write reliable and bug-free code. There are two simple ways to test Laravel Events and Listeners.
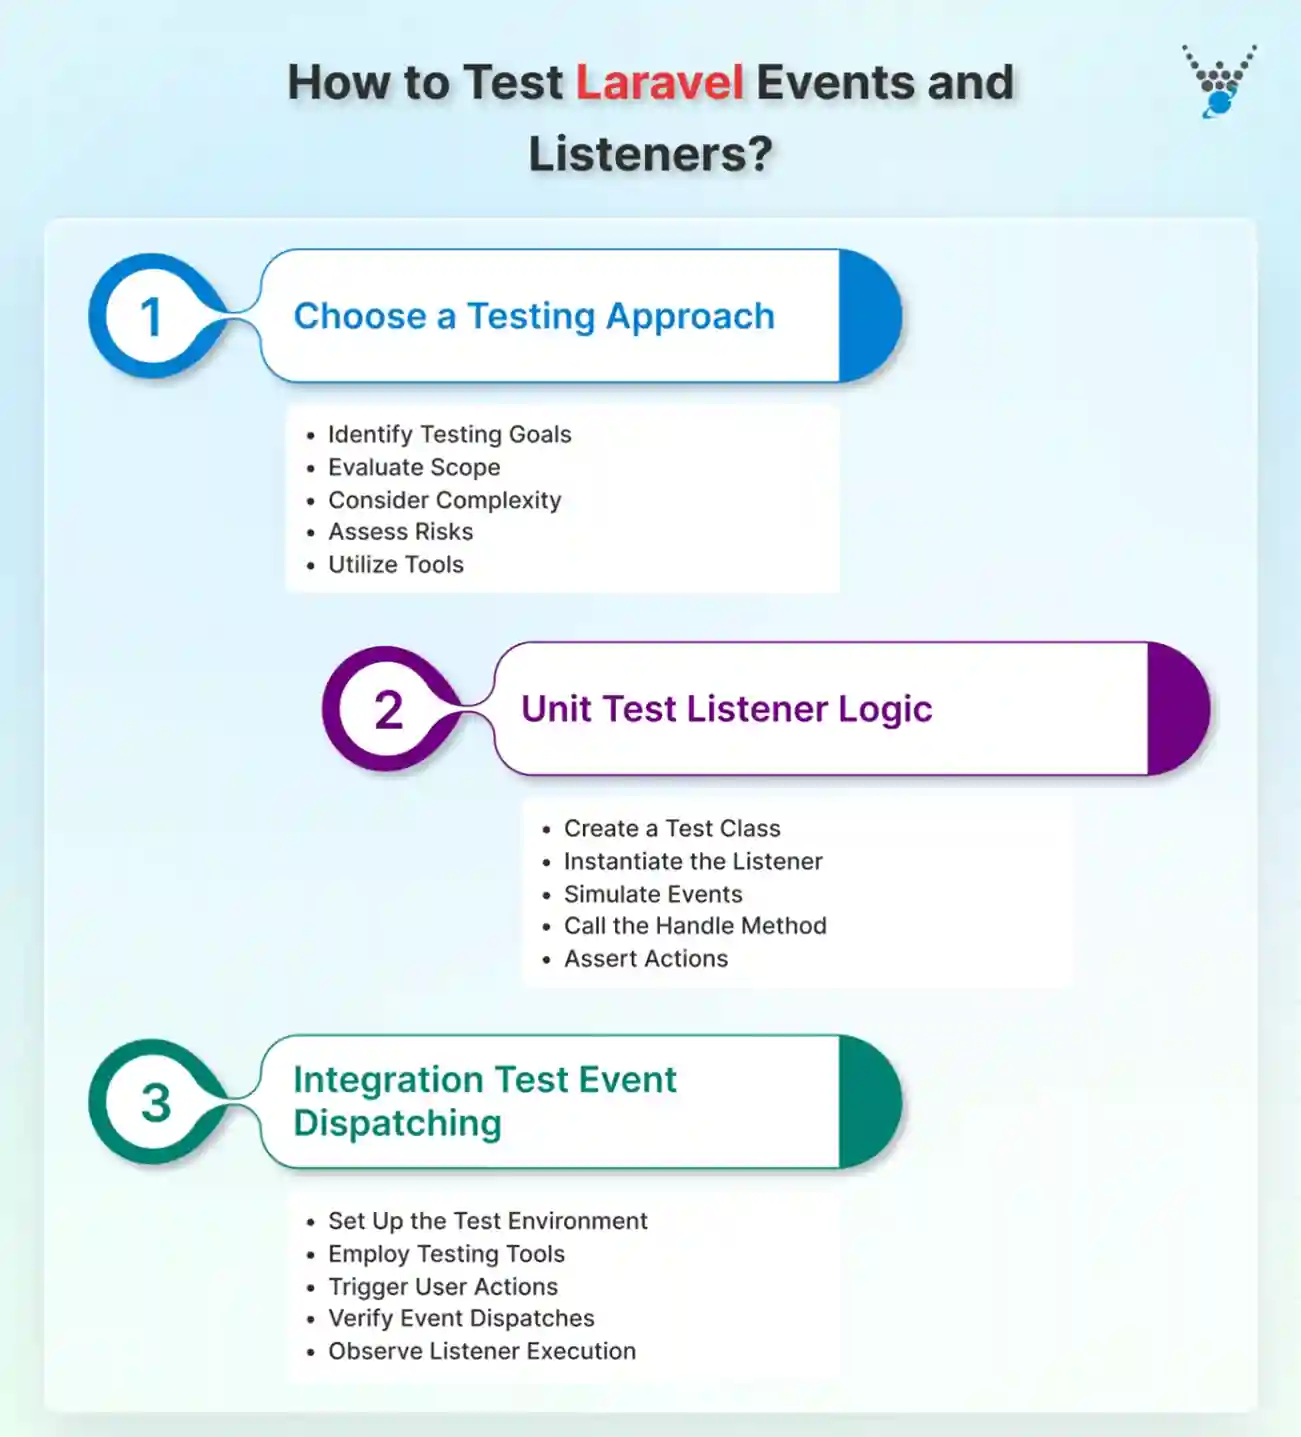
Step 1: Choose a Testing Approach
Before testing Events and Listeners in your Laravel app, the first step is to choose the right approach. Pick the one that fits your testing goals. There are two main methods, each with its own advantages:
- Identify Testing Goals:
- Unit Testing. Ideal for isolating and verifying the logic within individual Listeners. Ensuring their components function as intended under various scenarios, including edge cases and potential errors.
- Integration Testing. Focused on observing the entire Event-Listener interaction. Confirming Events dispatch correctly and their corresponding Listeners execute as expected.
- Evaluate Scope:
- Unit Testing. Narrower scope, concentrating on individual Listener classes and their logic.
- Integration Testing. Broader scope, encompassing multiple components and their interactions. Providing a more comprehensive view of system behavior.
- Consider Complexity:
- Unit Tests. Generally simpler to write and execute, as they focus on isolated units of code.
- Integration Tests. Often more involved, as they require setting up test environments that mimic real-world conditions and interactions.
- Assess Risks:
- Unit Testing. Effective for identifying potential issues within Listeners early in development. Reducing the likelihood of bugs propagating through the system.
- Integration Testing. Crucial for uncovering unexpected interactions between components and ensuring overall system functionality.
- Utilize Tools:
The optimal testing approach often involves a combination of both unit and integration tests. Unit tests ensure individual components function correctly. While integration tests validate the seamless interplay between them. By strategically employing both methods, you can build a dependable Laravel application, confident in its ability to deliver a harmonious user experience.
Step 2: Unit Test Listener Logic
With the decision made to focus on individual Listener performance, it’s time to dig into the world of unit testing. This process ensures each Listener executes its designated tasks, regardless of the surrounding context.
- Create a Test Class. Begin by establishing a test class using PHPUnit’s ‘php artisan make:test’ command. Name it appropriately to reflect the Listener being tested (e.g., ‘OrderShippedListenerTest’).
- Instantiate the Listener. Within your test method, create an instance of the Listener class you intend to test. Readying it for its performance assessment.
- Simulate Events. Utilize PHPUnit’s mocking capabilities to create a mock Event object. This stand-in simulates the Event your Listener is designed to respond to, providing it with necessary data without relying on actual Event dispatches.
- Call the Handle Method. Consider the Listener’s handle method, passing the mock Event object as its argument. This initiates the Listener’s logic, allowing you to observe its behavior and responses.
- Assert Actions. Employ PHPUnit’s assertion methods to verify that the Listener performs its intended tasks correctly. This might involve confirming emails sent, database updates executed, or any other actions within its scope.
public function test_orderShippedListener_sendsEmail()

{
    $event = Mockery::mock(OrderShipped::class);
    $event->expects('orderId')->andReturn(123);
    $event->expects('shippingDetails')->andReturn([
        'address' => '123 Main St.',
        'trackingNumber' => 'ABC123',
    ]);
    $listener = new OrderShippedListener();
    $listener->handle($event);
    // Assert email sent with expected details
    Mail::shouldHaveSent(Mail::to('customer@example.com')
        ->subject('Order Shipped!'));
}
Unit testing Listeners safeguard against unexpected behavior and ensure each component functions as intended. While testing each Listener in isolation, you can confidently direct seamless interactions within your Laravel application.
Step 3: Integration Test Event Dispatching
Once you’ve tested each Listener on its own, it’s time to see how they work together. Integration testing ensures that Events fire correctly and trigger their Listeners as expected.
- Set Up the Test Environment. Configure your testing environment to closely resemble your production setup. Including necessary database connections and any other components crucial to your application’s functionality.
- Employ Testing Tools. Choose a suitable testing tool like Dusk or Behat. Both of which offer browser automation capabilities ideal for integration testing. These tools enable you to interact with your application’s user interface and simulate user actions.
- Trigger User Actions. Utilize the chosen testing tool to mimic user interactions that initiate the Event chain you aim to test. For instance, simulate placing an order or submitting a form, actions that typically dispatch Events within your application.
- Verify Event Dispatches. Employ Laravel’s ‘Event::assertDispatched()’ method to confirm that the expected Event has been dispatched following the user action. This assertion validates that your application correctly triggers Events in response to user interactions.
- Observe Listener Execution. Leverage the browser automation features of the testing tool to verify that the dispatched Event successfully engages its designated Listener.
public function test_orderPlaced_dispatchesOrderShippedEvent()

{
    $this->browse(function (Browser $browser) {
        $browser->visit('/place-order')
            ->type('name', 'John Doe')
            ->type('email', 'john.doe@example.com')
            ->press('Place Order')
            // Assert event dispatched
            ->assertDispatched(OrderShipped::class);
    });
}
Integration testing of Events and Listeners ensures your Laravel app runs smoothly. By checking how they work together, you can deliver a seamless, bug-free experience for your users.
Best Practices for Using Laravel Events and Listeners
Using Laravel Events and Listeners helps you build responsive applications. But to get the best results, they need to be implemented carefully. Here are some best practices to make sure your app delivers a smooth and reliable user experience:
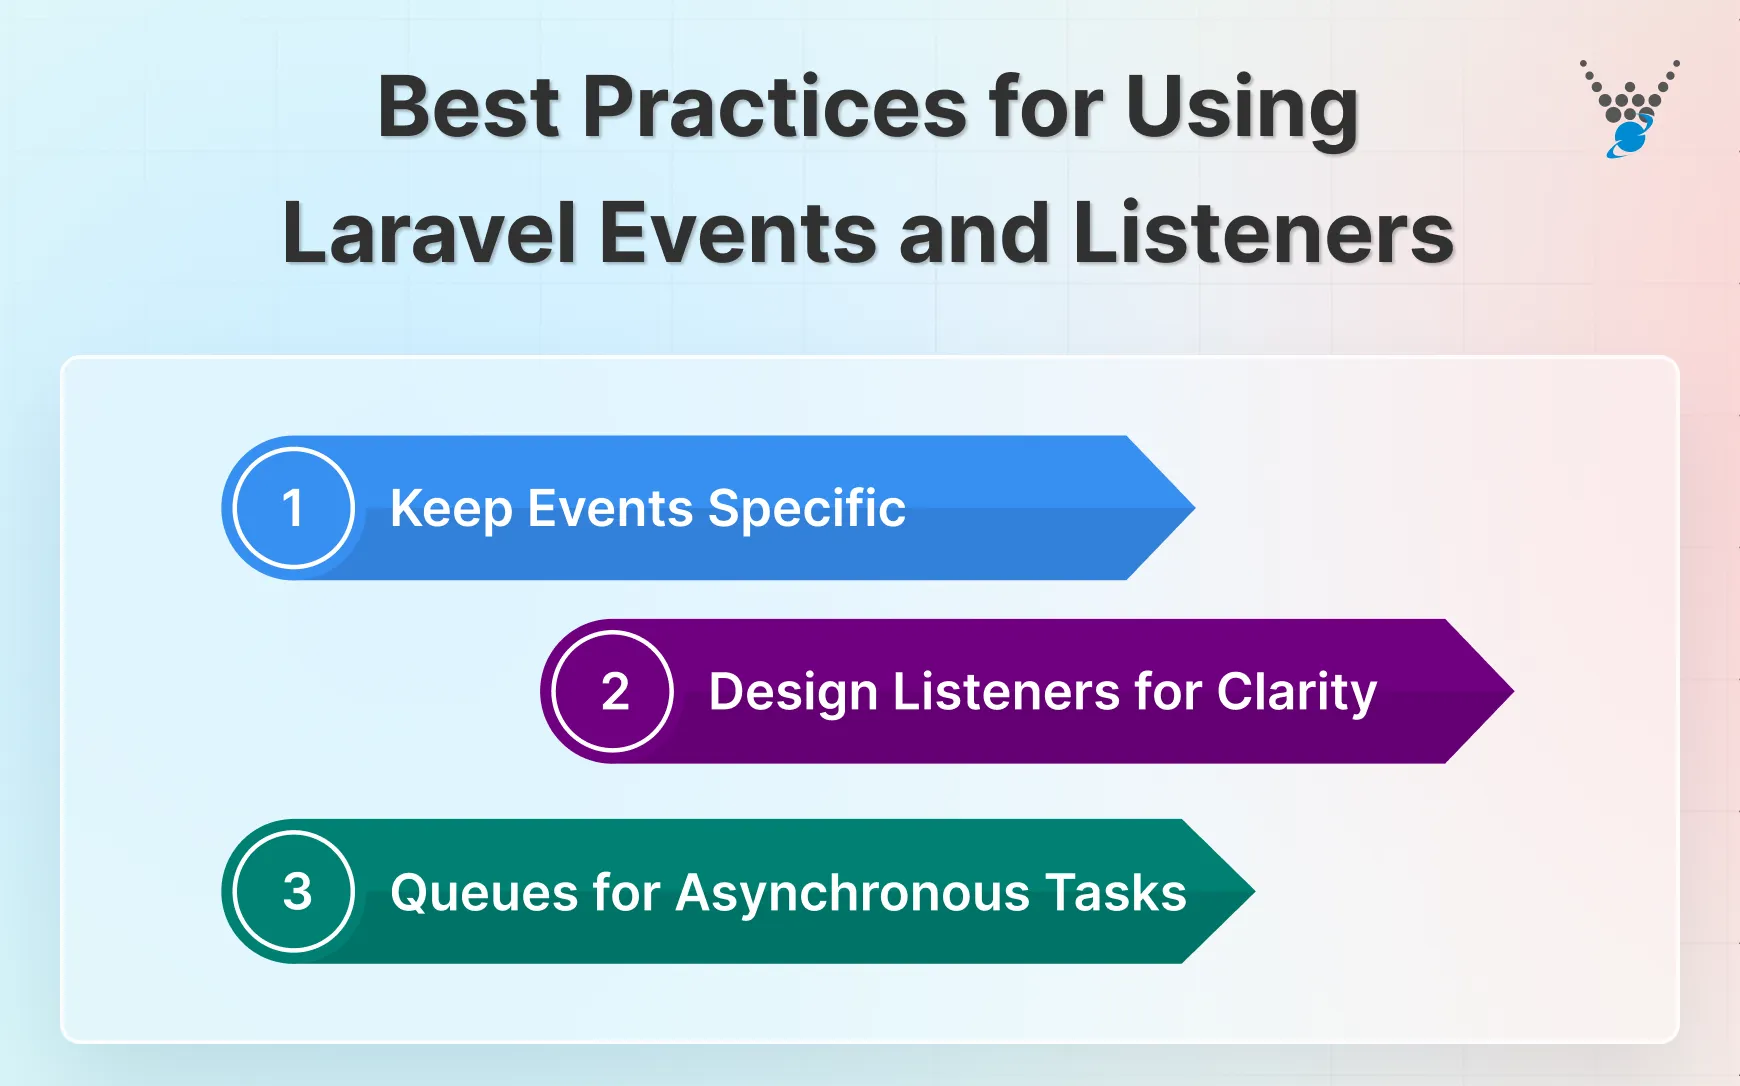
1. Keep Events Specific
Each Event should represent a single, well-defined action within your application. Think “OrderShipped” instead of “GenericAction.” Define appropriate public properties within your Event class to deliver the data relevant to the triggered action. This ensures Listeners have access to the necessary information.
2. Design Listeners for Clarity
Each Listener should be dedicated to handling a specific Event and performing its associated tasks. Resist the urge to pack it with unrelated functionality. Aim for concise and readable code within your Listeners. Break down complex tasks into smaller, well-defined methods for improved maintainability.
3. Queues for Asynchronous Tasks
Leverage queues for long-running or resource-intensive tasks within your Listeners. This prevents blocking the main application thread and preserves responsiveness. Laravel offers different queue drivers with varying functionalities. Match the chosen queue to the task’s priority and resource requirements.
While mastering the interplay of Events and Listeners can take your Laravel application to new heights, conquering complex scenarios might require expert guidance. So consult with experts wherever necessary.
Final Summary
Laravel Events and Listeners are more than just tools. They are a way to write clean, organized, and efficient code. By separating actions from the core logic, your application becomes easier to maintain and scale.
With the steps we have discussed, you can set up Events and Listeners that handle tasks reliably, improve performance, and keep your codebase intuitive. From defining events to dispatching them and handling listeners, each step adds structure and clarity to your app.
Once implemented, Events and Listeners make your Laravel projects feel professional, robust, and ready for growth. So, want to build a seamless, responsive application with Laravel Events and Listeners? Then hire Laravel developers with us today!
Frequently Asked Questions
What is the difference between events vs listeners vs jobs in Laravel?
– Events:They broadcast the message, but don’t perform any specific actions themselves.
– Listeners:Work as the “listeners” for the Event’s broadcast.
– Jobs: It can be triggered by Events and provide efficient background processing.
Can I pass data to event listeners in Laravel?
Absolutely! Event classes can have public properties that encapsulate relevant data related to the triggered action. Listeners can then access this data within their methods to perform appropriate tasks.
What is the event system in Laravel?
Laravel’s event system provides a structured approach for communication between different parts of your application. It allows you to decouple components, making your code more modular and maintainable. Events trigger Listeners, creating a chain of reactions that perform specific tasks efficiently and seamlessly.