Table of Contents
Ever pushed a new feature live and instantly regretted it? Yeah, we’ve all been there. If there is one broken feature, your whole app can go down — or worse, users will start complaining. Testing in production is not always a great idea, but what if you could flip features on and off like a switch?
That’s where Laravel Pennant can help you. It’s a simple, lightweight tool to manage feature flags in your Laravel apps. Whether you’re A/B testing or doing rollouts at multiple stages, Pennant makes it easy.
In this blog, we are going to explore Laravel Pennant, its installation process, and best practices. So, let’s get started!
What is Laravel Pennant?
Laravel Pennant is a package developed by Laravel to manage feature flags within Laravel applications.
It offers a simple and clean API to define, check, and manage flags for enabling or disabling features dynamically. Pennant is great for Laravel apps of all sizes, from small projects to large enterprise applications, especially when used alongside tools like Laravel Development Tools to streamline feature management.
Some key features of Laravel Pennant include:
- Easy-to-use API to define feature flags
- Flexible flag conditions based on user roles, data, or other custom logic
- Performance-friendly with caching of feature flags
- Seamless integration with Laravel Blade, routes, and controllers
Laravel Pennant gives you the power to control the availability of features based on specific criteria – all from within your Laravel app.
How to Install Laravel Pennant?
To start using feature flags in your Laravel app, you’ll first need to install the Laravel Pennant package. The installation process is simple and only takes a minute. Once installed, you can set up database storage for persistent flags optionally, similar to how developers maintain coding consistency with Laravel Pint.
Let’s start by installing the Laravel Pennant package.
Open your terminal and run the following command:
composer require laravel/pennant
This will download and install the package into your project.
Next, you should publish the Pennant configuration and migration files using the vendor:publish Artisan command:
php artisan vendor:publish --provider="Laravel\Pennant\PennantServiceProvider"
Finally, you should run your application’s database migrations. This will create a features table that Pennant uses to power its database driver:
php artisan migrate
Defining Feature Flags
Once the package is installed, you can define your feature flags. This is done using the Feature::define() method, which takes a flag name and a closure (or callback) that determines whether the feature should be active for a user or not.
You can define flags in your AppServiceProvider or a custom service provider — a workflow that pairs well with interactive testing using Laravel Tinker. Here’s an example of how you can define a feature flag for a new dashboard feature:
use Laravel\Pennant\Feature;
public function boot(): void
{
    Feature::define('new-dashboard', function ($user) {
        return $user->isBetaTester(); // Only beta testers see the new dashboard
    });
}
In this example, the new dashboard feature will be active only for users who have the isBetaTester() method set to true.
Practical Example: Rolling Out a New Dashboard
Let’s bring Laravel Pennant to life with a real example. Suppose you’re launching a new dashboard design but only want beta testers to see it. You can further debug UI and backend performance during rollout using Laravel Debugbar. We’ll walk through setting up the feature flag, defining user access, and showing the right dashboard view based on the flag.
Step 1: Setup the Feature
First, install Laravel Pennant if you haven’t already. Then, create a User model method to check if the user is a beta tester:
class User extends Authenticatable
{
    public function isBetaTester()
    {
        return $this->beta_tester; // Assume 'beta_tester' is a column in your users table
    }
}
Step 2: Define the Feature Flag
In your AppServiceProvider, define the feature flag:
public function boot(): void
{
    Feature::define('new-dashboard', function ($user) {
        return $user->isBetaTester();
    });
}
Step 3: Create Two Dashboard Views
You’ll need two views: one for the old dashboard and one for the new one. Create them in your resources/views/dashboard directory.
- old.blade.php: The current design of your dashboard
- new.blade.php: The new, experimental design for beta testers
Step 4: Add Conditional Logic in Controller
Now, let’s update your DashboardController to check whether the feature flag is active for the logged-in user:
use Laravel\Pennant\Feature;
public function showDashboard()
{
    if (Feature::for(auth()->user())->active('new-dashboard')) {
        return view('dashboard.new');  // Show new dashboard for beta testers
    }
    return view('dashboard.old'); // Show old dashboard for everyone else
}
Step 5: Use Blade Directives
You can also use the @feature directive directly in your Blade views. In your main dashboard view, add the following code:
@feature('new-dashboard')
    @include('dashboard.partials.new-ui')
@elsefeature
    @include('dashboard.partials.old-ui')
@endfeature
This will load different UI components depending on whether the new dashboard feature flag is active for the user. Using Laravel Mix with Laravel Pennant helps you manage front-end assets efficiently while toggling UI-based features during staged releases.
Step 6: Test the Output
To test the feature flag:
- Login as a beta tester (set beta_tester to true for the user).
- Visit the dashboard route and check if you see the new dashboard.
- Non-beta testers should see the old dashboard.
Persistent Storage with Database Driver
If you prefer to store feature flags in a database, you can use Laravel Pennant’s database driver. After running the migration, you can dynamically activate or deactivate features for individual users, much like tracking and monitoring jobs with Laravel Horizon.
Feature::for($user)->activate('new-dashboard'); // Activate the feature for this user
Feature::for($user)->deactivate('new-dashboard'); // Deactivate the feature
This allows you to manage which users have access to certain features directly from your database.
Feature Flags in Middleware
You can also protect entire routes or controllers based on feature flags. For example, to ensure only users with access to the new dashboard can access a certain route, you can create a middleware:
use Laravel\Pennant\Feature;
public function handle($request, Closure $next)
{
    if (Feature::for(auth()->user())->active('new-dashboard')) {
        return $next($request);
    }
    return redirect('/dashboard'); // Redirect to the default dashboard if the feature is inactive
}
This middleware can be attached to routes that should only be accessible when the feature flag is active, a pattern often monitored using Laravel Telescope for real-time insights.
Best Practices for Using Laravel Pennant
To get the most out of Laravel Pennant, it’s important to follow some best practices. These tips will help you manage feature flags effectively and keep your codebase clean and maintainable.
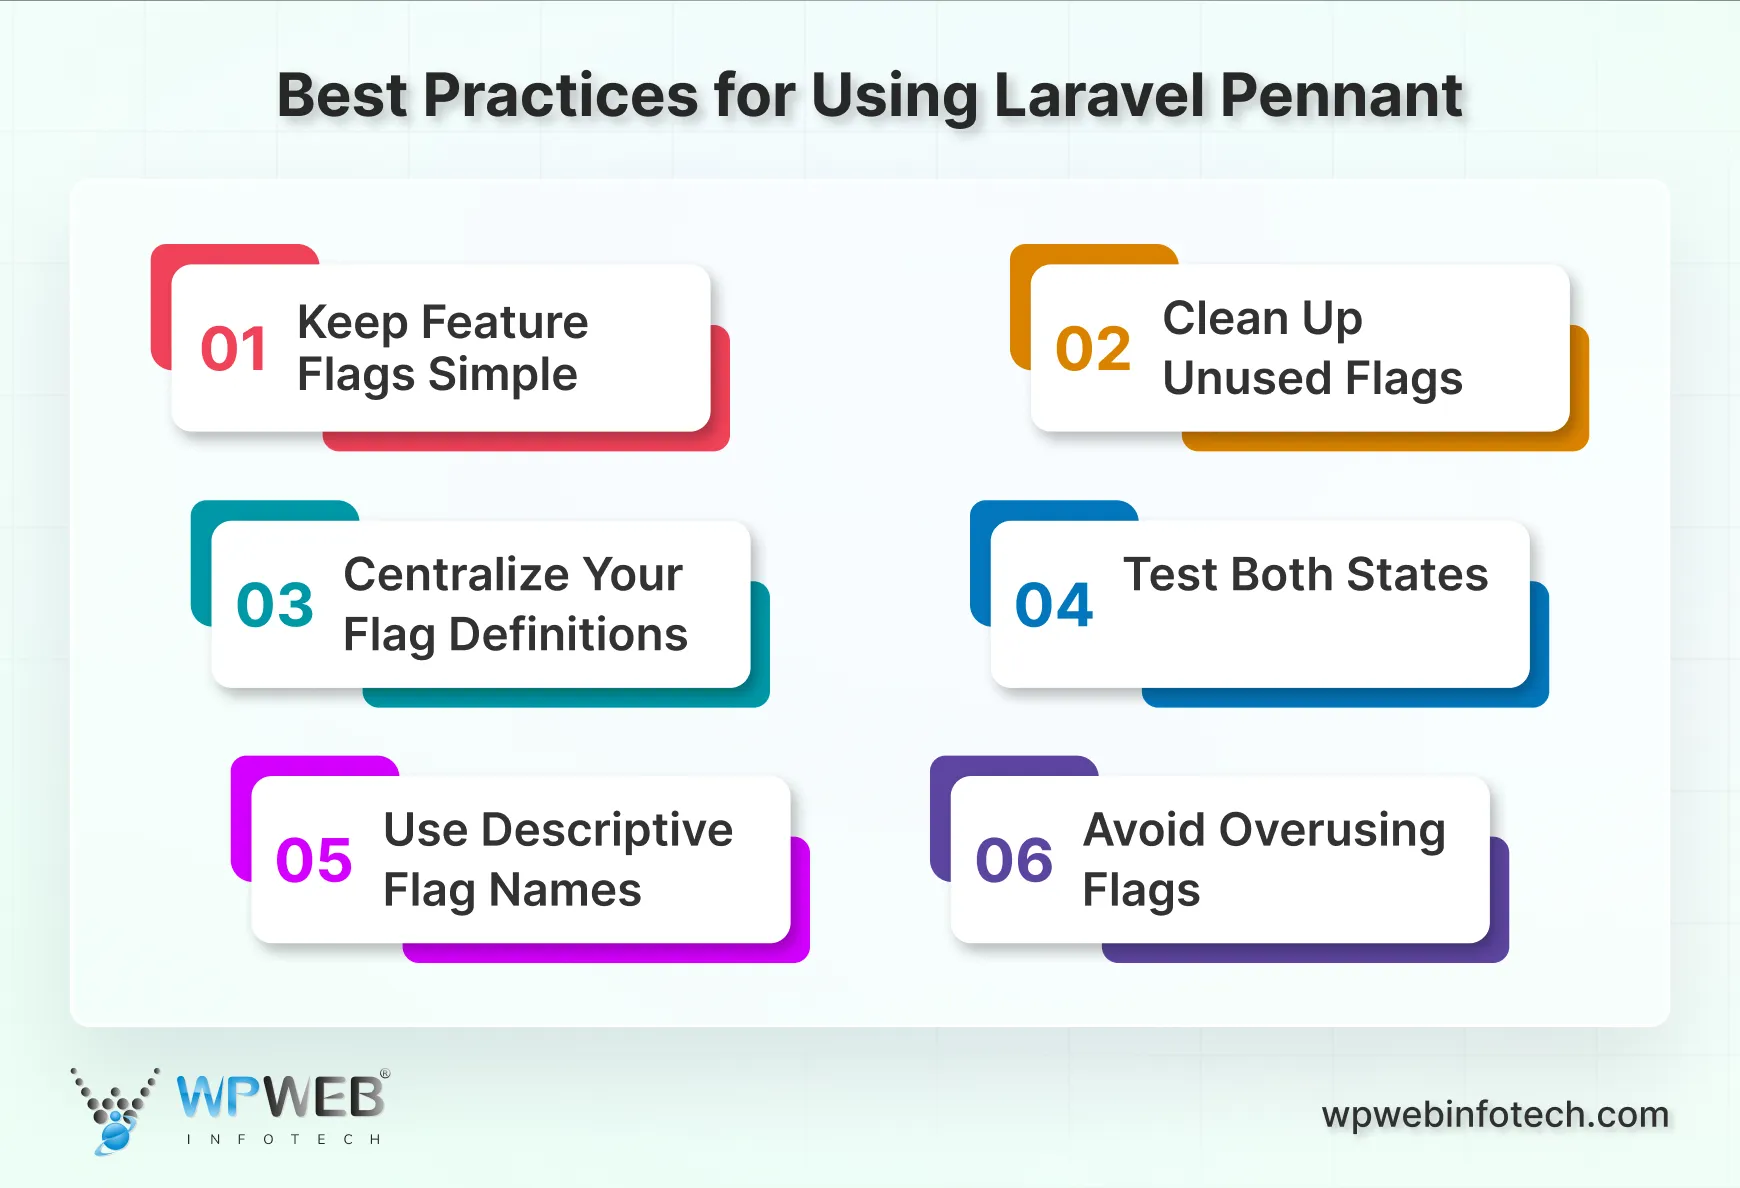
1. Keep Feature Flags Simple
Avoid adding complex logic inside your feature definitions, and automate reusable logic effectively using Laravel Action Classes. A flag should return a clear “on” or “off” value based on simple conditions like user role, ID, or a database field. This makes your flags easier to understand and debug.
2. Clean Up Unused Flags
Don’t forget to remove feature flags that are no longer needed. Once a feature is fully rolled out to everyone or has been scrapped, delete the related flag from your code and configuration. This keeps your app clean and avoids unnecessary checks.
3. Centralize Your Flag Definitions
Instead of scattering your feature definitions throughout the code, define them all in one place — like a dedicated service provider. This makes them easier to manage and ensures consistency across your application.
4. Test Both States
When writing tests or QA-checking your application, always test both states of the feature flag — when it’s on and when it’s off. This ensures your app behaves correctly for all users, no matter their flag status.
5. Use Descriptive Flag Names
Name your flags clearly and meaningfully. Instead of flag1 or testFeature, use names like new-dashboard or enable-dark-mode. This helps everyone on your team understand what the flag does at a glance.
6. Avoid Overusing Flags
While feature flags are powerful, using too many at once can create confusion and make your code harder to follow. Only use them when you truly need to control the rollout or access of a feature.
By following these best practices, you can make sure your use of Laravel Pennant remains effective, clean, and easy to manage as your application grows.
Laravel Pennant vs Other Feature Flag Tools
While Laravel Pennant is great for small-to-medium Laravel applications, there are other tools like LaunchDarkly, Flagsmith, and Unleash that offer more advanced features (such as real-time flag management, detailed analytics, etc.).
Laravel Pennant is ideal if you want simple integration and lightweight feature flagging without relying on external services. However, for more complex needs, consider exploring other options.
Let’s Summarize
Laravel Pennant might seem like a small addition, but it brings much flexibility to your development workflow. From rolling out new features gradually to running A/B tests, it gives you control without overcomplicating things.
What makes it even better is how cleanly it integrates with Laravel. You don’t need a huge setup or a third-party tool — just install, define, and toggle. It’s lightweight and built with Laravel’s simplicity in mind. If you’re working on a growing app, managing features smartly is a must. Laravel Pennant helps you with that with less risk and more confidence.
If you need advanced customizations for your Laravel app or want to simplify feature management, consulting a Laravel development company will help you ensure the best results.

Build Powerful Laravel Applications
Learn how to leverage Laravel's powerful features for efficient and scalable web development.