
Quick Summary
Struggling with complex, multi-step logic that tangles your Laravel controllers? The pipeline pattern is the solution. It creates a clean, assembly-line process where data flows through focused, single-purpose classes. This guide breaks down how to build these structured workflows, transforming messy code into a maintainable, testable, and elegant system. Master this pattern to write cleaner, more professional Laravel applications.
Table of Contents
Ever feel like your code is a tangled mess of “if” statements? You have data that needs multiple clear processing steps, but your controller method has become a long, confusing chain of logic. It works, but it’s brittle. A simple change feels like navigating a minefield.
This is the problem of complex, sequential processing. As your application grows, tasks like sanitizing user input, applying discounts, and generating reports get slapped together. The result is code that’s difficult to test, debug, and extend.
The Laravel pipeline breaks a task into a series of focused, single-purpose “pipes.” Your data flows through each pipe in a defined sequence, with each piece handling one job and passing its result to the next. It transforms a convoluted script into a clean, manageable assembly line.
In this blog, we will build a Laravel pipeline from the ground up with a practical example. You will learn how to implement this pattern to streamline complex tasks, understand the key differences between Laravel pipelines and middleware, and adopt essential best practices for writing robust, maintainable code. Let’s begin.
What are Laravel Pipelines?
A Laravel Pipeline is a design pattern that enables the smooth transfer of an object between multiple classes, with each class performing a specific task on the object. It consists of a sequence of classes or functions that systematically manage the processing of an input and the creation of an output.
While commonly utilized in the HTTP layer for managing requests and responses, the Laravel pipeline can also be applied in other scenarios, including data processing and filtering.
For instance, imagine a scenario where you need to process a dataset with multiple operations such as filtering, sorting, and transformation. Laravel Pipelines can be leveraged to create a clean and organized workflow for these tasks.
How Does Laravel Pipeline Work?
To understand how Laravel Pipeline works, think of an assembly line where each worker performs one specific task before passing the product to the next station. This organized pattern brings clarity to multi-stage operations.
1. Core Mechanism
At its heart, the pipeline follows a straightforward path. You start with initial data. It can be a user request, an Eloquent model, or a dataset. This data flows through a series of “pipes,” with each pipe handling a single responsibility.
2. Data Flow Through Pipes
Each pipe is a dedicated class containing a handle method. This method receives two crucial elements: the current data and a closure representing the next step. The pipe performs its specific duty. It might validate input, transform content, or check permissions. Then, it passes the modified data forward by calling the $next closure.
3. Building the Pipeline
Here’s how you construct this flow:
$result = app(Pipeline::class)
    ->send($userData)
    ->through([
        ValidateUser::class,
        SanitizeInput::class,
        CreateUserRecord::class,
        SendWelcomeEmail::class,
    ])
    ->thenReturn();
Inside Each Pipe
Examine what happens within a single pipe:
class SanitizeInput
{
    public function handle($userData, Closure $next)
    {
        $userData['email'] = strtolower(trim($userData['email']));
        $userData['name'] = ucwords(trim($userData['name']));
        return $next($userData);
    }
}
The strength of this pattern lies in each pipe’s singular focus. The sanitization pipe concerns itself only with data cleaning. The validation pipe handles verification.This separation creates code that is both readable and easy to test and modify.
When the data completes its journey through all pipes, you receive the fully processed result. Any pipe can break the chain by refusing to call $next, giving you natural control over the entire sequence. This approach replaces tangled conditional logic with a clean, predictable progression.
Example: Processing User Registration
Let’s examine a practical scenario: processing a new user registration. This typically involves several sequential steps that must occur in a specific order. Without a pipeline, this often results in a long, monolithic controller method that’s difficult to maintain.
1. The Registration Pipeline
Consider this streamlined approach using Laravel’s pipeline pattern:
<?php

namespace App\Http\Controllers;

use Illuminate\Http\Request;
use Illuminate\Pipeline\Pipeline;

use App\Pipelines\Registration\TrimEmail;
use App\Pipelines\Registration\ValidateEmail;
use App\Pipelines\Registration\CheckEmailExists;
use App\Pipelines\Registration\HashPassword;
use App\Pipelines\Registration\CreateUser;
class AuthController extends Controller

{
    public function register(Request $request)
    {
        try {
            $user = Pipeline::send($request->all())
                ->through([
                    TrimEmail::class,
                    ValidateEmail::class,
                    CheckEmailExists::class,
                    HashPassword::class,
                    CreateUser::class,
                ])
                ->thenReturn();
            return response()->json(['user' => $user], 201);
        } catch (ValidationException $e) {
            return response()->json(['error' => $e->getMessage()], 422);
        }
    }
}
2. Examining the Individual Pipes
Each pipe handles one discrete responsibility. Here’s how they work together:
<?php
namespace App\Pipelines\Registration;
class TrimEmail
{
    public function handle($data, Closure $next)
    {
        $data['email'] = strtolower(trim($data['email']));
        return $next($data);
    }
}
<?php
namespace App\Pipelines\Registration;
use Illuminate\Validation\ValidationException;
class CheckEmailExists
{
    public function handle($data, Closure $next)
    {
        if (\App\Models\User::where('email', $data['email'])->exists()) {
            throw ValidationException::withMessages([
                'email' => 'This email is already registered.'
            ]);
        }

        return $next($data);
    }
}
<?php
namespace App\Pipelines\Registration;
use Illuminate\Support\Facades\Hash;
class HashPassword
{
    public function handle($data, Closure $next)
    {
        $data['password'] = Hash::make($data['password']);
        return $next($data);
    }
}
The registration data moves through this clear sequence:
- TrimEmail standardizes the email format
- ValidateEmail ensures proper email structure
- CheckEmailExists prevents duplicate registrations
- HashPassword secures the password
- CreateUser persists the final record
This approach offers several benefits. Each pipe can be tested in isolation. The controller remains clean and focused on coordination rather than implementation details. You can easily modify the registration flow by adding, removing, or reordering pipes without touching the core logic.The pipeline also handles failures. If any pipe throws an exception (like a validation error), the process halts immediately, and the exception bubbles up to the controller for proper handling. If you are ready to streamline your application’s logic, consult a Laravel development company to build a custom pipeline architecture.
Benefits of Using Laravel Pipeline
Utilizing Laravel Pipelines in your application development offers several benefits, making it a powerful tool for streamlining workflows and enhancing code maintainability. Here are some key advantages of using Laravel Pipelines:
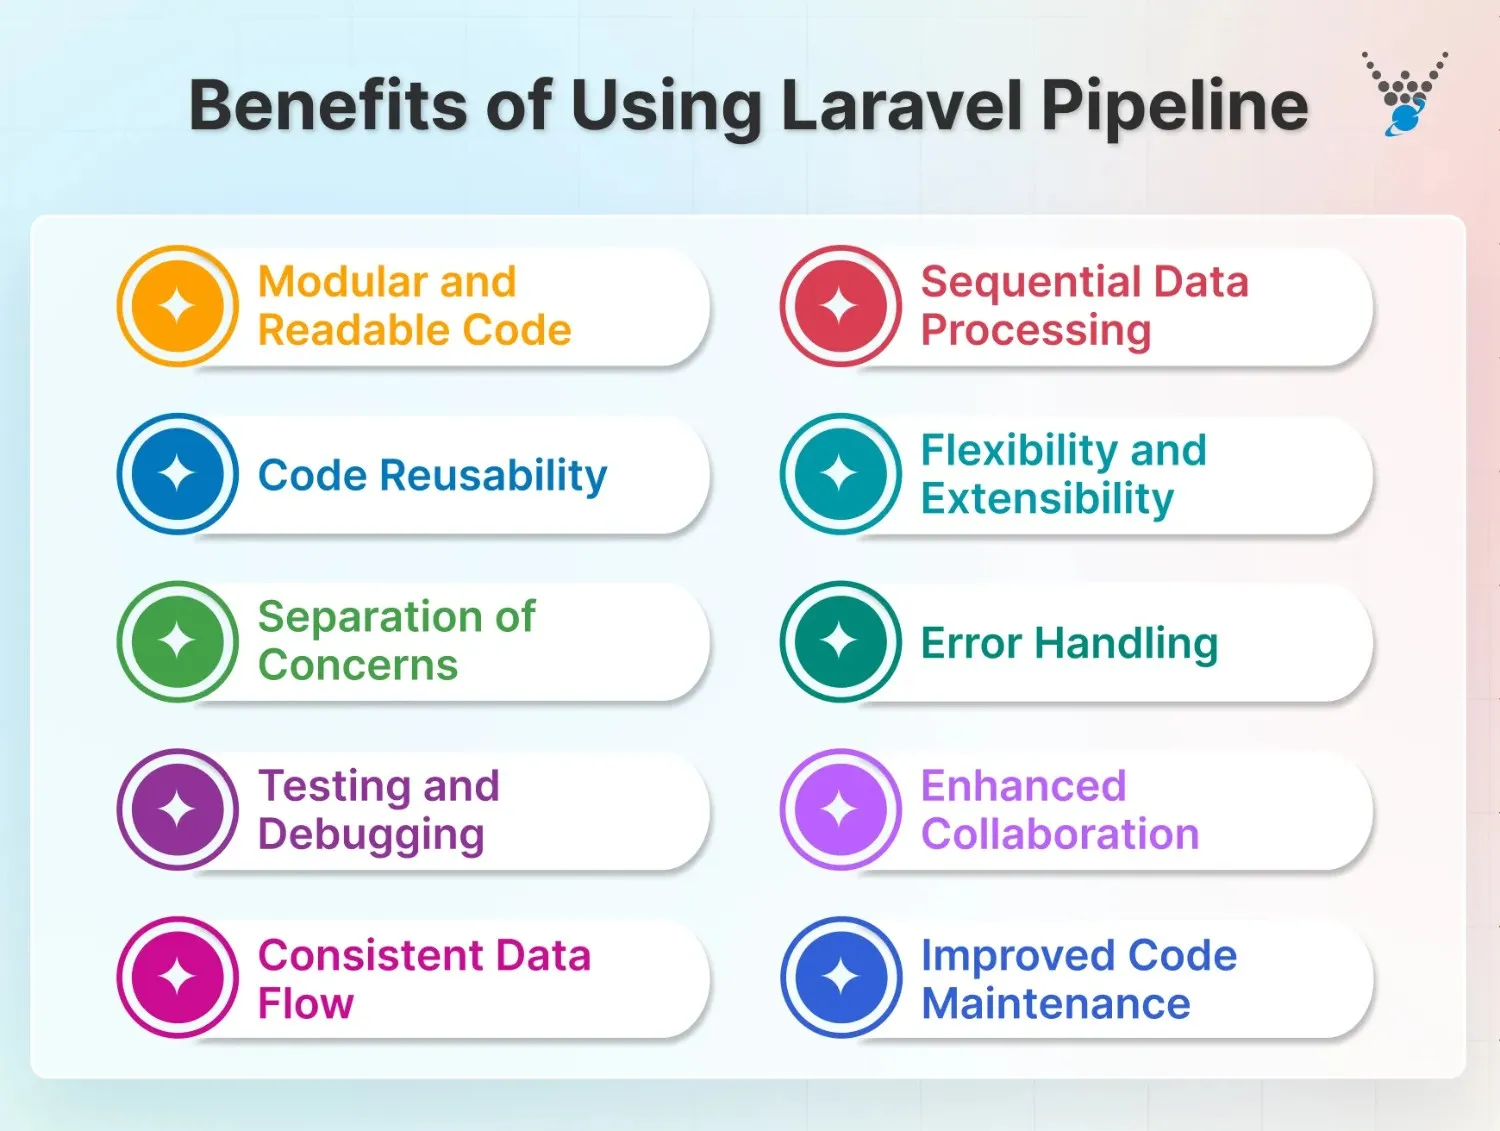
- Modular and Readable Code: Laravel Pipelines encourage a modular approach to coding by breaking down complex processes into distinct stages. Each stage, represented by a pipe, focuses on a specific task, making the codebase more organized and readable.
- Sequential Data Processing: Pipelines facilitate sequential data processing, allowing developers to define a clear order of operations. This is particularly beneficial for scenarios where data needs to undergo multiple transformations or validations in a specific sequence.
- Code Reusability: Pipes, which encapsulate individual stages of the pipeline, promote code reusability. As standalone classes or closures, pipes can be easily reused across different pipelines or projects, reducing redundancy and improving maintainability.
- Flexibility and Extensibility: Laravel Pipelines provide a flexible and extensible architecture. Developers can easily add, remove, or rearrange stages within the pipeline without affecting the overall logic. This adaptability is crucial when requirements change, or new features are introduced.
- Separation of Concerns: By assigning specific responsibilities to individual pipes, Laravel Pipelines adhere to the principle of separation of concerns. Each pipe addresses a single aspect of data processing, promoting a clean and focused design.
- Error Handling: Pipelines allow for effective error handling at each stage. If an error occurs in a particular stage, the pipeline execution can be halted, or specific actions can be taken to handle the error gracefully. This enhances the application’s robustness and maintainability.
- Testing and Debugging: Testing individual pipes becomes more straightforward as each pipe represents a discrete unit of functionality. Developers can write unit tests for each pipe, ensuring that they work as intended. Additionally, debugging is simplified, as issues can be isolated to specific stages.
- Enhanced Collaboration: The modular and readable nature of pipelines makes it easier for development teams to collaborate. Team members can work on different stages of the pipeline concurrently, reducing development time and improving overall productivity.
- Consistent Data Flow: Laravel Pipelines ensure a consistent flow of data through the defined stages. This promotes predictability in data processing, making it easier to understand and maintain the logic of the application.
- Improved Code Maintenance: With a well-organized and modular codebase, maintaining and updating the application becomes more manageable. Changes to specific stages can be made without affecting other parts of the code, resulting in a more maintainable system.
By leveraging these benefits, Laravel Pipelines contribute to building scalable, maintainable, and efficient applications. This modular approach aligns perfectly with Laravel microservices architecture, where independent services communicate seamlessly for better scalability.
Common Use Cases for the Laravel Pipeline
Laravel Pipelines offer a versatile and modular approach to handling various tasks in a Laravel application. When combined with advanced routing techniques in Laravel, you can achieve highly structured request handling and cleaner flow control.
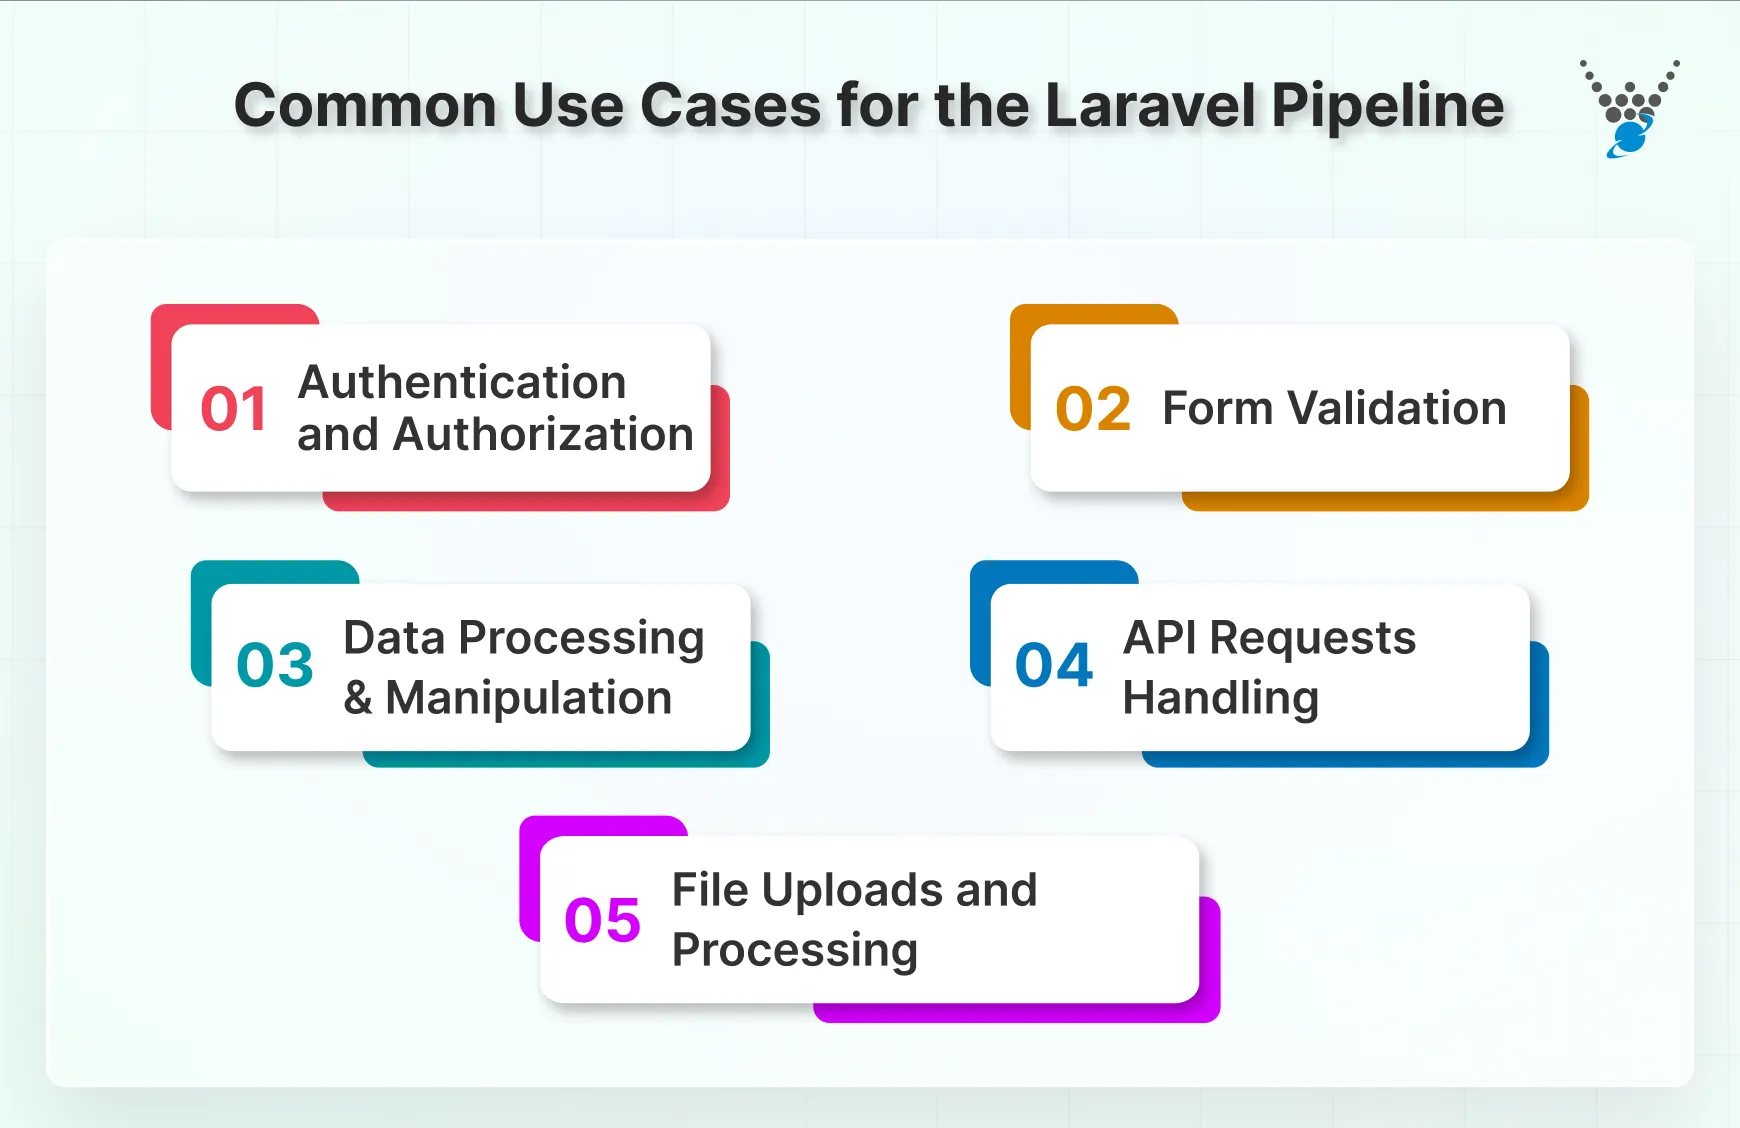
Here are some common use cases where Laravel Pipelines can be effectively employed:
1. Authentication and Authorization
Laravel Pipelines can be used to create a streamlined authentication and authorization process. Each pipeline stage can handle different aspects, such as verifying user credentials, checking roles and permissions, and issuing tokens. You can strengthen access control with Laravel policies and gates to manage permissions more granularly.
This modular approach makes it easy to extend or customize the authentication flow based on specific requirements. Much like Laravel middleware, pipelines control how data and requests move through different layers of an application.
2. Form Validation
When dealing with form submissions, Laravel Pipelines can be utilized to organize form validation logic. Each stage in the pipeline can represent a specific validation rule or set of rules. This not only enhances code readability but also allows for the easy addition or removal of validation steps without cluttering the main controller logic.
3. Data Processing and Manipulation
Laravel Pipelines excel in scenarios where data needs to undergo multiple processing or manipulation steps. For example, in an eCommerce application, a pipeline could handle the processing of an order, including inventory checks, order validation, and payment processing.
Each stage in the pipeline encapsulates a specific aspect of the overall process, leading to clean and maintainable code. Similarly, background task management through the Laravel Queue System ensures smooth execution of queued jobs for optimal performance.
4. API Requests Handling
When dealing with API requests, Laravel Pipelines can be employed to structure the handling of incoming requests. Each stage in the pipeline can handle different aspects, such as request validation, authentication, and data transformation. This approach is particularly beneficial in building scalable and modular API endpoints. To further automate backend operations, you can integrate task scheduling in Laravel for timed or recurring job executions.
5. File Uploads and Processing
Pipelines can be used to manage the process of handling file uploads. Each stage can handle a specific aspect, such as file validation, storage, and generating thumbnails. This modular approach simplifies the code and allows for the easy addition of new file-processing steps. For real-time features and instant updates, developers can combine pipelines with WebSockets in Laravel to deliver live experiences.
Get experts help to create modular, maintainable, and scalable code that adapts to evolving requirements and promotes code reusability.
Let’s Summarize
Incorporating Laravel Pipelines into your development toolkit can significantly elevate your coding experience. Whether you’re working on complex data processing scenarios, designing scalable API endpoints, or something else, Laravel Pipelines would be helpful.
By leveraging the benefits of Laravel Pipelines, web experts navigate the complexities of application development with confidence. It helps with the use cases like authentication and authorization, form validation, data processing and manipulation, and API requests handling.
Want further assitance with execution of Laravel Pipelines? Then hire dedicated Laravel developers with us today!
FAQs on Understanding Laravel Pipelines
How does the Laravel Pipeline work?
Laravel Pipeline works by passing an object through a series of middleware classes, each of which performs a specific task on the object. The output of one middleware is passed as input to the next one until the final result is returned.
What are the benefits of using Laravel Pipeline?
Using Laravel Pipeline offers several benefits, including better code organization, easier debugging, and improved performance. It also allows for code reuse and simplifies complex tasks by breaking them down into smaller, more manageable stages.
Can I use custom middleware in Laravel Pipeline?
Yes, you can use custom middleware in Laravel Pipeline by creating your own middleware classes and passing them to the Pipeline. This allows for more flexibility and customization in the pipeline process.
Are there any best practices for using Laravel Pipeline?
Some best practices for using Laravel Pipeline include keeping the pipeline stages simple and focused on a specific task, using descriptive and meaningful class names for middleware, and avoiding nesting pipelines within pipelines. It is also recommended to use type-hinting for input and output objects to ensure consistency and avoid errors.


