
Quick Summary
Managing large datasets can slow down your website and frustrate users. This blog shows how to implement pagination in Laravel 11, step by step. Learn how to set up simple pagination with Bootstrap, add filters, sorting, and customize links. Discover how to maintain a fast, clean, and user-friendly app. Whether it’s a blog, eCommerce site, or dynamic web app, this tutorial helps you build scalable, seamless navigation for your users.
Table of Contents
As a website grows, the amount of data you display to users quickly becomes overwhelming. Imagine opening a blog and finding hundreds of posts crammed onto a single page. It’s slow, messy, and frustrating. Pagination solves this. By splitting content into neat pages, you keep things fast, clear, and easy to browse.
Laravel 11 makes pagination effortless. The framework includes built-in tools for pagination, saving you from writing complicated logic. With just a few lines of code, you can fetch data in chunks and show clean navigation links at the bottom of your page.
In this guide, we’ll discuss Laravel simple pagination and everything you need to know about in Laravel 11. We’ll start with how to set up simple pagination for a posts table. Then we’ll move on to advanced techniques, such as filtering, sorting, and customizing the appearance of pagination links. So, let’s dive in!
What is Laravel Pagination?
Pagination is the process of dividing large datasets into smaller, manageable chunks or pages, making it easier for users to navigate through the data. Instead of showing all information on one page, pagination offers a better user experience by displaying only a specific amount of data at a time. This feature is especially useful when dealing with large datasets, helping improve performance and usability.
In Laravel, implementing pagination is a seamless process. By default, Laravel offers two pagination view options:
- pagination::slider → shows page numbers with context around the current page
- pagination::simple → only includes Previous and Next buttons
Both work seamlessly with Bootstrap or Tailwind CSS, giving you the flexibility to style pagination links according to your frontend framework.
Prerequisites for Laravel 11 Simple Pagination Using Bootstrap
Before you start implementing pagination in Laravel 11 with Bootstrap, make sure you have the following prerequisites:
Laravel 11 Installation: Ensure that you have Laravel 11 installed and running on your local development environment. You can install Laravel using Composer by running the following command:
composer create-project laravel/laravel your-project-name
Basic Knowledge of Laravel Components: Familiarity with Eloquent ORM, Blade templates, and routing in Laravel is essential. Understanding how to query data using Eloquent models and pass it to Blade views will help you implement pagination smoothly.
A Working Database: You should have a working database set up with at least one table, such as the posts table, for the purpose of pagination. You can create a basic table by running migrations:
php artisan make:migration create_posts_table
Bootstrap Integration: Laravel 11 doesn’t come with Bootstrap by default, so you need to add it to your project for styling the pagination links. You can include Bootstrap by adding its CDN in the resources/views/layouts/app.blade.php file within the <head> section:
<link href="https://cdn.jsdelivr.net/npm/bootstrap@5.3.2/dist/css/bootstrap.min.css" rel="stylesheet">
Once these prerequisites are in place, you’ll be ready to dive into the tutorial and start implementing simple pagination with Bootstrap in Laravel 11. For paginated forms or APIs, use updateorcreate Laravel to ensure data consistency across pages.
Examples of Laravel Simple Pagination in Laravel 11
In this section, we’ll walk through a simple implementation of pagination in Laravel 11 using the Eloquent ORM. You’ll learn how to paginate data, display pagination links, and customize them to fit your design needs using Bootstrap.
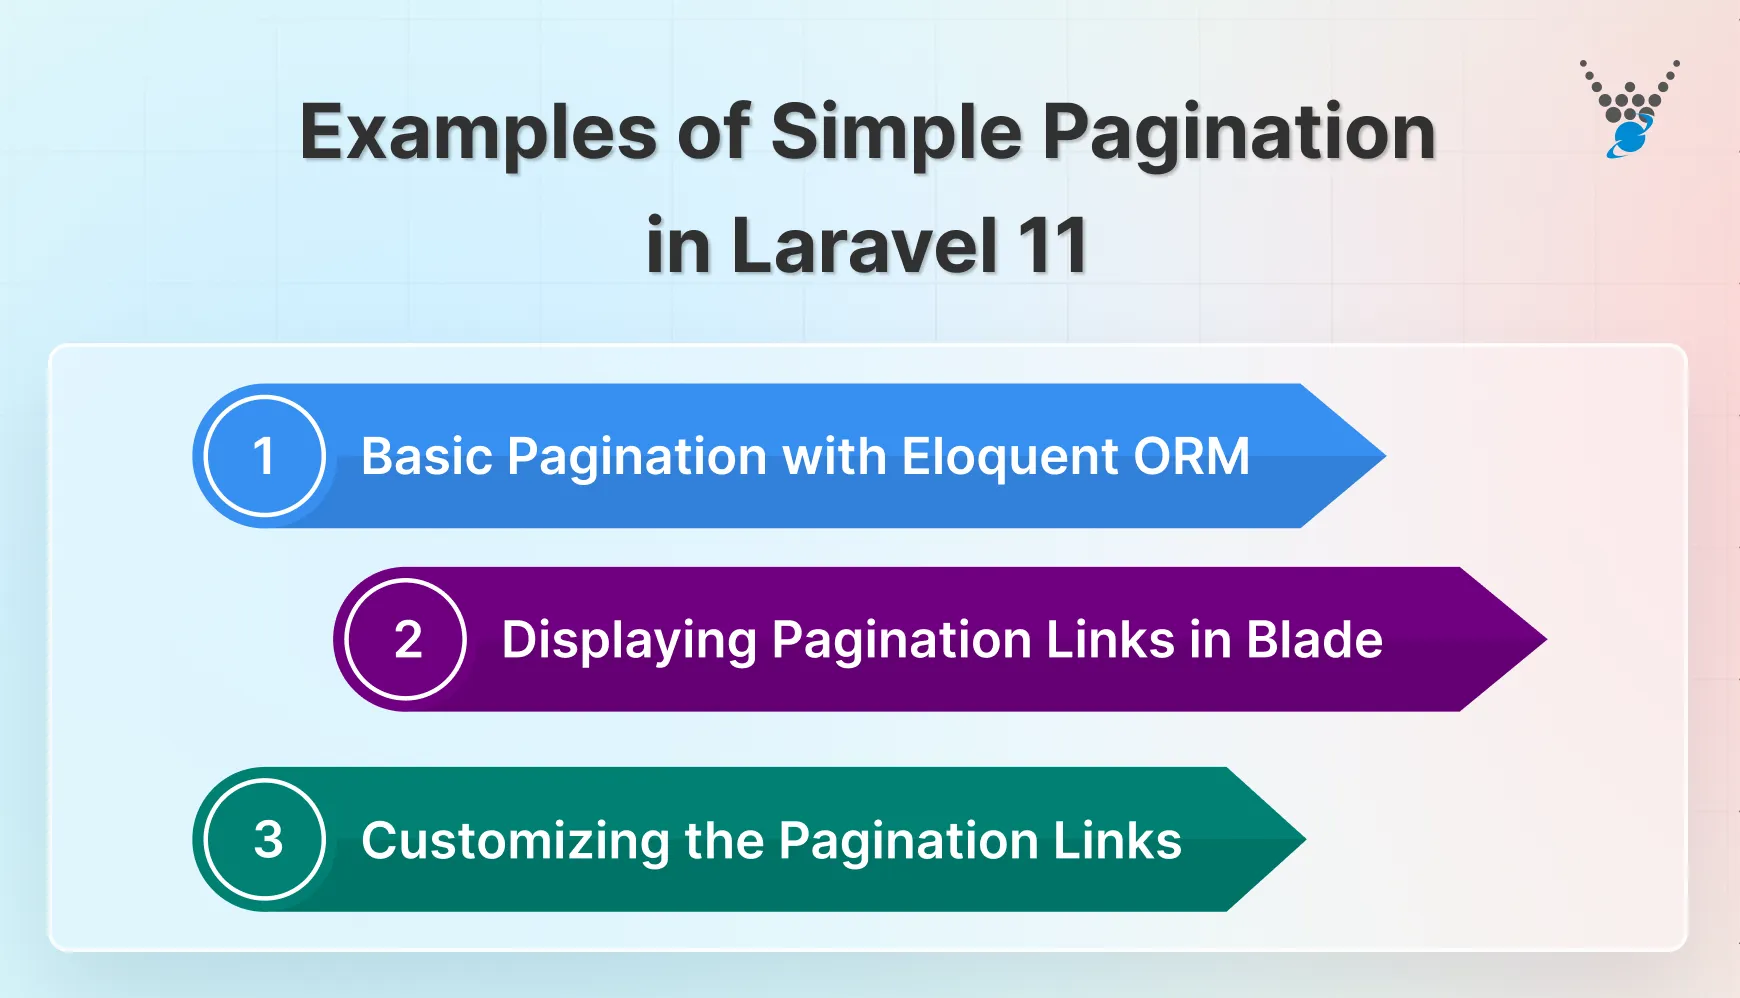
Basic Pagination with Eloquent ORM
Let’s assume you have a Post model with the following schema:
// database/migrations/xxxx_xx_xx_create_posts_table.php
public function up()
{
    Schema::create('posts', function (Blueprint $table) {
        $table->id();
        $table->string('title');
        $table->text('content');
        $table->timestamps();
    });
}
Now, let’s populate the posts table with some data and implement basic pagination.
Example: Fetching Paginated Results
In your Laravel controller, you can use the paginate() method provided by Eloquent to fetch paginated results. For instance:
use App\Models\Post;

public function index()
{
    // Fetch 10 posts per page
    $posts = Post::paginate(10);

    return view('posts.index', compact('posts'));
}
In the above code, Post::paginate(10) will retrieve 10 posts per page. It automatically handles the offset and limit for you based on the current page, making it much easier to manage large datasets. Laravel pagination smoothly integrates with Laravel collections, enabling data slicing, filtering, and mapping for greater versatility.
Displaying Pagination Links in Blade
To display pagination links in your Blade view, use the links() method. Here is the code you can use:
// resources/views/posts/index.blade.php
@foreach ($posts as $post)
    <div class="post">
        <h3>{{ $post->title }}</h3>
        <p>{{ $post->content }}</p>
    </div>
@endforeach
<!-- Pagination Links -->
{{ $posts->links() }}
By default, Laravel provides simple pagination controls using the simple-bootstrap-4 pagination view (if you’re using Bootstrap 4). If you’re using a different front-end framework, you can customize the pagination view.
Customizing the Pagination Links
You can customize the pagination view to match your design needs. For instance, to use Bootstrap 5 pagination links, you can pass the specific pagination view to the links() method:
{{ $posts->links('pagination::bootstrap-5') }}
Laravel ships with several predefined pagination views, but you can also create your own by publishing the pagination views:
php artisan vendor:publish --tag=laravel-pagination
After running this command, you can modify the pagination view located in resources/views/vendor/pagination, allowing you to fully customize how the pagination links are displayed in your app.
With Laravel’s built-in pagination tools, managing large datasets becomes easier, providing users with a seamless browsing experience. Customize it to suit your application’s needs and improve data navigation. If you are looking to scale your website while enhancing user-experience, consider getting in touch with our Laravel development company.
Advanced Pagination Practices in Laravel 11
Advanced pagination techniques in Laravel 11 allow you to manage large datasets efficiently while offering users a seamless experience. Here, we’ll cover how to apply filters, retain query parameters, customize queries, and more to enhance your application’s pagination functionality.
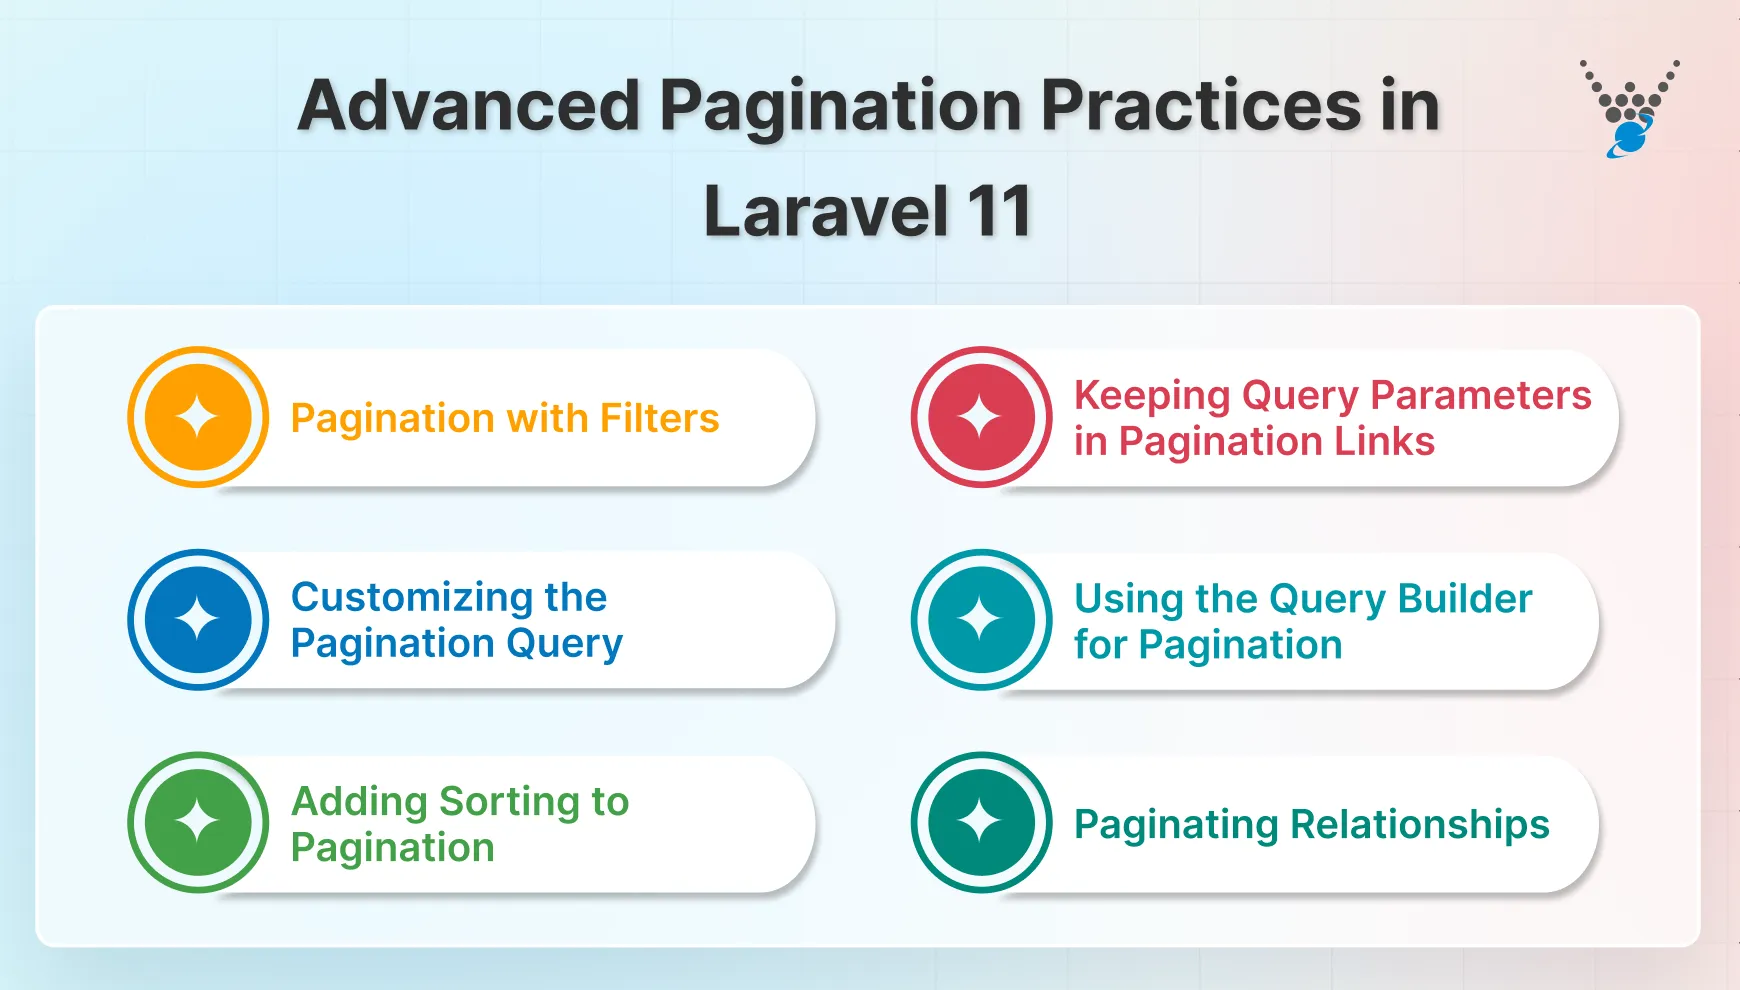
Pagination with Filters
Often, you will need to paginate filtered data, such as when the user applies search filters. Here’s how you can combine pagination with filters.
Example: Filtering Posts by Title
Suppose you want to paginate posts based on a search query entered by the user. You can modify your controller like this:
public function index(Request $request)
{
    $query = Post::query();
    if ($request->has('search') && $request->search != '') {
        $query->where('title', 'like', '%' . $request->search . '%');
    }
    $posts = $query->paginate(10);
    return view('posts.index', compact('posts'));
}
Explanation: First, we create a base query with Post::query(). If the user submits a search query parameter, we filter the posts by the title using the like operator. Finally, we paginate the results using paginate(10). After filtering or sorting paginated data, join how to combine Laravel collections for changes or aggregation before showing results.
Keeping Query Parameters in Pagination Links
When applying filters, you often need to retain the filter query parameters in the pagination links. Laravel makes this easy with the appends() method.
Example: Retaining Filter Parameters in Pagination Links
public function index(Request $request)
{
    $query = Post::query();
    if ($request->has('search') && $request->search != '') {
        $query->where('title', 'like', '%' . $request->search . '%');
    }
    $posts = $query->paginate(10)->appends(['search' => $request->search]);
    return view('posts.index', compact('posts'));
}
Explanation: We append the search query parameter to the pagination links using appends(), ensuring that the filters persist across pages.
Customizing the Pagination Query
Laravel allows you to customize the pagination query by adding conditions to the Paginator or LengthAwarePaginator class.
Example: Dynamically Changing the Number of Items Per Page
public function index(Request $request)
{
    $perPage = $request->has('per_page') ? (int)$request->get('per_page') : 10;
    $posts = Post::paginate($perPage);
    return view('posts.index', compact('posts'));
}
Explanation: The number of posts per page is determined by the per_page query parameter (or defaults to 10). Use Laravel Eloquent WHEREIN to swiftly fetch matched items from big databases and paginate only selected records.
Using the Query Builder for Pagination
In some cases, you might prefer using the query builder instead of Eloquent. Here’s how you can paginate results with Laravel’s query builder.
Example: Pagination with Query Builder
public function index()
{
    $posts = DB::table('posts')->paginate(10);
    return view('posts.index', compact('posts'));
}
Explanation: The usage is identical to Eloquent pagination, but instead of using the Post model, you’re directly interacting with the posts table through the DB facade.
Adding Sorting to Pagination
A common pattern when displaying paginated data is to allow users to sort the data based on a column (e.g., by date, title, or popularity).
Example: Sorting Paginated Data
public function index(Request $request)
{
    $sortBy = $request->get('sort_by', 'created_at');
    $order = $request->get('order', 'desc');

    $posts = Post::orderBy($sortBy, $order)->paginate(10);

    return view('posts.index', compact('posts'));
}
Explanation: Users can pass sort_by and order parameters in the query string to sort the posts. For example using the logic /posts?sort_by=title&order=asc will sort posts alphabetically in ascending order. For pagination, use Laravel’s Query Builder and Eloquent ORM, which generate efficient collections with powerful query functionality.
Paginating Relationships
Sometimes, you need to paginate related models. Let’s say each Post has many comments, and you want to paginate the comments for each post.
Example: Paginating Comments of a Post
public function show(Post $post)
{
    $comments = $post->comments()->paginate(5);
    return view('posts.show', compact('post', 'comments'));
}
Explanation: We paginate the comments related to the post and pass them to the view, making it easy to handle large amounts of related data in a paginated format.
By utilizing these advanced pagination practices, you can build more user-friendly pagination systems that improve both performance and the user experience. To optimize data retrieval with paginated views, use advanced Laravel Eloquent techniques like eager loading or relations counting.
Wrapping Up
Pagination isn’t just a feature you add for looks. It’s a core part of building a site that feels fast and easy to use. Without it, large datasets can slow down your app and overwhelm your users. With it, you provide people with a smoother browsing experience when they scroll through blog posts, products, or comments. Use the Laravel repository pattern to organize query operations outside controllers for clean and tested pagination logic.
Laravel 11 makes this simple. The built-in pagination tools handle the heavy lifting. You only decide how many items to show and how you want the links to appear. From there, you can further customize your app with filters, sorting, and custom designs that suit your needs.
If you’re serious about building a Laravel project that scales well and still feels light for users, pagination should be one of the first things you set up. It’s a small step that pays off every time someone visits your site. Want to make your Laravel app fast and seamless? Hire expert Laravel developers to implement solutions that scale.
FAQs About Laravel 11 Pagination Example
What is the alternative to paginate in Laravel?
An alternative to paginate() in Laravel is using simplePaginate(). This method only provides “previous” and “next” links, which is more efficient when you don’t need to display the total number of pages, reducing the overhead of calculating total results.
How to create custom pagination in Laravel 11?
To create custom pagination in Laravel 11, you can publish the pagination views using php artisan vendor:publish –tag=laravel-pagination. After that, you can modify the pagination view files in resources/views/vendor/pagination to match your design needs.
What is the difference between simple pagination and pagination in Laravel?
The main difference is that simplePaginate() only shows “previous” and “next” buttons without displaying the total number of pages, making it faster for large datasets. In contrast, paginate() shows all pagination links, including page numbers, offering more navigation options but requiring more resources.
Does pagination in Laravel 11 work with API responses?
Yes, Laravel 11 pagination works seamlessly with APIs. You can return paginated data as JSON using paginate() or simplePaginate(). The pagination metadata, like current page and total pages, is included automatically. This makes it easy to build API endpoints that stay fast and organized, even with large datasets.
How to use cursor pagination in Laravel 11?
Cursor pagination is ideal for very large datasets because it avoids counting all rows. In Laravel 11, you can use cursorPaginate() on your query. It returns a lightweight result set with next and previous cursors instead of page numbers. This keeps your API fast and ensures smooth navigation through data without performance hits.
Can I use Laravel’s searchable features in Pagination?
Yes, combining paginated queries with Laravel searchable features enables users to swiftly discover relevant results across numerous pages. Yoi


