
Quick Summary
Learn how Laravel Valet changes local PHP development on macOS. It offers fast performance, easy setup, and automatic site serving. Learn to link sites, secure them with HTTPS, switch PHP versions per project, and seamlessly integrate WordPress. We will look at Valet’s advantages, disadvantages, and updates for 2025. We will give you expert tips to improve your workflow and build a smooth, reliable local development environment.
Table of Contents
If you’ve ever tried setting up a PHP environment on your Mac, you know how complicated it can get. Different PHP versions, server conflicts, and endless configuration files make it confusing. For developers who just want to start coding, this setup can feel like a roadblock.
Laravel Valet makes this process effortless. A lightweight, lightning-fast tool transforms your Mac into a smooth local development environment. With Valet, running multiple PHP projects or even a WordPress site locally becomes easy.
In this blog, we’ll walk you through everything you need to know about using Laravel Valet for local PHP development. We’ll discuss how to update Valet, switch PHP versions, and even serve a WordPress site with ease. So, let’s dive in!
What is Laravel Valet?
Laravel Valet is a development environment for macOS that simplifies the setup process for local Laravel development. Developers who prefer a virtualized setup on other platforms can explore implementing Laravel Homestead for local development, which offers a complete virtual machine–based workflow. Additionally, it offers powerful tools for database management, SSL certification, and collaboration with team members.
This tool is highly recommended for Laravel developers in need of a user-friendly and efficient local development environment. With its streamlined setup process and elimination of complex configurations, Laravel Valet has become a popular choice among developers.
Overall, it greatly enhances the local development experience, ensuring smooth project management and execution.
Valet Link
Mapping a local site with Valet is effortless. Just go to your project folder and run:
cd your-project
valet link
By default, your folder name becomes the domain, e.g., laravelsite.test. You can also set a custom name:
valet link mysite
Now mysite.test opens your project instantly in the browser.
Valet Secure
Tired of “Not Secure” warnings in your browser? Valet handles SSL for you. Run:
valet secure your-project
Valet generates a local certificate and enables HTTPS for your site. Quick, easy, and no extra setup needed.
Why Use Laravel Valet for Local Development?
Laravel Valet is a powerful and efficient local development environment specifically designed for Mac users. It offers a streamlined and hassle-free way to set up and manage PHP development projects. Here’s why you should consider using it:
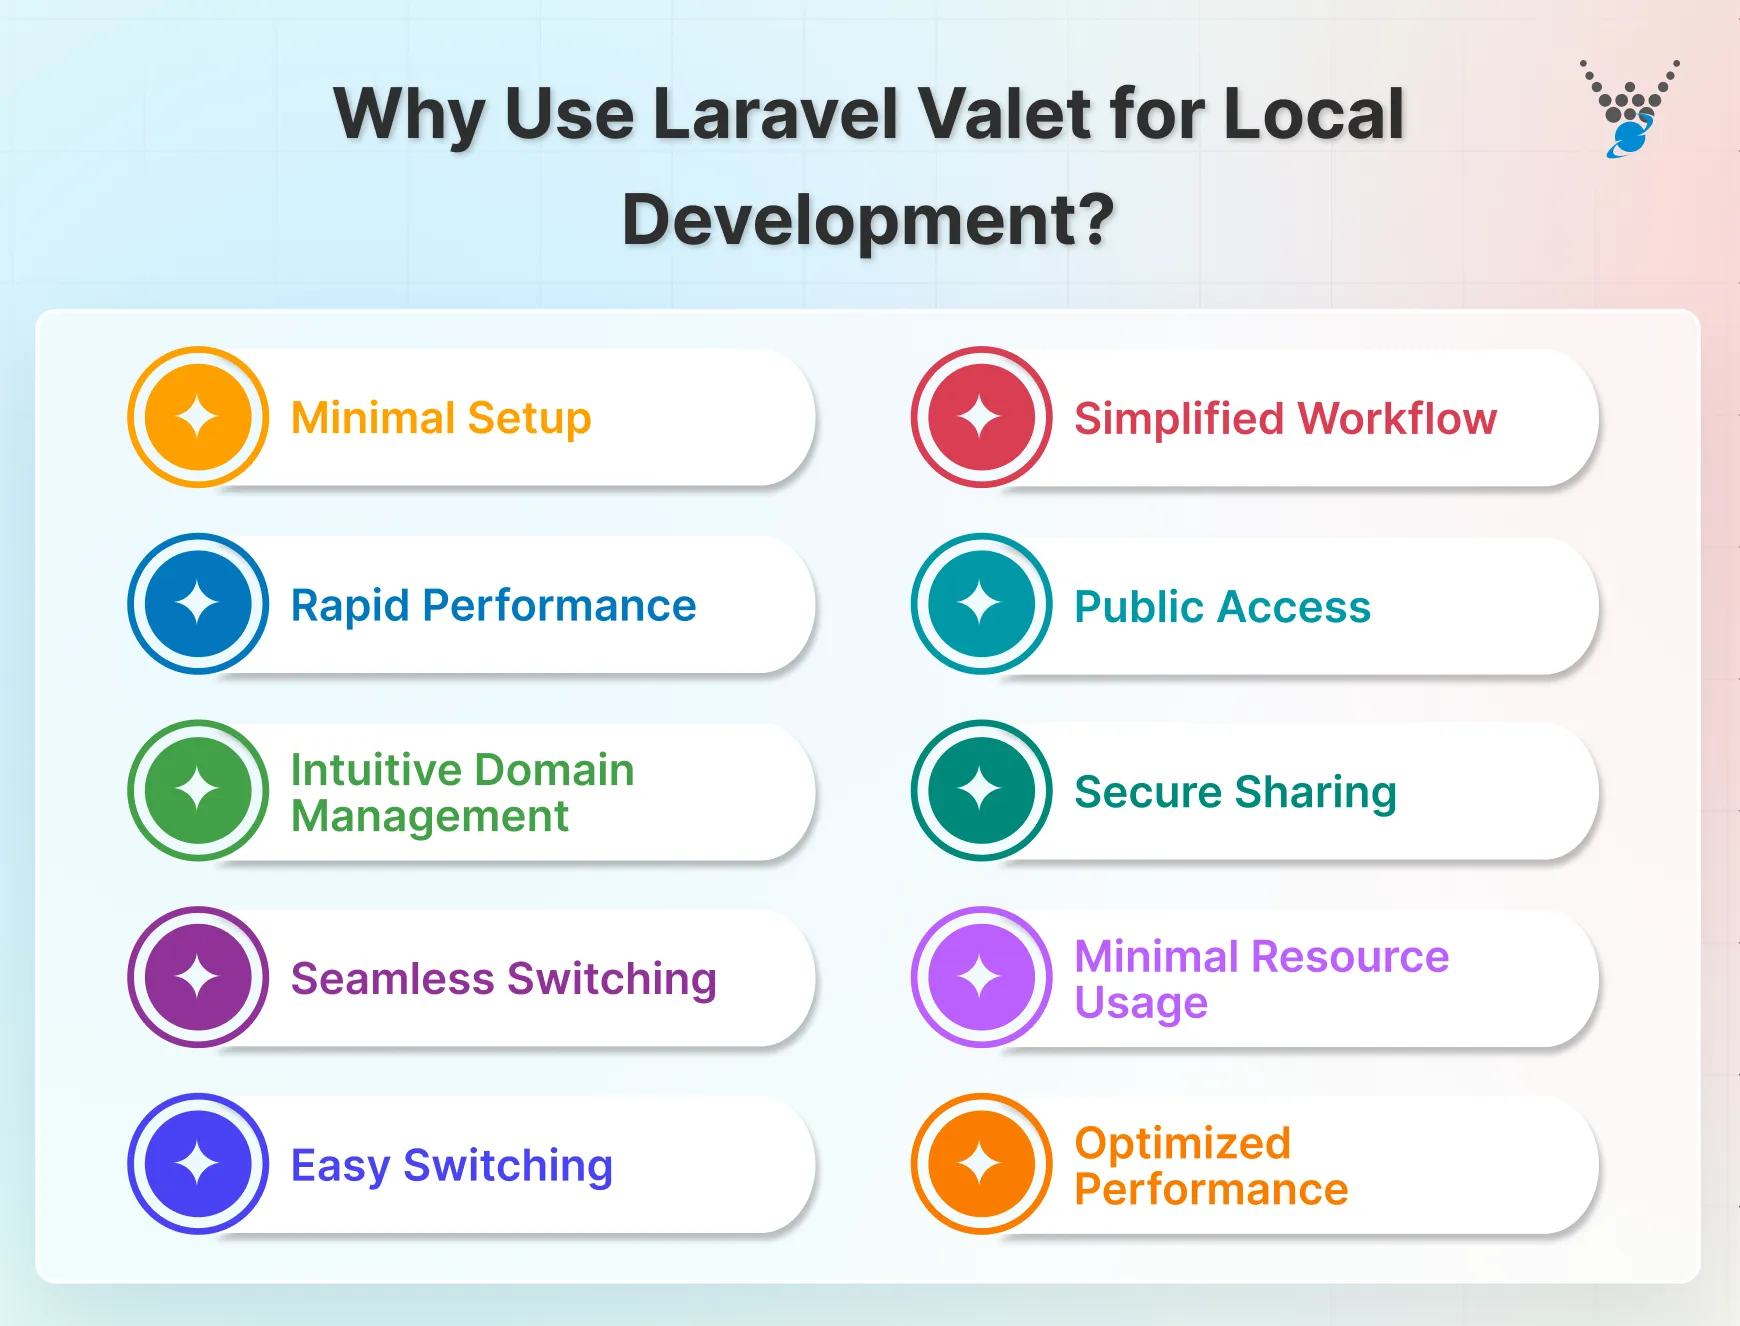
- Minimal Setup: Valet requires minimal configuration, making it incredibly easy to get started.
- Rapid Performance: It leverages Nginx for lightning-fast performance, significantly reducing load times.
- Intuitive Domain Management: Valet allows you to assign custom .test domains to your projects, simplifying site management and organization.
- Seamless Switching: Quickly switch between different projects by accessing their respective .test domains in your browser.
- Easy Switching: Valet enables you to effortlessly switch between different PHP versions, ensuring compatibility with various project requirements.
- Simplified Workflow: No need to install multiple PHP versions manually; Valet handles the process efficiently.
- Public Access: With a single command, you can share your local sites publicly, facilitating collaboration and testing.
- Secure Sharing: Valet employs secure tunneling to protect your development environment while sharing your sites.
- Minimal Resource Usage: Valet consumes minimal system resources, making it ideal for developers with limited hardware.
- Optimized Performance: Its efficient design ensures optimal performance, even on less powerful machines.
Laravel Valet is a compelling choice for developers seeking a fast, efficient, and user-friendly local development environment. However, if you’re working on Windows or Linux, reviewing Laravel homestead alternatives can help you identify equally powerful tools tailored for your platform.
How to Install Laravel Valet?
Laravel Valet simplifies the process of running multiple PHP projects simultaneously, thanks to its use of tools like nginx and dnsmasq. For developers who prefer Docker-based environments, Laravel Sail covers an alternative containerized workflow for managing Laravel projects.
Step 1: Install Homebrew
Homebrew is a package manager for macOS that makes it easy to install and manage software. If you don’t have Homebrew installed, run the following command in your terminal:
/bin/bash -c "$(curl -fsSL https://raw.githubusercontent.com/Homebrew/install/HEAD/install.sh)"
This will download and install Homebrew on your system.
Step 2: Install PHP (Valet requires PHP 7.4+)
Valet relies on PHP to run your projects. To install the required version of PHP (7.4 or higher), execute:
brew install php
This will install the latest stable version of PHP on your system.
Step 3: Install Composer
Composer is a dependency manager for PHP, and it’s required to install Laravel Valet. To install Composer, run:
brew install composer
Once installed, you can verify Composer’s installation by typing composer in your terminal.
Step 4: Install Laravel Valet
With Homebrew, PHP, and Composer ready, you can now install Laravel Valet. Run the following Composer command to install Valet globally:
composer global require laravel/valet
Make sure that ~/.composer/vendor/bin is included in your system’s PATH. This is essential for running Valet commands from anywhere in your terminal.
Step 5: Run Valet Install
The final step is to configure Valet. To do this, simply run:
valet install
This command sets up and configures essential services like nginx and dnsmasq, enabling Valet to serve your local projects. After running this, Laravel Valet will be up and running, ready for local PHP development.
With these steps, you will have Laravel Valet installed and fully functional on your system. You can now enjoy a streamlined and fast local development environment!
Setting Up Projects with Valet
Once Laravel Valet is installed and running, linking your projects to Valet is straightforward. This section will guide you through setting up individual projects and serving multiple projects within a directory.
Link a Single Project
To serve a specific project with Laravel Valet, navigate to your project directory and run the following commands:
cd ~/Sites/my-laravel-project

valet link
This creates a symbolic link for the project, making it accessible via a custom local domain, such as my-laravel-project.test. Open your browser and enter this URL to access your project.
Serve Multiple Projects in a Directory
If you have multiple projects in a single directory and want to serve all of them simultaneously, you can “park” the directory with Valet. To do this, navigate to the parent directory containing your projects:
cd ~/Sites
Then, run the following command to park the directory:
valet park
Now, all the projects inside the ~/Sites directory will be available via URLs like project-folder-name.test. For example, if you have a project named blog inside the ~/Sites directory, you can access it at blog.test in your browser.
Laravel Valet makes it seamless to switch between projects by serving each one through its unique .test domain. You can extend this functionality further by using Laravel Valet for custom URL generation and application launch to streamline your project organization and accessibility.
Customizing Valet Configuration
Laravel Valet offers flexibility to adapt its configuration to your specific development needs. Whether you want to change the default top-level domain (TLD) or secure your sites with HTTPS, Valet provides easy commands to make these adjustments. Here is how you can make these two configurations:
Change the Top-Level Domain (TLD)
By default, Laravel Valet uses .test as the top-level domain for serving your projects. You can customize this to another TLD, such as .dev, using the following command:
valet tld dev
After running this command, all your Valet-served sites will now be accessible via the .dev domain (e.g., my-laravel-project.dev). This is useful if you prefer a different TLD for personal or team workflows.
Secure Sites with HTTPS
Valet allows you to enable HTTPS for your local projects easily. To secure a specific project, use the following command:
valet secure my-laravel-project
This generates and applies a local SSL certificate, ensuring your project is served over HTTPS. For example, after running the command, your project will be accessible at https://my-laravel-project.test.
Revert Secure Settings
If you decide to remove HTTPS for a project later, you can revert the changes with the following command:
valet unsecure my-laravel-project
This switches the project back to using HTTP.
By following these steps, you can easily adjust Laravel Valet to suit your workflow and enjoy a more personalized local PHP development environment. If you are looking to build a customized website that aligns with your needs, consider getting in touch with our Laravel development company.
Pros & Cons of Laravel Valet
The pros of Laravel Valet include:
- Blazing Fast Performance: Valet is extremely lightweight. It runs almost silently in the background, making local development feel instant.
- Minimal Setup: No virtual machines, no complicated configuration. You install, run valet install, and you’re ready to go.
- Automatic Site Serving: Point a folder anywhere, run valet link, and your site is live at foldername.test. No fiddling with hosts files.
- Supports Multiple Frameworks: Laravel, WordPress, or any PHP project—you can serve them all without extra setup.
- Custom Domain Handling: Want a friendly URL? Valet lets you easily assign custom domains. This makes your local projects feel ready for production.
The cons of Laravel Valet include:
- Not for Complex Environments: Valet shines for simple projects. Complex setups with multiple services may require Homestead or Docker.
- Limited Configuration: Advanced server tuning is minimal. If you need full Apache or Nginx control, Valet won’t cover it.
- Dependency Conflicts: Using multiple PHP versions or packages can occasionally lead to conflicts. Valet handles most cases, but some edge cases exist.
- No Containerization: Valet doesn’t offer containers. If isolation is critical, you’ll need a solution like Docker.
Laravel Valet is fast, lightweight, and easy to set up. It offers automatic site serving, supports multiple frameworks, and allows custom domains. However, it’s not ideal for complex environments, has limited configuration options, and lacks containerization.
Troubleshooting Common Issues
While Laravel Valet is designed to streamline local PHP development, you might encounter occasional issues. Here’s a step-by-step guide to resolving two common problems: the “Site Not Found” error and PHP version mismatches.
Resolving the “Site Not Found” Error
If you try to access a project and see a “Site Not Found” error, the issue might be due to an incorrect project setup. Follow these steps to troubleshoot:
Step 1: Verify if your project is linked or parked:
valet links
Step 2: If the project isn’t linked or parked, navigate to the project directory and run:
valet link
Or
valet park
Test the .test domain in your browser again to confirm it resolves correctly.
Fixing PHP Version Mismatch
Laravel Valet uses the globally installed PHP version, which might not align with your project requirements. To resolve a PHP version mismatch:
Step 1: Install the desired PHP version (e.g., PHP 8.1) using Homebrew:
brew install php@8.1
Step 2: Unlink the current PHP version and link the desired version:
brew unlink php && brew link php@8.1
Step 3: Restart Laravel Valet to apply the changes:
valet restart
After this, Valet will use the newly linked PHP version.
Quick Tips for Smooth Valet Operations
- Always ensure that dnsmasq is configured correctly, as it manages domain resolutions for Valet.
- Use valet logs to review the nginx logs for specific error details.
By following these steps, you can quickly resolve common Laravel Valet issues and maintain a seamless local development experience.
Using Valet With Other Versions of PHP
Laravel Valet makes switching PHP versions simple, whether you want to change it globally or just for a single site. If the version you need isn’t installed, Valet will automatically fetch it via Homebrew.
To change PHP globally for all your projects:
valet use php@8.2
This updates all parked and linked sites to use PHP 8.2.
If you want a specific site to run a different version, use:
cd ~/Sites/valet/oldersite
valet isolate php@8.1
Keep in mind, isolate only affects the PHP version Nginx uses to serve that site. To use the same version for the CLI or Composer, run:
valet php
valet composer
PHP Monitor
For developers juggling multiple PHP versions, PHP Monitor is a handy tool. It integrates with Valet, showing your active PHP version in the status bar.
To install:
brew tap nicoverbruggen/homebrew-cask
brew install --cask phpmon
Once running, you can quickly check which PHP version each site uses, view linked and parked domains, and manage isolated versions, all from a simple dropdown menu.
What’s New in Laravel Valet?
Since the major release of Valet 4, the focus has shifted from piling on features to refining the experience. The result: a leaner, more dependable environment for local PHP (and Laravel) development.
Key Improvements
- You’ll find a new valet status command that gives you an instant snapshot of the health of Valet’s services. Great for diagnosing issues without digging deep.
- Sharing your local sites has become more flexible. Valet now supports tools like Expose and ngrok as “share‑tools” and will guide you to install them via Homebrew if they’re missing.
- The configuration file for per‑site PHP versions has been streamlined. Where you previously used .valetphprc, you now use .valetrc with a clearer format (for example: php=php@8.1).
- The internals have been re‑engineered: more tests, better code structure, fewer odd edge‑cases. That means fewer surprises and smoother local work.
What It Means for You
If you already use Valet, you’ll likely notice fewer unexpected quirks and more consistent behavior. Linking a site, changing PHP versions, or sharing your work is now easier. It feels more like a reliable “okay, done” moment instead of a “hop in, hope it works” experience.
For new users, Valet in 2025 is a strong choice: lightweight, with smart defaults, and fewer hidden caveats.
The platform’s support states that Valet is still a macOS-only tool for now. However, there is a growing ecosystem around it. This includes status-bar apps, version-switchers, and tunnel tools. These additions make Valet more mature and easier to use on the Mac than ever before.
To Summarize
Laravel Valet makes local PHP development on macOS incredibly efficient and hassle-free. Its lightweight design, quick setup, and seamless project management allow developers to focus on building applications rather than dealing with complex configurations.
Using Laravel Valet you can link individual projects and also serve multiple directories. Additionally, Valet allows you to customize settings like TLDs and HTTPS which offers flexibility to choose the security level.
If you are looking to build a robust website efficiently and effectively, hire Laravel developers with us today!
FAQs on Laravel Valet
What is Laravel Valet used for?
Laravel Valet is a lightweight development environment for macOS designed to run PHP applications. It uses nginx and dnsmasq to serve projects with minimal configuration, offering fast performance for local development.
Can I use Laravel Valet on Windows?
Laravel Valet is built exclusively for macOS. However, you can achieve similar functionality on Windows using alternatives like Valet for Windows or tools like Laragon.
What is the difference between Laravel Valet and Homestead?
Valet is a simpler, macOS-only environment ideal for small projects, relying on your local PHP installation. Homestead is a full-featured virtual machine designed for cross-platform use, offering complete isolation and more robust features.


