Table of Contents
Managing any website or web app, not everyone can be allowed in the backend and mess with the core code. That’s where authentication comes in. But no one wants to spend hours building user registration and login screens. Laravel Breeze eliminates that friction.
This elegant authentication scaffold provides a minimal, customizable starting point with essential features like login, registration, and password reset. By offering a clean Blade stack or modern Inertia.js with Vue/React, Breeze delivers a pre-wired, secure foundation.
So how to do authentication using Laravel Breeze? And what kind of benefits does this package offer? We’ll discuss them in this blog. But first, let’s see what Breeze is.
What is Laravel Breeze?
Laravel Breeze is a package that simplifies the process of adding authentication features to a website or web app. It offers a streamlined way to handle Laravel login registration, and logout processes effectively.
Experts implement Breeze to save time and effort. They leverage its pre-built authentication views and routes. This package ensures secure authentication practices like password hashing and session management. And you don’t need to do manual configuration.
Laravel Breeze also boasts a cohesive design and integrates with the rest of the ecosystem quite efficiently. So the developers can focus on building their applications rather than worrying about authentication workflows.
Key Features of Laravel Breeze

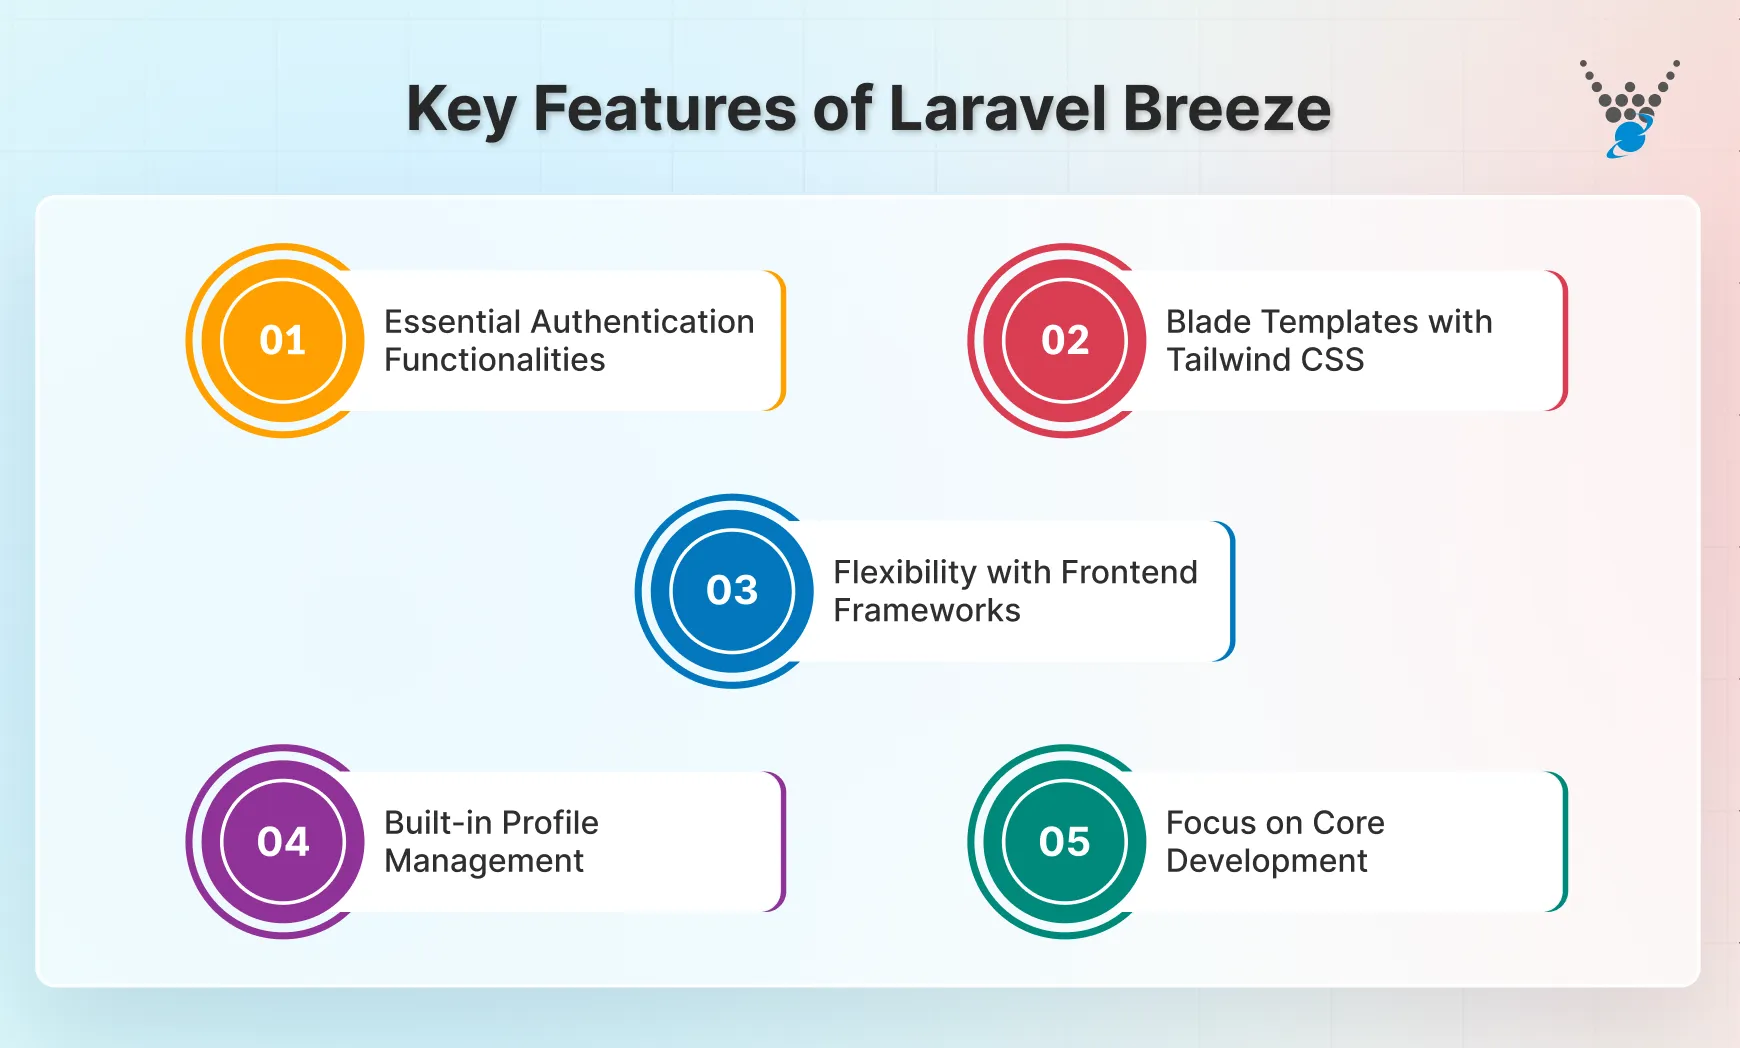
Laravel Breeze simplifies user authentication in websites and web apps using the following features:
Essential Authentication Functionalities
Breeze Laravel includes pre-built components for login, registration, password reset, and email verification. This eliminates the need to manually implement these functionalities from scratch. That saves you significant development time.
Blade Templates with Tailwind CSS
The default view layer in Breeze utilizes Blade, Laravel’s powerful templating engine. This allows for easy customization of the authentication UI to match your application’s design. Additionally, Breeze leverages Tailwind CSS, a popular utility-first framework. It provides a clean and responsive foundation for styling the authentication pages.
Flexibility with Frontend Frameworks
While Breeze’s default views use Blade, it offers additional scaffolding options. You can choose to use Livewire or Inertia for a more dynamic frontend experience. Breeze even allows you to integrate with popular JavaScript frameworks like Angular.js, Vue.js, or React.js through Inertia.
Built-in Profile Management
Breeze goes beyond basic authentication by including a profile management feature. This allows users to edit their profile information, such as name and email address, directly within the application.
Focus on Core Development
Breeze handles essential Laravel authentication tasks.. So you can focus on building the core functionalities and unique features of your Laravel application. That significantly reduces development time and allows you to launch your application faster.
These features make sure you can integrate authentication functionality into the Laravel website or app with relative ease.
Why Use Laravel Breeze for Authentication?
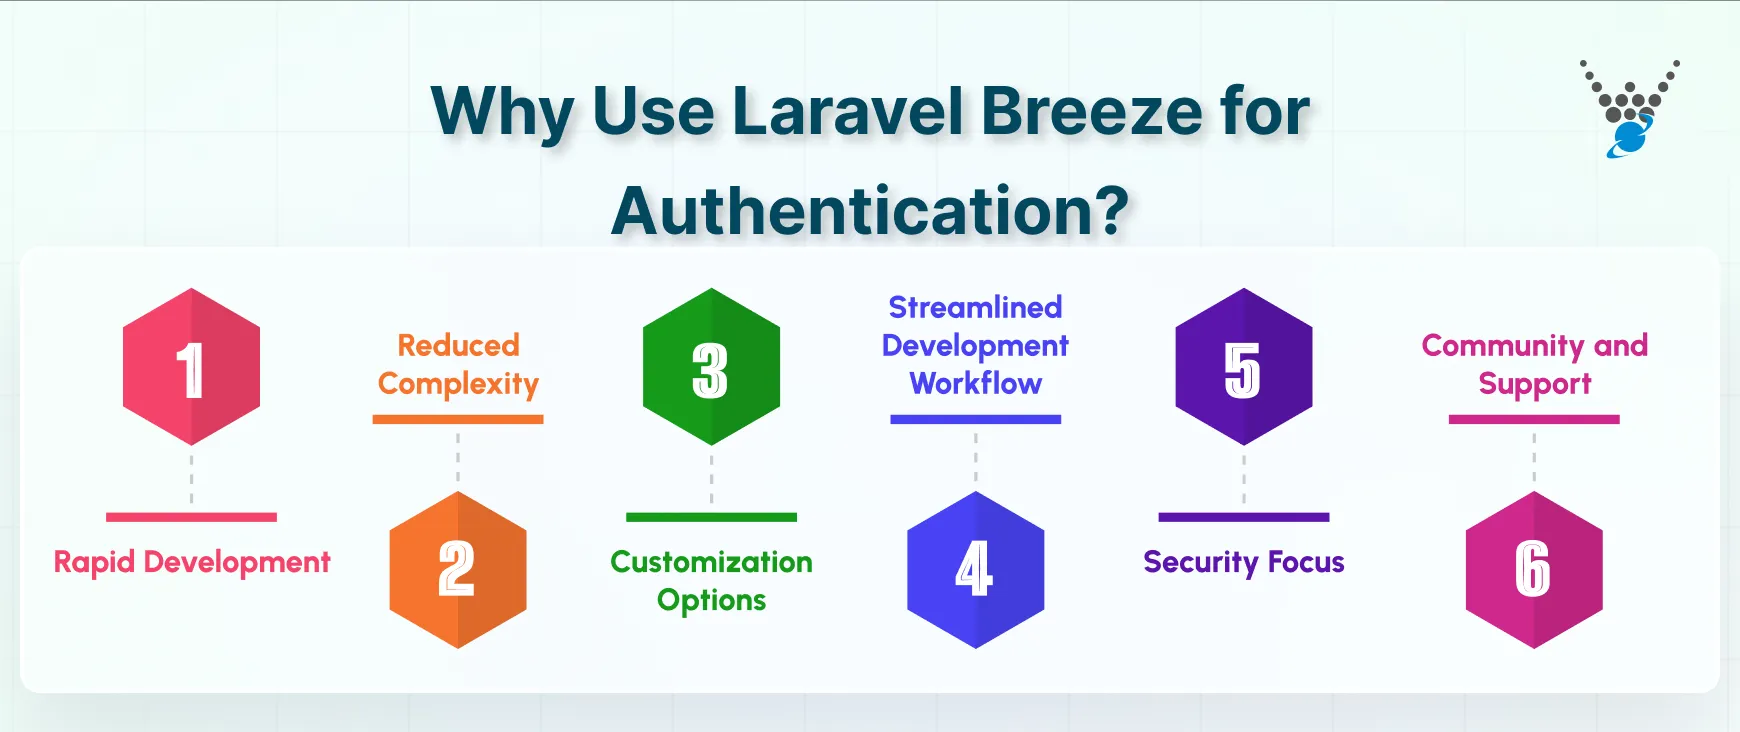
Let’s see some of the common benefits of using Laravel Breeze for Authentication:

Rapid Development
Breeze’s biggest advantage is its ability to significantly accelerate the development process. It offers pre-built components for login, registration, password reset, email verification, and profile management. That eliminates the need to write these functionalities from scratch. This saves you valuable time and effort.
So you can focus on building the core features and functionalities of your application.
Reduced Complexity
Implementing authentication from scratch can involve complex logic and security considerations. Breeze handles these complexities for you, providing a secure and well-tested solution. This reduces the risk of introducing vulnerabilities into your application and simplifies the development process.
Customization Options
While Breeze offers a functional, out-of-the-box solution, it also provides flexibility for customization. You can easily modify the Blade templates to match your application’s design aesthetic.
Additionally, Breeze offers options for integrating with Livewire, Inertia, and popular JavaScript frameworks. So you can tailor the frontend experience to your specific needs. Add secure token-based login for APIs or single-page applications using Laravel Sanctum.
Streamlined Development Workflow
Perhaps the most significant benefit of using Breeze is that it frees you to focus on building the core functionalities of your application. By handling the essential authentication tasks, Breeze allows you to spend less time on boilerplate code. You can spend more time on what differentiates your application.
Security Focus
While Breeze provides a secure foundation, it’s important to remember that security is an ongoing process. However, Breeze adheres to Laravel’s security best practices. That means a solid starting point for building a secure authentication system.
Community and Support
Laravel Breeze benefits from the vast Laravel community and ecosystem. This means you have access to extensive documentation, tutorials, and support resources. So you have answers for any challenges during implementation or customization.
This package offers a compelling solution for streamlining user authentication in your Laravel application. It provides a secure, time-saving, and customizable foundation. So you can focus on building a robust and user-friendly application.
How to Install Laravel Breeze?
Laravel Breeze installation is quite a straightforward process. But the approach depends on whether you are installing it during the initial Laravel site or app development, or an already-existing project. Let’s see how the process goes:
Installation During the Initial Laravel Development
If you’re starting a new Laravel project, you can easily install Breeze during the initial setup process. Use the Laravel installer with the —breezy flag:
composer create-project laravel/laravel my-app --breezy
This command will create a new Laravel application named my-app. It can also automatically install Laravel Breeze along with the core application files.
Installation in an Existing Laravel Project
If you already have a Laravel application, you can add Breeze later using Composer. Navigate to your project’s root directory in your terminal. Then, run the following command to install the Laravel Breeze package:
composer require laravel/Breeze
This command will download and install the Laravel Breeze package into your project’s vendor directory.
What to do After Installation?
Once Breeze is installed, you need to publish its views, routes, controllers, and other resources into your application. Using the following Artisan command would help:
php artisan breeze:install
This command will copy Breeze’s resources to your application’s designated locations, allowing them to be integrated seamlessly.
The Breeze:install command might prompt you to confirm the installation of JavaScript packages. Enter y (yes) to proceed. With this installation, you can ensure a pre-built foundation for user authentication.
How to Implement Authentication in Laravel Using Breeze?
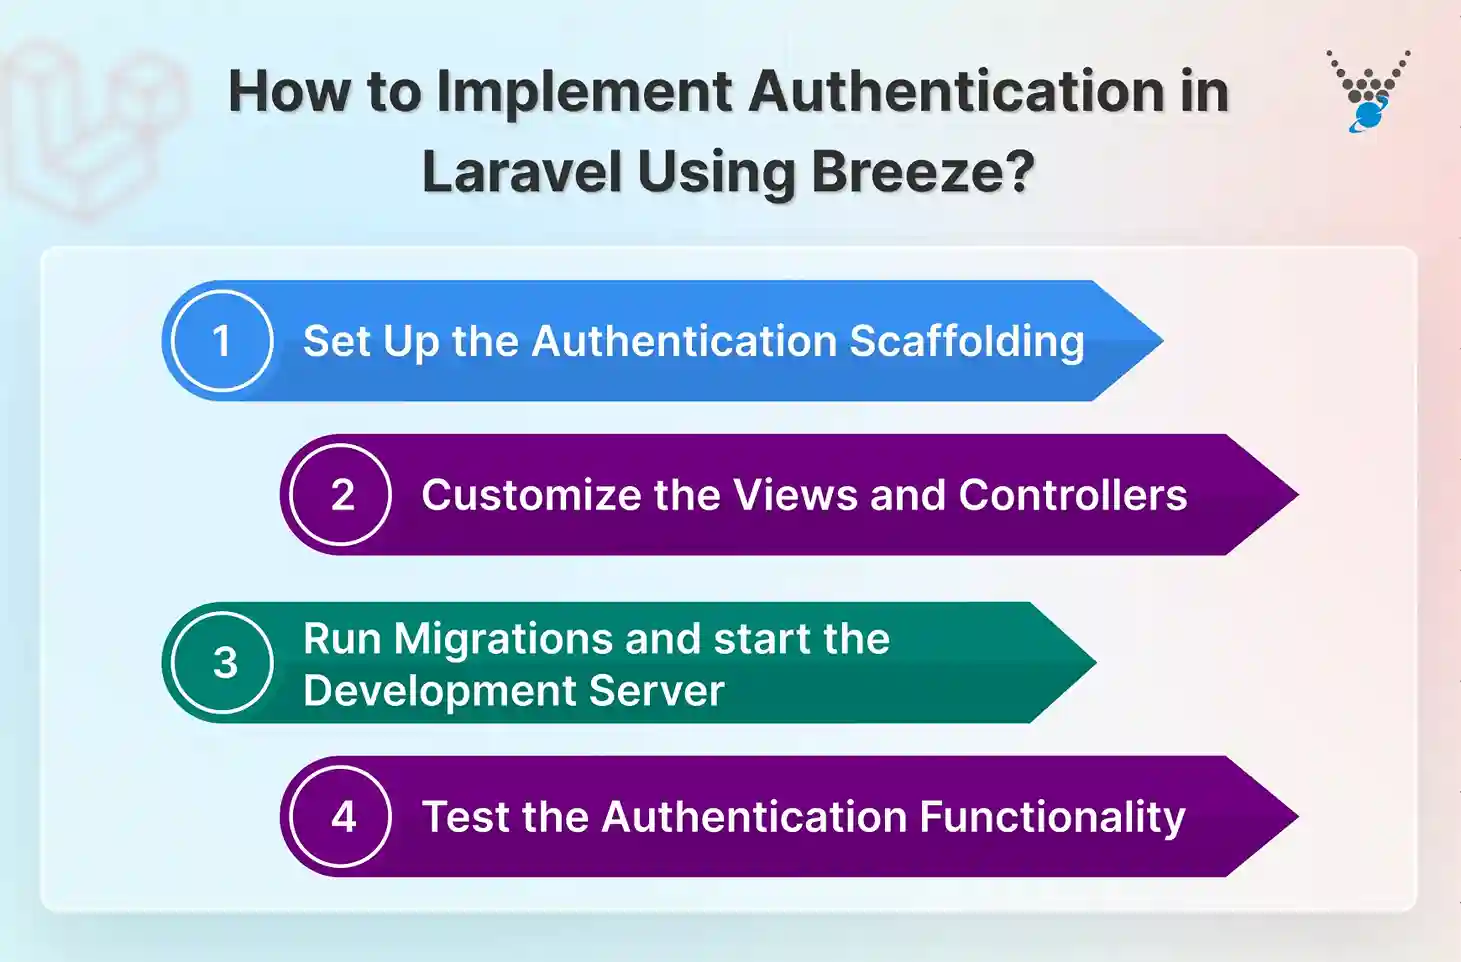
To start, after installing Laravel Breeze in your project, run the necessary Artisan command to set up the Laravel authentication scaffolding. That will automatically generate all the required authentication controllers, views, and routes. It saves you valuable time and effort in the setup process.
Next, customize the views and controllers as per your project’s requirements. It ensures a personalized and cohesive authentication experience for your users. Enable secure and scalable OAuth2 authentication with Laravel Passport.

Set Up the Authentication Scaffolding
This involves installing and configuring Breeze in your Laravel project. There are two approaches depending on your starting point:
- New Laravel Application: Use the Laravel installer with the –breezy flag during project creation:
composer create-project laravel/laravel my-app --breezy
- Existing Laravel Application: Install the package using Composer and then publish the resources:
composer require laravel/Breeze
php artisan breeze:install
Customize the Views and Controllers
Breeze provides Blade templates for login, registration, and other functionalities. These reside in the resources/views/auth directory. You can customize them to match your application’s design and branding.
While Breeze offers pre-built controllers for authentication tasks, you can also modify them for custom logic or integrations if needed. The controllers are located in the app/Http/Controllers/Auth directory. Choose Laravel Fortify when you need flexible backend authentication logic and plan to build a frontend from scratch.
Run Migrations and start the Development Server
Laravel Breeze uses database tables to store user information. To create these tables, run the migrations:
php artisan migrate
Once the migrations are complete, start your Laravel development server using:
php artisan serve
This will launch the application at http://localhost:8000 (or your designated development URL), where you can access the authentication functionalities.
Test the Authentication Functionality
With the development server running, navigate to the Breeze-provided routes for login, registration, password reset, and profile management. It’s usually accessible through links or forms. Test each functionality to ensure users can register, log in, reset passwords, and manage their profiles successfully.
For the best implementation of authentication functionality, you can also consult with our Laravel development company. Plus, official Laravel Breeze documentation and resources could help with further customization and advanced features.
To Conclude
Laravel Breeze is a minimalistic and lightweight authentication scaffolding package designed for use with Laravel, a popular PHP web application framework. It provides a simple, easy-to-use solution for implementing user authentication in Laravel applications.
Breeze uses Laravel’s built-in authentication features, such as the Auth facade and middleware, to handle user authentication. It also includes pre-built components for login, registration, password reset, and email verification.
So, need help with authentication on your Laravel website? Then hire Laravel developers with us today!
FAQs on Authentication in Laravel Using Breeze
How does Breeze handle authentication in Laravel?
Breeze uses Laravel’s built-in authentication features, such as the Auth facade and middleware, to handle user authentication. It also includes pre-built components for login, registration, password reset, and email verification.
Is Breeze suitable for all types of Laravel applications?
Yes, Breeze is suitable for all types of Laravel applications, whether they are small personal projects or large enterprise systems. It is designed to be flexible and adaptable, making it a valuable tool for developers of all skill levels.
How can I secure my Laravel application with Breeze?
While Breeze provides a secure foundation, security is an ongoing process. Here are some best practices:
– Follow Laravel’s security documentation.
– Implement strong password hashing algorithms.
– Validate user input to prevent vulnerabilities like SQL injection.
– Stay updated with security patches for Laravel and Breeze.
Is it possible to upgrade from Breeze to a more advanced authentication system later?
You can start with Breeze for rapid development, and if project needs grow, transition to Laravel Jetstream for features like teams, advanced profile management, and enhanced security options.
Kickstart Authentication with Laravel Breeze
Set up simple and efficient authentication fast. Our Laravel experts can help you configure Breeze for a smooth start.


