Quick Summary
This guide explores advanced Laravel user management, moving beyond basic authentication. It details implementing robust features like role-based permissions, user activity logging, impersonation, and two-factor authentication. Learn to build a secure, scalable system for complex applications, giving administrators fine-grained control and enhanced security.
Table of Contents
Handling user roles, permissions, and authentication efficiently is critical for any web application. Laravel, with its built-in tools and extensible architecture, simplifies complex user management tasks. But mastering its advanced features can elevate security and scalability.
From role-based access control (RBAC) to multi-auth systems and API token management, Laravel offers robust solutions for modern applications.
This guide explores advanced techniques, best practices, and real-world implementations to streamline user management while maintaining performance and security.
What is User Management in Laravel?
User management in Laravel refers to the processes and tools used to handle authentication, authorization, and user-related operations in web applications. Laravel simplifies these tasks with built-in features like:
- Authentication (login, registration, password reset) via Laravel Breeze, Jetstream, or Sanctum.
- Authorization (role-based access control, permissions) using Gates and Policies.
- User roles & permissions management via packages like Spatie Laravel-Permission.
- API token-based authentication for stateless apps with Laravel Sanctum or Passport.
Whether securing admin panels, managing multi-user roles, or integrating social logins, Laravel provides scalable, developer-friendly solutions.
Difference Between Basic & Advanced User Management in Laravel
Think of user management as the control panel for your Laravel app. Both basic and advanced options keep it running, but the difference lies in precision and user experience. Picture clear dashboards tailored to each role and seamless access to relevant features. Your users become empowered co-pilots, maximizing productivity and satisfaction.
| Feature | Basic Laravel User Management | Advanced Laravel User Management |
|---|---|---|
| Focus | Registering, logging in, logging out users | Granular control over user access, permissions, and interactions |
| User Groups | Single user type (e.g., “user”) | Multiple user roles (e.g., admin, editor, user) |
| Permissions | No permission system | Granular permissions assigned to roles (e.g., create posts, edit comments, delete users) |
| Authorization Mechanisms | Simple login checks | Middleware, policies, and gates for access control |
| Security | Password hashing | Two-factor authentication (2FA), secure password hashing, API authentication |
| User Experience | Limited customization | Tailored interfaces and access levels for different user roles |
| Scalability | Difficult to adapt to new user types | Flexible system for adding new roles and permissions easily |
| Complexity | Simple to implement | Requires more planning and development effort |
| Examples | Blog with only registered users | E-commerce platform with admins, editors, and customers |
| Tools and Packages | Laravel built-in authentication | Jetstream, Spatie Permissions, Bouncer |
The key difference between basic and advanced Laravel user management systems lies in scalability, security features, and administrative capabilities. Basic user management is good enough for handling simple authentication. But advanced systems offer enterprise-grade user management with comprehensive security and administrative tools.
You may be able to handle basic systems yourself with ease. But for advanced user management, consult with an experienced Laravel development company.
How to Setup Advanced User Management in Laravel?
Think of basic user management as a single landing strip – everyone arrives and departs the same way. Advanced systems, however, are like a bustling airport, with dedicated terminals. It includes security checks and personalized guidance for each user.
Step 1: Define Roles and Permissions
User management is a crucial aspect of any secure application, especially in Laravel. Defining granular roles and permissions allows you to control user access and grant specific abilities based on their needs. This step lays the foundation for a robust and secure user experience.
- Identify Roles: Start by outlining the different user groups within your application. Typical roles might include Admin, Editor, Author, Contributor, Standard User, etc. Consider the responsibilities and access levels needed for each role.
- Define Permissions: Break down actions and resources within your application into specific permissions. Examples include:
- create, edit, delete posts
- manage users, manage roles
- access admin panel, view analytics
- upload files, publish content
- Assign Permissions to Roles: Map each permission to the relevant roles. An Admin might have all permissions. While an Author might only have to create, edit, and publish permissions for posts.
- Use Laravel Features: Leverage Laravel’s built-in features like Gates and Policies to enforce authorization checks, based on assigned roles and permissions. Consider popular packages like Spatie Laravel Permission for added functionality and advanced permission management.
// Define Roles
$adminRole = Role::create(['name' => 'Admin']);
$editorRole = Role::create(['name' => 'Editor']);
$authorRole = Role::create(['name' => 'Author']);

// Define Permissions
$createPostPermission = Permission::create(['name' => 'create posts']);
$editPostPermission = Permission::create(['name' => 'edit posts']);
$publishPostPermission = Permission::create(['name' => 'publish posts']);

// Assign Permissions to Roles
$adminRole->givePermissionTo($createPostPermission);
$adminRole->givePermissionTo($editPostPermission);
$adminRole->givePermissionTo($publishPostPermission);
$editorRole->givePermissionTo($createPostPermission);
$editorRole->givePermissionTo($editPostPermission);
$authorRole->givePermissionTo($createPostPermission);

// Assign Role to User
$user->assignRole($adminRole); // or $editorRole, $authorRole
While defining roles and permissions strategically, you establish a clear access control structure for your Laravel application. This ensures users only have the necessary privileges, safeguarding sensitive data and functionality.
Step 2: Implement Authorization Mechanisms
With roles and permissions defined, let’s translate them into actionable controls. Laravel offers robust tools to implement authorization checks seamlessly throughout your application. Thus, ensures only authorized users access specific resources and functionalities.
- Utilize Gates. Gates are simple authorization statements used to control access to specific actions or resources. Define gates in the ‘App\Providers\AuthServiceProvider’ class. Use gates within controllers, blade templates, or middleware to check if a user has the required permission.
- Leverage Policies. Policies offer a more granular approach, defining authorization logic for specific models or resources. Create policy classes in the ‘App\Policies’ directory. Implement the authorization logic within these methods based on user roles and permissions.
- Apply Middleware. Middleware acts as a gatekeeper, intercepting HTTP requests before reaching controllers. Use authorization-related middleware like ‘can’ or ‘role’ to restrict access to specific routes or groups of routes.
- Utilize Blade Directives. Laravel blade directives like ‘@can’ and ‘@cannot’ simplify conditional logic within your views. These directives conditionally display content based on the user’s authorization status for specific permissions.
// Define Gate (App\Providers\AuthServiceProvider)
Gate::define('createPosts', function ($user) {
    return $user->hasRole('Admin') || $user->hasPermissionTo('create posts');
});

// Policy Method (App\Policies\PostPolicy)
public function create(User $user)
{
    return $user->hasRole('Admin') || $user->hasPermissionTo('create posts');
}

// Route with Middleware (routes/web.php)
Route::middleware('can:createPosts')->group(function () {
    Route::get('/posts/create', 'PostController@create');
});

// Blade Template with Directive
@can('createPosts')
    <a href="/posts/create">Create Post</a>
@else
    You don't have permission to create posts.
@endcan
With these practices, you can establish a future-ready Laravel authentication system in your application. This ensures a secure and user-friendly experience. It grants or restricts access based on user roles and permissions. Remember, choose the appropriate mechanism based on your specific needs and the complexity of your authorization logic.
Step 3: Enhance User Experience
Once you’ve established secure authorization, it’s time to focus on the user side. Laravel provides tools and best practices to craft a user experience that’s intuitive, efficient, and enjoyable.
- Personalized Interfaces. Admins might see additional tools, while standard users have a simpler layout. Leverage blade templates and conditional logic to display relevant information and options for each user.
- Intuitive Interactions. Use descriptive labels and buttons that accurately reflect actions and functionalities. Implement smooth transitions and animations for a visually appealing and responsive experience.
- Error Handling. Provide informative error messages explaining issues encountered by users. Offer solutions or suggestions for correcting mistakes and completing tasks successfully.
- Validation and Forms. Use progressive disclosure to collect user information in stages, avoiding overwhelming forms. Offer auto-completion suggestions for fields like email addresses or user names.
- Accessibility. Implement responsive design principles to optimize the interface for different screen sizes and devices. Consider accessibility tools and plugins to enhance inclusivity for all users.
// Blade Template with Conditional Interface (app/resources/views/home.blade.php)
@if (Auth::user()->hasRole('Admin'))
    <a href="/admin/dashboard">Admin Dashboard</a>
@endif

// Form Validation with Real-time Feedback (App\Http\Controllers\PostController)
public function store(Request $request)
{
    $this->validate($request, [
        'title' => 'required|min:3',
        'content' => 'required|min:10',
    ], [
        'title.required' => 'Please enter a title for your post.',
        'content.required' => 'Please provide content for your post.',
    ]);
    // ... Create Post ...
}
By implementing these user-centric practices, you can transform your Laravel application into a pleasure to use. Make registration and login effortless with Laravel Socialite for social media, allowing users to quickly connect via platforms like Google, Facebook, or Twitter. Continuously monitor user behavior and gather feedback to adapt and improve your application for an ever-growing and loyal user base.
Step 4: Test and Deploy Securely
Building a secure and well-functioning Laravel application isn’t complete without meticulous testing and deployment practices. This final step ensures your users encounter a stable and secure experience from the initial setup to every interaction.
- Unit and Feature Tests. Write comprehensive unit tests to isolate and verify individual functions and components. Leverage tools like PHPUnit and Laravel Dusk for robust automated testing.
- Deployment Environment. Choose a secure web hosting provider that offers regular updates and vulnerability scanning. Configure your server with the latest PHP version and ensure relevant security extensions are installed.
- Use SSL/TLS Encryption. Implement HTTPS across your entire application to encrypt communication and protect sensitive data. Use HTTP Strict Transport Security (HSTS) and Content Security Policy (CSP) for added security layers.
- Continuous Integration and Delivery (CI/CD). Automate your testing and deployment process with CI/CD tools like GitLab CI/CD or Travis CI. Integrate code scans and security checks into your pipeline to identify and address vulnerabilities early.
- Ongoing Monitoring and Maintenance. Regularly monitor your application for security vulnerabilities and performance issues. Utilize application performance monitoring (APM) tools to identify potential bottlenecks and errors.
// PHPUnit Unit Test Example
public function testPostCreation()
{
    $post = Post::create(['title' => 'Test Post']);
    $this->assertEquals('Test Post', $post->title);
}

// Laravel Dusk Feature Test Example
public function testLoginFeature()
{
    $this->browse()
        ->visit('/login')
        ->type('user@example.com', 'username')
        ->type('secretpassword', 'password')
        ->click('Login')
        ->see('Welcome, user@example.com');
}
While prioritizing secure deployment practices, and ongoing maintenance, you can ensure your Laravel application delivers a secure experience. Laravel security is an ongoing process, so continuous vigilance and proactive measures are crucial in safeguarding your application and user data.
Step 5: Continuously Monitor and Improve
Building a successful Laravel application is an iterative process. Even after meticulous planning and execution, your work isn’t finished. Continuous monitoring and improvement are essential to ensure your application remains relevant, user-friendly, and secure over time.
- Track User Activity. Utilize analytics tools like Google Analytics or Laravel Scout to gain insights into user behavior. Analyze page views, user journeys, and conversion rates to identify areas for improvement.
- A/B Testing. Conduct A/B tests to compare different UI elements, functionalities, or marketing strategies. Use the data gathered to make informed decisions about optimizing your application and driving user engagement.
- Stay Updated. Keep up with the latest Laravel updates, bug fixes, and security patches. Consider adopting new features and functionalities introduced in newer versions.
- Address Performance Bottlenecks. Monitor server performance metrics like CPU usage, memory allocation, and response times. Implement Laravel performance practices and optimize database queries to improve performance.
- Code Readability and Maintainability. Employ proper coding practices like code documentation, comments, and consistent formatting. Maintain a modular and well-organized architecture for easier maintenance and scalability.
// Laravel Mix for A/B Testing (resources/js/app.js)
mix.js(...).then(() => {
    window.Laravel.ABTesting.run('homepage_banner', {
        control: 'default_banner.jpg',
        variant: 'new_banner.jpg',
    });
});

// Sentry Error Tracking Integration (config/app.php)
'debug' => env('APP_DEBUG', false),
'providers' => [
    ...
    App\Providers\AppServiceProvider::class,
    // ...
    Sentry\Laravel\ServiceProvider::class,
],
Consider conducting these practices, with which you can keep your Laravel application evolving and thriving. Remember, the best applications are never truly finished – they adapt, improve, and cater to their users’ changing needs.
Best Practices for Advanced User Management in Laravel
Advanced user management is the cornerstone of secure and reliable Laravel applications. Similarly, building a robust system requires more than just roles and permissions. Explore advanced best practices to advance your Laravel app’s user management and safeguard your data.
1. Granular Permissions
Move beyond basic CRUD permissions like “create,” “edit,” and “delete.” Define distinct permissions for individual actions on different resources. For example, allow users to “publish” posts but not “schedule publication.” This grants precise control and minimizes unnecessary access.
2. Two-factor Authentication (2FA)
Add an extra layer of security beyond passwords. Users verify their identity using a secondary factor like a code sent to their phone or a hardware token. This significantly reduces the risk of unauthorized access even if passwords are compromised.
3. API Authentication
When your application offers an API, secure access is crucial. Implement robust authentication method like OAuth. For OAuth2, access control with scopes, and robust API token management, leverage Laravel Passport for enterprise-grade solutions. These protocols allow secure token-based authorization for API calls, protecting sensitive data and preventing unauthorized access.
4. Clear Role Definitions
Clearly define roles and their associated permissions. Break down roles into meaningful categories based on user responsibilities and access needs. This simplifies admin tasks and ensures clarity for both users and developers.
5. Unit Testing
Write unit tests for your user management functions and authorization logic. This ensures your code works as intended, prevents regressions, and catches potential security vulnerabilities before they occur.
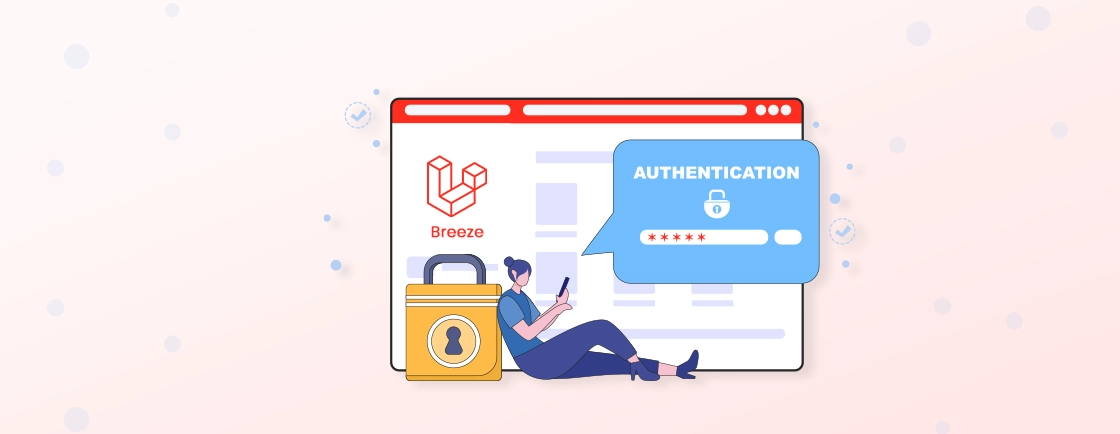
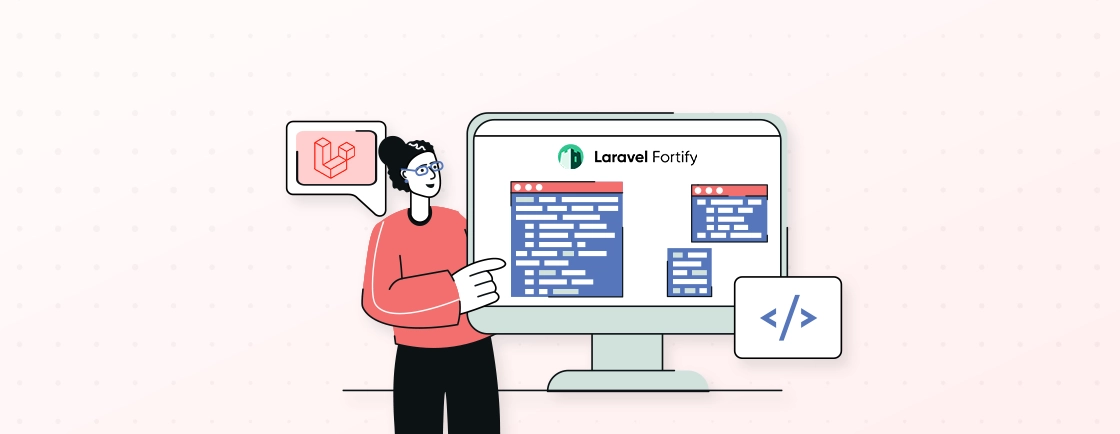
Implementing these advanced practices can take your Laravel user management system to the next level. However, as your application evolves, so should your user management strategy. Bolster your security with backend features like Laravel Fortify or frontend/UI-friendly solutions like Laravel Breeze.
Let’s Conclude
Your journey into advanced user management in Laravel has reached its peak here. We’ve explored the importance of user roles, permissions, and best practices. This will help you to equip yourself to build an experience that’s secure, intuitive, and user-friendly.
But remember, this is just the beginning; the evolving landscape of technology demands constant attention and adaptation. Consider monitoring user behavior, gathering feedback, and refining your system to stay ahead of the curve. Experiment with new tools and best practices, ensuring your user management remains robust and future-proof.
Keen to take your user management to the next level? Then, hire dedicated Laravel developers with us today!
FAQs About Advanced User Management in Laravel
How to Integrate Multi-Factor Authentication (MFA) into Laravel User Management?
Integrating MFA adds an extra layer of security beyond usernames and passwords. Popular packages like “laravel-pint” and “yubico/yubikey-laravel” facilitate seamless integrations. Configure options like SMS or authenticator app verification, prompting users for an additional code during login attempts.
Which Laravel starter kit is best for advanced user management and why?
Laravel Jetstream is ideal for advanced user management because it provides out-of-the-box support for multi-factor authentication, API tokens, team features, and advanced session management, empowering you to build secure, scalable user systems.
What role does Laravel Sanctum play in enhancing user authentication in web applications?
Laravel Sanctum offers a robust API authentication system for Laravel. It utilizes “API tokens” instead of traditional sessions. Thus, grants secure access to specific application resources without exposing user credentials.
What strategies can be employed for managing user account deactivation and reactivation in Laravel?
Implement a “soft delete” approach for user accounts instead of permanent deletion. This way, deactivated accounts remain stored in the database but are hidden from regular user interactions. Admins can then easily reactivate accounts if needed. Additionally, provide users with mechanisms like self-service deactivation requests or account recovery processes for forgotten passwords.
How can I implement API token-based user authentication for mobile apps or SPAs in Laravel?
Laravel Sanctum makes it easy to issue and validate API tokens for seamless and secure user authentication in single-page applications (SPAs) and mobile backends.