Quick Summary
Backpack for Laravel makes building admin panels faster and easier. Instead of coding forms, CRUDs, and dashboards from scratch, you can install Backpack and get a clean, ready-to-use backend in minutes. This blog guides you through installation, setup, key features, and customization tips. Perfect for freelancers, agencies, and enterprises, Backpack saves time while keeping Laravel projects flexible, secure, and scalable.
Table of Contents
Building admin panels in Laravel often takes more time than expected. You set up models, controllers, forms, and lists repeatedly. It works, but it slows you down.
Backpack in Laravel is a package that helps you skip a lot of this manual work. It gives you ready-made tools to create CRUDs, filters, and dashboards in a clean way. It works smoothly with Laravel 10 and 11, and it follows the Laravel way of doing things.
In this blog, we will go through how to use Backpack step by step. You will see how to install it, set up your first admin panel, and customize it for your needs. So, let’s start!
What is Backpack for Laravel?
Backpack for Laravel is a collection of Laravel packages that help you build admin panels faster. It provides a ready-made interface for managing database records through simple Create, Read, Update, and Delete (CRUD) operations.
Think of it as a shortcut for creating the backend of your app. Instead of spending hours building forms, tables, and authentication from scratch, you can use Backpack to get started in minutes.
It’s built specifically for Laravel, which means it fits nicely into your workflow if you’re already familiar with the framework.
Key Features of Backpack
Here are some of the best things about Backpack:

- CRUD Operations: Easily manage any database table (like users, products, or posts).
- Clean and Responsive UI: Comes with a modern admin design out of the box.
- AJAX Support: Many operations work without reloading the page.
- Roles & Permissions Management: Backpack integrates seamlessly with Spatie, making it easy to configure Laravel Backpack roles & permissions for different types of users.
- Media/File Handling: Upload and manage images or files easily.
- Multi-language Support: Great for apps that serve users in different languages.
- Custom Fields: Use ready-to-go fields like text, image, checkbox, WYSIWYG editor, etc.
Who should use Backpack?
Backpack works for different types of developers and teams, depending on their specific needs.
- Freelancers: If you build apps on your own, Backpack can save a lot of time. You can quickly put together MVPs and prototypes without writing repetitive code. It helps you focus on the main features, not the admin panel.
- Agencies: Agencies often work on multiple projects. With Backpack, you can create reusable and easily customizable admin panels. This means less work on every new project and more consistency for your clients.
- Enterprises: For large applications with many users, Backpack makes managing roles and permissions simple. You can control who sees what, and handle multi-user setups without building everything from scratch. It keeps large systems organized and secure.
In short, Backpack for Laravel is a set of packages that help you quickly build admin panels with ready-made CRUD operations, a clean UI, and features like roles, media handling, and multi-language support. It’s ideal for freelancers, agencies, and enterprises who want to save time, reuse admin panels, and manage users efficiently.
How to Install and Setup Backpack for Laravel?
Getting started with Backpack is straightforward, especially if you’re already familiar with Laravel. The installation process is quick and doesn’t require any complex setup.
In just a few steps, you can have a fully functional admin panel up and running, ready to connect with your database and models.

Requirements
Before you get started with installing Backpack, make sure the following conditions are met:
- You’re using Laravel 10 or 11. If Laravel is running smoothly, Backpack will work too-there are no special system requirements beyond Laravel’s.
- You already have a working Laravel project. It doesn’t need to be a fresh installation; Backpack can be added to an existing one.
- Your .env file is properly configured with database and mail credentials.
- You can run the composer command globally from any directory. If not, and you use php composer.phar, just adjust the commands accordingly throughout the setup process.
Once you have these in place, you’re ready to begin installing and setting up Backpack. If you’d like to understand how such admin tools are built as modular components, Laravel package development explains how to create reusable packages that integrate smoothly with Laravel projects.
Step-by-step Installation
In this section, we’ll learn how to install Backpack for Laravel 10 / Laravel 11 step by step using Composer and Artisan commands.
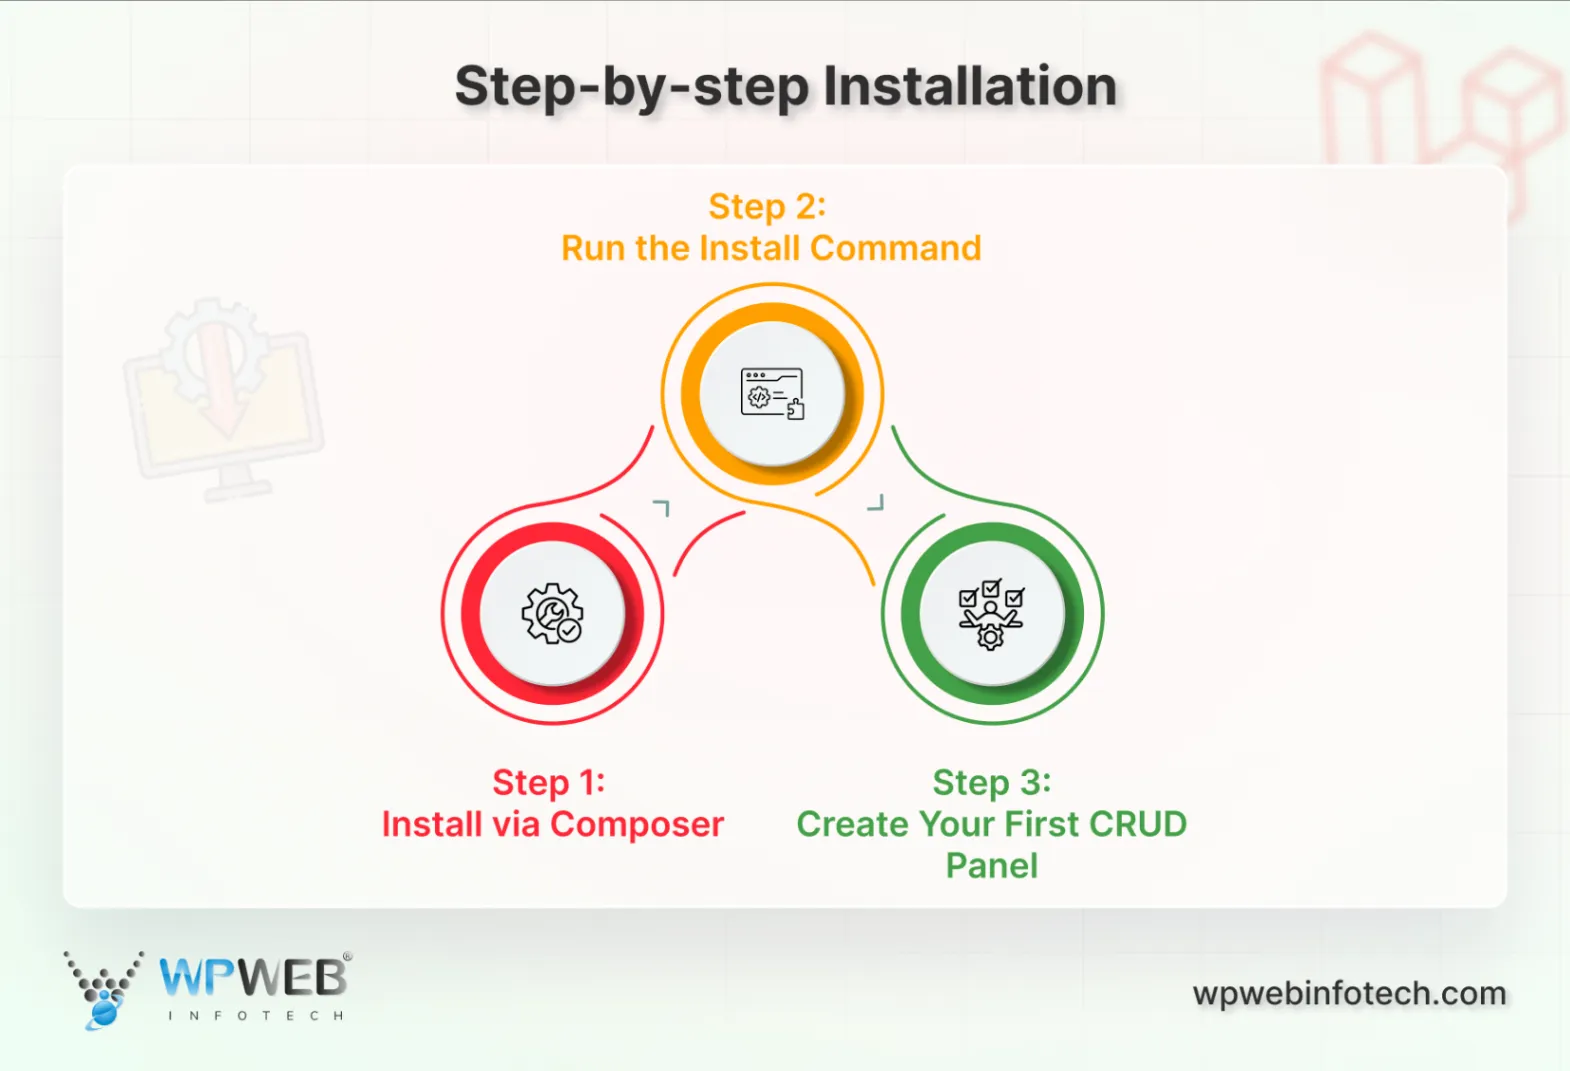
Step 1: Install via Composer
composer require backpack/crud

This command pulls in the Backpack package using Composer, Laravel’s dependency manager. It adds the necessary files and prepares your project for setup.
Step 2: Run the Install Command
php artisan backpack:install

This step sets up everything the Backpack needs to work. It publishes configuration files, sets up authentication, and creates the admin dashboard routes and views. After this, you’ll be able to log into the admin panel.
Step 3: Create Your First CRUD Panel
Once Backpack is installed, the next step is to generate your admin panel for a specific Eloquent model. This panel allows you to manage database records through a visual interface.
To create a CRUD panel for a model (like Product), run the following command:
php artisan backpack:crud Product

Make sure to use the model name in singular form. This command will generate everything you need for that model: a controller, form request, route entry, and menu item—ready for customization.
If you already have multiple models and want to generate CRUDs for all of them at once, use this command:
php artisan backpack:build
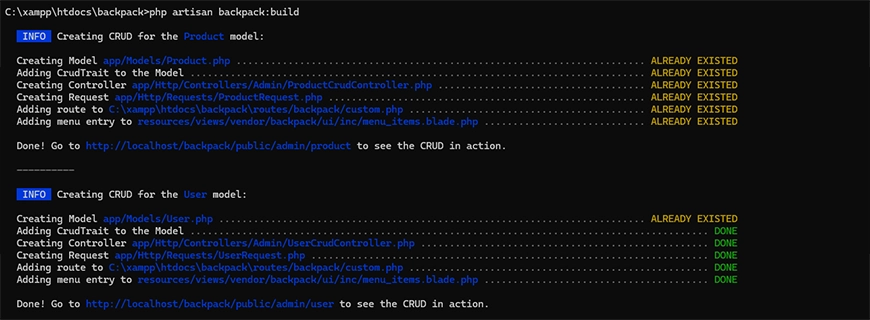
This will automatically create admin panels for every existing Eloquent model in your app.
After generation, it’s a good idea to review and customize each CRUD file:
- Controller: Manages how data is displayed and processed.
- Request: Handles form validation.
- Route Item: Registers your admin routes.
- Menu Item: Adds your CRUD panel to the admin sidebar.
To extend your application beyond basic CRUD functionality, create custom package in Laravel and add new features that enhance flexibility, reusability, and overall project scalability.
What Backpack Looks Like After Installation
Once installed, you can access the admin panel by visiting the configured URL (usually /admin). Here’s a quick look at the interface and how you can manage users through CRUD.
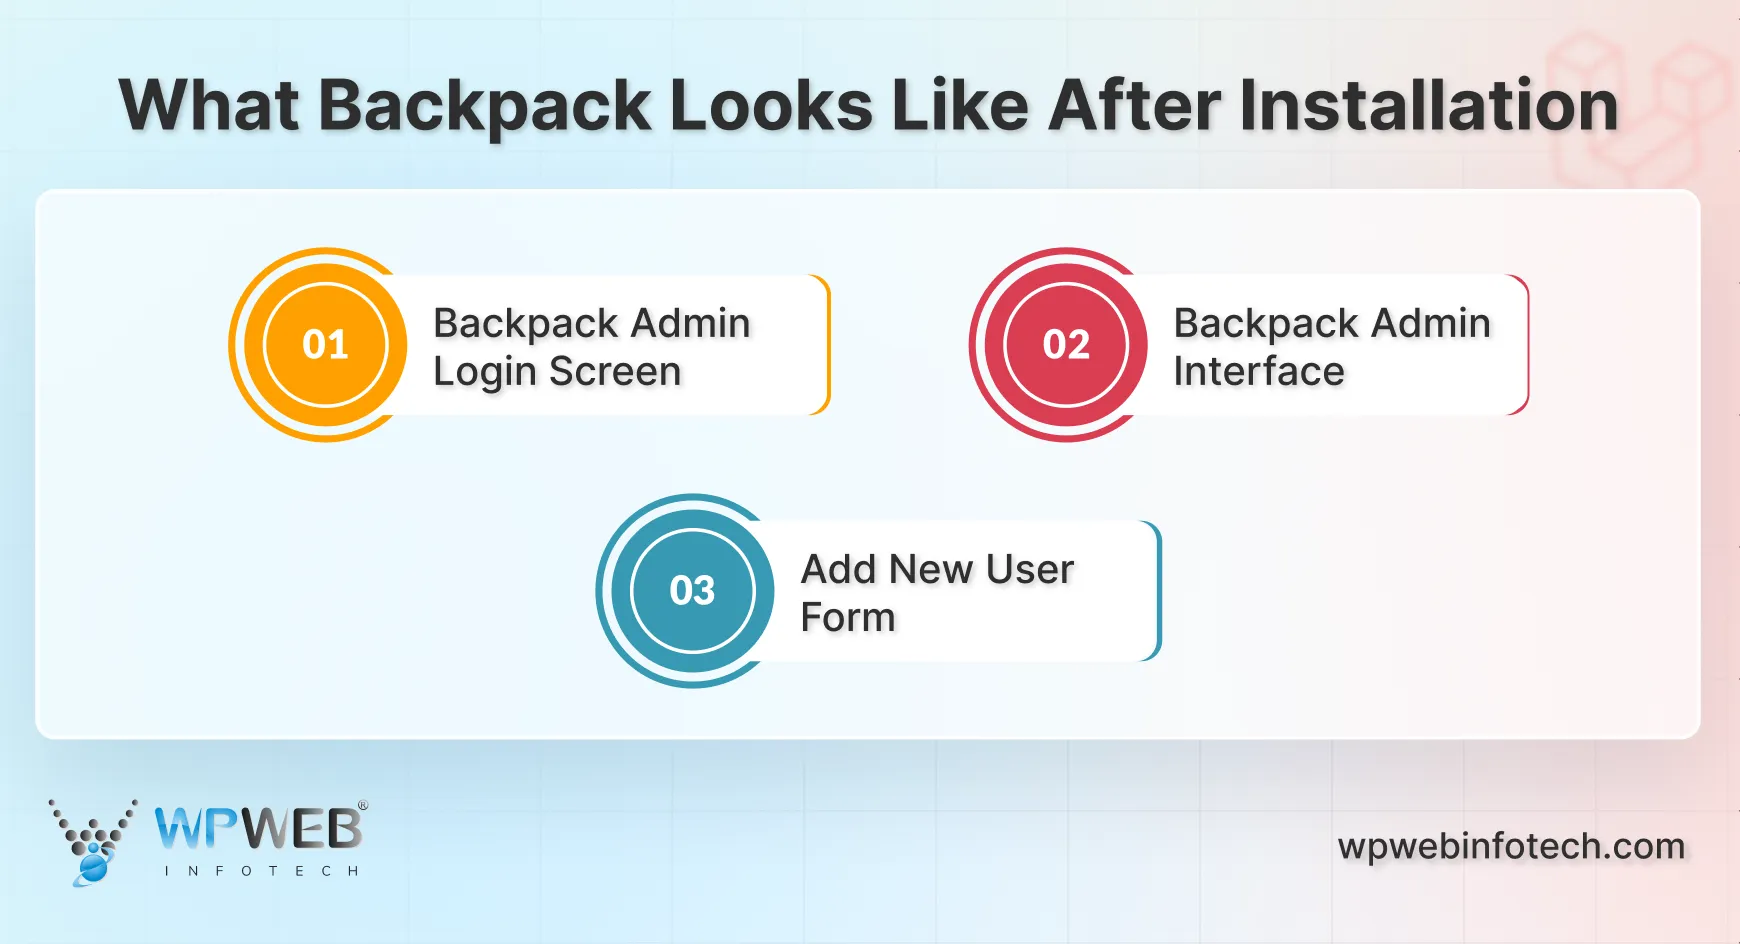
Backpack Admin Login Screen
This is the default login screen for the Backpack admin panel. Authorized users can log in here to access and manage the backend of the application.
Backpack Admin Interface
This screenshot shows the Backpack admin panel after logging in. The “Users” CRUD section is open, displaying a list of existing users along with the option to add a new user.
Add New User Form
Here, the “Add User” form is being used to create a new user entry. The form allows you to input user details and save them directly to the database through the admin panel.
Once installed, you’ll have a clean admin dashboard and the tools needed to start building CRUD panels right away. From here, you can begin customizing your setup to fit the needs of your application.
Customizing CRUD Panels
Once your CRUD panel is set up, Backpack makes it easy to fine-tune it to match your project’s needs. You can add or remove fields, manage relationships, control validation, and even tweak how everything looks. Here are the main ways you can customize your CRUD panels:

- Add or Change Fields: Use a wide range of field types like text, number, image upload, date picker, checkbox, and WYSIWYG editor to create the right form for your data.
- Set Up Relationships: Easily connect models using relationship fields like select, select2, relationship, and more-ideal for linking things like products to categories or users to roles.
- Add Validation Rules: Keep your data clean by using Laravel’s FormRequest classes to define custom validation rules for your forms.
- Customize Columns: Choose what shows up in your list views-add columns like text, images, or status badges to display data clearly in the admin panel.
- Modify Layout and Views: Use Blade templates to completely control the look and feel of your CRUD interface. You can override default views to match your design.
Backpack gives you the flexibility to build powerful, user-friendly admin panels without writing everything from scratch. Just plug in the pieces you need and make it your own.
What Packages Come with Backpack for Laravel?
Backpack is made up of several individual packages, each handling a specific part of the admin panel. This modular approach lets you install only what you need and keep your project lightweight.
Whether it’s managing users, creating CRUD panels, or customizing the interface, there’s a package designed to do just that.
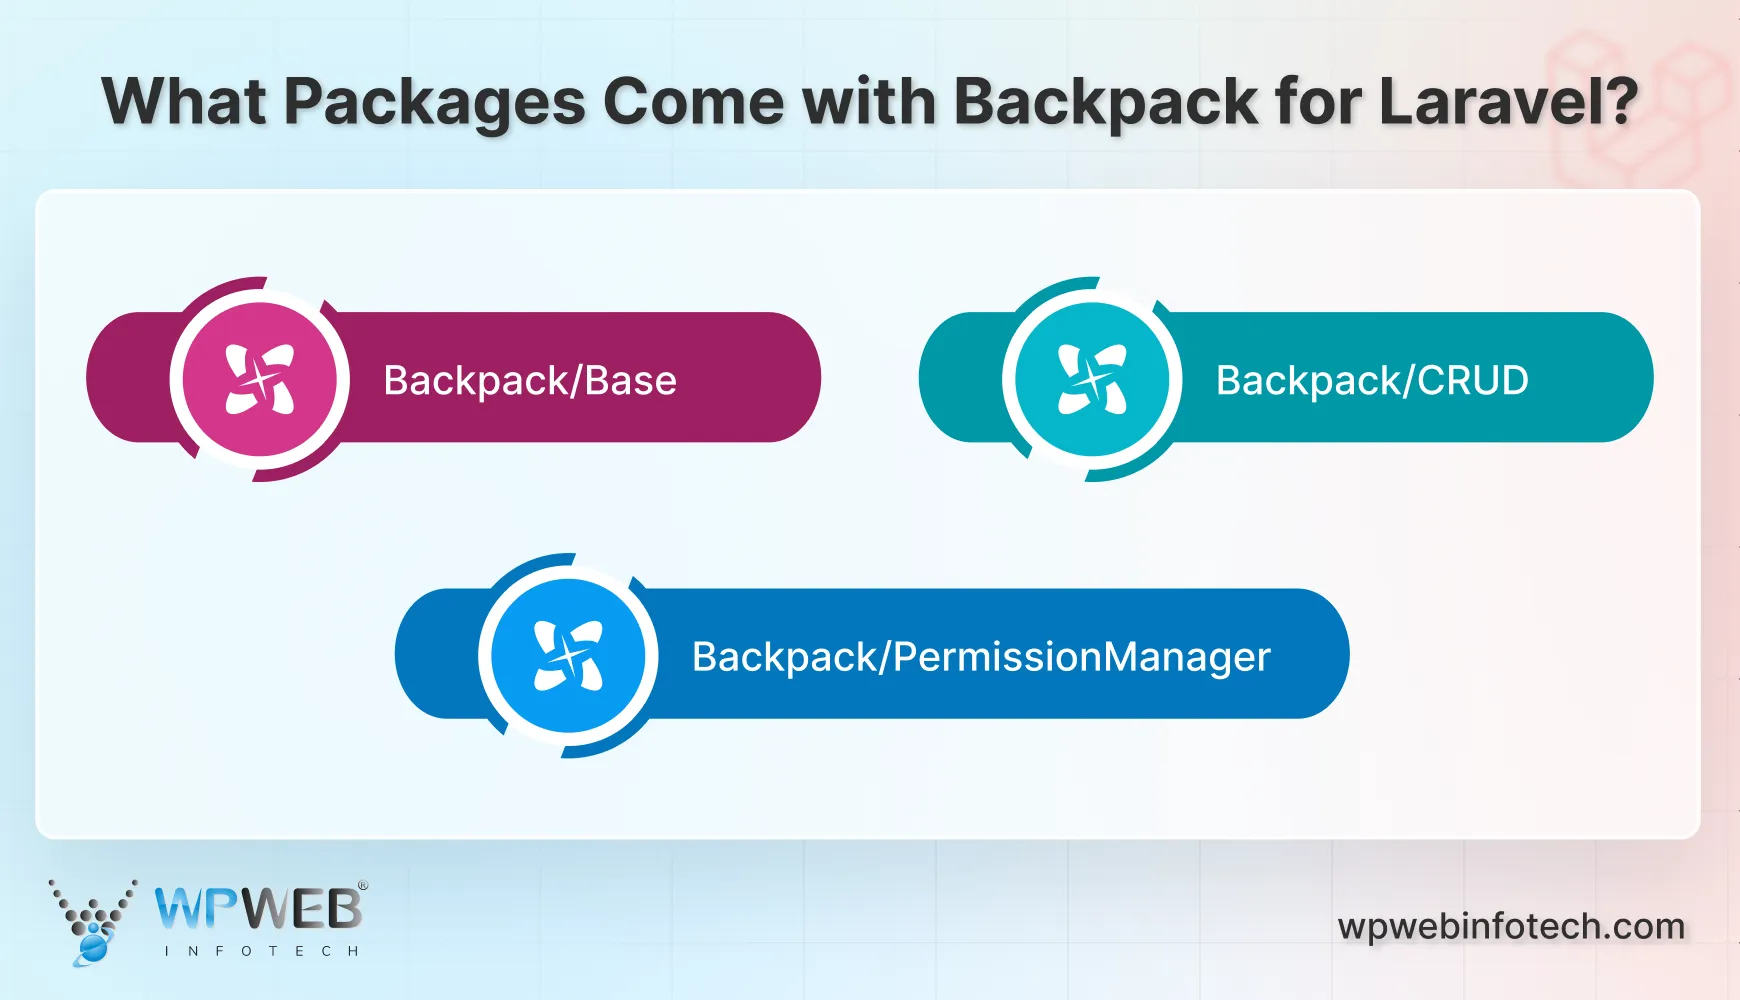
Backpack/Base
This is the foundation of your admin panel. It provides the basic layout, design, and structure, including navigation, themes, and user interface components. It sets the visual style for everything else you add on top.
Backpack/CRUD
This is the core of Backpack. It helps you create CRUD (Create, Read, Update, Delete) panels for any database model in your app. You don’t have to manually build forms or tables—just define your fields, and it generates everything for you. It’s powerful, flexible, and saves hours of development time.
Backpack/PermissionManager
This package helps you manage users, roles, and permissions. It’s built on top of Laravel’s authorization system and uses Spatie’s permission package under the hood. You can control which users can see or edit certain admin panel sections with just a few lines of code.
Optional Add-ons (Extra Tools):
Backpack also offers some additional tools you can install if your project needs them:
- Settings: Manage site settings through a visual admin interface without touching the code.
- Page Manager: Add and edit pages for your site, useful for simple CMS functionality.
- Menu Builder: Create and manage menus directly from the admin panel.
These packages work together to help you build admin features faster without losing flexibility. You can start with just the core and add more as your project grows or needs change. Alternatively, if you’re exploring another elegant admin solution, Laravel nova offers a polished UI and easy integration for modern Laravel applications.
Backpack vs Other Admin Tools
There are plenty of admin panel tools out there, but not all of them are built with Laravel developers in mind. Backpack stands out because it’s designed to blend seamlessly with Laravel’s structure and coding style. Similarly, if you’re building eCommerce platforms, you might want bagisto laravel, a complete Laravel-based solution for creating scalable online stores.
While others may offer flashy dashboards or generic features, Backpack focuses on flexibility, speed, and developer control. If your project needs full-fledged content management capabilities, overview of top Laravel CMS options will bring powerful CMS functionality to Laravel-based apps.
There are other tools out there like Laravel Nova, Voyager, and Laravel Admin. Here’s a comparison between Backpack and those tools:
| Feature | Backpack | Laravel Nova | Voyager |
|---|---|---|---|
| Open Source | Partially | No (Paid) | Yes |
| Custom Fields | Yes | Yes | Limited |
| UI Flexibility | High | Medium | Low |
| Developer Focus | High | High | Beginner-friendly |
| Pricing | Free & Paid | Paid | Free |
Each tool has its strengths, but if you’re working with Laravel and want something reliable, clean, and easy to customize, Backpack is a strong choice. It saves time without sacrificing control, making it a favorite for many Laravel developers.
Let’s Summarize
Backpack for Laravel is a convenient and effective tool for developers who want to build admin panels in a quick and easy way. Its easy installation process and robust CRUD capabilities save you from tedious tasks and help you to concentrate more on developing the core of your application.
With necessary tools such as Backpack/Base, Backpack/CRUD, and Backpack/PermissionManager, Backpack makes it easy to customize at high speed without making things complex. It is an ideal solution for beginners and seasoned developers who need to save time and effort when developing admin panels.
If you’re looking for a hassle-free way to set up a clean and customizable backend for your Laravel projects, consulting a Laravel development company will be the right choice.
FAQs on Backpack for Laravel
Does Backpack support multilingual admin panels?
Yes, Backpack has built-in support for localization. You can translate admin panel labels, field names, and messages into different languages using Laravel’s localization files. It also supports multilingual CRUD operations, allowing you to manage content in multiple languages if needed.
Can Backpack be used for frontend development too?
Backpack is specifically designed for admin panels, not frontend development. It doesn’t include tools for building customer-facing interfaces. However, it can work alongside your existing frontend setup, letting you manage backend content and data that feeds into your frontend.
How does Backpack handle database migrations and models?
Backpack works with Laravel’s default database migrations and Eloquent models. When you create a CRUD panel, it connects to your existing models and uses them to display, create, and manage data.
Is Backpack the best Laravel admin panel?
Backpack is widely seen as one of the top choices for building admin panels in Laravel. It’s fast to set up, easy to customize, and integrates smoothly with Laravel 10 and 11. Developers like it because it reduces repetitive coding while still giving full control over how things look and work. If you want something reliable and well-maintained, Backpack is a strong option to consider.
Does it support roles & permissions?
Yes, Backpack has built-in support for roles and permissions through the popular Spatie package. This makes it very simple to manage different levels of user access in your application. You can assign roles, control what each user can see or do, and keep your admin panel secure. Since Spatie is the standard in Laravel projects, everything feels familiar and easy to extend.

Build Powerful Laravel Applications
Learn how to leverage Laravel's powerful features for efficient and scalable web development.