Quick Summary
Discover how to use Laravel Folio to simplify route management and content creation in Laravel projects. This guide walks you through installation, Blade-based page routing, and customization for efficient workflows. Perfect for content-driven sites and agencies offering white-label Laravel services, Folio streamlines development, boosts organization, and saves time, empowering developers to build scalable, dynamic web applications with ease.
Table of Contents
One of the critical aspects of managing a website is creating and managing its content. Laravel is one of the best PHP frameworks for building robust and dynamic web applications, especially when paired with tools that streamline development. But how can we simplify content management? That’s where Laravel Folio comes in.
If you’ve been wondering how to use Laravel Folio effectively in modern projects, it offers a fresh and efficient approach to routing. Instead of manually defining routes in web.php, Folio allows developers to place Blade templates inside designated directories, which then automatically generate the corresponding routes.
What is Laravel Folio?
Laravel Folio is one of the popular Laravel packages. It simplifies creating routes for your application by leveraging Laravel Blade templates. Instead of manually defining routes in code, you create Blade templates within a specific directory structure. Laravel Folio automatically detects these templates and creates the corresponding routes for you.
Traditionally, defining routes in Laravel involves writing code. Laravel Folio offers a more streamlined approach:
- You create a dedicated directory for your Blade templates, often named “pages”.
- Each Blade template within this directory corresponds to a route.
- The file name itself becomes part of the URL structure.
For example, a file named “contact.blade.php” would be accessible at the “/contact” URL. This intuitive system saves you time and effort when building simpler applications like blogs, portfolios, or documentation websites.
Why Use Laravel Folio?
Using traditional routing with separate routes can add complexity, especially for projects heavily reliant on views. This is where Laravel Folio’s page-based routing simplifies your workflow drastically.
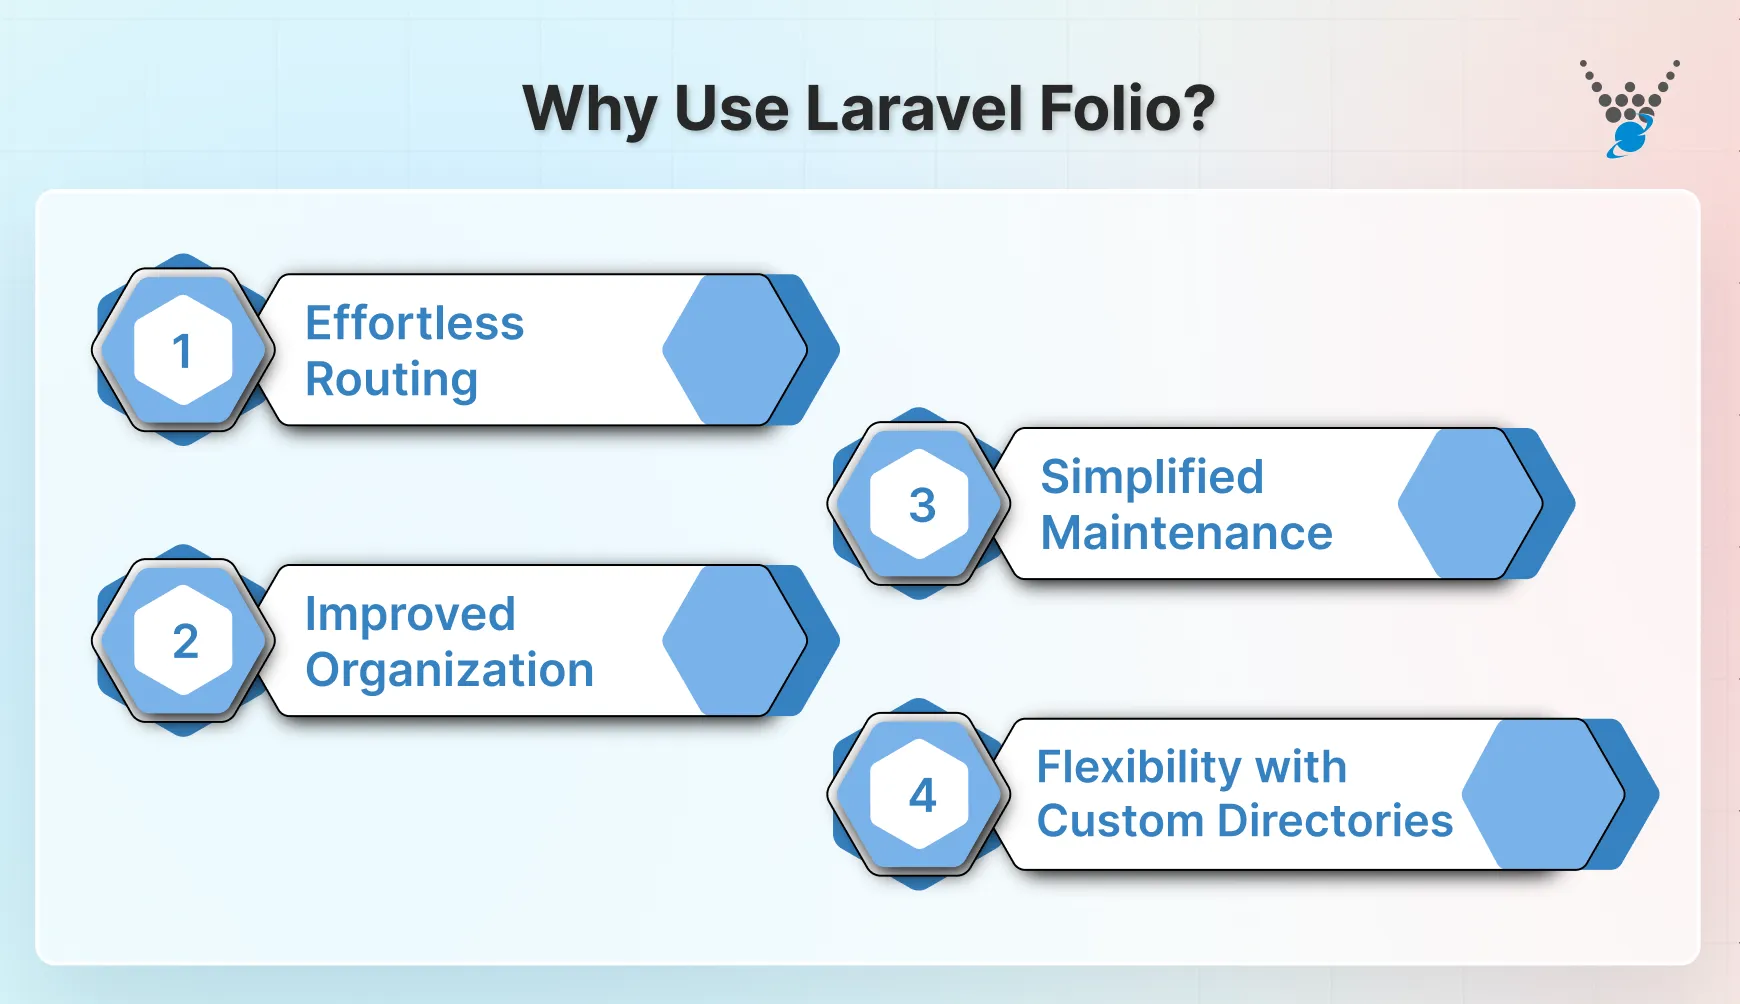
- Effortless Routing: The first advantage is the intuitive routing system. Forget complex route definitions in routes/web.php. Create a Blade template, and Laravel Folio handles the route mapping automatically.
- Improved Organization: Laravel Folio promotes a cleaner project structure by tying routes directly to Blade templates. Your code becomes easier to navigate, especially for larger projects with numerous views.
- Simplified Maintenance: Changes involve modifying the corresponding Blade template, making the workflow more natural for developers familiar with Blade syntax.
- Flexibility with Custom Directories: While Laravel Folio has a default directory for storing Blade templates, it allows customization. You can define alternative directories to suit your project’s specific needs.
It is perfect for service providers. Laravel Folio is especially beneficial for development teams and agencies offering white-label Laravel services. It helps them build scalable, content-driven web applications quickly without exposing the underlying codebase to clients.
Experts use it to build a content-driven application and prioritize streamlined development. But for feature-rich applications with dynamic elements, traditional routing methods might be more suitable. Leverage the capabilities of Laravel Volt to further modernize your workflows when creating interactive interfaces in Folio-driven Laravel projects.
How to Install Laravel Folio?
Installing Laravel Folio can enhance your route for projects that rely heavily on routing. Here’s a general guide on how to install it in your Laravel application:
Prerequisites
- A local development environment with PHP version 8 or above and Composer installed. You can check your PHP version by running php -v in your terminal.
- If you don’t have a Laravel application, create a new Laravel project using Artisan: laravel new your-project-name
Step 1: Install Laravel Folio Package
Open your terminal, navigate to your Laravel project’s root directory, and run the following Composer command to install the Laravel Folio package:
composer require laravel/folio
This command will download the Laravel Folio package and its dependencies into your project.
Step 2: Register the Service Provider
Laravel Folio utilizes a service provider to register itself with your application. To activate it, open the config/app.php file and locate the providers array. Add the following line to the array:
Laravel\Folio\FolioServiceProvider::class,
This step will register your application with the Folio service provider.
Step 3: Customizing Directory
By default, Laravel Folio uses the resources/views/pages directory to store your Blade templates pages. If you prefer a different location, you can customize it within your service provider.
Open the app/Providers/FolioServiceProvider.php file (created during installation) and locate the boot method. Update it to include the following code, replacing your/custom/directory with your desired path:
public function boot()
{
    Folio::path(resource_path('your/custom/directory'));
}
Step 4: Verification
With the installation complete, you can verify whether Laravel Folio works correctly. Create a new Blade template within your default directory:
resources/views/pages
For example, create a file named home.blade.php and add some basic HTML content. Now, visit your Laravel application’s homepage in your browser usually:
http://localhost:8000/
If Laravel Folio functions properly, you should see the content from your home.blade.php file displayed.
With these steps, you can install and configure Laravel Folio in your Laravel project. Create Blade templates for your pages, and Laravel Folio automatically handles the route mapping. If you need help building a Laravel application, consider partnering with Laravel development services for an efficient development process.
How to Use Laravel Folio?
Once the installation and verification are done, let’s check how to use Laravel Folio. Here’s a breakdown of using Laravel Folio to streamline content management in your Laravel project:
Step 1: Configuration
Laravel Folio works out of the box, but you can customize it by publishing the configuration file. Use the command:
php artisan vendor:publish --provider="Laravel\Folio\FolioServiceProvider" --tag="folio-config"
This creates a folio.php file in your config directory. Here, you can define custom paths for pages and middleware settings.
Although this step is optional, you can fine-tune how Laravel Folio works in your project. For example, changing default page directories or setting up middleware.
Step 2: Creating Pages
The magic of Folio lies in Blade templates. You can automatically create routes by placing Blade templates within designated directories.
The default directory for Folio is resources/views/pages. Create subdirectories within “pages” for further organization if needed.
Example:
- Create a folder named pages within your resources/views directory (if it doesn’t exist).
- Create a Blade template file named about.blade.php inside the pages directory.
- Add your HTML content within the about.blade.php file describing your website’s About Us section.
It uses the power of Blade templates for content creation, and Folio automatically maps them to corresponding URLs for easy access. If you want to add interactive features like a Laravel comment system, Folio makes it straightforward by handling routes and views efficiently.
Step 3: Accessing Pages
Laravel Folio automatically maps Blade template filenames to their corresponding URLs. In this case, about.blade.php will be accessible at http://your-app.com/about in your browser.
You don’t need to manually define routes for your pages. Folio handles it automatically, simplifying development.
Step 4: Customization
If you prefer a different directory structure, adjust the paths configuration array in folio.php.
// In config/folio.php
return [
    'paths' => [
        'pages' => resource_path('views/my-pages'), // Change 'pages' to 'my-pages'
    ],
];
Folio offers flexibility by allowing you to customize your Blade templates’ directory.
Step 5: Applying Middleware
For access control, you can use Laravel middleware for specific pages or entire directories using two approaches:
- Using Configuration file
// In config/folio.php
return [
    'paths' => [
        'admin' => [
            'middleware' => ['auth', 'verified'], // Apply 'auth' and 'verified' middleware to all in 'admin' directory
        ],
        'pages' => [
            'contact.blade.php' => ['can:contact'], // Apply 'can:contact' middleware to 'contact.blade.php'
        ],
    ],
];
- Using Blade Templates
@middleware(['auth', 'verified']) {{-- Apply middleware directly within a template --}}
<!DOCTYPE html>
<html lang="en">
</html>
Now, you can control access to specific pages of your website using Laravel Middleware. If you prefer single-page application experiences, integrating Laravel Inertia with Folio can help deliver smooth, SPA-like functionality while retaining server-side rendering.
Using its automatic routing and Blade template structure, you can now streamline static and dynamic content creation. However, if you are facing any difficulty navigating it, hire Laravel developers for expert support and implementation.
Conclusion
Laravel Folio presents a compelling option for streamlining route management in your Laravel projects. By leveraging Blade templates, Folio eliminates the need for manual route definitions, saving you time and effort. It can be quite beneficial for content-driven sites like blogs, portfolios, and documentations.
Folio empowers you to craft compelling content using Blade’s full functionality, incorporating dynamic elements and styling your pages as needed. You can contact us to ensure your project is scalable and reaches its full potential.
FAQs About How to Use Laravel Folio
How can I leverage user management with Laravel Folio?
Laravel Folio doesn’t handle user management. However, it integrates with existing user management systems provided by Laravel. This allows you to implement functionalities like login, registration, and authorization for specific routes within your application.
How can I customize the layout for all my pages in Laravel Folio?
You can define a layout Blade template that serves as the foundation for all your other pages. This layout template includes headers, footers, and navigation bars. You can include this layout template within your Blade templates using the @extends directive. You can combine the power of Laravel Livewire with Laravel Folio to build sophisticated, reactive UIs within your Blade templates.
How do I update Laravel Folio to the latest version?
You can update Laravel Folio to the latest version by running composer update laravel-folio/folio in your project directory.
Is it possible to build a real-time chat app using Laravel Folio?
Yes. You can build a real time chat app using Laravel by pairing Folio’s page-based structure with real-time broadcasting tools like Laravel Echo or Livewire, streamlining both the frontend and backend aspects of your chat solution.