Quick Summary
Unlock the power of secure user management with Laravel Authentication! This guide provides details on setting up registration, login, password resets, and session management, while exploring various authentication types, including token-based, OAuth, and custom methods. Learn step-by-step setup, route definition, view customization, and troubleshooting common errors. Perfect for developers seeking a robust, production-ready authentication system in Laravel.
Table of Contents
Every website or application that has user accounts needs to securely verify their identity. Laravel’s authentication system provides an elegant, built-in solution to this complex challenge.
The framework offers a complete toolkit for managing user registration, login, and password resets. So developers can move rapidly from concept to a secure, production-ready foundation.
This guide will break down the setup of Laravel Authentication, its different types, and troubleshooting the common errors. Let’s begin.
What is Laravel Authentication?
Laravel authentication is an integral system that verifies user identities and restricts access to specific features, enhancing application security. It offers a broad range of tools for implementing various authentication mechanisms to ensure that only authorized users can access protected areas.
Key Components of Laravel Authentication:
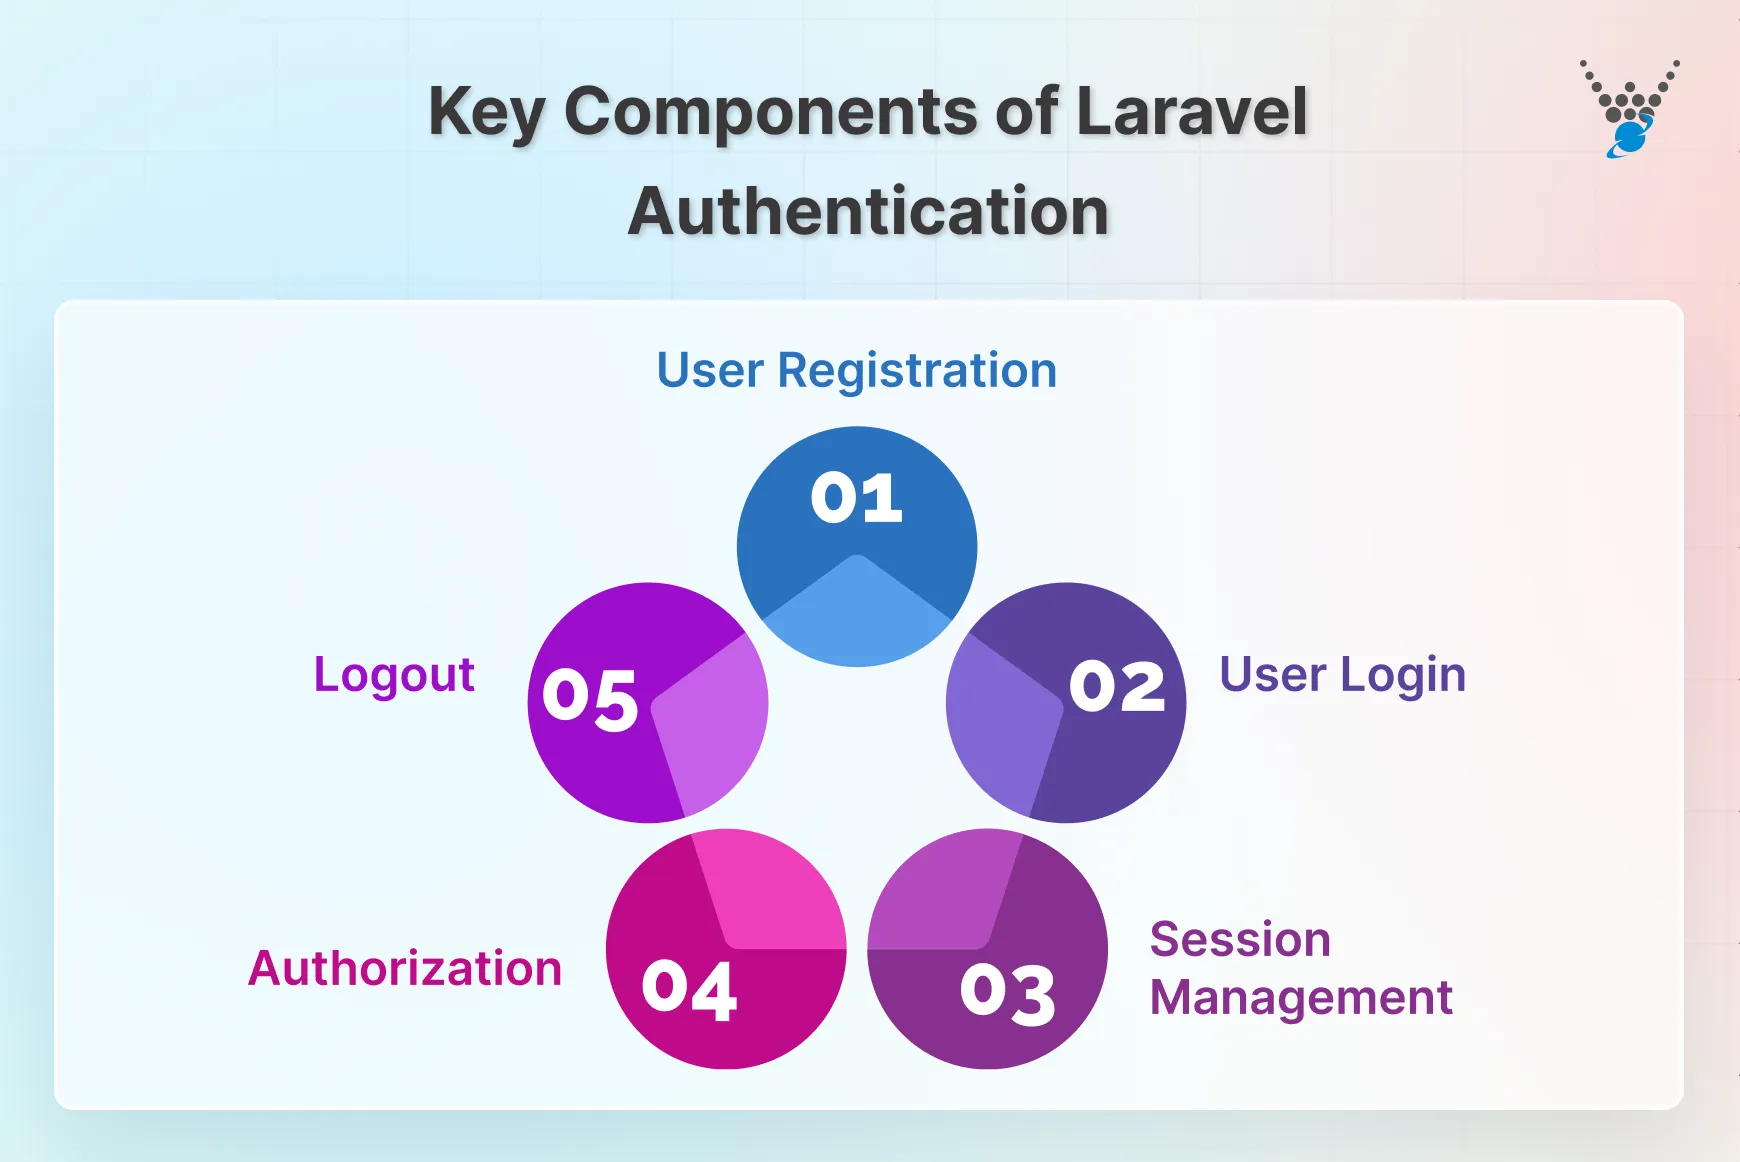
- User Registration: Validates and securely stores user credentials (e.g., username, email, password) with hashed passwords.
- User Login: Verifies user credentials against stored hashes using secure algorithms.
- Session Management: Tracks user activity by creating sessions and storing unique identifiers in browser cookies.
- Authorization: Employs middleware and gates to control access based on user roles or permissions.
- Logout: Ends user sessions, removes cookies, and invalidates access.
For role-based permissions, multi-user approval, or advanced account controls, you can go to the settings and then advanced user management in Laravel. Laravel’s best practices, such as password hashing and session management, ensure robust protection for user data and application integrity.
How to Set Up Laravel Authentication?
Now that we understand the fundamentals, let’s delve into the step-by-step process of setting up Laravel authentication. This guide caters to both new and seasoned developers, providing a straightforward approach.
Prerequisites
Before setting up authentication, ensure you have the following tools in place:
- Laravel Project: Ensure you have a Laravel project. You can create a new project by referring to our guide on building a Laravel website.
- Local Development Environment: Use tools like XAMPP or MAMP for local development (Apache, PHP, MySQL).
- Composer: Essential for managing Laravel and its dependencies. Ensure Composer is installed and configured properly.
These tools are crucial for running a Laravel-based application and will streamline the development process.
Install Laravel UI (Optional)
Laravel UI provides a quick way to generate pre-built authentication views and controllers. If you want to implement a front-end scaffolding with authentication features, Laravel UI is a simple and effective solution.
Installation Command:
Navigate to your project directory and run:
composer require laravel/ui
Select Front-End Framework:
Choose your preferred front-end framework (e.g., Bootstrap, Vue.js, React) and generate the scaffolding:
php artisan ui bootstrap
# or
php artisan ui vue
# or
php artisan ui react
Add Authentication:
Use the --auth flag to include authentication features:
php artisan ui bootstrap --auth
Laravel UI is optional. You can create custom-built views if you need more control over your design and UI.
Step 3: Generate Authentication Scaffolding
After installing Laravel UI (optional), generate the core authentication system, including registration, login, and password reset functionalities. This scaffolding provides a good starting point for building your authentication features.
Artisan Command:
php artisan make:auth
Generated Files Overview:
- Controllers: These handle user actions, such as
RegisterControllerandLoginController. - Views: Located in
resources/views/auth, these views includeregister.blade.phpandlogin.blade.php. - Migrations: Create the necessary database tables, such as
create_users_table.php.
You can customize these views using Laravel’s flexible Blade templating engine to match your design requirements.
Step 4: Database Migration
Run migrations to create the necessary tables in your database. This is an important step to ensure that user data is securely stored in your application.
Command:
php artisan migrate
Migration Structure Example:
public function up()
{
    Schema::create('users', function (Blueprint $table) {
        $table->id();
        $table->string('name');
        $table->string('email')->unique();
        $table->timestamp('email_verified_at')->nullable();
        $table->string('password');
        $table->rememberToken();
        $table->timestamps();
    });
}
This migration structure ensures the creation of a secure user table where user data like name, email, password, and the remember token are safely stored.
Step 5: Define Routes
Establish the authentication routes in the routes/web.php file. Laravel provides simple and expressive route definitions that allow you to map URLs to specific controller actions. This is the core of your Laravel login setup.
Example Route Declaration (Standard Session):
Route::get('/register', 'RegisterController@showRegistrationForm')->name('register');
Route::post('/login', 'LoginController@authenticate')->name('login');
Route::post('/logout', 'LoginController@logout')->name('logout');
Route::get('/password-reset', 'ForgotPasswordController@showLinkRequestForm')->name('password.request');
These routes connect specific URLs to the corresponding controller actions, handling user registration, login, logout, and password reset functionalities.
Step 6: Customize Views
To ensure your authentication views align with your application’s design, you’ll need to customize the pre-generated views. Laravel’s Blade templating engine makes it easy to modify the HTML and CSS to meet your design needs.
View Location:
The authentication views are located in resources/views/auth.
Example Form Snippet:
<form method="POST" action="{{ route('register') }}">
    @csrf
    <div class="form-group">
        <label for="name">Name:</label>
        <input id="name" type="text" name="name" required autocomplete="name">
    </div>
</form>
Edit and style these views using CSS and HTML to match your application’s branding and design specifications.
Step 7: Testing
Testing is crucial to ensure all authentication functions work as expected. Perform manual and automated testing to verify the robustness of your authentication system.
Manual Testing
Simulate user actions like registration and login to ensure the flow works seamlessly.
Unit Testing
Write PHPUnit tests for individual functions to ensure accuracy and reliability. Here’s an example test for user registration:
public function test_user_can_register()
{
    $this->post('/register', [
        'name' => 'John Doe',
        'email' => 'john.doe@example.com',
        'password' => 'secret',
        'password_confirmation' => 'secret',
    ])->assertStatus(302)
      ->assertRedirect('/login');
    $this->assertDatabaseHas('users', ['email' => 'john.doe@example.com']);
}
Security Testing
Security is paramount. Use tools like OWASP ZAP to scan your application for vulnerabilities and ensure secure authentication practices are in place.
Different Types of Laravel Authentication
Indeed, the default session-based authentication in Laravel offers a solid foundation. However, your application’s specific needs may require a different approach, particularly when building complex APIs or utilizing multi-auth Laravel patterns. Let’s dive into various authentication types available in Laravel, empowering you to choose the most suitable one:
| Feature | Session-based (Default) | Token-based (e.g., Laravel Sanctum) | OAuth (e.g., Socialite) | Multi-Auth (Custom Guards) |
|---|---|---|---|---|
| Primary Use | Traditional Web Apps | SPAs, Mobile Apps, APIs | Social Logins, Delegated Auth | Server-side session (per guard) or Tokens |
| State Management | Server-side session | Client-side tokens (stateless) | Provider handles | Server-side session (per guard) or Tokens |
| Security | CSRF, Session Hijacking | API Token security, HTTPS, Token Storage | Provider’s security model | Dependent on underlying guard’s security |
| Ease of Setup | Easiest (built-in) | Moderate (requires token management) | Moderate (Socialite package) | Moderate to Complex (custom guard config) |
| Scalability | Can be challenging with high traffic | Highly scalable (stateless) | Highly scalable | Good (depends on guard type) |
| Offline Support | No | Yes | No | Dependent on guard type |
| Client Type | Browsers | Browsers, Mobile Apps, APIs | Browsers (redirects) | Mixed (depends on guard) |
| Control | Full | Full (token logic) | Limited (provider rules) | Full (custom logic) |
| Common Package | Laravel’s default Auth | Laravel Sanctum (or Passport) | Laravel Socialite | Custom (often built on default auth) |
Now, let’s look at each method in more detail, including its code examples and specific use cases.
1. Session-based Authentication (Default)
This built-in method stores user data in temporary server-side sessions after login. It is ideal for straightforward web applications; it’s user-friendly and easy to set up. While convenient, session-based authentication can face challenges with high user traffic. This method primarily caters to online interactions. If your application demands offline functionality, explore alternative approaches.
Code Example (Login/Logout Logic):
// In LoginController@authenticate
if (Auth::attempt(['email' => $request->email, 'password' => $request->password])) {
    $request->session()->regenerate();
    return redirect()->intended('dashboard');
}
// In LoginController@logout
Auth::logout();
$request->session()->invalidate();
$request->session()->regenerateToken();
return redirect('/');
2. Token-based Authentication: Laravel Sanctum
This method utilizes API tokens to verify requests, preventing the need for server-side sessions. The shift to tokens is essential for single-page applications (SPAs) and mobile backends. Laravel Sanctum authentication is the modern, official choice for this pattern. It offers lightweight, easy-to-implement token management.
- API Token Generation Example:
$token = $user->createToken('my-app-token');
return ['token' => $token->plainTextToken];
- Token Authentication Example:
// In routes/api.php, a protected route looks like:
Route::middleware('auth:sanctum')->get('/user', function (Request $request) {
    return $request->user();
});
While powerful, this approach requires developers to handle token storage and security on the client side. Mastering this aspect is vital for a robust Laravel login setup that handles both web and API requests.
3. OAuth Authentication
Delegate authentication to trusted providers like Google, Facebook, or Twitter. You can simplify social media login integration with Laravel Socialite for social media. Users log in through these platforms, simplifying your process and benefiting from their robust security infrastructure. With this, you lose some control over user data and might face potential privacy considerations depending on the chosen provider.
4. HTTP Basic Authentication
This method embeds username and password directly in the HTTP request header. HTTP Basic Authentication provides basic authentication for specific API endpoints. It’s simple to set up, but not recommended for web applications due to security risks. Consider this method only for controlled API access where enhanced security is not a primary concern.
5. Custom Authentication
With this, you can customize the authentication experience to meet the specific needs and security requirements of your application. You can use Laravel Breeze, which offers minimal and easy-to-customize authentication. It lets you have complete control over the process, allowing for customization and specific security protocols.
This approach demands significant development effort and expertise in security best practices to ensure it’s implemented effectively. For complex systems requiring multi-auth Laravel guards (e.g., users and admins logging in separately), a custom approach or specialized packages are often necessary.With this overview of Laravel’s authentication options, you can select the method and its users. If navigating these choices feels daunting, feel free to get our Laravel development services. Their expertise can ensure you implement the most suitable authentication for your application.
Security Best Practices for Laravel Authentication
Security isn’t a feature; it’s a foundation. Laravel gives you the tools; you must use them. Here’s how to fortify your authentication against primary threats:
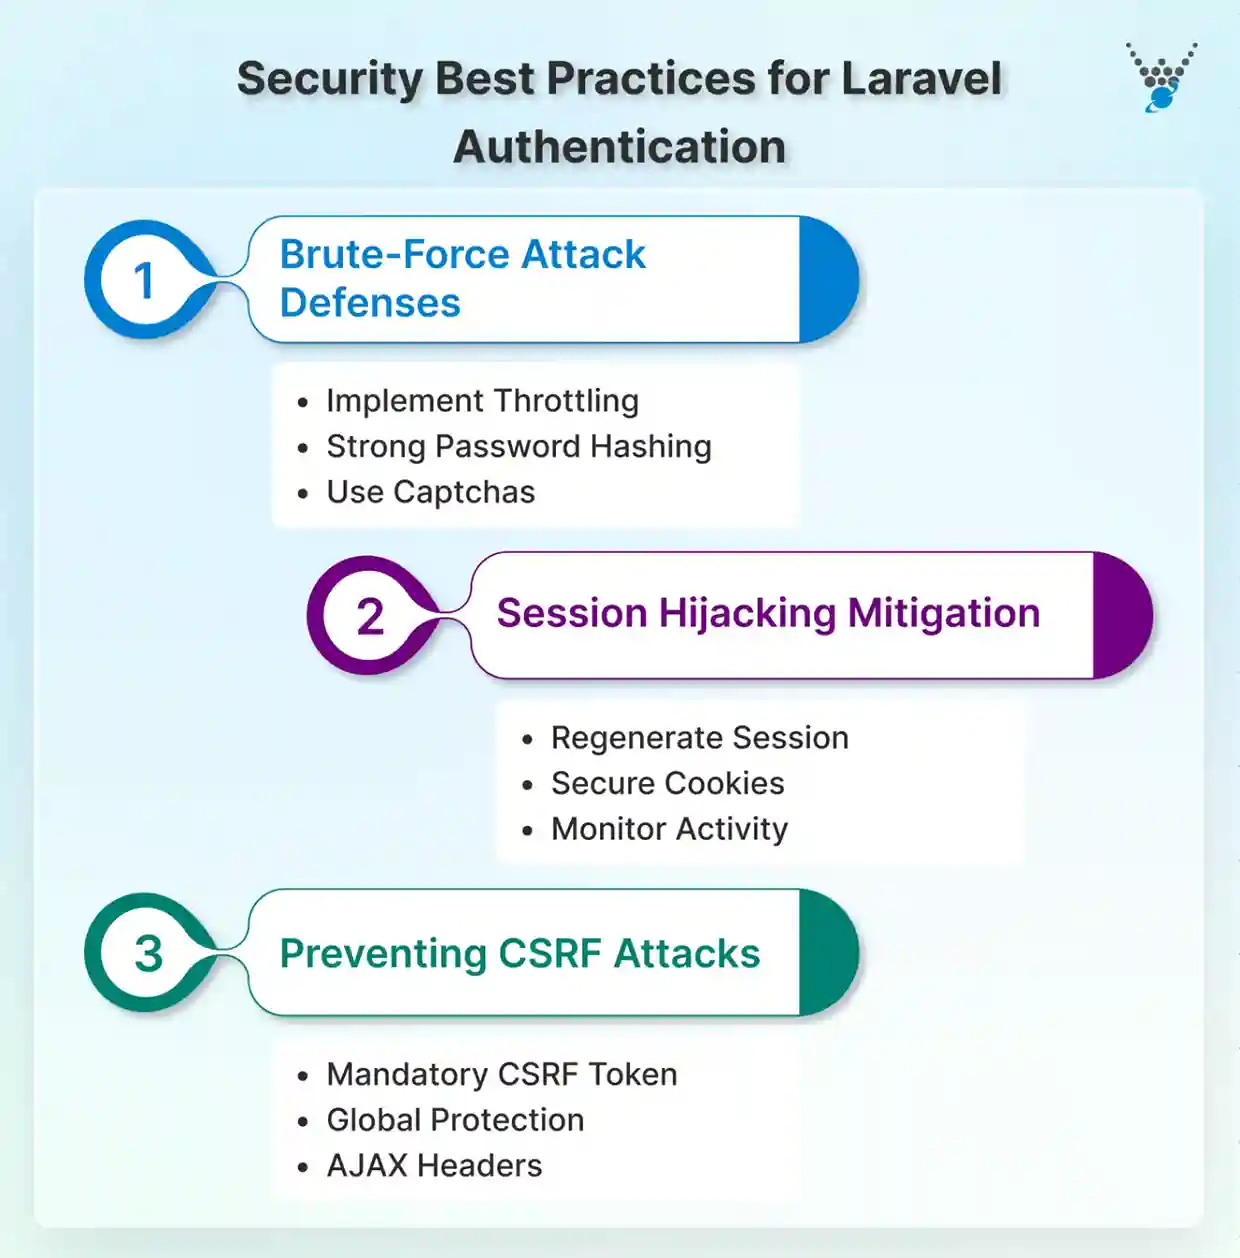
Brute-Force Attack Defenses
- Implement Throttling: Use Laravel’s built-in Login Throttling to automatically limit failed attempts from a single IP. This makes automated guessing impossible.
- Strong Password Hashing: Always use Laravel’s default, slow hashing (Bcrypt or Argon2). This makes brute-forcing password checks computationally expensive for attackers.
- Use Captchas: Introduce a CAPTCHA after a few failed attempts to block automated login scripts.
Session Hijacking Mitigation
Session hijacking steals a user’s digital login key (session ID).
- Regenerate Session: Immediately call $request->session()->regenerate() upon successful login. This invalidates any session ID the attacker might have stolen beforehand.
- Secure Cookies: Set session cookies to be secure (HTTPS only) and HttpOnly in config/session.php. This prevents client-side JavaScript theft.
- Monitor Activity: Track the user’s IP and user agent; force a logout if these credentials change mid-session.
Preventing CSRF Attacks
CSRF tricks a user into executing unwanted actions on your site.
- Mandatory CSRF Token: Always include the @csrf Blade directive in all forms. Laravel rejects the request if the token doesn’t match the session token.
- Global Protection: Rely on the default VerifyCsrfToken middleware, which guards all state-changing requests (POST, PUT, DELETE).
AJAX Headers: For JavaScript-driven requests, pass the CSRF token via the X-CSRF-TOKEN request header.
Troubleshooting Common Laravel Authentication Errors
Encountering errors during Laravel authentication setup can be frustrating, but fear not! This guide equips you with the knowledge to tackle common issues and get your system running smoothly.
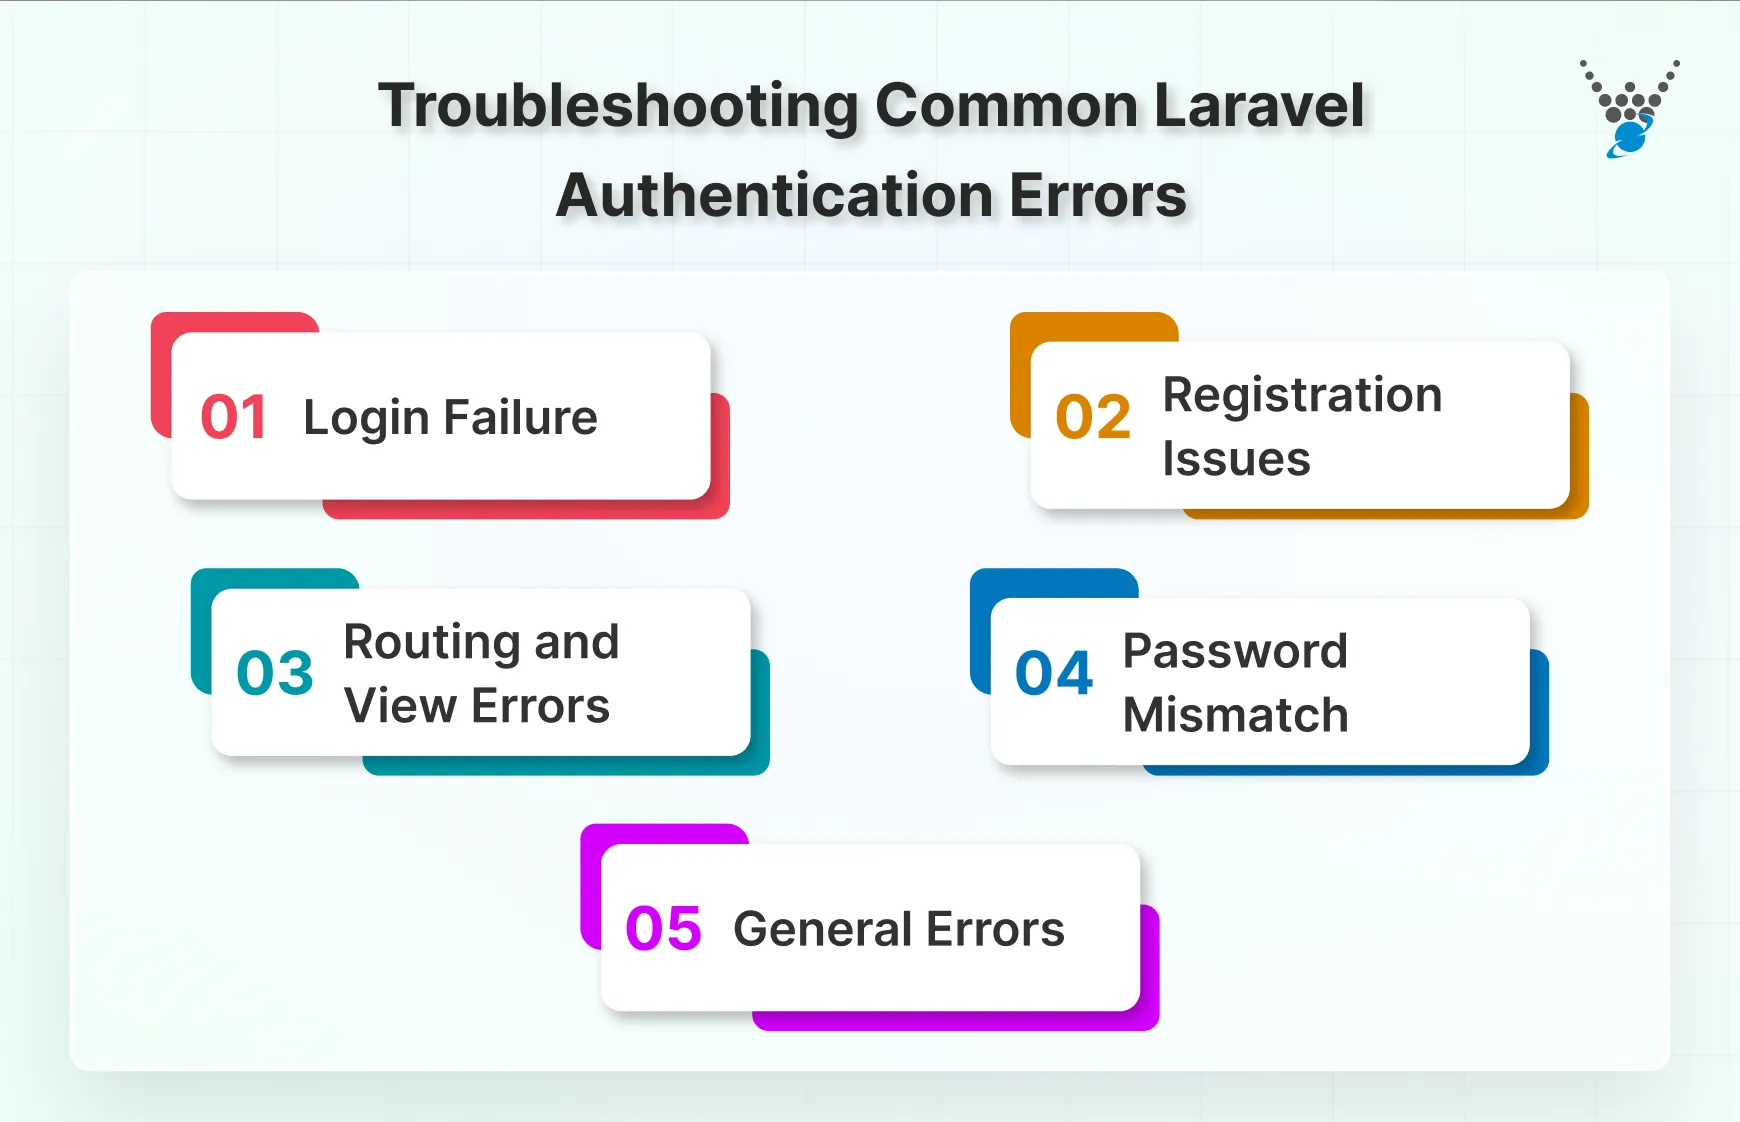
1. Login Failure
- Double-check the username and password entered by the user. You must ensure case sensitivity and typo-free input.
- Verify if the user account is active and not locked.
- Check if Laravel’s throttling mechanism is preventing login attempts due to excessive failed attempts.
- Consider ensuring the auth middleware is applied to the route handling login requests.
2. Registration Issues
- Review validation rules defined in your controllers. On the other hand, you can also request objects to ensure all required fields are filled correctly and meet format requirements.
- If email is a unique field, ensure no existing user shares the same email address.
- Verify that your application can connect to the database where user data is stored.
3. Routing and View Errors
- Double-check route paths and ensure they match the URLs used for authentication actions.
- Make sure the necessary view files (e.g., login.blade.php) exist in the resources/views/auth directory.
- Review your Blade templates for typos, missing curly braces, or incorrect directives that might cause rendering issues.
4. Password Mismatch
- Check you’re using the correct password hashing algorithm throughout your application (e.g., bcrypt). Inconsistent hashing can lead to mismatches.
- Verify that the user confirms their password correctly during registration or password reset.
- Be mindful of case sensitivity when comparing passwords, especially if the user input might be case-sensitive.
5. General Errors
- Ensure all required Laravel packages and libraries for authentication are installed and properly configured.
- Check file and directory permissions on your server to ensure they allow read/write access for necessary operations.
- Utilize Laravel’s logging features and debugging tools to inspect error messages and pinpoint the root cause of issues.
This guide provides a general overview. Consult specific error messages and Laravel documentation for detailed troubleshooting steps.
Let’s Conclude
While setting up Laravel authentication is fairly simple, it’s essential to consider scalability and long-term security when building your system.
For a secure and scalable Laravel authentication system, consider adding rate-limiting to protect against brute force attacks and role-based access control (RBAC) to manage user permissions effectively. As your app grows, transitioning to token-based authentication (like Laravel Sanctum) is a smart move, especially for APIs.
Always keep security in mind by regularly reviewing session management practices and implementing best practices as your application evolves. For advanced security of your app, hire Laravel developers with us today!
FAQs About Laravel Authentication
How to create custom authentication in Laravel?
To create custom authentication, you can modify Laravel’s default authentication system. Use the Auth::routes() method to set up routes, then customize the LoginController, RegisterController, and views in the resources/views/auth directory. You can also implement your own user model and authentication logic by extending AuthenticatesUsers and RegistersUsers traits. Laravel Sanctum is ideal for APIs and SPAs with simple token authentication.
How to create admin authentication in Laravel?
To create admin authentication, you can set up a separate authentication guard for admins. In config/auth.php, define a new guard and provider. Then, use middleware to restrict access to admin routes, ensuring only users with admin roles can access them. You can also create a custom Admin model and implement admin-specific login and registration logic.
What is OAuth2 in Laravel?
OAuth2 is an open-standard authorization framework that allows users to grant third-party applications access to their data without sharing credentials. In Laravel, you can use the Laravel Passport package to implement OAuth2 for API authentication, enabling secure token-based authentication for external applications.
How to allow only one login in Laravel?
To allow only one login per user, you can store a unique session token or IP address for each user in the database. When the user attempts to log in, check if they already have an active session. If they do, log them out of other sessions before allowing the new login.
How to make multi-auth in Laravel?
To implement multi-authentication, you can define multiple guards in the config/auth.php file. For example, set up a web guard for users and an admin guard for admins. Then, create separate controllers, models, and middleware for each guard to handle different types of users independently.