
Quick Summary
Laravel Dusk is a powerful Laravel package for automated browser testing, allowing developers to simulate real user interactions like clicking, typing, and navigation. It supports headless browser testing, easy setup with ChromeDriver, and expressive test writing with assertions to verify UI behavior. Dusk simplify ensure’s consistent functionality across browsers and enhances testing efficiency for Laravel web applications.
Table of Contents
When creating a website or web app, one of the primary things to ensure is that response on different devices and even different browsers is consistent. It makes sure the users have a good experience on your website. For that, you have to conduct browser testing on the website.
But with massive Laravel websites and web apps, manual testing can be quite tedious. That’s where Laravel Dusk comes in. It offers a simplified setting that streamlines automated browser testing for your sites and apps.
In this blog, we’ll help you learn how experts set up and use it for testing their website. Plus, we’ll dive into the best practices you can follow when using Laravel dusk. So, let’s dive in!
What is Laravel Dusk?
Laravel Dusk is a powerful and expressive browser automation and testing framework built specifically for Laravel applications. It allows you to write automated tests that mimic how real users interact with your web app, eliminating the need for tedious manual testing.
Think of it as a robot that can click buttons, fill out forms, and navigate your application, just like a human user. But unlike a human, Dusk never gets bored or makes mistakes. It runs your tests consistently and reliably, ensuring that your application is always working as intended.
Its user-friendly API makes it easy to interact with the browser, and it simplifies the testing process for JavaScript-driven applications. Overall, Dusk is a valuable asset used by developers to ensure the smooth functionality and user experience of Laravel applications in various scenarios.
Why Use Laravel Dusk?
Testing front-end user interfaces is often complex and time-consuming. Laravel Dusk streamlines this process by automating browser interactions. So developers can focus on writing tests rather than worrying about setup or configuration. Here are the key advantages:
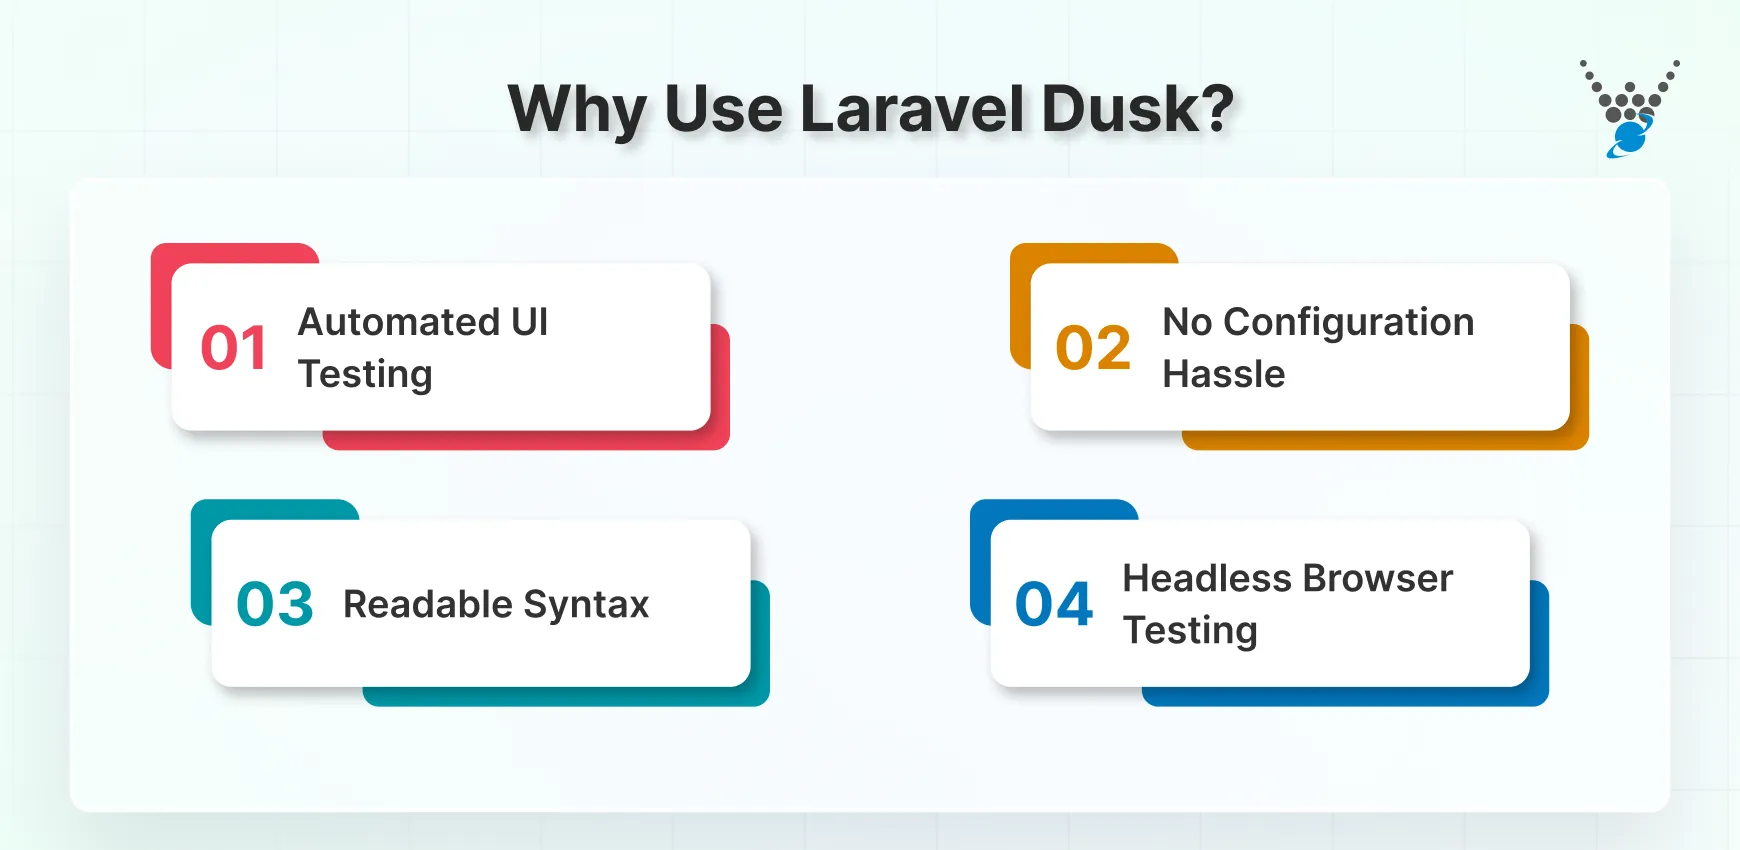
- Automated UI Testing: Dusk simulates real user interactions in the browser, ensuring your application works as expected across various scenarios.
- No Configuration Hassle: It comes pre-configured with support for modern browsers, eliminating the need for complex setup.
- Readable Syntax: Dusk provides an expressive and easy-to-understand syntax for writing tests, making the process more intuitive for developers.
- Headless Browser Testing: It supports headless mode, enabling faster test execution without the need for a graphical interface.
Laravel Dusk simplifies browser testing, enhances productivity, and provides an efficient way to ensure the quality and reliability of your web applications.
How to Set Up Laravel Dusk?
Setting up Laravel Dusk for browser testing is a straightforward process. By following the steps below, you’ll be ready to run automated UI tests on your Laravel application in no time.
Step 1: Install Laravel Dusk
Dusk is a Laravel-specific package that simplifies browser testing. To get started, use Composer to install it into your project:
composer require --dev laravel/dusk
Once installed, you need to register Dusk by running the following Artisan command:
php artisan dusk:install
This command will set up the necessary scaffolding for Dusk, including creating a tests/Browser directory and adding the DuskServiceProvider to your application.
Step 2: Configuring the Environment Setup
Dusk runs in a separate environment to prevent interfering with your production or local development environments. To ensure proper isolation, create a new environment file named .env.dusk.local in the root directory of your project. Inside the file, add the following configuration:
APP_ENV=testing
DB_CONNECTION=sqlite
DB_DATABASE=:memory:
This ensures your tests will use an in-memory SQLite database and the APP_ENV is set to testing.
Step 3: Configuring Driver Installation
Laravel Dusk uses Chromedriver for browser automation. Fortunately, it comes pre-packaged with a driver, but you’ll need to ensure that your Chrome browser is compatible. To install the correct version of the Chromedriver, run:
php artisan dusk:chrome-driver
Alternatively, you can manually install a compatible version of Chromedriver by visiting the Chromedriver download page.
With these three simple steps, Laravel Dusk is ready to be used in your application. Now you can begin writing and running browser tests, ensuring the quality of your front-end user interactions with ease.
Writing and Running Tests Using Laravel Dusk
Laravel Dusk makes it easy to write and run browser-based tests for your web applications. This section will guide you through the process of creating browser tests, executing them, and optimizing your testing setup for efficient CI/CD integration. Let’s dive into the steps!
Writing Browser Tests
Browser tests are stored in the tests/Browser directory. You can generate a new test class by running the following Artisan command:
php artisan dusk:make LoginTest
This will create a new test file in the tests/Browser directory. Here’s an example of a basic test for the login functionality:
<?php
namespace Tests\Browser;
use Laravel\Dusk\Browser;
use Tests\DuskTestCase;
class LoginTest extends DuskTestCase
{
    public function testUserCanLogin()
    {
        $this->browse(function (Browser $browser) {
            $browser->visit('/login')
                    ->type('email', 'user@example.com')
                    ->type('password', 'password123')
                    ->press('Login')
                    ->assertPathIs('/dashboard')
                    ->assertSee('Welcome back!');
        });
    }
}
In this example, the test simulates a user visiting the login page, entering their email and password, and then verifying that they are redirected to the dashboard with a “Welcome back!” message.
Running Tests
Once you’ve written your tests, you can execute them using the following Artisan command:
php artisan dusk
This will run all the browser tests in your application. Dusk will open a browser and execute the steps defined in your test classes.
Running Specific Tests
If you want to run a specific test file instead of all the tests, use the following command:
php artisan dusk tests/Browser/LoginTest.php
This will execute the LoginTest only, which is useful when you want to focus on a specific feature or test case.
Headless Mode
For continuous integration and delivery (CI/CD) pipelines or for faster execution, you can run Dusk in headless mode. This mode runs the tests without opening a visible browser window. To enable headless mode, set the DUSK_HEADLESS environment variable to true:
DUSK_HEADLESS=true php artisan dusk
Running tests in headless mode speeds up the process, making it ideal for automated testing environments.
Writing and running tests with Laravel Dusk is simple and efficient. But still, if you want to create the best browser tests for your application, execute them with ease, and optimize your testing setup for faster, more efficient runs, consult with a dedicated Laravel development company. They will take care of the features showcased in the next section.
Key Features of Laravel Dusk
Laravel Dusk is a powerful tool that simplifies browser testing by offering a variety of features that simulate real user interactions. These features allow developers to easily validate their applications’ behavior and automate testing processes. Below are some of the most notable features of Laravel Dusk.
Interacting with Elements
Dusk provides a wide range of methods for interacting with elements on your web page, making it easy to simulate user actions. You can type input into forms, click buttons or links, and interact with dropdowns or checkboxes.
Typing Input: To simulate typing into an input field, use the type method:
$browser->type('name', 'John Doe');
Clicking Buttons or Links: To click a button or a link, you can use either Dusk selectors or regular link text. Here’s how you can click a button using a selector:
$browser->click('@submit-button'); // Using Dusk selectors
Alternatively, you can click a link by specifying the link text:
$browser->clickLink('Home');
Dropdowns and Checkboxes: To interact with dropdown menus and checkboxes, use the select, check, and uncheck methods:
$browser->select('country', 'US')
        ->check('terms')
        ->uncheck('newsletter');
These methods simulate a real user’s actions, making it easy to test form submissions and other UI elements.
Assertions
Assertions are crucial for validating that the application behaves as expected after interacting with the UI. You can assert that certain content appears or that the browser is on a specific URL.
URL Assertions: After interacting with the application, you may want to confirm that the browser is on the expected path. Use the assertPathIs method:
$browser->assertPathIs('/dashboard');
Content Assertions: You can verify that specific content appears or does not appear on the page:
$browser->assertSee('Welcome back!');
$browser->assertDontSee('Error');
Assertions ensure that the UI responds correctly to user actions, making them a fundamental part of any test.
Authentication Scenarios
Testing authenticated user scenarios is simplified with Dusk. You can easily simulate logging in as a specific user and test authenticated routes. To log in as a user and check the dashboard:
$browser->loginAs(User::find(1))
        ->visit('/dashboard')
        ->assertSee('Welcome, Admin');
This feature makes it easy to test applications that require authentication, ensuring that only authorized users can access protected pages.
Dusk Selectors
Dusk Selectors are custom identifiers that can be defined in the tests/Browser/Components directory. These selectors help make your tests more readable and reusable, particularly for complex or frequently used elements.To click on a specific UI element using a selector:
$browser->click('@profile-link');
You can register these selectors in the DuskTestCase class to make them reusable across tests:
protected function registerDuskMacros()
{
    Browser::macro('profileLink', function () {
        return $this->click('@profile-link');
    });
}
Using Dusk selectors simplifies interactions with elements, making your tests cleaner and more efficient.
Taking Screenshots
Dusk allows you to capture screenshots during your tests, which is helpful for debugging test failures. When a test fails, having a screenshot can help you understand the state of the UI and what went wrong. To capture a screenshot during a test:
$browser->screenshot('login-test');
This feature is particularly useful in CI/CD environments or when troubleshooting complex test failures.
Advanced Interactions
Laravel Dusk supports advanced user interactions, such as dragging and dropping or uploading files. These interactions allow you to test more complex behaviors on your site.
Dragging and Dropping: To simulate drag-and-drop interactions, use the drag method:
$browser->drag('#source', '#target');
File Uploads: To test file uploads, you can attach files to input elements:
$browser->attach('file', __DIR__.'/files/sample.pdf');
These advanced interactions make it easier to test features like file uploads, drag-and-drop functionality, or complex UI behaviors.
Laravel Dusk provides a comprehensive suite of features that allow you to automate browser testing effectively. From interacting with elements to performing assertions and capturing screenshots, Dusk streamlines the testing process, making it easier to ensure your application behaves as expected.
Best Practices for Using Laravel Dusk
When using Laravel Dusk for browser testing, it’s essential to follow certain best practices to ensure your tests are efficient, maintainable, and scalable. By implementing these practices, you can streamline your testing process, improve test reliability, and optimize the performance of your test suite.
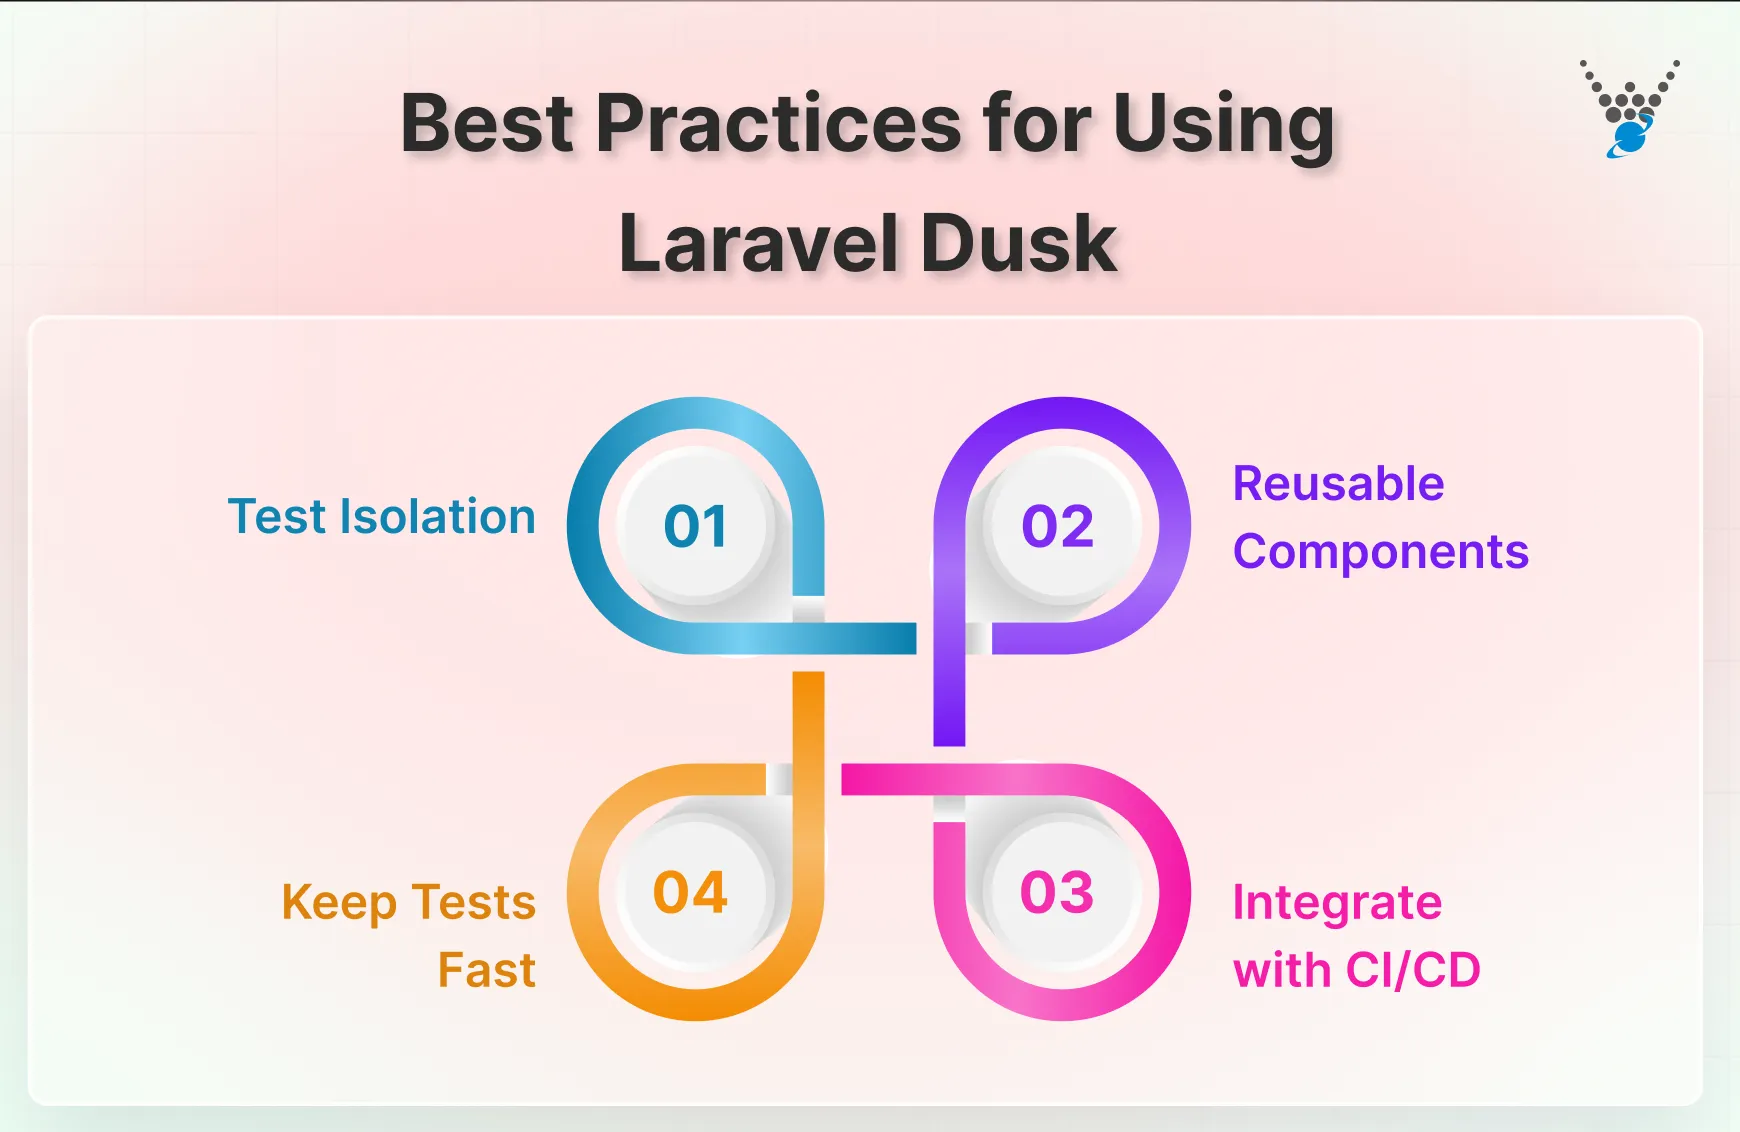
Test Isolation
One of the most important aspects of testing is ensuring that tests do not interfere with each other. This is especially crucial in browser testing, where state can be affected by previous tests. Test isolation helps prevent data from leaking between tests, ensuring that each test runs in a clean environment.
Reusable Components
As your test suite grows, you’ll encounter complex UI elements or actions that are repeated across multiple tests. Rather than duplicating code, it’s a good idea to create reusable components that encapsulate common interactions. This approach not only saves time but also keeps your tests DRY (Don’t Repeat Yourself).
Keep Tests Fast
Slow-running tests can drastically slow down your development cycle and hinder productivity, especially in large projects. Try to keep each test focused on a single piece of functionality. This way, each test is quicker to execute. Also, avoid simulating unnecessary interactions like long delays or unnecessary page reloads unless they are essential for the test.
Integrate with CI/CD
Continuous integration and continuous deployment (CI/CD) pipelines are essential for maintaining high-quality code in a collaborative environment. Laravel Dusk can be seamlessly integrated into your CI/CD pipeline to ensure that browser tests run automatically whenever new code is pushed.
By following these best practices, you can optimize your Laravel Dusk testing process and ensure that your tests are reliable, efficient, and scalable.
Wrapping Up
Laravel Dusk simplifies browser testing, making it a must-have tool for modern web developers. With features like automated UI interactions, advanced assertions, and support for authentication scenarios, it ensures your applications are functional and user-friendly.
By automating repetitive testing tasks and integrating with CI/CD pipelines, Dusk streamlines development workflows and enhances reliability. Whether you’re new to browser testing or refining your approach, Laravel Dusk provides the tools to build robust, error-free websites.
If you are looking to build a website that is well-designed and robust, hire Laravel developers with us today.


