Table of Contents
Handling file uploads is a common yet critical task in web development–whether it’s document submissions or image uploads. Laravel simplifies this process with built-in tools for validation, storage, and security. That ensures seamless integration without compromising performance.
However, improper implementation can lead to vulnerabilities like unauthorized access or server overload.
So this blog covers Laravel file uploads and the practices around it. That is, everything from basic implementations using the Storage facade to advanced techniques like chunked uploads and cloud storage. Let’s begin.
Components of Laravel File Uploads
Handling file uploads in Laravel involves multiple components working together to ensure security, efficiency, and ease of use. Let’s look at the key elements:
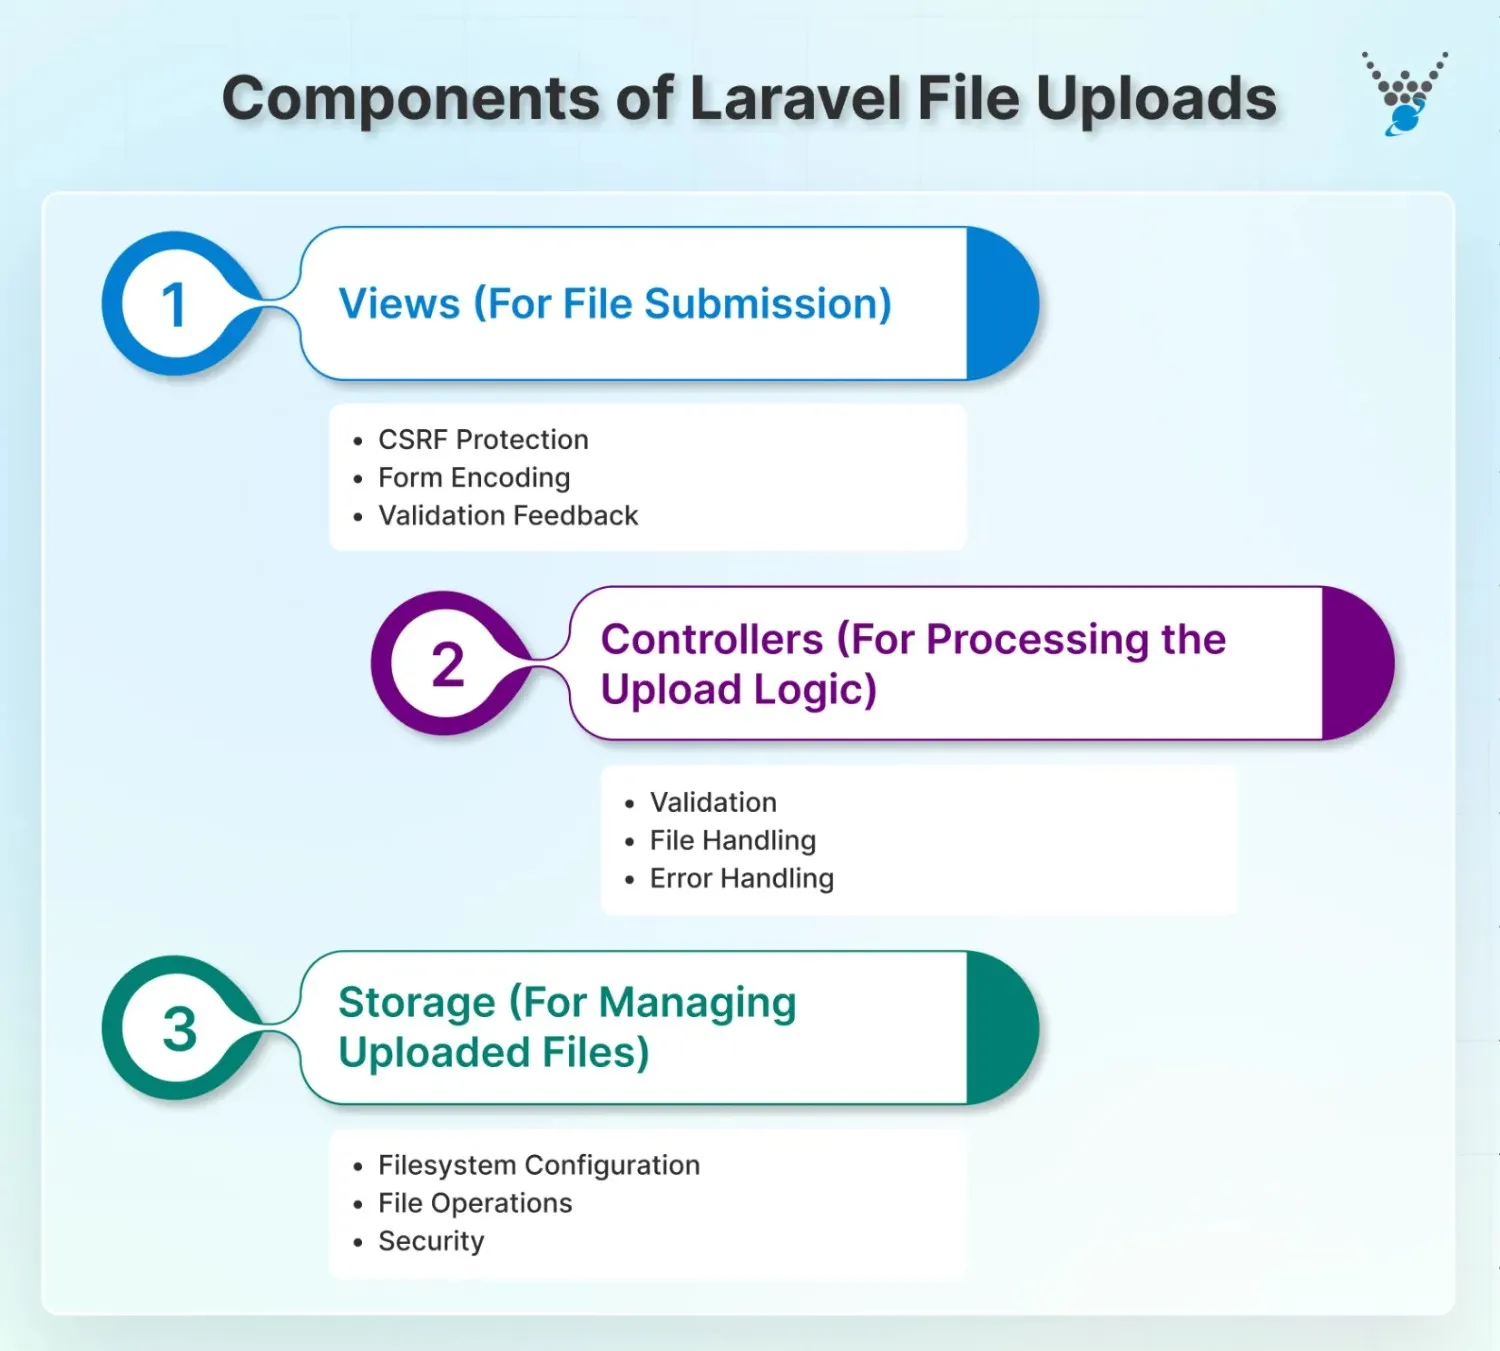
Views (For File Submission)
The View is where users interact with the upload feature—typically by creating a form with an <input type=”file”> element. Laravel’s Blade templating engine simplifies this with built-in directives for handling file uploads securely. Here are the key considerations:
- CSRF Protection (@csrf): To prevent cross-site request forgery.
- Form Encoding (enctype=”multipart/form-data”): To support file data.
- Validation Feedback: To display errors (e.g., file size limits or invalid formats).
Controllers (For Processing the Upload Logic)
You can create a Controller to manage the business logic—validating, processing, and storing uploaded files. Laravel’s Request object provides methods like file() and store() to handle uploads efficiently. Essential steps include:
- Validation: Using Laravel’s validation rules like file, mimes, max.
- File Handling: Moving files to temporary or permanent storage.
- Error Handling: Returning appropriate responses for success/failure.
Storage (For Managing Uploaded Files)
Laravel’s Storage system (via Illuminate\Support\Facades\Storage) abstracts Laravel file storage, supporting local disks, Amazon S3, and other cloud services. Key features:
- Filesystem Configuration: For defining disks in config/filesystems.php.
- File Operations: For storing, retrieving, deleting files using storeAs(), put(), delete().
- Security: For preventing direct public access via symbolic links or private storage.
Understanding these components ensures a smooth, secure file upload system in Laravel applications.
For even a basic implementation of these elements of file uploads, you will need some technical skills and expertise. You can hire expert Laravel developers to build a robust file upload system that balances usability, security, and scalability.
How to Perform Laravel File Upload?
Performing file uploads in Laravel involves several steps, from setting up the form to handling the file upload in a controller. Here’s a comprehensive stepwise guide:
Step 1: Create a Form
First, create an HTML form with a file input field. The form must have the enctype= “multipart/form-data” attribute to handle file uploads correctly.
<form action="/upload" method="POST" enctype="multipart/form-data">
    @csrf
    <input type="file" name="file">
    <button type="submit">Upload</button>
</form>
An HTML form is set up to allow users to select a file from their device and submit it for upload. The @csrf directive is used to include a CSRF token for security.
Step 2: Define a Route
Define routes in your web.php file to handle the form submission and map it to a controller action.
use App\Http\Controllers\FileUploadController;
Route::post('/upload', [FileUploadController::class, 'upload']);
A POST route is defined to handle the submission of the form. When the form is submitted, the request is sent to the upload method of the FileUploadController.
Step 3: Create a Controller
Create a controller to handle the file upload logic. You can create a new controller using the Artisan command.
php artisan make:controller FileUploadController
A new controller named FileUploadController is created. This controller will contain the logic to process the file upload.
Step 4: Implement the Upload Logic
In the controller, implement the file upload logic, including validation, storage, and error handling.
namespace App\Http\Controllers;
use Illuminate\Http\Request;
class FileUploadController extends Controller
{
    public function upload(Request $request)
    {
        // Validate the uploaded file
        $request->validate([
            'file' => 'required|file|mimes:jpg,png,pdf|max:2048',
        ]);
        // Check if the file is valid
        if ($request->file('file')->isValid()) {
            // Store the file in the 'uploads' directory on the 'public' disk
            $filePath = $request->file('file')->store('uploads', 'public');
            // Return success response
            return back()->with('success', 'File uploaded successfully')->with('file', $filePath);
        }
        // Return error response
        return back()->with('error', 'File upload failed');
    }
}
The upload method in the controller validates the uploaded file and stores it in the uploads directory. If it’s successful, it will return a success message; otherwise, it will return an error message.
Step 5: Display the Upload Form
Create a view file (resources/views/upload.blade.php) to display the upload form and handle the success or error messages.
<!DOCTYPE html>
<html>
<head>
    <title>Laravel File Upload</title>
</head>
<body>
    @if(session('success'))
        <p>{{ session('success') }}</p>
        <img src="{{ Storage::disk('public')->url(session('file')) }}" alt="Uploaded File">
    @endif
    @if(session('error'))
        <p>{{ session('error') }}</p>
    @endif
    <form action="/upload" method="POST" enctype="multipart/form-data">
        @csrf
        <input type="file" name="file">
        <button type="submit">Upload</button>
    </form>
</body>
</html>
Here, we created a Blade template to display the upload form. It also shows success or error messages based on the outcome of the upload process.
Step 6: Display the Uploaded File
After a successful upload, display the uploaded file in the view using Laravel’s storage facade to generate the URL.
<img src="{{ Storage::disk('public')->url(session('file')) }}" alt="Uploaded File">
The uploaded file is displayed in the view by generating its URL using the storage facade. This allows users to see the files they have uploaded. The approach is similar if you want to know how to upload images in Laravel.
With this setup, you can handle file uploads efficiently and securely within your Laravel website.
Laravel Issues with File Upload and Their Fixes
When uploading a file in Laravel, you may encounter some unexpected issues. But don’t worry; I’ll tell you how to fix them.
1. Validation Errors
Validation errors occur when the uploaded file does not meet the specified validation criteria (e.g., file type, size).
Fix
Ensure that the validation rules are correctly defined in the controller. For instance:
$request->validate([
    'file' => 'required|file|mimes:jpg,png,pdf|max:2048',
]);
Proper validation rules ensure that only valid files are uploaded. It reduces the risk of security issues and ensures user requirements are met.
2. File Storage Failure
The uploaded file fails to store correctly, often due to incorrect file paths or missing storage directories.
Fix
Ensure the storage directory exists and is writable. You can create a symbolic link to the storage directory using the Artisan command:
php artisan storage:link
By fixing this, the files will be successfully stored in the correct directory, and users can access the uploaded files without issues.
3. CSRF Token Mismatch
A CSRF token mismatch error occurs when the CSRF token is missing or incorrect in the form submission.
Fix
Include the @csrf directive within the form to generate a valid CSRF token. For example:
<form action="/upload" method="POST" enctype="multipart/form-data">
    @csrf
    <input type="file" name="file">
    <button type="submit">Upload</button>
</form>
Ensuring the CSRF token is correctly included prevents token mismatch errors and enhances the security of the form submission.
4. Large File Uploads
Uploading large files can result in errors due to server or PHP configuration limits.
Fix
Increase the upload_max_filesize and post_max_size settings in the php.ini file.
upload_max_filesize = 10M
post_max_size = 10M
After making these changes, restart the web server. You will now be able to upload large files without encountering server configuration errors. To maintain speed and responsiveness, always optimize Laravel database queries when fetching uploaded files and related user data.
After making these changes, restart the web server. You will now be able to upload large files without encountering server configuration errors.
5. Incorrect File Permissions
Uploaded files are not accessible due to incorrect file permissions in the storage directory.
Fix
Ensure the storage directory has the correct permissions. Set the correct permissions using the following command:
chmod -R 775 storage
By storing files with the correct permissions, you can ensure they are accessible to the user.
These were some common issues you may encounter when performing Laravel file upload. You can also have an issue that is not mentioned above. For that, you may take help from the professionals.
Let’s Conclude
Handling file uploads efficiently is a crucial part of modern web applications. Laravel provides a clean, secure way to manage this process with Views, Controllers, and Storage. It lets you ensure smooth file handling—from user submission to server storage and retrieval.
Whether you’re working with local files or cloud storage, Laravel’s built-in methods simplify validation, security, and scalability. Always validate user uploads, enforce file size limits, and store files securely to prevent vulnerabilities.
Still need help with file uploads? Then get our Laravel development services today!
FAQs About Laravel File Upload
What validation rules apply to file uploads?
Laravel supports file-specific validation rules like file, mimes:jpeg,png,pdf, and max:2048 (for file size in KB). These ensure only permitted files are uploaded.
Where are uploaded files stored?
By default, files are saved in storage/app/public. To make them accessible via the web, run php artisan storage:link to create a symbolic link to public/storage.
How do I upload files to cloud storage like S3?
Configure your S3 credentials in .env and set the default disk to s3 in config/filesystems.php. Use Storage::disk(‘s3’)->put() to upload files directly. To keep your upload indexes secure, schedule regular backups using Laravel MySQL dump for your database.
How do I retrieve and display uploaded files?
Use Storage::url() for public files or Storage::get() for private files. For images, you can generate temporary URLs for secure access.
How do I delete uploaded files?
Use Storage::delete(‘file_path’) to remove files from disk. Ensure proper error handling if the file doesn’t exist.
Do Laravel migrations organize file upload storage in your project?
Laravel migrations simplify database schema management and versioning for file uploads. Artisan scripts can swiftly migrate uploaded file metadata to a dedicated table for filenames, paths, and user associations. Migrations help teams and update deployers build, modify, and roll back upload tables in an organized way.

Streamline File Uploads in Laravel
Ensure secure and efficient file handling in your Laravel app. Our experts can help you implement best practices effortlessly.