
Quick Summary
Laravel provides Monolog-based logging services to monitor and troubleshoot applications. Laravel’s logging system uses “channels,” each representing a log message writing technique. You can create custom log channels and handlers as well. More about logging in Laravel is covered in this article.
Table of Contents
Laravel developers put stability and speed of applications first. It can be like getting lost trying to figure out why mistakes happen. The powerful Laravel logging tool shows you how your app works on the inside and shows what’s working and what is not.
Apart from that, Laravel’s logging system gives you important information about how your app is behaving. There are quick and easy ways to fix problems. In this article, we will talk about the basics, logging strategies, and more advanced ways to make your app easier to see. After this blog, you will be able to accurately find problems and make your Laravel app run smoothly.
What is Laravel Logging?
Laravel provides a logging system built on top of the popular Monolog library. With Laravel’s logging system, developers can send information about events, failures, and how an app is acting to a number of different routes and workflows. This Laravel logging guide makes monitoring and analysis better by storing log data in a structured way that can be searched.
Further, the emergency, alert, critical, error, warning, notice, info, and debug levels used by Laravel are standard in the business. With these methods, coders can sort logs by severity level and message type. The best way to use the Laravel logger is to set the log levels correctly so that you can tell the difference between important and less important messages.
The Importance and Purpose of Logging with Laravel
Monitoring Laravel apps with good logging is useful for many things in current web development. By making things clear and visible, logging makes difficult application states easier to understand. Here are a few pointers that show why logging in Laravel is so important:
- The level of visibility is very important for running programs in work settings where direct debugging is not possible.
- The Twelve-Factor App says that logs are an important part of modern application design. This idea of logging should be thought of as event streams instead of files so that they can be analyzed and scaled more easily.
- Stream-based logging and customizable destination routing in Laravel make these ideas possible.
- Logging in to Laravel helps find places where things go wrong before they affect users.
- By looking at trends of Laravel errors, performance problems, and strange behavior, development teams can fix problems when the site isn’t busy, instead of when it’s down.
- This proactive approach makes the app more reliable and makes users happier.
- Laravel application monitoring keeps an eye on how requests are handled, how well database queries run, and how resources are used so that speed bottlenecks can be found.
These insights let choices about optimization in production be based on data.
Why Use Laravel Logging?
Logging is essential for Laravel developers. It organizes and centralizes application events and data. The development, maintenance, and deployment benefits are enormous. Below are a few of the many Laravel monitoring system benefits that will help you to do better production:
Benefits of Using Laravel Logging
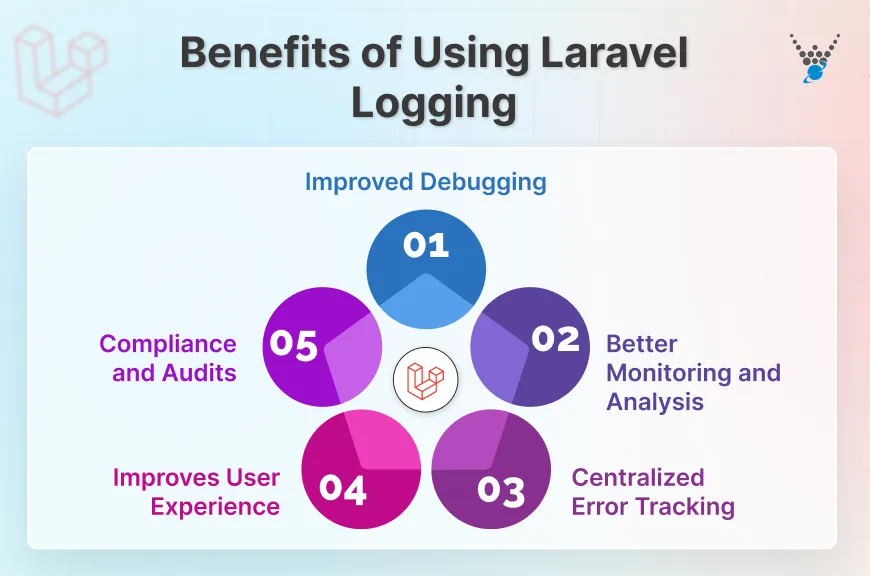
- Improved Debugging: Detailed code logs assist in identifying flaws and failures. Tracking variable values, execution flow, and lines simplifies debugging.
- Better Monitoring and Analysis: Logging application activity reveals user behavior, system performance, and bottlenecks. This data optimizes your software and improves user experience.
- Centralized Error Tracking: Your application’s error messages can be centralized with Laravel logging. Recurring issues, their resolution, and prevention are easy to spot with this unified view.
- Improves User Experience: Logging user interactions reveals usability concerns and error trends. The insight drives user experience enhancements and feature development objectives.
- Compliance and Audits: Many apps need thorough audit trails for compliance. Laravel logs are structured, tamper-resistant, and regulatory-compliant. Laravel’s extensive logging benefits financial, healthcare, and corporate software.
So, building durable and stable Laravel applications requires good logging. Debugging, monitoring, and analyzing your application becomes increasingly vital as your project grows. Consult an experienced Laravel development agency for the best logging integration.
How to Use Laravel Logging?
Getting started with configuration choices, channel setup, and log message best practices is essential for Laravel logging. Our Laravel logging guide and setup covers everything from basic to sophisticated options.
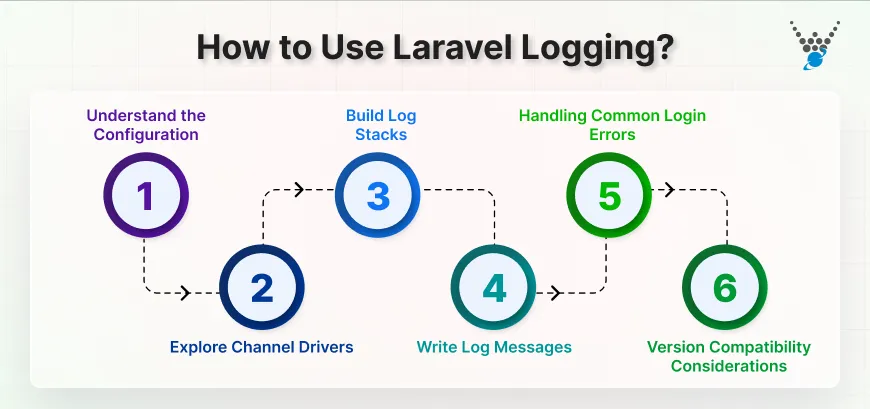
Step 1: Understand the Configuration
Laravel’s logging settings are located in `config/logging.php`, which controls all logging behavior. The channels, drivers, and formatting settings in this configuration file affect how your program handles log messages.
- Channels: This section lists log message destinations as channels. Standard setup includes a stack channel that mixes channels. Custom channels can be added for logging.
'channels' => [
    'stack' => [
        'driver' => 'stack',
        'channels' => ['single'],
    ],
    // Add custom channels here...
],
- Drivers: The Location of channel log messages is determined by drivers. Single log file, daily log files, Slack integration, and more are available. Each driver has configurable options.
'drivers' => [
    'single' => [
        'path' => storage_path('logs/laravel.log'),
        'level' => env('LOG_LEVEL', 'debug'),
    ],
    // Add configurations for other drivers...
],
- Log Levels: Logging severity levels include debug, info, warning, error, and more. These levels classify information importance.
'levels' => [
    'emergency' => Log::EMERGENCY,
    'alert' => Log::ALERT,
    'critical' => Log::CRITICAL,
    'error' => Log::ERROR,
    'warning' => Log::WARNING,
    'notice' => Log::NOTICE,
    'info' => Log::INFO,
    'debug' => Log::DEBUG,
],
Understanding these key components helps you customize Laravel logging for your application. Learn how to clear Laravel log files for a clean and organized application monitoring setup.
Step 2: Explore Channel Drivers
Logging channel drivers in Laravel determine where log messages go. Knowing these drivers lets you identify the best log locations.
- Single Driver: The Path configuration parameter dictates where this driver publishes all logs. Simple and straightforward for basic logging.
'single' => [
    'driver' => 'single',
    'path' => storage_path('logs/laravel.log'),
    'level' => 'debug',
],
- Daily Driver: Regular log files are created by this driver. It manages log volume and simplifies date-based searches.
'daily' => [
    'driver' => 'daily',
    'path' => storage_path('logs/laravel.log'),
    'level' => 'info',
],
- Stack Driver: This strong driver stacks many channels. This lets you deliver logs to different locations by severity or category.
'stack' => [
    'driver' => 'stack',
    'channels' => ['single', 'slack'],
    'level' => 'debug',
],
- Other Drivers: Laravel has built-in Slack, Syslog, and email drivers. Custom drivers can integrate with certain logging providers.
These are a few instances; Laravel offers drivers for more logging locations. Explore the various choices and configurations to customize your logging system for your project.
Step 3: Build Log Stacks
Stack channel driver lets you construct custom log stacks in Laravel. These stacks let you deliver logs to different locations based on severity or category via multiple channels. How to build log stacks.
- Define Stack: Configure a stack-driver channel in config/logging.php. The channels option lets you select particular channels.
'channels' => [
    'stack' => [
        'driver' => 'stack',
        'channels' => ['single', 'slack'], // Channels to include in the stack
        'level' => 'debug', // Minimum level for all channels in the stack
    ],
],
- Set Minimum Level (Optional): The stack configuration’s level option sets the minimum level for any channel to log a message. This filters lower-level communications from all channels.
- Channel-Specific Levels: The stack sets a minimum level; however, you can define individual channel minimum levels. This allows tighter control over log message destinations.
Log stacks enable more precise logging that directs messages by importance and type.
Step 4: Write Log Messages
Writing log messages to defined channels is easy using Laravel’s Log facade. How to use these methods:
- Import Facade: Import the Log façade at the top of your file to log messages.
use Illuminate\Support\Facades\Log;
- Select Log Levels: Choose a log level based on message severity. Laravel has debugging, info, warning, error, and more.
- Write Message: Call the Log facade method with your message string as the first argument.
Log::info('User logged in successfully with ID: ' . $user->id);
Log::warning('Failed to connect to database');
Log::error('An unexpected application error occurred');
Additional Considerations
To include contextual data (user IDs, timestamps, etc.) in log messages, supply an associative array as the second argument.
Log::info('Order placed successfully', [
    'order_id' => $order->id,
    'user_id' => $user->id,
    'total_amount' => $order->total_amount,
]);
Write useful log messages throughout your Laravel application after these steps. Changing Laravel timezone to match your application’s deployment location or team workflow improves log timestamp accuracy. Provide useful debugging, monitoring, and analytical insights.
Step 5: Handling Common Login Errors
Laravel log entries can include additional data beyond the main message. For debugging and analysis, contextual information helps to understand the logged event. How to add context:
- Prepare Data: Prepare your log message with the necessary information. This may include user IDs, timestamps, request data, object characteristics, or other event-related data.
- Pass as an Array: The Log facade method accepts an associative array as the second argument. The keys of this array are data names, while the values are data.
$user = Auth::user();
Log::info('User profile updated successfully', [
    'user_id' => $user->id,
    'username' => $user->username,
    'updated_fields' => array_diff_key($user->fresh()->toArray(), $user->getOriginal()),
]);
- Flexibility/Readability: Data logging is flexible with contextual data. Clear, concise key names should match logged data. This makes log entries easier to read.
Contextualizing Laravel logs improves troubleshooting and analysis. This clarifies the logged event context. Combining thorough Laravel logging with easy Laravel validation ensures data integrity and clear error messages, making troubleshooting easier.
Step 6: Version Compatibility Considerations
Different versions of Laravel have different logging features, so they need to be configured differently for each version to work best. Understanding the changes between versions makes sure that logging works correctly in all Laravel installations.
- Laravel 8 Compatibility: Laravel 8 adds better ways to handle log context and more channel configuration choices. When applications target Laravel 8+, they get better speed and more ways to customize them.
- Laravel 9 Requirements: Laravel 9 needs PHP 8.0 or higher and has new Monolog dependencies. When upgrading Laravel installs, make sure that the new version of Monolog works with the old version.
- Laravel 10: Laravel 10 adds more choices for formatting logs and better error context. Applications that use Laravel 10 or later can access more advanced logging features, such as better handling of errors and context spreading.
- Improvements to Laravel 11: Laravel 11 has a simpler way to set up logging and better speed for situations where a lot of logging is done. The requirement for PHP 8.2 or higher makes sure that it works with modern logging tools and dependencies.
What are the Advanced Uses of Laravel Logging?
In Laravel, logging does more than just show problem messages. Using its advanced features, you can figure out how your app works and make fixing easier.
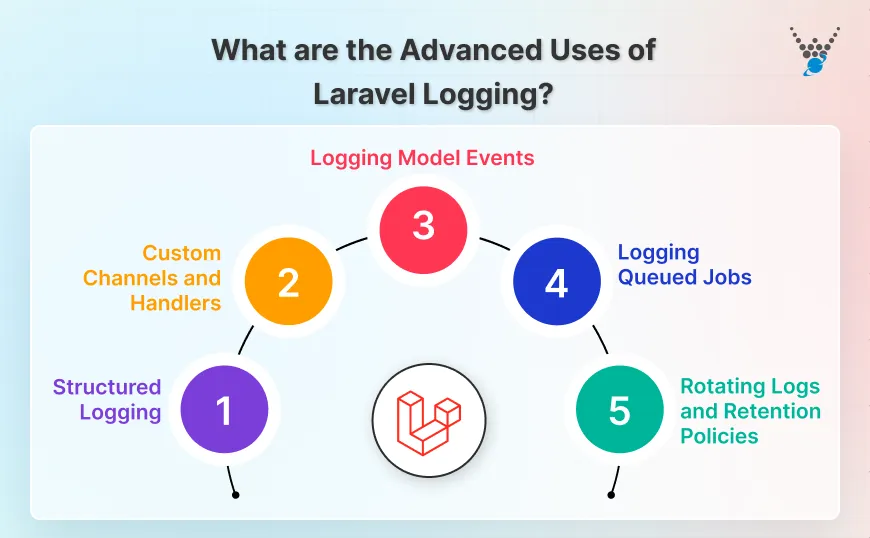
1. Logging with Structure
More than text messages. Key-value pairs are used to store timestamps, user IDs, and request information in structured logs. This makes it easier to read machine logs and analyze tracking tools.
2. Custom Channels/Handlers
You can make the Laravel routes better than they are by default. Use custom routes to send logs to Slack, a database, or an outside monitoring service. In these routes, handlers organize and send logs.
3. Logging Model Events
Record changes to the database model. Laravel keeps track of when a model is added, deleted, or changed. This creates a full audit trail of all changes made to program data.
4. Logging Queued Jobs
Look at the jobs that are waiting for you. Keep track of job efforts, successes, and failures. You can find jobs that are hard to do and make your queue system work better.
5. Rotating Logs and Retention Policies
Do not let the log file keep growing. Turn logs over automatically and make new files when they get too big. Set rules for how long to keep logs and store or delete older ones.
Advanced logging methods show a lot about how your app works on the inside. This speeds up applications, helps you find problems faster, and keeps data safe.
What are the Best Practices to Follow in Laravel Logging?
Using the Laravel logging best practices guarantees the best performance, security, and ease of maintenance. These best practices help make sure that logging works well in both development and production settings.
Appropriate Log Level Usage
- Debug Level: Only use in development settings to get detailed information on how to fix problems. The debug level logs for Laravel include variable dumps, tracking of the execution flow, and detailed information about the state.
- Info Level: Keep track of normal application processes, like what users do, transactions that go smoothly, and system events. Informational logs let you see what’s going on without having to look through a lot of records.
- Warning Level: Record conditions that could be problematic, but don’t stop regular operation. Warnings show problems that need to be fixed, but they are not failures right away.
- Error Level: Write down error conditions that stop operations from working but don’t cause the program to crash. Error logs need to be looked into and fixed.
- Critical Level: Write down very bad errors that could make the program unstable. Important logs need immediate attention and a quick reaction.
Contextual Information Standards
For complete debugging, include context with log messages. User identification, request parameters, session data, and environment should be in context.
Log::error('Payment processing failed', [
    'user_id' => $user->id,
    'order_id' => $order->id,
    'payment_method' => $paymentMethod,
    'amount' => $order->total,
    'error_code' => $response->getErrorCode(),
    'transaction_id' => $response->getTransactionId(),
    'ip_address' => request()->ip(),
    'user_agent' => request()->userAgent()
]);
Performance Optimization
- Async Logging: Use asynchronous logging in applications with a lot of traffic to keep log writing from slowing down response times. For integrating an outside service, use queue-based logging.
- Log Rotation: To avoid disk space problems, set up automatic log rotation. Log file sizes stay manageable with daily rotation and retention rules.
- Conditional Logging: Set up conditional logging based on the settings and surroundings. To get the best speed, debug-level logging should be kept to a minimum in production environments.
Security Implementation
Data Sanitization: Use full data sanitization to maintain the privacy of private data. Create service classes or software that automatically cleans up log data.
class LogSanitizer
{
    protected $sensitiveFields = [
        'password', 'password_confirmation', 'token', 'api_key',
        'credit_card', 'ssn', 'bank_account'
    ];
    public function sanitize(array $data): array
    {
        foreach ($this->sensitiveFields as $field) {
            if (isset($data[$field])) {
                $data[$field] = '[REDACTED]';
            }
        }
        return $data;
    }
}
Final Remarks on Laravel Log Monitoring
Laravel’s logging system lets you see your app’s inner workings. A solid logging infrastructure can be built by configuring logging channels, using log levels, and following best practices. This will help you fix problems, improve performance, and maintain the app.
A well-structured logging configuration helps you find and fix issues faster, making your app more stable and user-friendly. Structured logging and bespoke channels enable even more extensive analysis and data security.
Want better Laravel logging? Hire Laravel developers to implement a logging strategy that fits your application.
FAQs About Laravel Logging
Which logging tool works best with Laravel?
Most projects work well with Laravel’s logging system, which is based on Monolog. When you need more power, Loggly, Papertrail, and ELK Stack integration are great choices. What makes a tool “best” depends on what you need to watch, analyze, and comply with.
How can I log everything in Laravel safely?
Logging everything slows things down and makes security less safe. Instead, use smart logging with the right amount of logs. The level of debugging for development, the level of operating event information, and the level of error for issues. At every level, don’t put private information in logs.
Can I customize log storage locations in Laravel?
The logging setup file in Laravel lets you change where logs are stored in every way. You can set your own path, remote storage, or database storage. Custom places to store things need to be authorized and protected.
How do I change log rotation in Laravel?
Rotating logs is made into Laravel’s daily driver setup. Set the number of days to keep log files before they are deleted automatically. You can use cron tasks or system-level log rotation tools to make your own custom rotation plans.
What’s the difference between logging and debugging in Laravel?
Logging permanently saves application events so that they can be analyzed and watched. On the other hand, debugging tells you about short-term growth problems. Most of the time, logging is done in production, and debugging is done during development.


