
Quick Summary
Discover how to manage Many-to-Many relationships in Laravel in an easy, step-by-step way. This guide covers everything from creating pivot tables and defining relationships in models to performing CRUD operations, accessing pivot data, and applying advanced features like eager loading, custom pivot models, and filtering related records. Ideal for both beginners and experienced developers seeking to craft clean, efficient, and dynamic applications with Laravel.
Table of Contents
Laravel is one of the most popular PHP frameworks for building web applications. If you’ve worked with it, you know how powerful its tools can be. One of the key features that makes Laravel so flexible is its ability to manage relationships between data.
Even Laravel experts rely on many-to-many relationships to build efficient, scalable applications. Knowing how to define eloquent relationships, manage pivot tables, and query related data will significantly improve your ability to work with advanced data structures in Laravel.
In this guide, we’ll focus on the many-to-many relationship. It is a type of connection where multiple records on one side relate to multiple records on the other. Understanding this concept is essential for creating efficient, real-world applications. So, let’s dive in!
What is a Many-To-Many Relationship in Laravel?
In Laravel’s Eloquent ORM, a Many-to-Many relationship allows multiple records in one table to be linked with multiple records in another. This is especially useful when a single entity can relate to many entities of another type.
For instance, consider Users and Roles. A single user can have multiple roles, and a single role can belong to multiple users. Another common example is Products and Categories in an e-commerce application. A product can belong to several categories, and each category can include many products.
How Does Many-To-Many Relationship in Laravel Work?
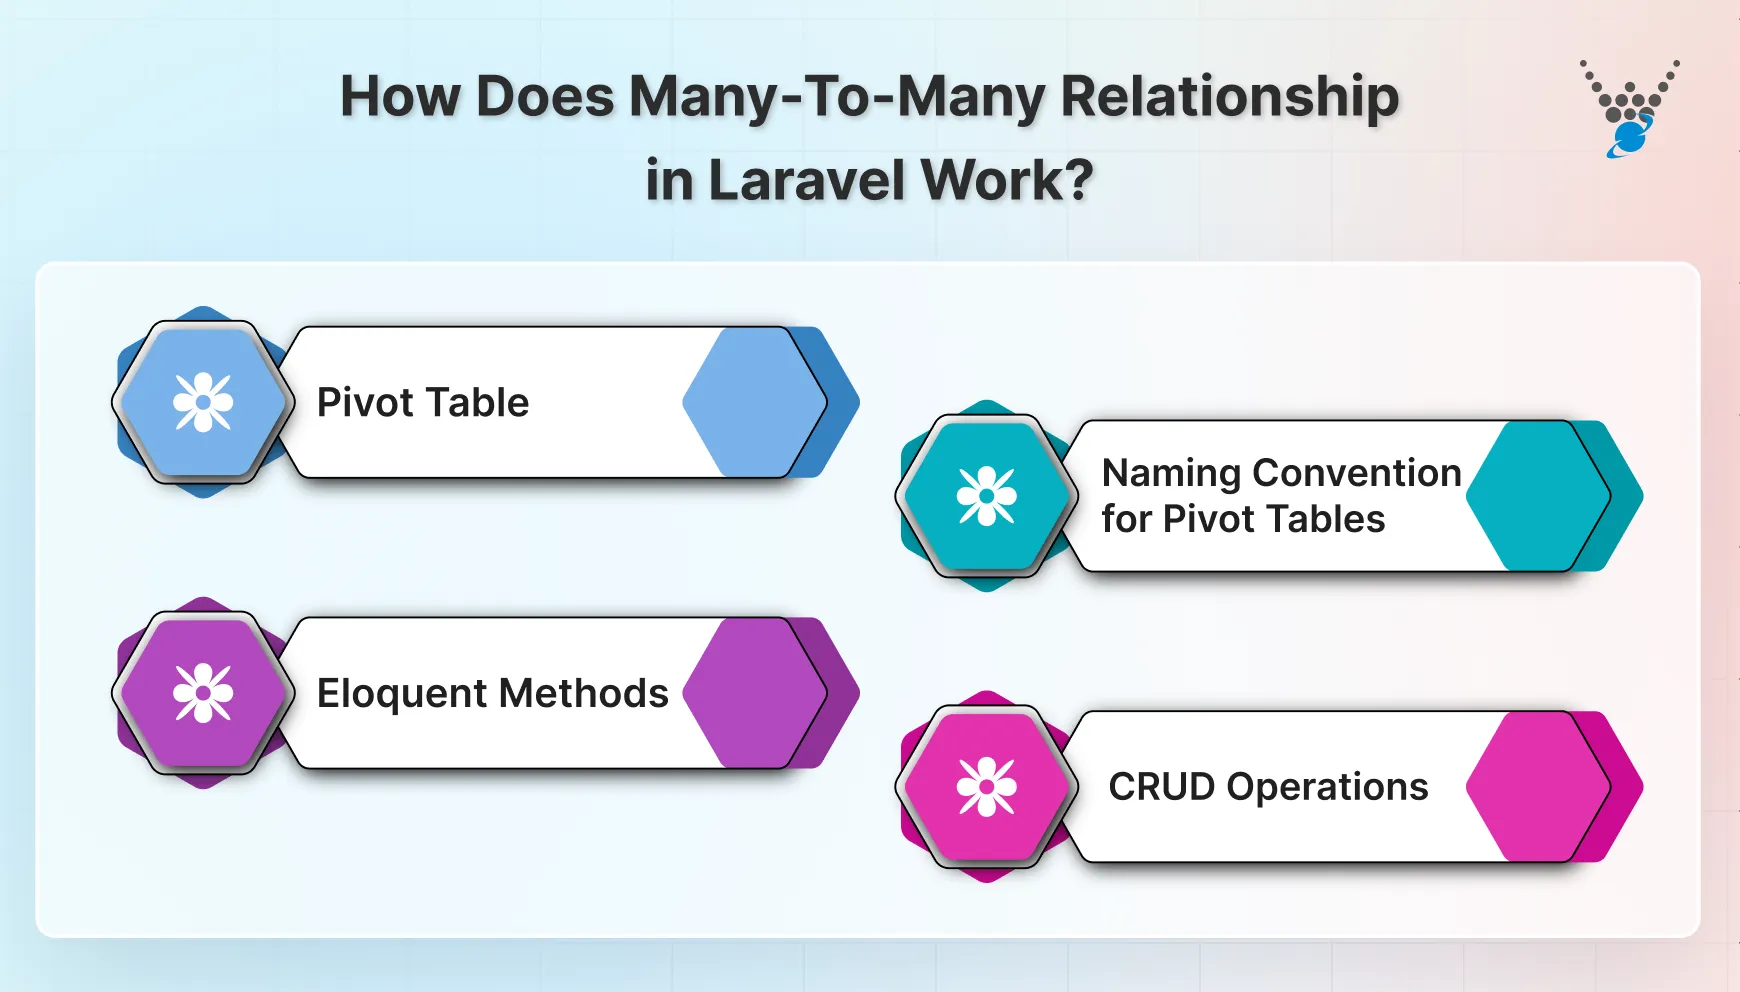
- Pivot Table: At the heart of a Many-to-Many relationship is the pivot table. This table sits between the two connected tables and stores the foreign keys of each. It can also store additional information about the relationship itself, providing you with more flexibility.
- Naming Conventions for Pivot Tables: Laravel follows a simple convention for naming pivot tables: the names of the two tables involved, in alphabetical order, separated by an underscore. For example, if you have posts and tags, the pivot table would be named post_tag. For roles and users, it would be role_user. Following this convention helps Laravel automatically detect the pivot table without extra configuration.
- Eloquent Methods: Laravel’s Eloquent makes working with these relationships simple. The belongsToMany method is used in models to define the connection. Behind the scenes, it handles all the database operations, so you don’t have to write complex queries.
- CRUD Operations: Once the relationship is set up, you can easily perform Laravel CRUD operations on the related models. For example, you can attach a role to a user, detach a category from a product, or sync multiple relationships at once.
In short, Many-to-Many relationships in Laravel provide a powerful and flexible way to model real-world connections, like Users ↔ Roles or Products ↔ Categories, while keeping your code clean and manageable.
Why Use Many-To-Many Relationship in Laravel?
Many-to-many relationships are a cornerstone of building robust and flexible data models in Laravel applications. Let’s understand why they earn a prominent place in your development toolkit.
Benefits of Using Many-To-Many Relationship in Laravel
- Modeling Real-World Relationships. Products belong to categories, users have roles, and tags are associated with posts. These relationships are modeled using Laravel’s Many-To-Many functionality. It ensures your data structure accurately reflects the complexities of your application’s domain.
- Improved Data Organization. Managing intricate data associations can quickly become cumbersome. With Many-To-Many relationships, you streamline the process of associating and retrieving related models. Laravel’s built-in methods handle the underlying database interactions, allowing you to focus on the application logic.
- Enhanced Functionality. Many-To-Many relationships offer significant flexibility. Pivot tables can store additional data specific to the connection, enriching your data model. This empowers you to capture the procedure of the relationship, such as the order in which a product is displayed within a category.
Hence, Many-To-Many relationships are a powerful tool in your Laravel development. For complex data interactions and feature-rich applications, they offer a clean solution. If you require assistance with crafting a comprehensive data model, consider seeking the best Laravel development services.
How to Use Many-To-Many Relationship in Laravel?
Now that we understand Many-To-Many relationships, let’s dive into the practical steps involved in implementing them within your Laravel application. Here’s a breakdown of the key processes:
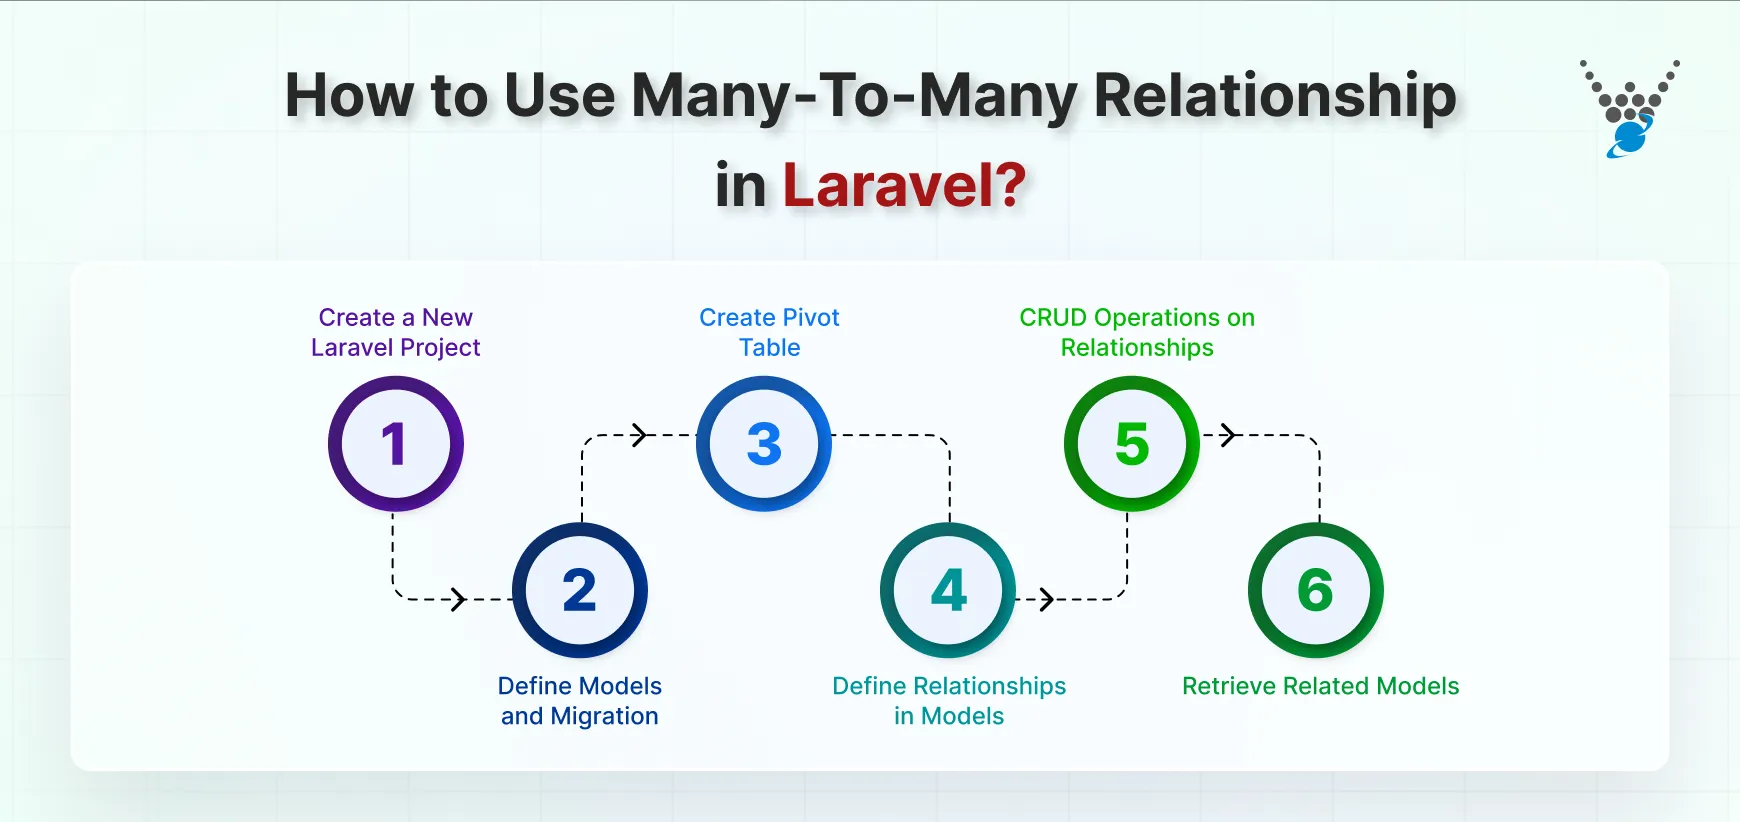
Step 1: Create a New Laravel Project
Before diving into many-to-many relationships, the first thing you need is a Laravel project to work with. If you don’t already have one, don’t worry—it’s easy to get started.
To create a new Laravel project, just open your terminal and run the following command:
composer create-project --prefer-dist laravel/laravel your-project-name
Replace “your-project-name” with the name you want for your project. This will install a fresh copy of Laravel. Once it’s done, navigate to your new project folder:
cd your-project-name
Step 2: Define Models and Migration
The foundation for a Many-To-Many relationship lies in establishing the models and their corresponding migrations. Here’s a detailed breakdown of this step:
1. Create Models: Use the Laravel Artisan command to generate separate models for each table involved in the relationship. For example, to create models for Post and Tag, run the following commands:
php artisan make:model Post -m
php artisan make:model Tag -m
These commands will create the Post.php and Tag.php model files within your application’s app directory.
2. Define Model Properties: Within each model, define the relevant properties using Laravel’s data types. For example, a Post model might have properties for title, content, and id.
3. Create Migrations: Next, generate Laravel migration files for both the posts and tags tables. Use the Artisan command:
php artisan make:migration create_posts_table
php artisan make:migration create_tags_table
These commands will create migration files named create_posts_table_migration.php and create_tags_table_migration.php within your application’s database/migrations directory.
4. Define Table Structure in Migrations: Open the migration files and define the table structure using Laravel’s Schema builder methods. Here’s an example of the posts table migration:
public function up()
{
    Schema::create('posts', function (Blueprint $table) {
        $table->bigIncrements('id');
        $table->string('title');
        $table->text('content');
        $table->timestamps();
    });
}
Remember to define the appropriate columns and data types for each table in their respective migration files. Once you’ve completed these steps, you have a solid foundation for the Many-To-Many relationship. This establishes the models and their corresponding database tables.
Step 3: Create Pivot Table
The pivot table acts as the mediator, connecting the two main tables in a Many-To-Many relationship. Here’s how to create it:
1. Generate Migration: Use Laravel’s Artisan command to generate a migration for the pivot table. By default, Laravel uses a naming convention that combines the singular names of the related models in alphabetical order. For a Post and Tag relationship, the command would be:
php artisan make:migration create_post_tag_table
This command will create a new migration file named create_post_tag_table_migration.php within your database/migrations directory.
2. Define Pivot Table Structure: Open the generated migration file and define the table structure using Laravel’s Schema builder. The pivot table typically includes keys for both the connected models (post_id and tag_id in this case). You can also add additional columns to store relevant data specific to the relationship.
public function up()
{
    Schema::create('post_tag', function (Blueprint $table) {
        $table->bigIncrements('id');
        $table->unsignedBigInteger('post_id');
        $table->unsignedBigInteger('tag_id');
        $table->timestamps();
        $table->foreign('post_id')->references('id')->on('posts')->onDelete('cascade');
        $table->foreign('tag_id')->references('id')->on('tags')->onDelete('cascade');
    });
}
3. Run Migrations: Once you’ve defined the pivot table structure, execute the migrations using the Artisan command:
php artisan migrate
This command will create the pivot table (post_tag in this example) along with the previously defined tables (posts and tags) in your database. Once you are done with the steps, you’ll establish the pivot table. The bridge that facilitates the Many-To-Many relationship between your models.
Step 4: Define Relationships in Models
Now that you have your models and the connecting pivot table, it’s time to define the Many-to-Many relationships in your models. Laravel’s Eloquent ORM makes this straightforward.
1. Use belongsToMany Method: Inside each model, use the belongsToMany method to define the relationship with the other table. By default, Laravel follows its naming convention for the pivot table.
// In Post.php model
public function tags()
{
    return $this->belongsToMany(Tag::class);
}

// In Tag.php model
public function posts()
{
    return $this->belongsToMany(Post::class);
}
2. Optional Customizations:
- Custom Pivot Table Name: If your pivot table doesn’t follow Laravel’s default naming convention, you can specify its name as the second argument.
public function tags()
{
    return $this->belongsToMany(Tag::class, 'post_tag');
}
- Extra Fields with withPivot(): Sometimes, you may want to store additional information about the relationship. You can use withPivot() to include extra columns.
public function tags()
{
    return $this->belongsToMany(Tag::class)->withPivot('weight');
}
In this example, weight could represent the importance or order of a tag for a specific post.
- Timestamps with withTimestamps(): If you want Laravel to automatically manage created_at and updated_at columns in the pivot table, add withTimestamps().
public function tags()
{
    return $this->belongsToMany(Tag::class)->withPivot('weight')->withTimestamps();
}
Defining relationships this way creates a clear link between your models and allows your application to manage complex data connections efficiently. For managing related records that may be soft deleted, best practices with soft deletes in Laravel to handle your data lifecycle gracefully.
3. Define Pivot Table Columns (Optional): In some scenarios, you might want to store additional data specific to the relationship within the pivot table. Laravel allows you to define these additional columns within the belongsToMany method using a closure.
public function tags()
{
    return $this->belongsToMany(Tag::class)->withPivot('weight');
}
This example adds a column named weight to the pivot table. It allows you to specify the order or importance of a tag associated with a particular post. As the relationships are defined within your models, you’ve established a clear communication channel between them.
Step 5: CRUD Operations on Relationships
With the Many-to-Many relationship set up, Laravel provides simple methods to manage these associations. Before performing CRUD operations, it’s best to create a controller.
To create a controller, use Artisan to generate a controller where you’ll manage your CRUD logic:
php artisan make:controller PostTagController
This command creates a controller file where you can organize all operations related to posts and tags.
1. Attach Tags to a Post (Create): Use the attach method to associate a post with one or more tags.
$post = Post::find(1);
$post->tags()->attach([1, 2, 3]); // Attach tags with IDs 1, 2, and 3
2. Detach Tags from a Post (Delete): Remove specific or all related tags using detach.
$post = Post::find(1);
$post->tags()->detach(2); // Remove tag with ID 2
$post->tags()->detach(); // Remove all associated tags
3. Sync Tags for a Post (Update): The sync method replaces existing associations with a new set of tags.
$post = Post::find(1);
$post->tags()->sync([2, 4]); // Only tags with IDs 2 and 4 remain
4. Update Pivot Table Data (Optional): If you have extra columns in your pivot table, you can update them using updateExistingPivot.
$post = Post::find(1);
$post->tags()->updateExistingPivot(2, ['weight' => 5]); // Update weight for tag ID 2
With the understanding of these methods, you gain control over managing the associations between your models. This empowers you to create a dynamic and data-driven application experience.
5. Retrieve Tags for a Post (Eager Loading): To efficiently retrieve related models, use eager loading with with(). This avoids unnecessary queries, thereby improving performance.
$posts = Post::with('tags')->get();

foreach ($posts as $post) {
    echo $post->title;
    foreach ($post->tags as $tag) {
        echo $tag->name;
    }
}
By combining these methods, you gain complete control over the associations between your models. This enables you to create dynamic, data-driven applications where relationships, such as Posts ↔ Tags or Users ↔ Roles, are easily managed and updated.
Step 6: Retrieve Related Models
A crucial aspect of Many-To-Many relationships is efficiently fetching the associated models. Laravel’s Eloquent provides methods to effortlessly retrieve related data in a single database call, optimizing performance and code readability.
1. Eager Loading: Use the with method within your model queries to eager load the related models along with the primary model. This avoids separate database calls for each association.
$posts = Post::with('tags')->get();
// This fetches all posts along with their associated tags in a single query
2. Lazy Loading: For scenarios where you don’t necessarily need all related models upfront, leverage lazy loading. This involves accessing the relationship method on a retrieved model instance, triggering the database query only when needed.
$post = Post::find(1);
$tags = $post->tags; // Fetches tags only when accessed
// This fetches the post and retrieves tags only if you actually use the $tags variable
3. Filtering Related Models: You can filter the retrieved related models using query scopes or closures within the relationship method. This allows you to fetch specific subsets of associated data.
$post = Post::with('tags:published')->get(); // Fetch only published tags
// This retrieves posts along with their published tags only
Completing the last step, you are acknowledged to retrieve and manage the complex data connections within your Laravel application. Following each stage precisely, you can ensure optimal performance and a seamless user experience.
If you want to create a polymorphic relationship, then you will need a different approach. This querying relations rely on a single table that includes an ID and a type field to link multiple models.
You would need to modify the model methods, using morphTo() and morphMany() instead of belongsToMany(). These changes allow a model to associate with more than one other model on a single relationship.
Working with Pivot Table Data
Once your Many-to-Many relationships are set up, you can work directly with data stored in the pivot table.
- Update Pivot Data: Use updateExistingPivot() to modify pivot table columns for a specific relationship.
$post = Post::find(1);
$post->tags()->updateExistingPivot(2, ['weight' => 5]); // Update weight for tag ID 2
- Access Pivot Data: You can access extra pivot columns when retrieving related models using the pivot property.
$post = Post::with('tags')->find(1);
foreach ($post->tags as $tag) {
    echo $tag->name . ' - Weight: ' . $tag->pivot->weight;
}
Simply put, once a Many-to-Many relationship is set up, you can update pivot table columns using updateExistingPivot() and access extra pivot data via the pivot property when retrieving related models. This allows precise control over relationship-specific information.
Advanced Features & Best Practices
Once you’re comfortable with basic CRUD operations, Laravel offers advanced tools and best practices for Many-to-Many relationships:
- Filtering Related Models: You can filter relationships using query constraints:
$activeRoles = $user->roles()->where('active', 1)->get();
- Counting Related Models: Use withCount() to get the number of related models without loading all of them:
$users = User::withCount('roles')->get();
foreach ($users as $user) {
    echo $user->name . ' has ' . $user->roles_count . ' roles';
}
- Custom Pivot Models: Laravel allows defining custom pivot models for advanced behavior using using(). This is particularly useful when the pivot table has its own methods or logic.
- Performance Tips:
- Avoid N+1 Queries: Always eager load relationships when fetching multiple records.
- Eager vs Lazy Loading: Use with() for eager loading to reduce queries, especially in loops.
In short, Laravel’s Many-to-Many relationships offer advanced features like filtering, counting related models, and using custom pivot models, while best practices include eager loading to avoid N+1 queries and optimize performance. These tools help manage complex relationships efficiently and cleanly.
What are the Additional Functionalities of Many-To-Many Relationship in Laravel?
While we’ve covered the core functionalities, Many-To-Many relationships in Laravel offer even more flexibility for managing complex data interactions. Here’s a closer look at some valuable features:
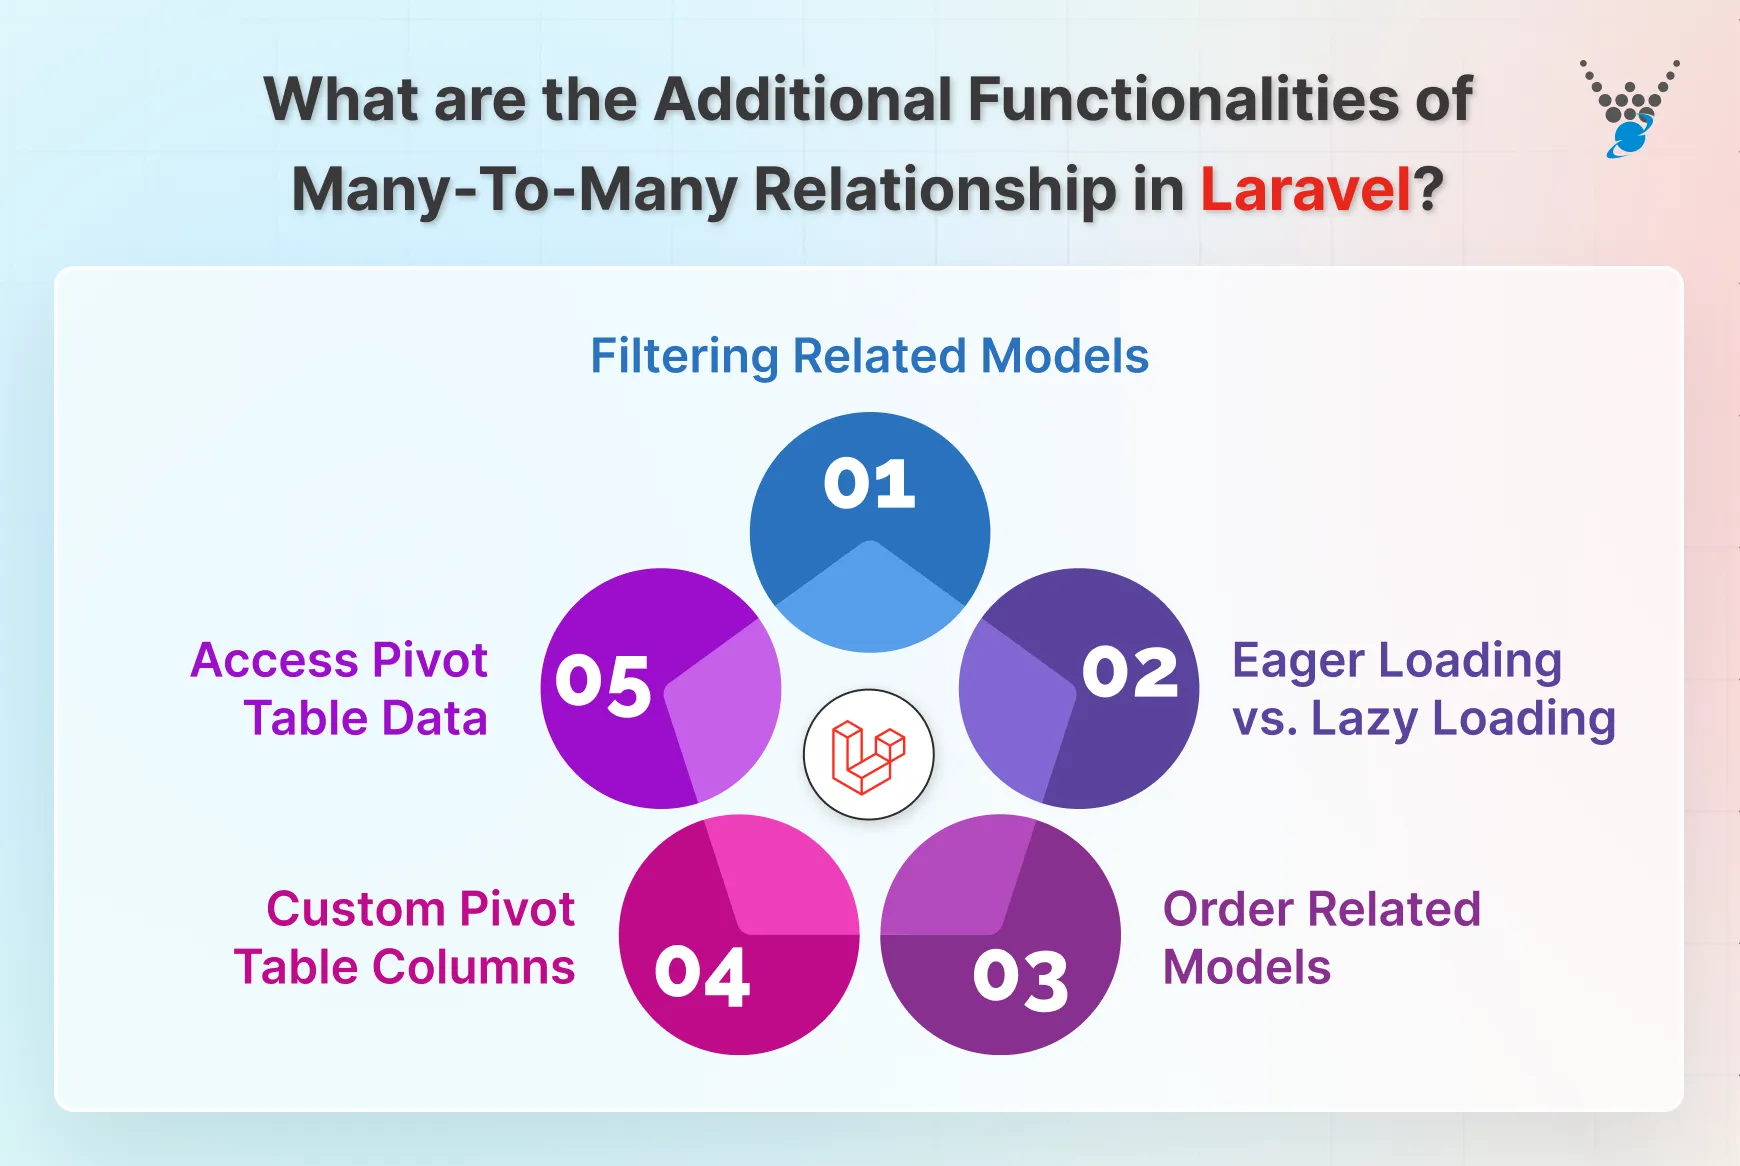
1. Filtering Related Models
As mentioned, you can filter the retrieved related models using query scopes or closures within the relationship method. This enables you to fetch specific subsets of associated data. Hence benefits in optimizing your database queries and tailoring the results to your specific needs.
2. Eager Loading vs. Lazy Loading
We explored both eager loading (fetching related models with the primary model) and lazy loading (retrieving them on demand). Understanding these techniques is crucial for optimizing performance. Eager loading is ideal when you always need related data. Where on the other hand, lazy loading is more efficient when you might not require it in all scenarios.
3. Order Related Models
You can control the order in which related models are retrieved using methods like orderBy within the relationship method. This allows you to present the associated data in a specific sequence. It can display tags in alphabetical order or ordered by their importance (if a custom weight column exists in the pivot table).
4. Custom Pivot Table Columns
We previously discussed adding custom columns to the pivot table to store additional data specific to the relationship. These columns can hold information like timestamps, ordering positions, or any other relevant details. It includes information that enriches your data model and provides more context to the associations between entities.
5. Access Pivot Table Data
Laravel allows you to access the data stored within the pivot table columns. This can be useful for retrieving information specific to the relationship. You can count on the procedures such as the order in which a tag is associated with a post (using a custom weight column).
By mastering these functionalities, you can use Many-To-Many relationships in Laravel to their full potential.
Let’s Summarize
Many-to-Many relationships in Laravel make it easy to connect models in real-world ways. Using pivot tables, Eloquent methods, and CRUD operations, you can manage these connections clearly and efficiently.
You can also work with pivot data, use eager loading, and define custom pivot models to keep your code clean and fast. Whether it’s Users ↔ Roles or Products ↔ Categories, understanding these relationships helps you build applications that are organized and easy to maintain.
If you need help managing complex relationships like Many-to-Many setups in your Laravel project, you can hire experienced Laravel developers. They can help implement best practices, optimize performance, and ensure your project runs smoothly from start to finish.
FAQs About Many-To-Many Relationship in Laravel
Can I use timestamps in a pivot table?
Yes, add withTimestamps() to the relationship (e.g., return $this->belongsToMany(Role::class)->withTimestamps();) and include created_at and updated_at in the pivot table.
How do I define a custom pivot model?
Create a model extending Illuminate\Database\Eloquent\Relations\Pivot and specify it in the relationship using using() (e.g., return $this->belongsToMany(Role::class)->using(RoleUser::class);).
Can I filter or order results in a many-to-many relationship?
Yes, chain conditions in the relationship query (e.g., $user->roles()->where('active', 1)->orderBy('name')->get();).
How do I delete records in a many-to-many relationship?
Use detach() to remove specific entries or delete() on the pivot model if using a custom pivot class.
Can I use composite keys in a pivot table?
Laravel’s Eloquent doesn’t natively support composite keys. Use raw queries or a package like spatie/laravel-eloquent-join for complex cases.


