Quick Summary
Passkeys are a modern, passwordless way to log in that boost both security and user experience. In this blog, we explain how passkeys work using public/private keys and a simple challenge-response process. We also cover how to set up Laravel Passkeys with two options: the Spatie package (recommended for quick setup with ready components) and a custom WebAuthn approach for full control. Both methods help Laravel apps deliver secure, smooth authentication for users.
Table of Contents
Security is a growing concern for every business that runs online. Traditional passwords are no longer enough. They are easy to forget, reuse, or even get stolen. But that’s not the case with passkeys.
Passkeys are a new, safer way to log in, eliminating the need for passwords. They use advanced encryption and are tied to your device, which makes them much harder to hack. For Laravel developers, adding passkeys can give users a smoother and more secure login experience.
In this post, we’ll look at how you can implement Laravel Passkeys and why it’s worth the effort. So, let’s dive in!
What are Laravel Passkeys?
In Laravel, passkeys refer to a modern and secure way to authenticate users using WebAuthn (Web Authentication). Passkeys allow for passwordless logins using devices like biometric sensors (fingerprint, face recognition) or hardware tokens (e.g., Yubico). It facilitates the implementation of passkeys by integrating WebAuthn standards with Laravel authentication system.
Passkeys leverage cryptographic techniques to generate unique, device-bound credentials that are used to verify a user’s identity. That eliminates the need for users to remember complex passwords and reduces the risk of password breaches.
Key Concepts of Passkeys in Laravel
Understanding the core concepts of passkeys is essential for integrating them into your Laravel site. Here are the technologies it leverages and the brief working of Laravel passkeys:
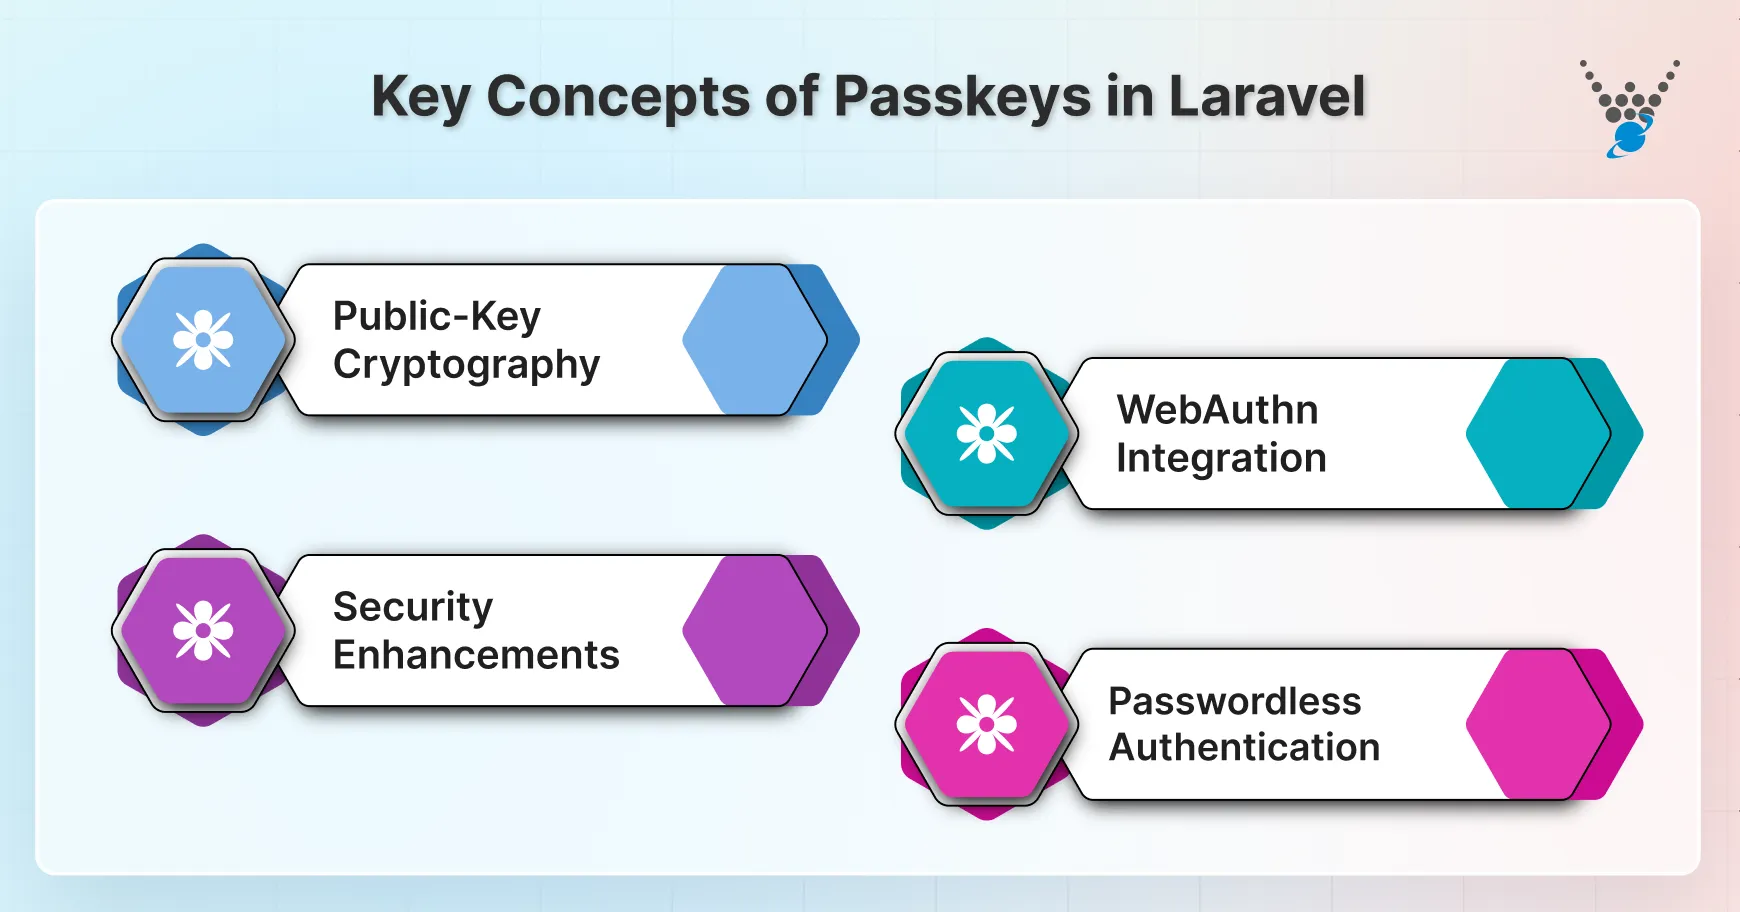
Public-Key Cryptography
When a user registers with passkeys, their device generates a public-private key pair. The private key stays securely on the user’s device (like a smartphone or biometric device), while the public key is stored on the server (in this case, Laravel’s database).
During authentication, the server challenges the user’s device to sign a piece of data with the private key. The server then verifies the signature with the public key to authenticate the user.
WebAuthn Integration
WebAuthn (Web Authentication) is the standard protocol that enables passkey functionality. Laravel can integrate WebAuthn to support passkey-based logins. WebAuthn allows users to authenticate using biometrics (like fingerprints or facial recognition), hardware tokens (like YubiKeys), or PIN-based methods, making it secure and convenient.
Security Enhancements
Passkeys eliminate the need to store passwords on a server, reducing the risk of breaches from password theft, phishing, or brute-force attacks. Even if a hacker accesses the public key stored on the server, they cannot perform authentication without the corresponding private key. You can further enhance your application’s protection by implementing Laravel rate limiting to control API abuse and prevent brute-force attempts. That ensures passwords are securely stored on the user’s device.
Passwordless Authentication
Users no longer need to remember or manage passwords, significantly enhancing usability. Passkeys streamline the login process while ensuring that the authentication is secure, making it ideal for applications where both security and ease of use are critical.
By understanding these working technologies used by passkeys, you will be able to leverage them effectively.
Why use Passkeys in Laravel?
Integrating passkeys into your Laravel websites offers a range of benefits that enhance both security and user experience. Here are some compelling reasons to use passkeys in Laravel:
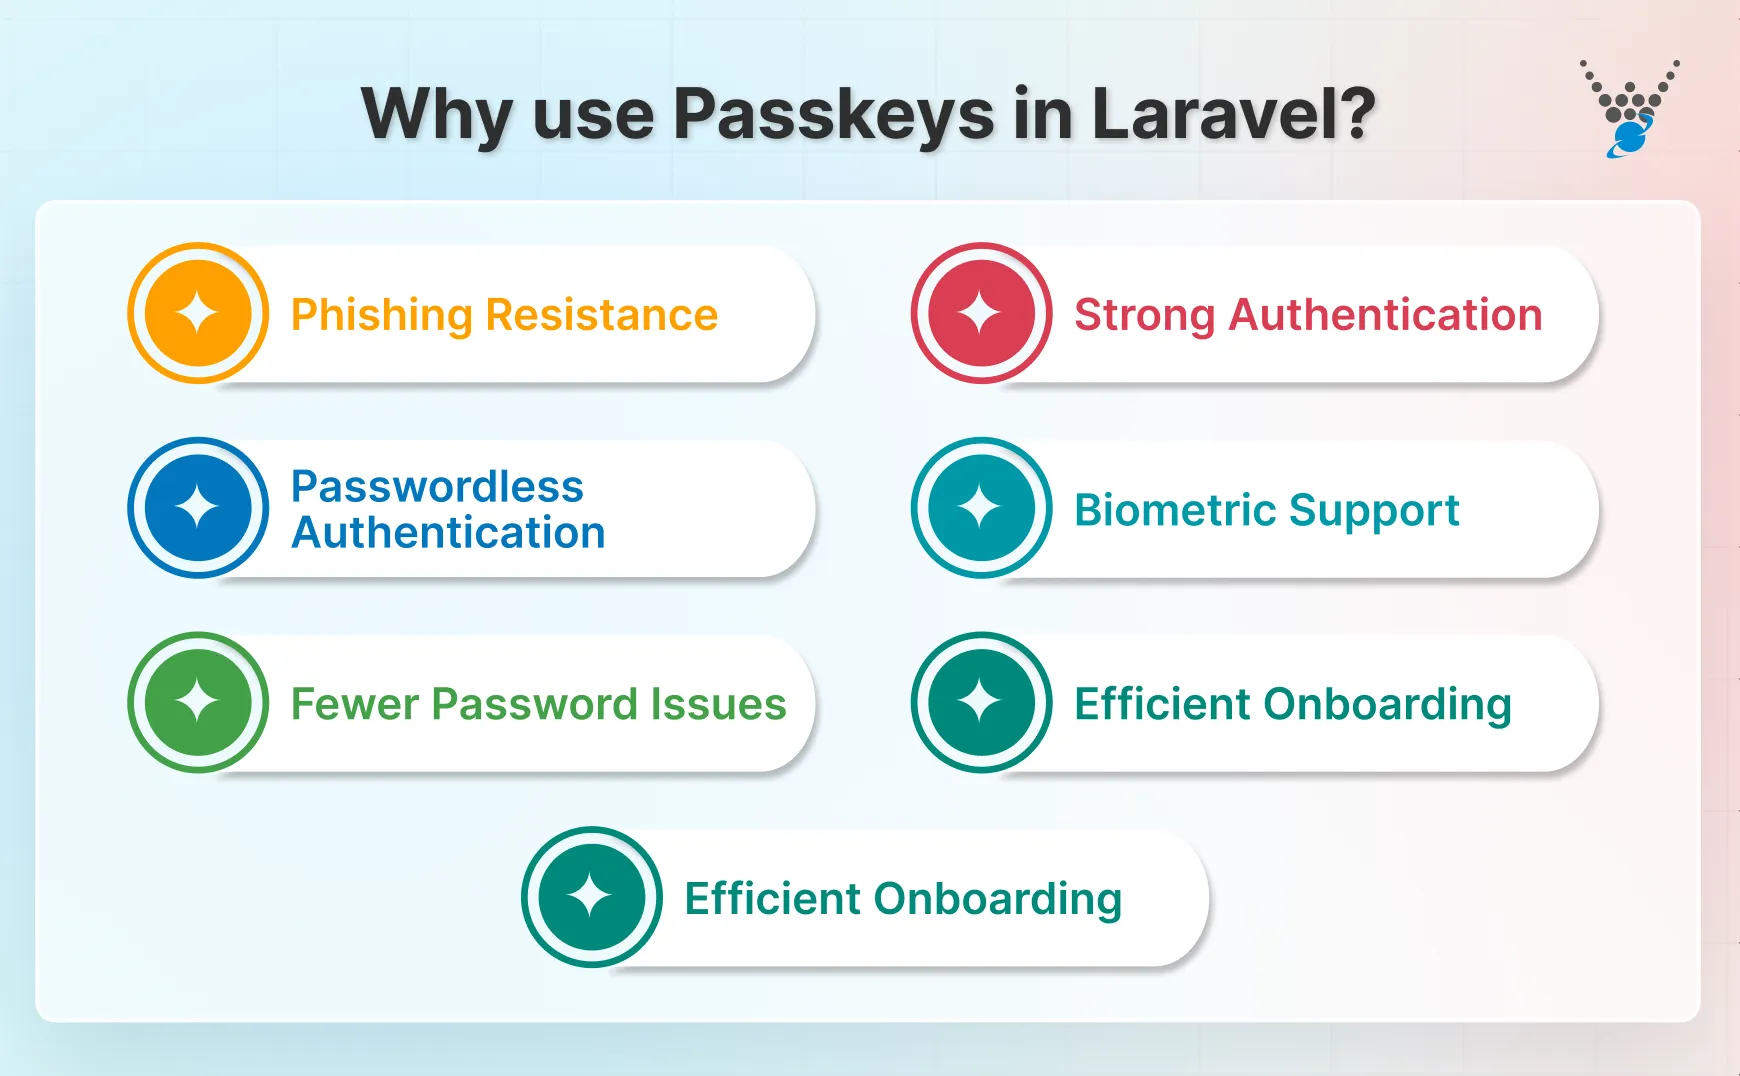
- Phishing Resistance: Passkeys are designed to be resistant to phishing attacks. Since they rely on cryptographic keys rather than passwords, even if an attacker gains access to the public key, they cannot authenticate without the private key.
- Strong Authentication: Passkeys use public-key cryptography, which provides a higher level of security compared to traditional password-based authentication. That makes your site more secure against brute-force attacks and other common threats.
- Passwordless Authentication: Users no longer need to remember complex passwords or go through the password reset processes. That makes the authentication faster and more convenient.
- Biometric Support: Passkeys can leverage biometric data, such as fingerprints or facial recognition, for a more user-friendly authentication experience. This aligns with modern user expectations for seamless and secure login methods.
- Fewer Password Issues: With passkeys, the need for customer support to handle password-related issues decreases significantly. This reduces operational costs and frees up support resources for other tasks.
- Efficient Onboarding: The streamlined authentication process with passkeys can lead to more efficient user onboarding. That improves overall user satisfaction and retention.
- Multi-Device Support: Passkeys can be used across multiple devices, allowing users to authenticate from any of their registered devices. That enhances flexibility and convenience for users.
Using passkeys in your Laravel application not only strengthens security but also improves the overall user experience. To further comply with privacy regulations and transparency, you can integrate a Laravel cookie consent feature to manage user consent effectively.
How Passkey Authentication Works
To understand passkeys, it helps to know the basics of how they work. Unlike passwords, passkeys use a system of public and private keys. This makes the login process secure without putting the burden on the user.
Public/Private Key Generation
When a user creates a passkey, their device generates two keys:
- Private Key: Stored securely on the user’s device. It never leaves the device.
- Public Key: Shared with the app or website. This key is safe to store on the server.
Together, these keys work like a lock and key system. The private key is the secret that only the user’s device holds, while the public key is like the key that the server can use to verify.
Authentication Challenge and Verification Steps
When the user tries to log in, the app does not ask for a password. Instead, the server sends a challenge, which is a unique request. The user’s device signs this challenge with the private key.
The signed response is then sent back to the server. The server verifies the response using the stored public key. If it matches, access is granted. If not, the login fails.
This process makes it almost impossible for attackers to guess or steal access, since the private key never leaves the user’s device.
Simplified Flow Diagram
Here’s a simple way to see the flow:
Challenge → Response → Verification
- Challenge: Server sends a unique request.
- Response: User’s device signs it with the private key.
- Verification: Server checks the signature using the public key.
This entire process happens in seconds, often without the user even noticing. What they experience is a quick and secure login process without needing to type a password.
How to Set Up Laravel Passkeys?
Below are two practical paths you can take.
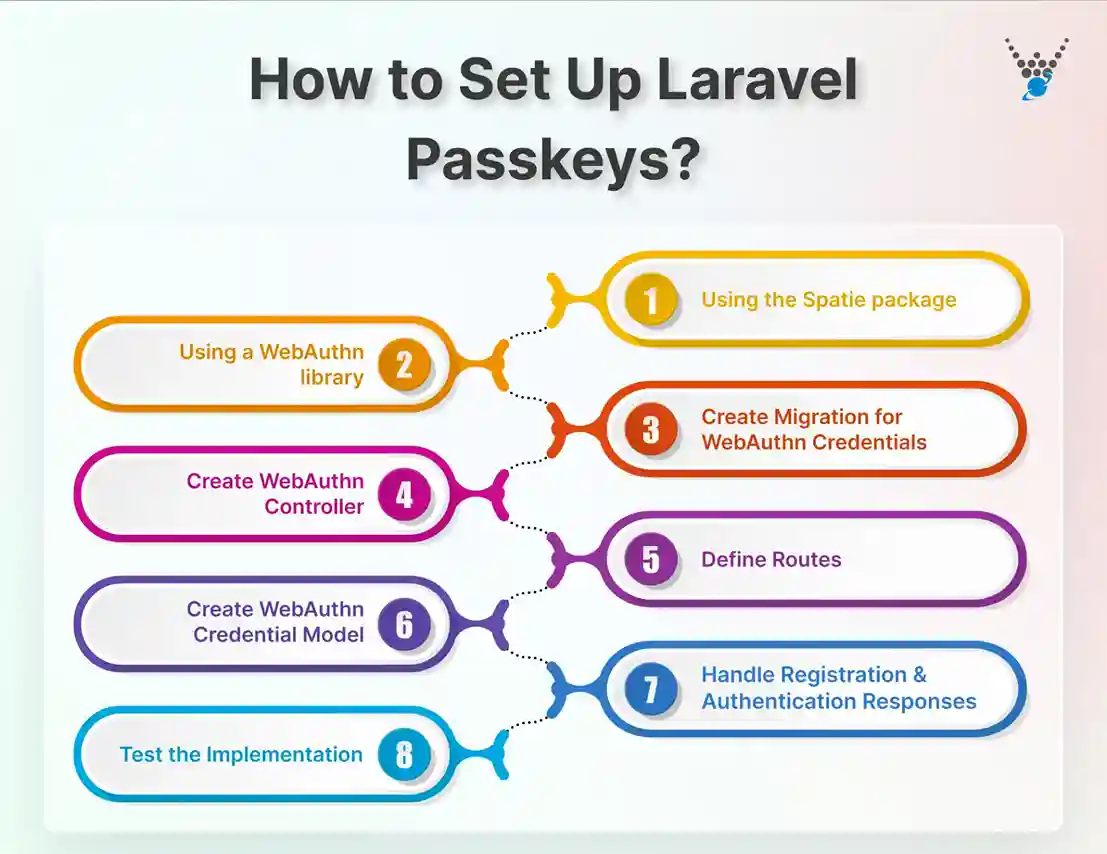
Option 1 (Recommended): Using the Spatie package
Spatie’s Laravel Passkeys package is simple to add. It handles most work for you. Use it when you want a clean, supported path to passkeys.
Quick setup (copy these commands and snippets into your project)
- Require the package with Composer:
composer require spatie/laravel-passkeys
(Install step from Spatie docs.)
- Add the trait and interface to your User model. Example:
// app/Models/User.php
use Spatie\LaravelPasskeys\Models\Concerns\HasPasskeys;
use Spatie\LaravelPasskeys\Models\Concerns\InteractsWithPasskeys;
class User extends Authenticatable implements HasPasskeys
{
    use HasFactory, Notifiable, InteractsWithPasskeys;
    // ...
}
This lets Laravel store and find passkeys for users.
- (If needed) set the auth model in .env:
AUTH_MODEL=App\Models\User
Only required if your auth model is different.
- Publish and run the migrations (creates the passkeys table):
php artisan vendor:publish --tag="passkeys-migrations"
php artisan migrate
Passkeys are stored in your database.
- Install the JavaScript dependency the package uses in the browser:
npm install @simplewebauthn/browser
# or: yarn add @simplewebauthn/browser
Spatie relies on simplewebauthn for the WebAuthn browser APIs.
- Import/init that JS in your entry file (for example resources/js/bootstrap.js or resources/js/app.js):
import {
  browserSupportsWebAuthn,
  startAuthentication,
  startRegistration,
} from '@simplewebauthn/browser';
window.browserSupportsWebAuthn = browserSupportsWebAuthn;
window.startAuthentication = startAuthentication;
window.startRegistration = startRegistration;
Then rebuild your assets: npm run build (or npm run dev).
- Add the package routes to routes/web.php:
// routes/web.php
Route::passkeys();
This registers the endpoints Spatie uses for generating options and verifying responses.
- Use the provided UI components in your views:
- Registration / management: <livewire:passkeys />
- Login: <x-authenticate-passkey />
Place <x-authenticate-passkey /> on your login page (outside other forms). Place <livewire:passkeys /> on a profile/settings page so users can add or remove keys. Both components are ready to use and styled simply so you can customize them.
Option 2: Using a WebAuthn library (Custom approach)
Use this if you want full control or you need custom flows. Popular libraries are Laragear WebAuthn and LaravelWebauthn (asbiin). Both are production-ready.
Step 1: Install Laravel
First, ensure you have a Laravel project set up. If you don’t have one, you can install Laravel using Composer and create your project.
composer create-project --prefer-dist laravel/laravel passkeys-demo
cd passkeys-demo
With this, we have created a new Laravel project named passkeys-demo.
Step 2: Install WebAuthn Library
Install the web-auth/webauthn-lib library using Composer.
composer require web-auth/webauthn-lib
This command installs the necessary package to manage WebAuthn authentication in your Laravel website.
Step 3: Create Migration for WebAuthn Credentials
Create a migration to store WebAuthn credentials in the database.
php artisan make:migration create_webauthn_credentials_table --create=webauthn_credentials
Migration File (database/migrations/xxxx_xx_xx_create_webauthn_credentials_table.php):
use Illuminate\Database\Migrations\Migration;
use Illuminate\Database\Schema\Blueprint;
use Illuminate\Support\Facades\Schema;
class CreateWebauthnCredentialsTable extends Migration
{
    public function up()
    {
        Schema::create('webauthn_credentials', function (Blueprint $table) {
            $table->id();
            $table->unsignedBigInteger('user_id');
            $table->text('public_key_credential_source');
            $table->timestamps();
            $table->foreign('user_id')->references('id')->on('users')->onDelete('cascade');
        });
    }
    public function down()
    {
        Schema::dropIfExists('webauthn_credentials');
    }
}
After editing the migration file run the database migrations to create the necessary tables for storing passkeys and WebAuthn credentials. When defining user fields or credentials, ensure each key is validated properly using the Laravel unique validation rule to prevent duplication issues.
php artisan migrate
Once you run the above command you will be able to store WebAuthn credentials to create the table in the database.
Step 4: Create WebAuthn Controller
Create a controller to handle WebAuthn registration and authentication.
php artisan make:controller WebAuthnController
Here is the sample of controller file you can add:
namespace App\Http\Controllers;
use Illuminate\Http\Request;
use Webauthn\PublicKeyCredentialCreationOptions;
use Webauthn\PublicKeyCredentialRequestOptions;
use Webauthn\PublicKeyCredentialUserEntity;
use Webauthn\PublicKeyCredentialRpEntity;
use Webauthn\PublicKeyCredentialParameters;
use Webauthn\PublicKeyCredentialDescriptor;
use Webauthn\PublicKeyCredentialSource;
use App\Models\WebauthnCredential;
class WebAuthnController extends Controller
{
    public function register(Request $request)
    {
        $user = $request->user();
        $userEntity = new PublicKeyCredentialUserEntity(
            $user->id,
            $user->name,
            $user->email,
            'user_display_name',
            'user_icon_url'
        );
        $rp = new PublicKeyCredentialRpEntity('example.com', 'Example');
        $options = PublicKeyCredentialCreationOptions::create(
            $userEntity,
            [new PublicKeyCredentialParameters('public-key', -7)],
            $rp,
            [],
            'required',
            'direct'
        );
        return response()->json($options->jsonSerialize());
    }
    public function authenticate(Request $request)
    {
        $options = PublicKeyCredentialRequestOptions::create(
            [],
            'required',
            'direct'
        );
        return response()->json($options->jsonSerialize());
    }
    // Handle registration and authentication responses
    // Store and verify credentials
}
With that, we have created a controller to handle WebAuthn registration and authentication requests.
Step 5: Define Routes
Once the controllers are created, define routes to handle WebAuthn registration and authentication. Here is how you can use advanced Laravel routing to create routes:
use App\Http\Controllers\WebAuthnController;
Route::post('/webauthn/register', [WebAuthnController::class, 'register']);
Route::post('/webauthn/authenticate', [WebAuthnController::class, 'authenticate']);
After you define routes, the site will handle the new requests made by the users.
Step 6: Create WebAuthn Credential Model
Create a model to interact with the webauthn_credentials table. Here is how:
php artisan make:model WebauthnCredential
Edit the Model File (app/Models/WebauthnCredential.php):
namespace App\Models;
use Illuminate\Database\Eloquent\Factories\HasFactory;
use Illuminate\Database\Eloquent\Model;
class WebauthnCredential extends Model
{
    use HasFactory;
    protected $fillable = ['user_id', 'public_key_credential_source'];
    public function user()
    {
        return $this->belongsTo(User::class);
    }
}
With this, we created a model to interact with the webauthn_credentials table.
Step 7: Handle Registration and Authentication Responses
Implement methods to handle the registration and authentication responses from the client. Here is the sample of controller file (app/Http/Controllers/WebAuthnController.php):
namespace App\Http\Controllers;
use Illuminate\Http\Request;
use Webauthn\PublicKeyCredentialCreationOptions;
use Webauthn\PublicKeyCredentialRequestOptions;
use Webauthn\PublicKeyCredentialUserEntity;
use Webauthn\PublicKeyCredentialRpEntity;
use Webauthn\PublicKeyCredentialParameters;
use Webauthn\PublicKeyCredentialDescriptor;
use Webauthn\PublicKeyCredentialSource;
use App\Models\WebauthnCredential;
class WebAutnController extends Controller
{
    public function register(Request $request)
    {
        $user = $request->user();
        $userEntity = new PublicKeyCredentialUserEntity(
            $user->id,
            $user->name,
            $user->email,
            'user_display_name',
            'user_icon_url'
        );
        $rp = new PublicKeyCredentialRpEntity('example.com', 'Example');
        $options = PublicKeyCredentialCreationOptions::create(
            $userEntity,
            [new PublicKeyCredentialParameters('public-key', -7)],
            $rp,
            [],
            'required',
            'direct'
        );
        return response()->json($options->jsonSerialize());
    }
    public function authenticate(Request $request)
    {
        $options = PublicKeyCredentialRequestOptions::create(
            [],
            'required',
            'direct'
        );
        return response()->json($options->jsonSerialize());
    }
    public function handleRegistrationResponse(Request $request)
    {
        // Handle the registration response from the client
        // Parse the response and store the public key credential source
        $credentialSource = new PublicKeyCredentialSource(
            $request->input('id'),
            $request->input('type'),
            $request->input('transports'),
            $request->input('publicKeyCredential')
        );
        WebauthnCredential::create([
            'user_id' => $request->user()->id,
            'public_key_credential_source' => json_encode($credentialSource),
        ]);
        return response()->json(['message' => 'Registration successful']);
    }
    public function handleAuthenticationResponse(Request $request)
    {
        // Handle the authentication response from the client
        // Verify the signature using the stored public key credential source
        $credential = WebauthnCredential::where('user_id', $request->user()->id)
            ->where('id', $request->input('id'))
            ->first();
        if (!$credential) {
            return response()->json(['message' => 'Authentication failed'], 401);
        }
        $credentialSource = json_decode($credential->public_key_credential_source, true);
        // Verify the signature using the credential source
        // If verification is successful, authenticate the user
        return response()->json(['message' => 'Authentication successful']);
    }
}
Then define the routes file (routes/web.php):
use App\Http\Controllers\WebAuthnController;
Route::post('/webauthn/register', [WebAuthnController::class, 'register']);
Route::post('/webauthn/authenticate', [WebAuthnController::class, 'authenticate']);
Route::post('/webauthn/handle-registration', [WebAuthnController::class, 'handleRegistrationResponse']);
Route::post('/webauthn/handle-authentication', [WebAuthnController::class, 'handleAuthenticationResponse']);
In this step, we implemented methods to handle the registration and authentication responses from the client.
Step 8: Test the Implementation
Test the WebAuthn registration and authentication flow to ensure everything is working correctly.
php artisan serve
Once done, you should test both passkey registration and login.
- Visit /register to register a WebAuthn key.
- Visit /login to log in using your passkey.
After completing the setup, users can now register a passkey and log in to the site using a biometric sensor.
By following the above steps, you have set up passkeys in your Laravel application using the WebAuthn library. This implementation provides a secure and convenient way for users to authenticate without needing to remember passwords. If you want the same integration on your site, hire dedicated Laravel developers.
Wrapping Up
By implementing Passkeys in your Laravel site, you can enhance user security and convenience. Passkeys offer a more robust authentication method than traditional passwords, reducing the risk of security breaches.
You can integrate passkeys, by installing webauthn-lib package and configuring routes to handle WebAuthn authentication flow. After that, your site will be able to authenticate users through biometrics, providing a seamless experience for registration and login.
If you want to integrate robust authentication like passkeys on your site and continuous support, get in touch with Laravel development company.
FAQs About Using Laravel Passkeys
How Do Passkeys Work in Laravel?
Laravel Passkeys use the WebAuthn protocol. Upon registration, a device generates a unique public-private key pair. The public key is sent to the server, while the private key remains on the device, allowing future authentication by verifying challenges signed with the private key.
Is Laravel Passkey Authentication Secure?
Yes, it’s highly secure because it relies on public-private key cryptography. The private key never leaves the device, and authentication relies on device-based challenges, eliminating password-related vulnerabilities.
How do Passkeys differ from traditional passwords?
Unlike traditional passwords, Passkeys are not stored or transmitted in plain text. They are generated and stored securely on the user’s device, making them more secure. Passkeys also offer a more seamless, better authentication experience with options like biometrics and face recognition.