Quick Summary
Laravel Shift analyzes your source code, generates pull requests, and automates migrations and dependency updates to speed up Laravel application upgrades. It reduces development time, lowers human errors, and lets developers focus on important features while keeping applications up-to-date. Check this article to enable secure upgrades. The tool provides multi-stage deployments, Git integration, environment management, and rollback capabilities.
Table of Contents
Feeling overwhelmed by the thought of upgrading your Laravel application? You’re not alone. Keeping your project on the latest version is crucial for security and access to new features, but the upgrade process can be daunting.
This is where Laravel Shift comes in as a game-changer. It’s an automated tool designed to streamline the upgrade process for Laravel applications. In this comprehensive guide, we’ll dive into Laravel Shift, explaining what it is, how it works, and how to leverage it for upgrades.
We’ll also provide a step-by-step procedure, personally crafted by a top-notch experts, to ensure a smooth and successful upgrade experience. This guide includes everything you need, from installation and configuration to running deployments. so you can confidently keep your Laravel application up-to-date.
What is Laravel Shift?
Laravel Shift is an automation tool designed to simplify and streamline the upgrade process for Laravel applications. It prevents the manual steps typically involved in upgrading, saving developers time and effort. Using Laravel Shift, you can ensure your application remains on the latest version. Thus, it benefits from the latest security patches, features, and performance improvements.
How Does Laravel Shift Work?
- Upgrade Management. Laravel Shift automates the upgrade process, analyzing your project files and dependencies. It then generates a pull request. This contains the necessary code changes to upgrade your application to the desired Laravel version.
- Conflict Resolution. While upgrading, there’s a chance of encountering conflicts in your codebase. Laravel Shift attempts to resolve these conflicts and minimize manual intervention.
- Pull Request Review. The generated pull request provides a clear overview of the changes made by Laravel Shift. It allows you to review the changes before merging them into your codebase.
By automating these tasks, Laravel Shift significantly reduces the time and complexity associated with Laravel upgrades. It benefits developers to focus on core functionalities while ensuring their application stays up-to-date and secure.
Why Use Laravel Shift?
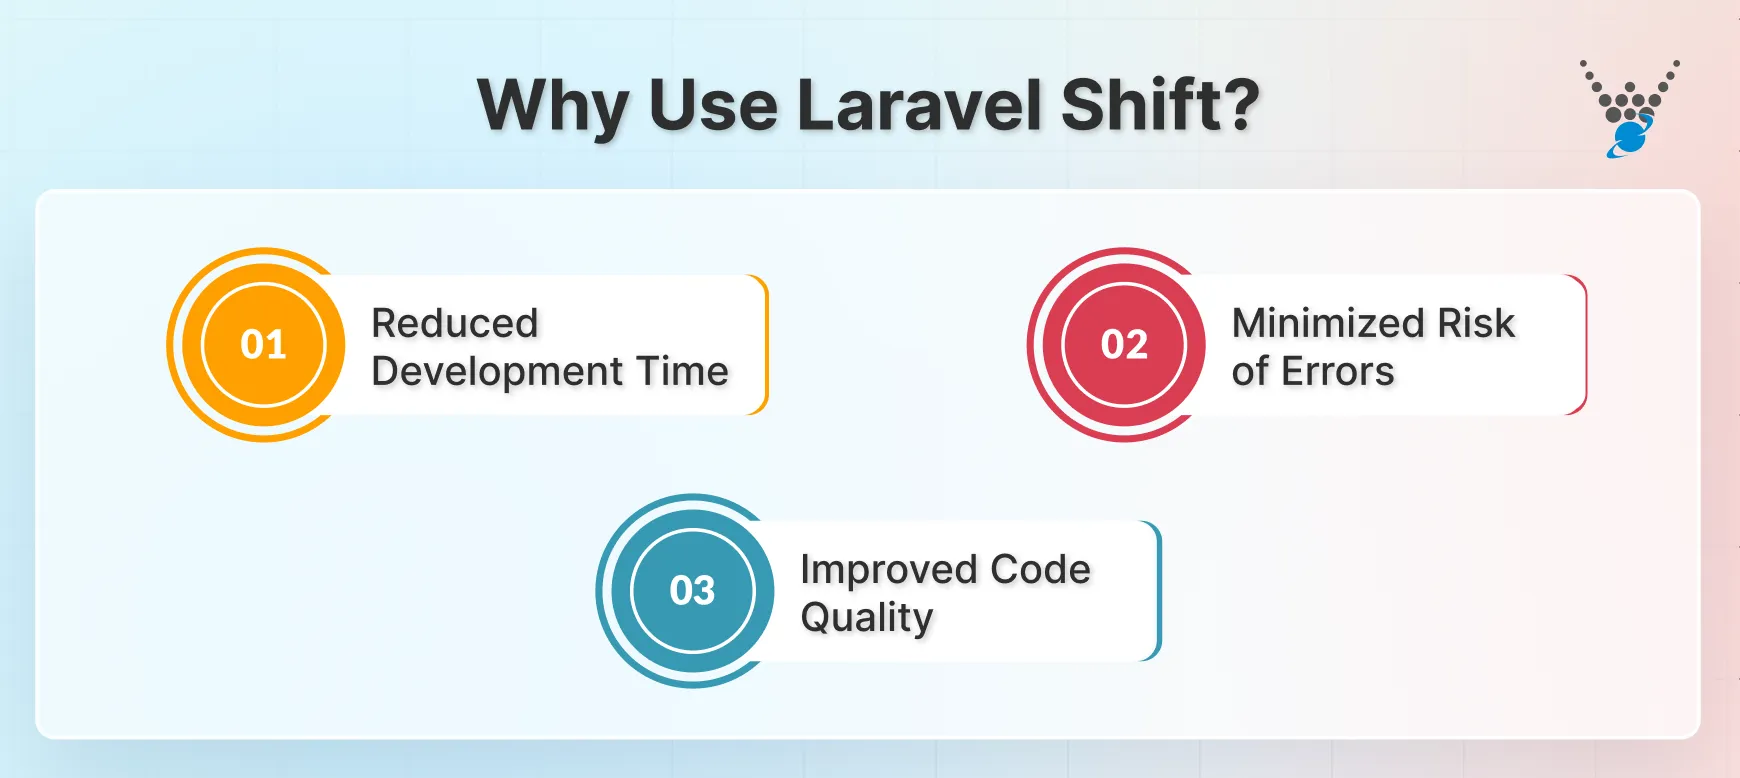
Updating Laravel in a manual way is difficult. Instead of spending hours making changes, updating code, and testing compatibility across versions, Laravel Shift offers a better option. When you use Laravel Shift to upgrade:

- Time Savings and Efficiency: Laravel Shift speeds up updates by automating repetitive tasks. Shift updates your code to work with the new version of Laravel, so you don’t have to. After this automation, developers can focus on core functions and new features instead of just upgrades. Depending on project complexity, upgrades save an hour or more.
- Lower Error Rate: A major difficulty with manual upgrades is human error. This risk is reduced by Laravel Shift’s precise upgrading automation. The tool accurately identifies and updates patterns, making it perfect for Laravel projects.
- Comprehensive Upgrade Coverage: Laravel Shift upgrade current keeps all changes updated in time. This all-in-one approach helps prevent technical debt. Shift automates both obvious and subtle changes beyond what the Upgrade Guide covers.
- Code Quality: Laravel Shift improves code quality by resolving conflicts and applying best practices to clean and maintain your codebase. Shift also provides application-specific modifications and performs tasks that would otherwise be manual.
- Automated Pull Request: When launched, Laravel Shift creates a branch with the upgrade changes and opens a pull request with comments. This lets you test changes before merging them into your source. This workflow automation is one of Shift’s most valuable features.
- Support for Incremental Upgrades: Shift upgrades to older Laravel apps incrementally. This phased method isolates issues and maintains stability during the upgrade with quality testing after each iteration. Before upgrading, use PreShift to check for app issues.
- Security and Performance Gains: Always use the newest Laravel version for security, functionality, and performance. Regular updates safeguard your app from security issues and give you new Laravel features.
Laravel Shift works well for standard Laravel apps with minimal customization. Small to mid-size web apps especially benefit from incremental upgrades to close version gaps. Shift also handles much of the work in highly customized codebases. Rather than searching for Laravel Shift alternatives, we recommend using Shift.
Laravel Shift Pricing and Plans
Shift offers flexible subscription plans designed for developers, teams, and companies of all sizes.
One-Time Shifts
Run individual Shifts anytime without a subscription. Perfect for developers upgrading a single project.
Shifty Plans (Subscriptions)
Shifty Plans give you automatic upgrades, exclusive features, and team access:
| Plan | Cost | Repositories | Best For |
|---|---|---|---|
| Keep Plan | $99/year | 1 | Single project maintenance |
| Keep Plan | $59/6 months | 1 | Quick upgrade to latest version |
| Master Plan | $299/year | Unlimited | Multiple projects, team access |
| Master Plan | $159/6 months | Unlimited | Temporary upgrade access |
What’s Included in Shifty Plans?
All subscription plans come with:
- Automatic PRs with each Laravel release: Get pull requests every week when Laravel releases new versions.
- Access to Latest Shifts: Use Laravel 11.x, Laravel 12.x, and newer upgrade tools as they are released.
- Laravel Fixer: Modernize your code to follow Laravel best practices.
- Shift Workbench: Custom tools for code maintenance and refactoring.
- Tests Generator & CI Generator: Auto-create tests and CI/CD configurations.
- HTML Converter & Pest Converter: Change your code format.
- Custom Webhooks & API: Integrate Shift into your workflow.
Legacy Plan (For Older Laravel Versions)
If you’re running Laravel 9, 10, or 11, the Legacy Plan ($159/6 months, unlimited repositories) includes:
- All older Shift versions (Laravel 9.x, 10.x, 11.x, 12.x)
- Everything in the Master Plan features
- Designed to help you upgrade multiple older projects, then downgrade to a cheaper plan
Everything Plan (For Enterprise)
Get every Shift ever created for one price ($2,999). Contact Laravel Shift support for custom enterprise pricing and requirements.
What are the Must-Have Laravel Shift Features?
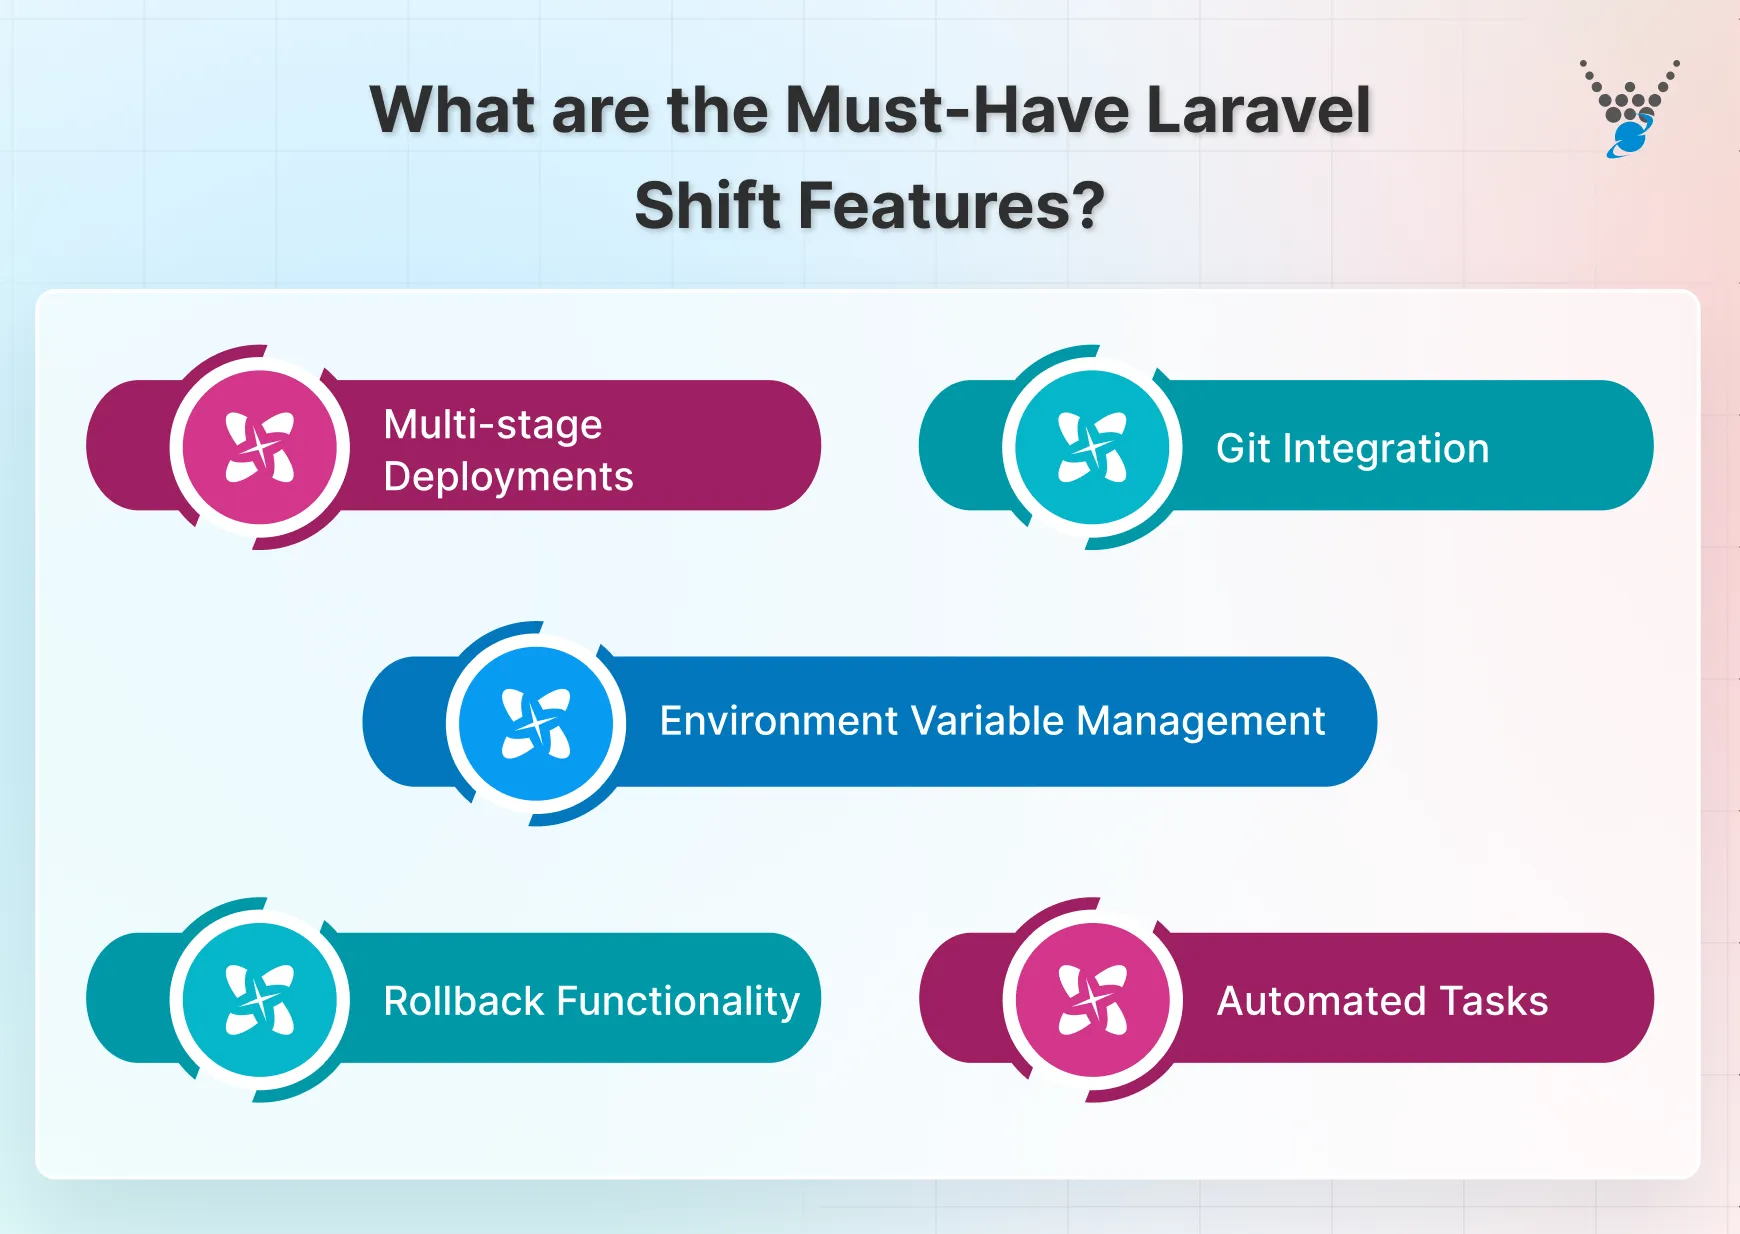
The feature-rich Laravel Shift toolbox simplifies and automates Laravel updates. Here are the key features that make Laravel Shift essential for developers:

1. Multi-Stage Deployments
Make upgrades manageable via portions. Set stages for incremental Laravel upgrades. This ensures a well-organized upgrade process and reduces errors. For example, you can upgrade Laravel 10 and 11 in stages. It simplifies testing and rolling back.
2. Git Integration
Easily integrate with Git For upgrades, Laravel Shift connects to your Git provider (GitHub, GitLab). Pull requests with recommended code modifications for each upgrade stage are generated. By this, you get secure and traceable upgrades through code review and version control.
3. Variable Environment Management
Protect database credentials and API keys. Store environment variables outside your coding with Laravel Shift to improve security and minimize inadvertent disclosure.
4. Automated Tasks
Automate upgrades that repeat. At each upgrade stage, Laravel Shift can conduct migrations, update dependencies, and clear caches. This won’t require manual intervention and will decrease human error.
5. Rollback Function
Revert changes if problems occur. If an upgrade causes issues, you can roll back your codebase, protecting against unexpected errors and minimizing downtime.
These features make Laravel Shift an effective tool for simplifying Laravel upgrades. It reduces manual work and errors while providing a secure, automated upgrade path. Laravel Shift’s automation and rollback capabilities give developers greater speed and peace of mind.
How to Get Started With Laravel Shift?
Ready to experience the ease of automated Laravel upgrades? This section provides a step-by-step guide to getting started with Laravel Shift. Follow these steps to streamline your upgrade process and ensure your application stays up to date.
Prerequisites to Get Started With Laravel Shift
Before diving in, ensure you have the following in place:
- A Laravel application: This guide acknowledges you have an existing Laravel application that you want to upgrade. If you’re unsure of your current setup, see how to check your Laravel version to confirm before proceeding. Your application should use Composer for dependency management, as Laravel Shift uses Composer to analyze your project’s dependencies.
- A Git repository: Laravel Shift integrates with Git version control systems to manage your application’s code. Ensure your Laravel application is hosted in a Git repository, such as GitHub or GitLab.
- A Laravel Shift account: Visit Laravel Shift’s official site to get hands-on available free tasks or subscribe to a paid plan depending on your needs. The free plan allows you to run a limited number of Shifts. Where on the other hand paid plans offer additional features and increased usage limits.
With these prerequisites in place, you’re ready to undertake the journey towards Laravel upgrades with Laravel Shift. The following sections will guide you through the installation, configuration, and deployment process.
Step 1: Installation
The first step involves integrating Laravel Shift into your Laravel project. Here’s how to get started:
1. Navigate to Project Root. Open your terminal and use the cd command to navigate to the root directory of your Laravel application.
2. Install the Laravel Shift package. Run the following Composer command to install the laravel-shift/shift package:
composer require laravel-shift/shift
3. Generate the Shift Configuration File. Once the package is installed, execute the following command to generate a configuration file named shift.yml in your project root:
php artisan shift:config
This configuration file plays an important role in defining various settings for Laravel Shift. We’ll explore its details in the next step. By following these steps, you’ve successfully installed Laravel Shift within your Laravel project.
Step 2: Configuration
After installation, you’ll need to configure Laravel Shift to match your project’s specific requirements. This configuration is done within the shift.yml file generated in the previous step. Here’s a breakdown of the configuration process:
1. Define Git Provider. Specify the Git provider you’re using to host your Laravel application’s codebase. This could be GitHub, GitLab, or any other compatible provider supported by Laravel Shift.
2. Provide Git Credentials. Securely store your Git access token within the shift.yml file. This token allows Laravel Shift to interact with your Git repository and manage the upgrade process.
3. Set Target Branch. Indicate the branch in your Git repository where you want to deploy the upgraded application code. The default branch (often master) is a common choice. But you can choose a different branch for testing purposes.
Additional Considerations:
1. The shift.yml file provides basic configuration options. Laravel Shift also offers a command-line interface (CLI) for more advanced configuration. Refer to the official Laravel Shift documentation for details on using the CLI.
2. To improve security, consider using environment variables to store sensitive information like your Git access token. This avoids storing them directly within the shift.yml file.
Once Laravel Shift configuration is completed, you ensure it has the necessary information to connect to your Git repository and perform the upgrade process.
Step 3: Define Stages
Laravel Shift uses the concept of stages to break down the upgrade process into manageable chunks. Each stage can represent a specific version of Laravel you want to upgrade to incrementally. Here’s how to define stages within your shift.yml configuration file:
- Create a Stages Section. Within your shift.yml file, define a stages section. This section will house configurations for each upgrade stage.
- Specify Stages With Versions: Under the stages section, list each stage as a key-value pair. The key represents the name you assign to the stage (e.g., “upgrade-to-12”), and the value specifies the desired Laravel version for that stage (e.g., “12.x”).
stages:

        upgrade-to-12: 12.x # Upgrade to Laravel 12.x (latest)
        upgrade-to-11: 11.x # Upgrade to Laravel 11.x
        upgrade-to-10: 10.x # Upgrade to Laravel 10.x (previous version)
        upgrade-to-9: 9.x   # Upgrade to Laravel 9.x (previous version)
In this example, we’ve defined three stages reflecting the latest and previous Laravel versions, including Laravel 9.0 for projects still running older versions.
- upgrade-to-12: This stage targets an upgrade to any version to the Laravel 12.x series (latest version).
- upgrade-to-11: This stage targets an upgrade to any version to the Laravel 11.x series (current stable version).
- upgrade-to-10: This stage targets an upgrade to any version to the Laravel 10.x series (previous version).
- upgrade-to-9: This stage targets an upgrade to any version of the Laravel 9.x series (previous version).
By defining stages, you provide Laravel Shift with a roadmap for the upgrade process. It will attempt to upgrade your application in a step-by-step manner, adhering to the order you define in the stages section.
Additional Considerations:
- You can define as many stages as needed. It allows for a gradual upgrade process across multiple Laravel versions.
- Laravel Shift also supports specifying exact versions within stages if you require a more granular upgrade approach.
Defining stages empowers you to control the upgrade path and ensures a well-organized and controlled upgrade process for your Laravel application.
Step 4: Create Deployment Formulae
Deployment formulae in Laravel Shift define the specific actions to be executed during each upgrade stage. These actions typically involve running Artisan commands to manage migrations, dependency updates, and other essential tasks. Here’s how to create deployment formulae within your shift.yml configuration file:
1. Define the Formulas Section. Create a formulas section within your shift.yml file. This section will house the deployment formulae for each stage.
2. Specify Formulae for Stages. Under the formulas section, list each stage name (as defined previously in the stages section) as a key. The value for each key should be a dictionary containing the specific commands to execute for that stage.
YAML
stages:
  upgrade-to-11: 11.x
  upgrade-to-10: 10.x
  upgrade-to-9: 9.x
formulas:
  upgrade-to-11: # Commands for upgrading to Laravel 11.x
    commands:
      - composer update # Update dependencies
      - php artisan clear-compiled # Clear compiled files
      - php artisan migrate # Run migrations
  upgrade-to-10: # Commands for upgrading to Laravel 10.x (previous version)
    commands:
      - composer update # Update dependencies
      # Specific commands for upgrading to Laravel 10 (if needed)
      - php artisan migrate # Run migrations
  upgrade-to-9: # Commands for upgrading to Laravel 9.x (previous version)
    commands:
      - composer update # Update dependencies
      # Specific commands for upgrading to Laravel 9 (if needed)
      - php artisan migrate # Run migrations
In this example, we’ve defined deployment formulae for each stage. Specifying the commands to be executed during that stage’s upgrade process.
Adding Specific Commands:
- The commands key within each formula is a list containing the Artisan commands you want to run for that stage.
- You might need to include additional commands specific to the upgrade between certain Laravel versions (e.g., if there were breaking changes).
With this breaking deployment formulae, you instruct Laravel Shift on the exact actions to perform during each upgrade stage. This ensures a controlled and customized upgrade process tailored to your application’s requirements.
Step 5: Run Deployment
Once you’ve configured Laravel Shift with stages and deployment formulae, you’re ready to initiate the upgrade process. Here’s how to run a deployment:
1. Navigate to Project Directory: Open your terminal and use the cd command to navigate to the root directory of your Laravel application.
2. Execute the Shift Command: Run the following command to trigger a deployment with Laravel Shift:
php artisan shift
- Review and Confirmation: Laravel Shift will analyze your project, stages, and deployment formulae. It will then generate a pull request containing the proposed code changes for the upgrade. Carefully review the pull request before merging it into your codebase.
Additional Considerations:
- The first time you run php artisan shift, Laravel Shift might prompt you to log in to your Laravel Shift account.
- By default, Laravel Shift operates in dry-run mode, meaning it simulates the upgrade process without making actual changes to your codebase. You can use the –force flag with the command (e.g., php artisan shift –force) to bypass dry-run mode and execute the upgrade directly (use with caution).
By running a deployment, you instruct Laravel Shift to automate the upgrade process based on the defined stages and formulae, including upgrades to Laravel 12 for the latest features and improvements. Review the generated pull request before merging it to ensure a smooth and successful upgrade.
Thus, Laravel Shift offers a powerful solution for automating Laravel upgrades. Yet, navigating the complexities of Laravel development can still require in-depth knowledge. Under these consequences, you must leverage a Laravel development company to manage your application’s upgrade process. Their expertise ensures a smooth upgrade experience and ongoing application maintenance.
Which are the Must-Have Laravel Shift Features?
Laravel Shift provides a feature-rich toolkit for simplifying and automating Laravel upgrades. Here are some of the must-have features that make Laravel Shift a vital tool for developers:
1. Multi-stage Deployments
Break down your upgrade process into manageable chunks. Define stages that represent specific Laravel versions you want to upgrade to incrementally. This allows for a controlled and well-organized upgrade path, reducing the risk of introducing errors. For instance, you can define separate stages for upgrading to Laravel 10 and then Laravel 11. It gives you the option to test and roll back more easily if necessary.
2. Git Integration
Seamlessly integrate with your Git repository. Laravel Shift connects to your Git provider (e.g., GitHub, GitLab) to manage the upgrade process. It generates pull requests containing the proposed code changes for each upgrade stage. This allows for code review and version control, ensuring a safe and traceable upgrade history.
3. Environment Variable Management
Securely manage sensitive information like database credentials and API keys. Laravel Shift allows you to store environment variables outside of your codebase, enhancing security and preventing accidental exposure.
4. Automated Tasks
Automate repetitive upgrade tasks. Laravel Shift can execute important commands during each upgrade stage, such as running migrations, updating dependencies, and clearing caches. This prevents the need for manual intervention and reduces the risk of human error.
5. Rollback Functionality
Revert to a previous state in case of issues. If an upgrade introduces unforeseen problems, Laravel Shift’s rollback functionality allows you to revert your codebase to a previous stage. This provides a safety net and minimizes downtime in case of unexpected issues.
With these must-have features, Laravel Shift helps you streamline the Laravel upgrade process. It reduces manual effort, minimizes errors, and ensures a controlled and safe upgrade path for your Laravel application. With its automation capabilities and rollback functionality, Laravel Shift offers peace of mind and increased efficiency for developers managing Laravel applications.
Conclusion
This article made you aware of everything about Laravel Shift. Be it installation and setting or by explaining its functions and giving you information about pricing. Now, you can upgrade your Laravel application by going with these plans or hire expert Laravel developers with us today!
FAQs About Laravel Shift
Is Laravel Shift suitable for all size projects?
Laravel Shift can be valuable for projects of various sizes. For smaller projects, it simplifies the upgrade process and reduces manual work. In larger projects, it minimizes errors and improves consistency. However, for highly customized projects with complex upgrade requirements, additional manual intervention might be necessary.
Can Laravel Shift handle migrations and database changes during the shift process?
Yes, Laravel Shift can integrate with database migrations. You can define commands within your deployment formulae to run migrations during each upgrade stage. This ensures that your database schema stays in sync with the upgraded Laravel version.
How does Laravel Shift ensure code quality and prevent breaking changes?
Laravel Shift doesn’t directly guarantee code quality or prevent breaking changes. While it automates tasks and reduces errors, the core responsibility for code quality lies with the developer. Yet, features like multi-stage deployments and rollback functionality allow for testing and mitigation of potential issues during the upgrade process. It’s still recommended to test your application after each upgrade stage.
Upgrade Your Application with Laravel Shift!
Save time, reduce errors, and keep your application secure with Laravel Shift’s powerful automation.


