Quick Summary
This blog is an easy guide to mastering Laravel validation. You’ll learn how to create custom validation rules, avoid common mistakes, and make your forms faster and more reliable. With easy-to-follow tips and practical examples, it shows how to write clean, efficient, and secure Laravel validation rules. Whether you’re just starting or an experienced developer, this guide helps you build apps that work smoothly and safely.
Table of Contents
A user submits a flawed form—an invalid email, a weak password, a required field left blank. Without proper validation, this data corrupts your application, leading to security risks, errors, and a poor UX.
Laravel validation provides a robust, elegant solution. It is the essential gatekeeper for your web application. It ensures that incoming data is correct, secure, and conforms to strict business rules before it ever touches your database.
Every robust application relies on strong data validation, and Laravel simplifies this with its built-in validation system. Effective monitoring and debugging are supported through Laravel logging, which helps track application events and maintain smooth functionality. This section explains how to implement validation—from basic rules to advanced custom validators—to ensure your application remains secure and reliable.
Overview of Built-in Laravel Validation
Laravel provides a robust validation system out of the box, making it simple to validate user input with minimal effort. Built-in validation rules cover a wide range of scenarios, including ensuring required fields, enforcing formats like email addresses, or setting constraints such as minimum and maximum lengths. These features simplify the development process and enhance the reliability of your application.
Laravel’s built-in validation is designed to be intuitive and highly readable. Let’s start by looking at a common example:
$request->validate([
    'email' => 'required|email',
    'password' => 'required|min:8',
]);
In the above code:
- required: Ensures the field is not empty.
- email: Checks if the input is a valid email address.
- min:8: Ensures that the password is at least 8 characters long.
Understanding these basics of Laravel’s built-in validation sets the foundation for mastering custom rules, which we’ll explore next.
How to Create Custom Validation Rules in Laravel?
While Laravel’s built-in validation rules cover most scenarios, there are times when you need to implement logic specific to your application’s requirements. Laravel makes it simple to create custom validation rules, ensuring your validation logic is both reusable and maintainable.So, let’s dive into how you can create custom validation rules: using closures, rule objects, and custom validation services.
Using Closure-Based Rules
Closure-based rules are the easiest and quickest way to define one-off validation logic. These rules are ideal for simple checks that don’t require reusability. You define the validation logic inline within your validate method. Here is the example code:
$request->validate([
    'username' => [
        'required',
        function ($attribute, $value, $fail) {
            if (str_contains($value, 'admin')) {
                $fail($attribute.' should not contain the word "admin".');
            }
        },
    ],
]);
In the above code:
- $attribute: Represents the name of the field being validated (e.g., username).
- $value: Contains the value of the field (e.g., the input provided by the user).
- $fail: A callback function to trigger a validation error with a custom error message.
When to Use: Use closure-based rules are perfect for quick validation checks. It is also perfect for scenarios where the logic isn’t reused elsewhere in the application.
Using Rule Objects
If you find yourself repeating a validation rule or need to make it more structured, consider using a Rule Object. This approach encapsulates validation logic into a dedicated class, making your code cleaner and easier to manage. Run the following Artisan command to generate a new rule class:
php artisan make:rule Uppercase
This will create a file in the app/Rules directory. Customize it to define your validation logic:
namespace App\Rules;
use Illuminate\Contracts\Validation\Rule;
class Uppercase implements Rule
{
    public function passes($attribute, $value)
    {
        return strtoupper($value) === $value; // Checks if the value is entirely uppercase
    }
    public function message()
    {
        return 'The :attribute must be uppercase.';
    }
}
To apply this rule in your validation logic:
use App\Rules\Uppercase;
$request->validate([
    'username' => ['required', new Uppercase],
]);
When to Use: Opt for rule objects when you need reusable and structured validation logic.
Using Custom Validation Services
For complex validation logic that needs to be used in multiple places across your application, creating a custom validation service is the best approach. This method uses Laravel’s service container to inject reusable validation logic.
Step 1: Create the Service Class
Define a custom validation service in the app/Services directory:
namespace App\Services;
class UsernameValidator
{
    public function validate($value)
    {
        return !str_contains($value, 'admin'); // Rejects usernames containing "admin"
    }
}
Step 2: Register the Service
Bind the service to Laravel’s service container in a service provider (e.g., AppServiceProvider):
public function register()
{
    $this->app->singleton(UsernameValidator::class, function ($app) {
        return new UsernameValidator();
    });
}
Step 3: Use the Service in Your Controller
Inject the service and use it within your validation logic:
use App\Services\UsernameValidator;
use Illuminate\Http\Request;
public function store(Request $request, UsernameValidator $validator)
{
    $request->validate([
        'username' => ['required', function ($attribute, $value, $fail) use ($validator) {
            if (!$validator->validate($value)) {
                $fail($attribute.' contains the restricted word "admin".');
            }
        }],
    ]);
}
When to Use: Leverage custom validation services for complex and application-wide validation needs.
By mastering these approaches, you’ll be able to create efficient and maintainable validation logic customized to your application’s requirements.
Laravel Validation Best Practices
Validation is a cornerstone of any web application, ensuring that the data entering your system is accurate and secure. Laravel offers multiple ways to handle validation, and following best practices will help you maintain a clean, efficient, and scalable codebase. This section outlines key strategies for mastering validation in Laravel.

Validation in Controllers
When working with smaller applications or handling straightforward validation logic, performing validation directly in controllers can be effective. However, for more complex applications, this approach can clutter your controller methods. Here is the code to create controller:
public function store(Request $request)
{
    $validated = $request->validate([
        'title' => 'required|max:255',
        'content' => 'required',
    ]);
    // Proceed with storing validated data
}
Form Request Validation in Laravel
Form Request validation is the most recommended approach in Laravel for managing complex or reusable validation rules. It moves validation logic out of the controller, keeping your controllers clean and focused on their primary responsibilities. Run the following Artisan command to create a new form request:
php artisan make:request StorePostRequest
If validation fails during a traditional HTTP request, a redirect response to the previous URL will be generated. To keep your logs clean during development or troubleshooting of validation issues, check out how to clear Laravel log. The generated request class resides in the App\Http\Requests directory. Define your validation rules in the rules method:
public function rules()
{
    return [
        'title' => 'required|max:255',
        'content' => 'required',
    ];
}
With the validation logic encapsulated, your Laravel controller method becomes cleaner. Here is the code:
public function store(StorePostRequest $request)
{
    // Validation is automatically handled
    Post::create($request->validated());
}
Laravel API Validation
When building APIs, you’ll often need validation tailored for JSON responses instead of HTML forms. Laravel makes it easy to handle validation errors gracefully in APIs. Here is the code of API validation in a controller:
public function store(Request $request)
{
    $request->validate([
        'email' => 'required|email',
    ]);
    // The validated data is available in $request->validated()
}
You can customize how validation errors are returned by modifying the App\Exceptions\Handler class:
public function render($request, Exception $exception)
{
    if ($exception instanceof ValidationException) {
        return response()->json([
            'errors' => $exception->errors(),
        ], 422);
    }
    return parent::render($request, $exception);
}
Laravel Validation Error Messages & Translations
Laravel’s robust localization support allows you to customize error messages to suit your application’s needs or translate them for multilingual support. It’s also important to manage settings like time properly; see our guide on change timezone in Laravel for configuring timezone correctly. To customize specific error messages, edit the language file located at resources/lang/en/validation.php. For instance:
'custom' => [
    'email' => [
        'required' => 'We need your email address!',
    ],
],
If the email field is missing, Laravel will display the custom message: “We need your email address!”.
By adhering to these best practices, you’ll ensure your application’s validation logic is efficient, scalable, and easy to maintain. If you are looking to build a secured website with robust validation, get in touch with expert Laravel development company.
How to Test Custom Validation Rules in Laravel?
Testing your custom validation rules is essential to ensure they function correctly and maintain the reliability of your application. Laravel provides robust tools for unit testing, making it easy to verify that your custom rules behave as expected under various conditions. Here is the example of testing a custom rule:
public function testUppercaseRule()
{
    $rule = new Uppercase;
    $this->assertTrue($rule->passes('username', 'UPPERCASE'));
    $this->assertFalse($rule->passes('username', 'lowercase'));
}
Testing custom validation rules in Laravel is essential to ensure their accuracy and reliability across various scenarios. By using Laravel’s robust testing tools and following best practices, you can maintain high-quality validation logic and boost your user experience.
Laravel Validation Performance Tips
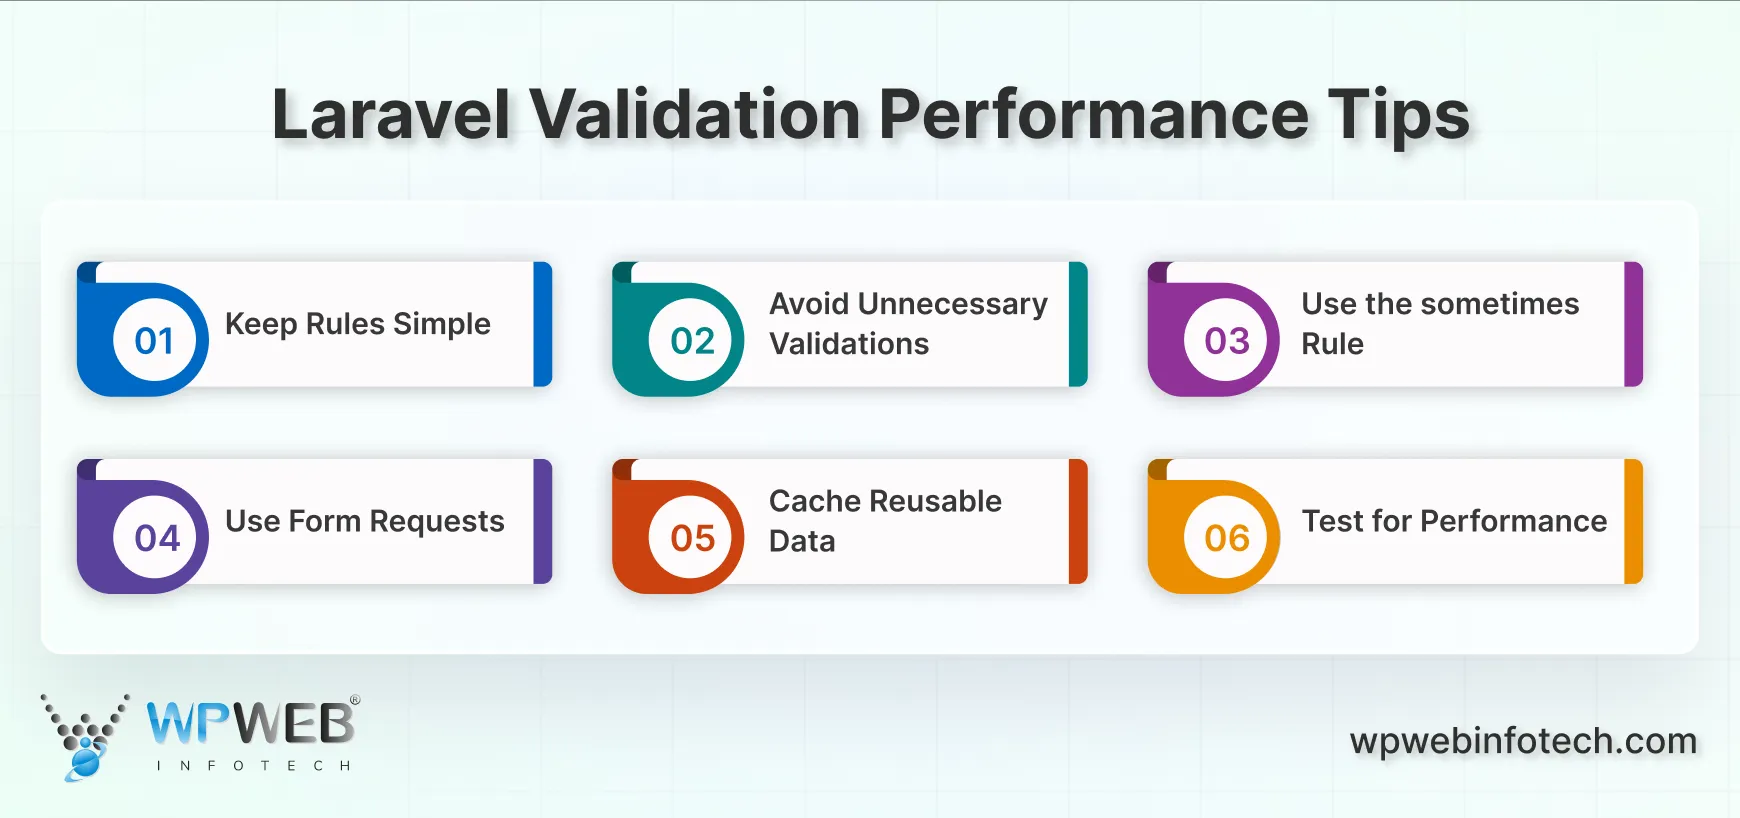
Validation is a critical part of any Laravel application. But if not handled carefully, it can slow down your app, especially when dealing with large forms or complex rules. Here are some practical tips to keep your Laravel validation rules fast and efficient.

- Keep Rules Simple: Complex Laravel rules take more time to process. Use simple, clear rules whenever possible. Break complicated logic into smaller pieces. This makes your code easier to read and execute efficiently.
- Avoid Unnecessary Validations: Only validate what you need. For example, if a field is optional, don’t run heavy rules on it unless it’s filled. This reduces the workload on your application and keeps Validator Laravel fast.
- Use the sometimes Rule: Laravel’s sometimes rule is a lifesaver. It runs validation only when a field is present. This prevents unnecessary checks on empty or unused fields, thereby improving Laravel request validation performance.
- Use Form Requests: Using Form Request classes keeps your controller clean and organizes validation in one place. This not only improves readability but also makes your app more maintainable. It’s the best way to structure Laravel custom validation rules.
- Cache Reusable Data: If your Laravel validation rule relies on database lookups, consider caching results. Checking a cached list is much faster than querying the database for every request.
- Test for Performance: Always test forms under realistic conditions. Measure the time it takes to validate with real data. Small changes can have a significant impact on speed when using the Laravel validator.
By following these tips, you can keep your validation in Laravel lean and efficient. Faster validation results in a smoother user experience and a more responsive application.
Common Mistakes in Laravel Validation
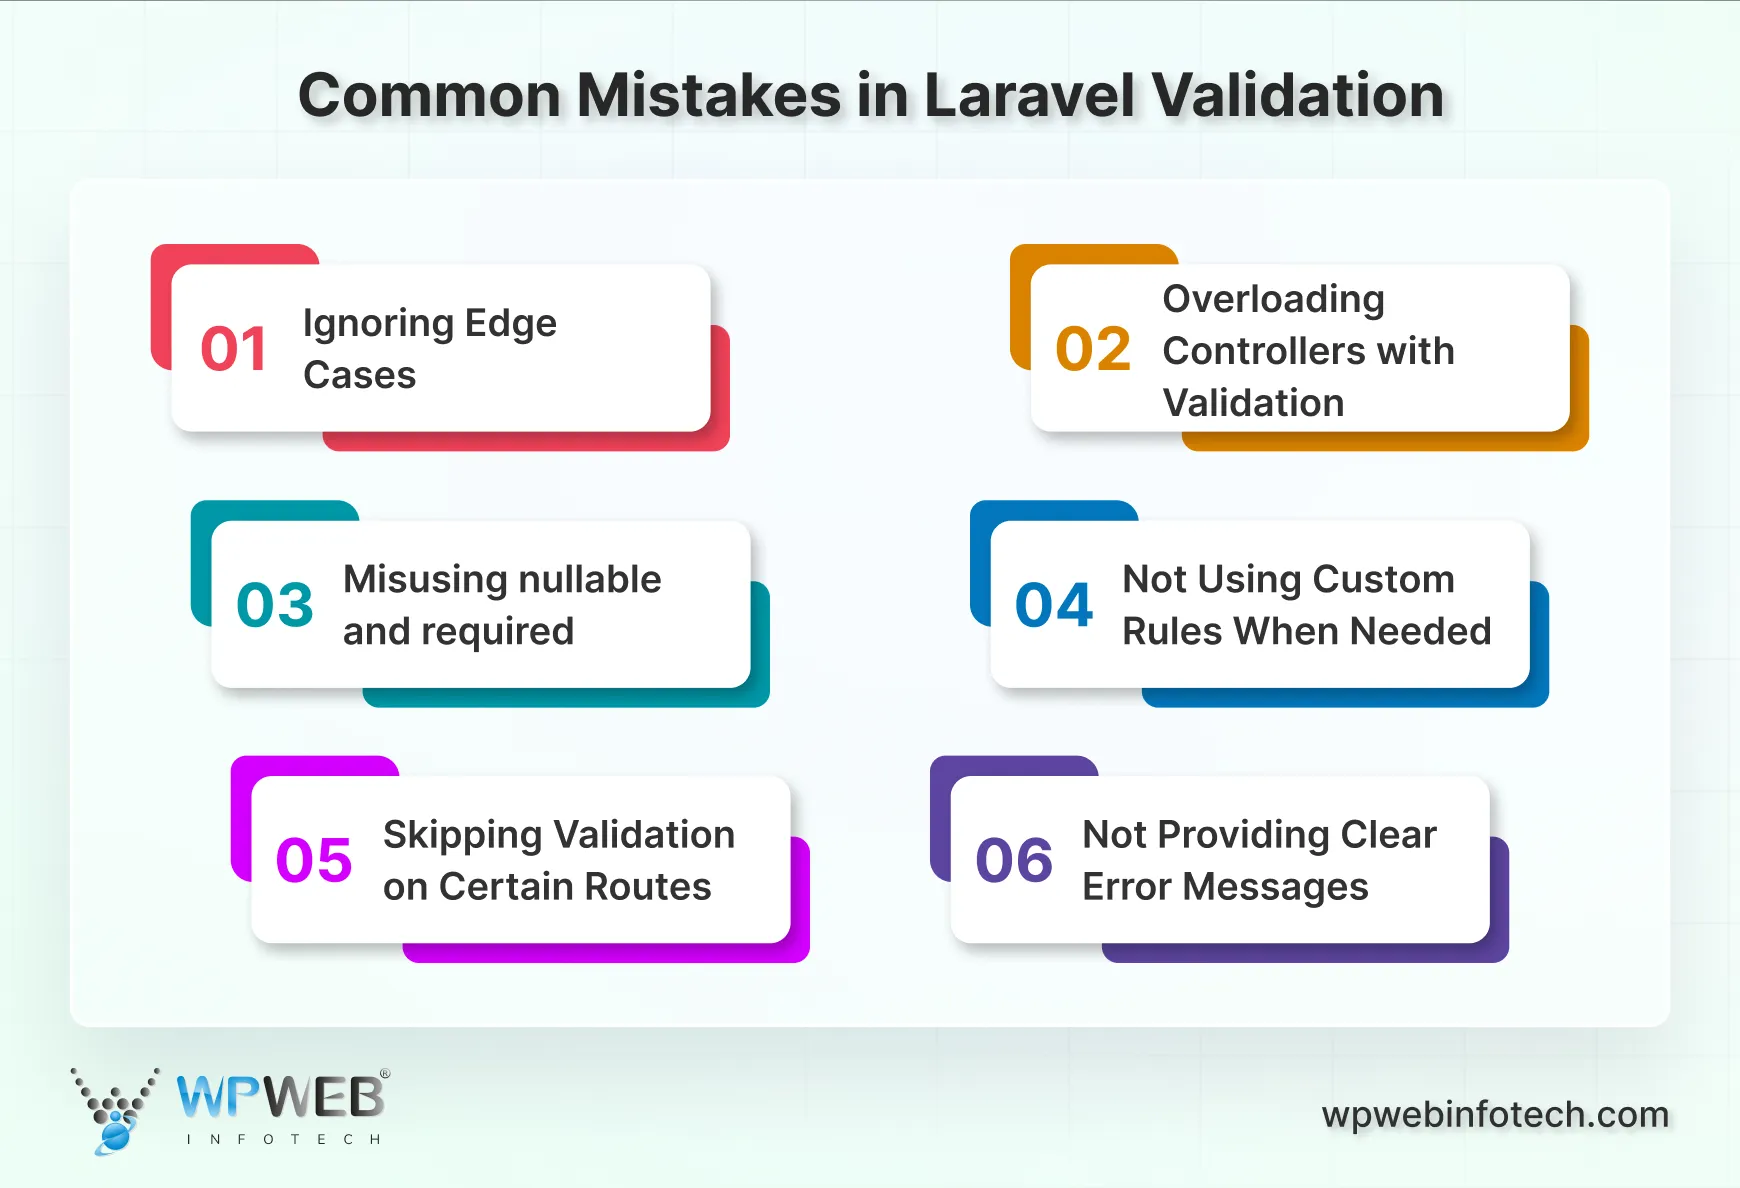
Even experienced developers can slip up when working with Laravel validation. Knowing the common mistakes helps you avoid them and write cleaner, more reliable code.

- Ignoring Edge Cases: It’s easy to validate typical input, but it’s often forgotten that unusual cases also need attention. For example, empty strings, special characters, or large numbers can cause issues with your app if not handled correctly. Always think about all possible user inputs.
- Overloading Controllers with Validation: Some developers put all validation directly in the controller. This makes the code messy and complicated to maintain. Using Form Requests keeps validation organized and separates logic from controller actions.
- Misusing nullable and required: Confusion between nullable and required is common. Remember, nullable allows a field to be empty, while required demands a value. Mixing them incorrectly can lead to unexpected behavior.
- Not Using Custom Rules When Needed: Relying only on Laravel’s built-in rules can limit flexibility. Sometimes, your app requires specific checks that necessitate custom rules. Avoid workarounds that make your code messy.
- Skipping Validation on Certain Routes: Sometimes, developers validate only on form submission, skipping other endpoints, such as API calls. Every entry point that accepts user input should be validated to ensure the security of your app.
- Not Providing Clear Error Messages: Validation is most effective when users understand what went wrong. Generic messages frustrate users. Always provide meaningful and precise error messages to enhance the user experience.
By being aware of these mistakes, you can write validation that is secure, efficient, and user-friendly. Avoiding these pitfalls shows expertise and ensures your Laravel apps remain strong and reliable.
Final Thoughts on Laravel Form Validation
Strong form validation is the foundation of every secure and reliable Laravel application. By mastering Laravel’s built-in rules, you can handle most common validation needs quickly and efficiently. And as your application grows, creating custom validation rules becomes crucial for handling unique business requirements.
Best practices such as using Form Requests or API validation not only make your codebase cleaner but also ensure long-term maintainability. Regularly testing these rules helps catch issues early, reducing bugs and delivering a smoother experience for your users.
With Laravel’s robust validation system, you can:
- Protect your application against invalid or malicious data.
- Improve performance with cleaner, more maintainable code.
- Build user-friendly forms that enhance trust and reliability.
If you’re ready to build a high-performing Laravel application with expert validation, security, and scalability in mind—don’t hesitate to hire Laravel developers from WPWeb Infotech today.
FAQs on Laravel Validation
Can I customize the error messages for validation rules in Laravel?
Yes, you can customize the error messages for validation rules in Laravel. You can do this by passing an array of custom messages as the third parameter to the validate method. You can also use the messages method on the Validator facade to set custom error messages for specific fields.
What are some common validation rules in Laravel?
Some common validation rules in Laravel include required for making a field mandatory, email for validating email addresses, numeric for accepting only numbers, and min and max for specifying minimum and maximum lengths for a field.
How can I test my validation rules in Laravel?
Laravel provides a built-in Validator class for testing your validation rules. You can use the passes method to check if the input data passes all the rules, and the fails method to check if any of the rules fail. You can also use the Validator facade in your unit tests to test validation rules.
Enhance Your Laravel Validation
Need robust and custom validation rules? Our Laravel experts can help you implement best practices for secure, error-free apps.


