
Quick Summary
Discover how to efficiently manage Laravel logs to keep your applications fast, secure, and easy to debug. This guide covers clearing logs via Artisan, manual methods, automation with cron jobs, and advanced tools. Learn best practices, troubleshoot common issues, and explore strategies such as log rotation, channel management, and archiving to maintain organized and reliable logs without slowing down your system.
Table of Contents
When working with Laravel, you’ll notice that log files proliferate. Every error, warning, and system message gets stored in them. At first, this is helpful. But over time, these files can become large and cluttered. They start consuming disk space and make it harder to find important files.
If you’ve ever opened your storage/logs folder and felt overwhelmed, you’re not alone. Many developers run into the same issue. Clearing Laravel log files is simple once you know the proper steps. In this guide, we’ll provide you with the complete process on how to clear Laravel logs. So, let’s start!
What is Laravel Log?
Laravel’s logging system is a powerful feature for recording events and monitoring the internal processes of your application. It offers a centralized space to capture user actions, system errors, and debugging messages, providing valuable insights for troubleshooting and performance tracking. To maintain data integrity throughout your application, implement Laravel validation for consistent and reliable data handling.
How Laravel Logging Works: Default Channels, Log Files, and Log Levels
Laravel’s logging system is designed to give developers a clear view of what’s happening inside their applications. It is simple to use but very powerful when you know how it works.
Default Channels
By default, Laravel writes log messages to files stored in the storage/logs folder. Each day, it can create a new log file, making it easy to organize and find specific entries. You can also configure multiple channels, like sending logs to a database, email, or even platforms like Slack. This flexibility allows you to handle errors and messages in a manner that suits your workflow.
Where Laravel Stores Logs (default path: storage/logs/laravel.log)
Laravel keeps its main log file in storage/logs/laravel.log. This file is where most messages, errors, and system events are recorded by default. On active projects, this file can grow quickly. Knowing its location is crucial for maintenance, quick debugging, or clearing old entries safely.
Log Levels
Laravel categorizes logs by severity. Common levels include:
- Debug: Fine-grained information, useful during development.
- Info: General events that show the app is working as expected.
- Warning: Something unexpected happened, but the app is still running.
- Error: Serious problems that need attention.
- Critical: Major issues that could break the application.
Using these levels correctly helps you prioritize issues. You can focus on the most critical problems first while keeping a complete record of all events.
By understanding channels, files, log levels, and the default storage path, developers gain complete control over Laravel’s logging system. Implementing Laravel Logging effectively helps optimize log management, enhance observability, and ensure smoother application monitoring.
Accurate timezone management is essential for maintaining precise log records. By configuring your application to change timezone in Laravel, you ensure that log data reflects the correct time context, making it easier to identify issues quickly and maintain smooth application performance.
Why You Should Regularly Clear Laravel Logs
Regularly clearing Laravel logs keeps your application healthy, secure, and easier to manage. Other reasons include:
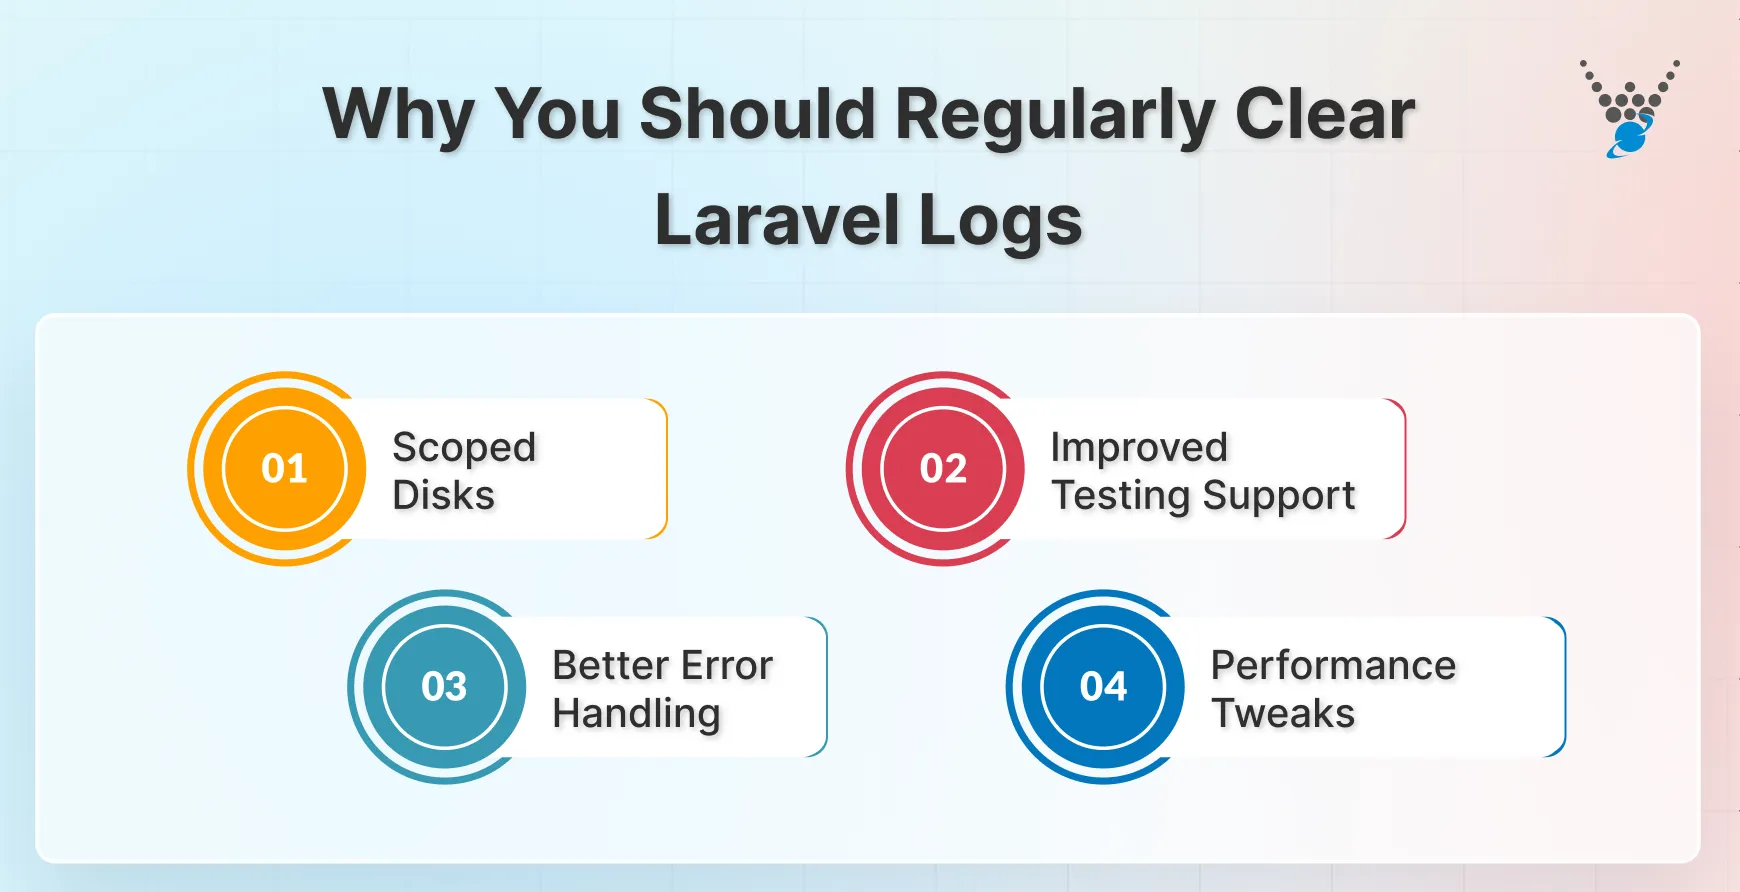
- Improve Application Performance: Large log files can slow down your application. Each time Laravel writes to or reads from a large log, it incurs additional processing time. Clearing logs keeps your system lean, enabling it to respond faster and run more smoothly.
- Save Disk Space & Avoid Server Errors: Logs proliferate, especially on active websites or apps. If left unchecked, they can consume significant disk space and even trigger server errors. Regular cleanup prevents storage issues and maintains your server’s stability.
- Maintain Security & Compliance: Logs often contain sensitive data, such as user activity, errors, or system details. Old logs left unmanaged can become a security risk. Clearing them regularly helps protect your users and keeps you in line with best practices and compliance requirements.
- Keep Logs Manageable for Debugging: When logs are cluttered with old entries, finding the critical errors becomes a challenge. By maintaining smaller, organized logs, you can quickly identify and resolve issues before they escalate. It saves time and reduces frustration during debugging.
Simply put, regularly clearing Laravel logs keeps your application fast, stable, and secure. It also makes logs easier to manage, allowing you to identify and resolve issues quickly.
Methods to Clear Laravel Logs
Laravel log files are helpful for debugging, but large logs can slow your system and make issues more complicated to track. Let’s discuss the steps to clear them.
Method 1: Clear Laravel Logs Using Artisan Command
Step 1: Access the Log File
Laravel stores logs in the storage/logs directory. You can peek at them using a file manager or the terminal:
- File Manager: Navigate to storage/logs and open files like laravel.log.
- Terminal: Use cd storage/logs and commands like cat or less to view contents.
Step 2: Run the Artisan Command
The fastest way to clear all logs is with Artisan. Run:
php artisan log:clear
This deletes all entries in the storage/logs folder instantly.
Step 3: Verify Cleanup
Check that logs were cleared with:
ls -lh storage/logs
The file sizes should be much smaller, confirming a successful cleanup.
Method 2: Manually Clear a Specific Laravel Log File
Step 1: Locate the Log File
Identify which log you want to clear:
- Default Log: laravel.log captures most general activity.
- Channel-Specific Logs: Files like mail.log or api_requests.log store channel-specific events.
Step 2: Choose a Clearing Method
You have several options:
- Echo Command:
echo "" > storage/logs/laravel.log
- Truncate Command (if available):
truncate -s 0 storage/logs/laravel.log
- Manual Editing: Open the file in a text editor (like Vim) and delete the contents.
- Delete & Recreate: Remove the file entirely; Laravel will recreate it automatically.
Step 3: Test the Application
After clearing, check your app for proper logging. Ensure new entries appear in the file as expected.
Method 3: Automate Log Clearing with Cron Jobs
For projects with heavy traffic, manually clearing logs can be a tedious task. Automate it with a cron job:
- Schedule Artisan Command: Run php artisan log:clear at regular intervals.
- Example Cron Entry:
0 0 * * * cd /path-to-your-project && php artisan log:clear >> /dev/null 2>&1
This clears logs daily at midnight, keeping your system tidy without intervention.
Method 4: Use Laravel Tinker to Clear Logs
Tinker is another flexible option, especially for channel-specific logs or Horizon logs stored in Redis:
Step 1. Open Tinker:
php artisan tinker
Step 2. Clear logs programmatically. For example, clearing Horizon logs in Redis:
Illuminate\Support\Facades\Redis::flushall();
This method is useful for advanced setups where logs are not stored in files.
By understanding and using these methods, you gain complete control over Laravel logs. Regular maintenance keeps your application fast, secure, and easy to debug, turning logs from a potential headache into a powerful tool.
Common Issues & Troubleshooting
Even experienced developers run into challenges when managing Laravel logs. Some common issues and practical solutions are outlined below.
Permission Errors When Deleting Logs
Sometimes, attempting to clear log files triggers permission errors. This usually happens when the web server or your user account doesn’t have write access to storage/logs.
Solution:
- Adjust permissions with:
sudo chmod -R 775 storage/logs
sudo chown -R www-data:www-data storage/logs
- Always confirm your user or web server has ownership of the directory to prevent recurring errors.
Logs Reappearing After Clearing
You might notice that logs seem to return immediately after deletion. This happens because Laravel actively writes to log files as your application runs.
Solution:
- This is expected behavior. After clearing, check the log file size to confirm it has been reset.
- Consider temporarily stopping the server or queue workers if you need an empty log for testing.
Application Errors After Manual Deletion
Manually deleting log files without care can sometimes trigger errors. Some applications expect the log file to exist, and sudden removal may cause write failures.
Solution:
- Instead of deleting, clear the file contents:
echo "" > storage/logs/laravel.log
- Or use Artisan:
php artisan log:clear
Both methods preserve the file structure while safely emptying its contents.
Fixing “File Too Large” Issues Before Opening in Editors
Opening massive log files in editors like VS Code or Sublime can cause the program to crash or slow to a crawl.
Solution:
- Use terminal commands to inspect or trim logs:
tail -n 100 storage/logs/laravel.log
- Split or truncate large files before opening:
split -l 1000 storage/logs/laravel.log chunk_
Consider log rotation to prevent files from becoming unmanageable.
Addressing these common issues keeps your Laravel logs under control. Proper permissions, safe clearing methods, and preventive measures ensure smooth debugging and a stable application.
Best Practices for Laravel Log Management
Clearing logs is essential, but managing them effectively takes your Laravel projects to the next level. Some best practices to keep your logs organized, efficient, and easy to work with include:
Enable Log Rotation for Efficiency
Laravel includes built-in log rotation. This feature automatically creates new log files and deletes old entries when they exceed a set size or age. You can configure it in config/logging.php. Using rotation keeps your logs from growing uncontrollably and reduces manual maintenance.
Use Log Channels Effectively
Laravel supports multiple log channels, including single, daily, stack, and custom channels. Use them wisely: critical logs can be directed to dedicated channels, while routine information logs can be kept in daily files. This approach keeps necessary logs easily accessible without cluttering your main log file.
Build a Custom Cleanup Command
If you want more control, create a custom Artisan command in the routes/console.php file. You can define rules based on log file size, age, or channel. This allows automatic, targeted cleanup tailored to your project’s needs.
Explore Third-Party Log Management Packages
Packages like spatie/laravel-log-cleanup add more flexibility. They can automate cleanup, compress old logs, and filter entries. Using a trusted package reduces manual work and ensures logs remain clean without constant oversight.
Schedule Regular Log Cleanup with Automation
Even with rotation and packages, it’s wise to automate cleanup using cron jobs or scheduled tasks. Regularly clearing logs prevents disk space issues and ensures your application stays performant.
Integrate with Centralized Log Management Tools
For larger projects, consider centralized log systems, such as the ELK stack, Sentry, or Loggly. These tools consolidate logs from multiple servers and applications, making monitoring, debugging, and reporting much easier.
In short, effective Laravel log management ensures that your logs are organized, efficient, and easy to monitor. Use rotation, channels, automation, and centralized tools to maintain performance and simplify debugging.
Let’s Conclude
Laravel logs are a window into your application’s inner workings. Keeping them clean and organized prevents server slowdowns, avoids storage issues, and makes debugging far easier.
Using tools like Artisan, manual clearing, or automated cron jobs gives you precise control over your logs. Combining these with log rotation, channel management, and occasional use of third-party packages ensures logs stay useful without becoming overwhelming.
Paying attention to log maintenance may seem small, but it has a direct impact on performance, reliability, and the overall health of your Laravel projects. If you need help with Laravel log management, let our expert Laravel developers for hire craft a comprehensive logging strategy.
FAQs About Clearing Laravel Log
How frequently should Laravel logs be cleared?
There’s no one-size-fits-all answer. The ideal frequency depends on factors like application size, log volume, and disk space availability. A good rule of thumb is to clear logs regularly, perhaps weekly or monthly. However, for high-traffic applications, more frequent clearing might be necessary.
Is it possible to automate the process of clearing Laravel logs?
Absolutely! Laravel’s built-in log rotation functionality automates log management. You can configure it to create backups and delete older entries. It could be based on specific criteria like file size or time limits. Additionally, cron jobs can be used to schedule regular clearing of logs using Artisan commands.
Can clearing Laravel logs lead to data loss?
By default, clearing logs remove their content. However, data loss shouldn’t occur if done correctly. It’s recommended to utilize log rotation, which creates backups of older logs before deleting them. This ensures you have a safety net in case you need to refer to historical log data.
What happens if I don’t clear Laravel logs?
If you don’t clear logs, they can grow very large over time. This may slow down your application, consume significant disk space, and make debugging harder. In extreme cases, oversized logs can even trigger server errors or crashes.
Can I archive logs instead of deleting them?
Yes, archiving is a safe alternative. You can compress old log files and store them elsewhere for future reference. This keeps your application’s logs manageable while preserving historical data for audits or troubleshooting.


