
Quick Summary
Laravel Tinker is a powerful REPL tool included with Laravel. Like a command-line playground, it lets you interact with your entire Laravel application from the terminal. With Tinker, you can quickly test code, debug scripts, manipulate database records, and generate models without needing to use your browser. It’s an essential tool for development, making experimentation and troubleshooting fast and efficient.
Table of Contents
Ever wish you could have a conversation with your Laravel application? To ask questions, test ideas on the fly, or poke around your database without the hassle of setting up a whole new route or controller? This is what Laravel Tinker puts right at your fingertips.
Laravel Tinker is a built-in tool that gives you direct access to your application’s core. It is like a backstage pass, letting you interact with your Eloquent models, services, and entire application ecosystem from a simple command line. Tinker is a Read-Eval-Print Loop (REPL). You type a command, it reads it, executes it, and instantly prints the result.
In this blog, we’ll discuss everything you need to know to use Laravel Tinker like an expert. We’ll cover setup, benefits, practical examples, and more. So, let’s dive in!
What is Laravel Tinker?
Laravel Tinker is an invaluable tool that boosts productivity. It’s an REPL environment built directly into the Laravel framework. This means you have an interactive command line specifically designed for working with your Laravel application. Tinker allows you to experiment with code snippets, test functionalities, and explore features without a completely new environment setup.
How Does Laravel Tinker Work?
- Read. Tinker accepts your input, which can be PHP code, Laravel-specific commands, or database queries.
- Eval. It evaluates the provided input within the context of your Laravel application. This means you have access to all your application’s models, classes, and functionalities.
- Print. Finally, Tinker displays the results of the evaluated code on the console. This lets you see the output or any errors encountered.
This continuous read-eval-print loop allows for a highly interactive experience. You can test different functionalities one line of code at a time, making debugging and experimentation a breeze.
You may even use Laravel Debugbar alongside it for creating an error-free Laravel web application.
The Benefits of Using Tinker in Laravel
Using Laravel Tinker improves your workflow. It changes how you solve problems. Let’s break down how it transforms your workflow from a chore into something much smoother.
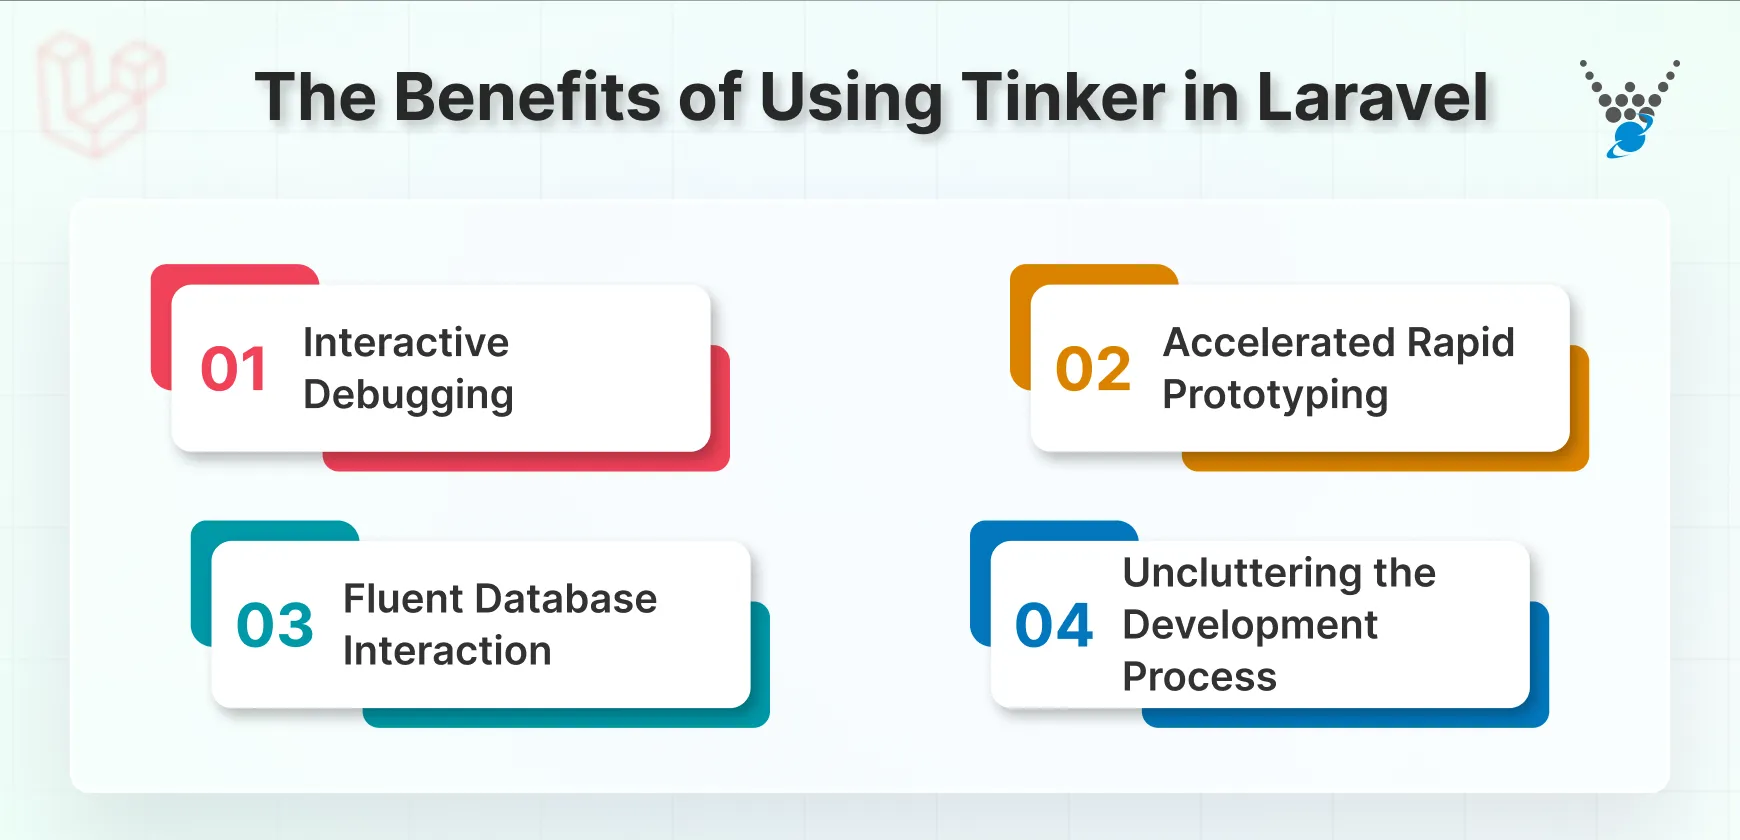
Interactive Debugging
Tinker offers a focused environment for error investigation, letting you troubleshoot issues with precision, maintaining a consistent code style using Laravel Pint further ensures your project remains clean and standardized during debugging. You bypass the disruptive dd() routine, instead instantiating classes and tracing methods interactively to conduct accurate root cause analysis.
Accelerated Rapid Prototyping
You can quickly test new features or ideas with zero overhead, skipping the laborious setup of routes and controllers. This sandbox is perfect for validating complex Eloquent queries or service logic before full implementation, drastically compressing the iteration loop, a level of workflow optimization that pairs well with asset management tools like Laravel Mix.
Fluent Database Interaction
Tinker allows you to perform CRUD operations directly from the command line using the elegant syntax of the Eloquent ORM. This enables immediate administrative fixes, quick data seeding, and expressive, code-driven data manipulation without relying on clunky GUI tools.
Uncluttering the Development Process
Tinker in Laravel streamlines the development process by eliminating workflow friction and reducing the reliance on the slow HTTP layer. You can interact directly with classes and objects for instant feedback, ensuring your focus remains squarely on the core business logic.
Simply put, Laravel Tinker enhances your workflow by providing a fast and focused environment for interactive debugging and rapid prototyping. This allows for immediate class and method tracing. It streamlines development by enabling fluent database interaction (CRUD via Eloquent) directly from the command line, dramatically reducing setup overhead.
Getting Started with Laravel Tinker: Installation and Setup
Tinker offers both immediate usability and advanced configuration potential. Let’s look at the steps for integrating it into your development workflow.
Installation and Technical Configuration
Laravel Tinker is built on top of the powerful PsySH shell. For most modern projects, you don’t need a manual installation:
- Included by Default: Tinker is typically included in the composer.json file and installed with all new Laravel projects.
- Manual Installation (If Removed): If you or a package previously removed it, you can easily restore it using Composer. Run the following command in your project’s root directory:
composer require laravel/tinker
- Configuration Control: For advanced usage, Tinker’s behavior is governed by the config/tinker.php file. Key configuration arrays here offer granular control:
- Command Allow List: The commands array determines which Artisan commands (like migrate or up/down) can be executed directly within the Tinker shell.
- Classes Not Aliased: The dont_alias array prevents certain classes from being automatically shortened inside the Tinker prompt. This is often used for classes that conflict with the built-in PsySH shell commands.
Launching and Interacting
Once configured, starting a session is straightforward. This is where the magic of the REPL environment truly begins.
- Navigate to Project Directory: Ensure your terminal is pointed to the root directory of your Laravel application (the folder containing artisan).
- Start Tinker: Execute the Artisan command to launch the shell:
php artisan tinker
- The Tinker Prompt: A prompt (usually >>>) will appear, signifying that Tinker is active and ready to process your PHP and Laravel commands.
- First Test (High Value): Immediately test your application’s access to the database by fetching a user model. This confirms Tinker is correctly loaded into your application’s context:
>>> App\Models\User::first();
- Exit the Session: When your troubleshooting or testing is complete, simply type exit or press Ctrl+C to return to your standard terminal environment.
With Tinker successfully launched, you now have a direct, powerful line to your application’s components, ready for immediate interaction.
And, if you want to ensure the best results with this debugging tool, consult with a professional Laravel development company.
Usage and Capabilities of Laravel Tinker
Once you start Artisan Tinker, you get direct access to everything in your Laravel application. This Laravel interactive console extends far beyond simple database lookups, allowing you to interact with virtually every layer of your application stack.
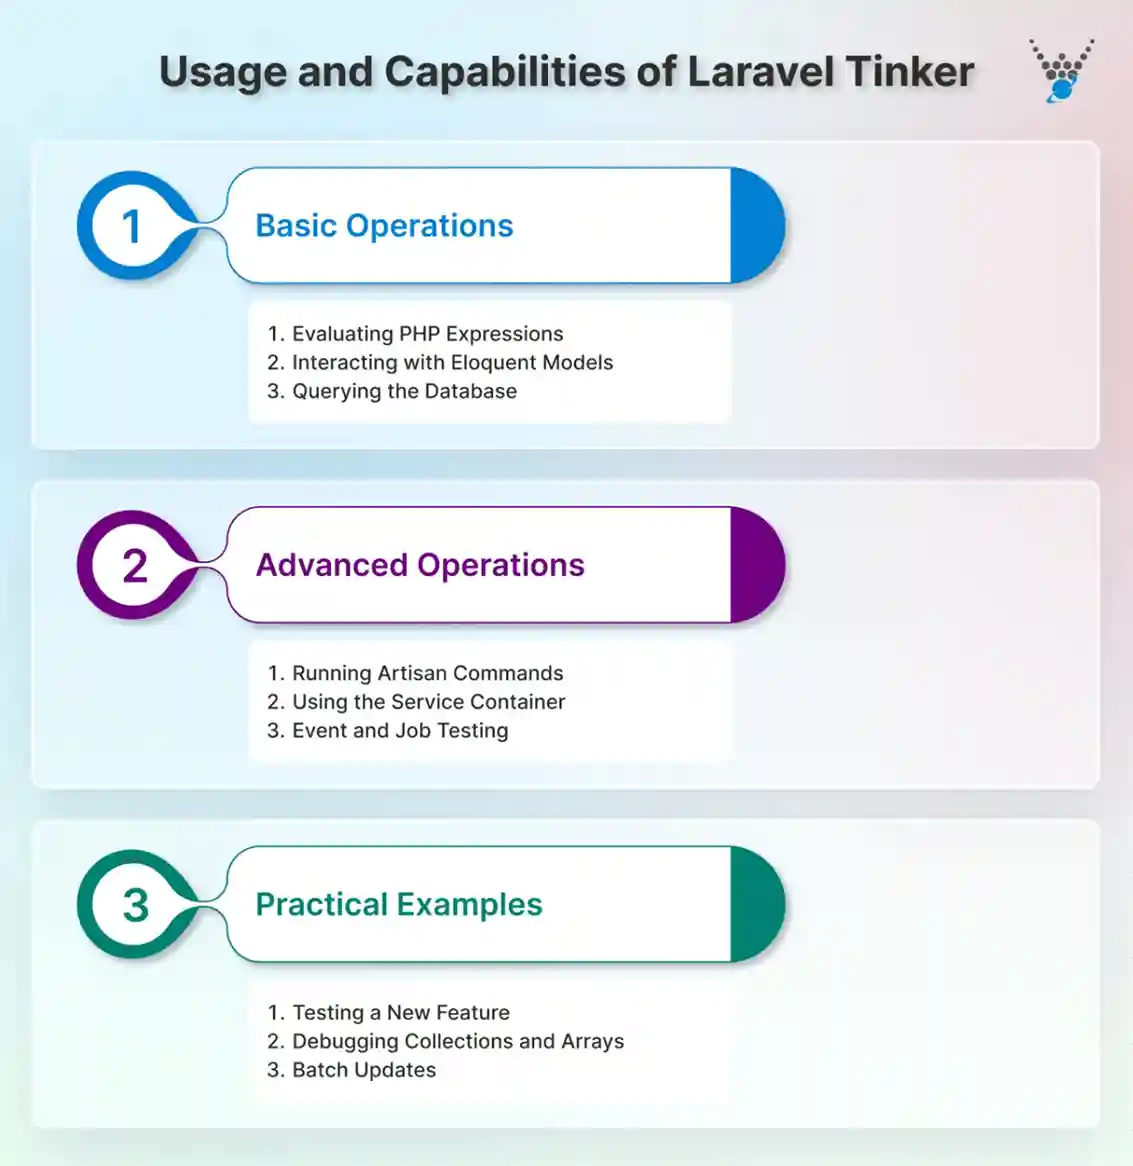
Basic Operations
Tinker is the ultimate scratchpad. The most immediate utility of this PHP REPL for Laravel lies in its capacity to execute core application tasks quickly.
- Evaluating PHP Expressions: You can execute any valid PHP expression directly at the prompt. Use it for simple arithmetic or to confirm utility functions like str_replace() are working. It offers immediate feedback on small code blocks.
- Interacting with Eloquent Models: Tinker Laravel provides a direct window into your database. You can effortlessly retrieve data (e.g., User::all()) for inspection. It’s simple to create new users, update details (using $user->save()), or delete users from the database.
- Querying the Database: For complex interactions, you can use the DB Facade (e.g., DB::table(’posts’)->where(…)). This provides low-level access for raw queries without needing to modify application files.
Advanced Operations
Laravel Tinker commands are most powerful when you work with the framework’s more complex systems. It becomes essential for testing background and asynchronous processes.
- Running Artisan Commands: You aren’t limited to just PHP code. You can use the Artisan::call() facade to programmatically run any Artisan command (like migrate) without exiting the shell.
- Using the Service Container: The app() helper grants instant access to the Service Container. You can fetch any bound service, such as the cache manager or a custom repository, to test its methods in isolation.
- Event and Job Testing: Tinker allows you to simulate asynchronous behavior. You can trigger events (e.g., event(new UserRegistered($user))) to ensure listeners fire, while monitoring real-time application performance through Laravel Telescope.
- You can also dispatch jobs directly into your queue, confirming your background processing logic works.
Practical Examples
Seeing this Laravel debugging tool in action makes its utility clear. These scenarios demonstrate how professionals incorporate it into their daily tasks.
- Testing a New Feature: Before building a view, you can test the entire logic for a new feature, such as sending a welcome email to a newly created user model. This isolates the mail sending process for instant verification.
- Debugging Collections and Arrays: During troubleshooting, use dd($user->toArray()) or dump() directly in the prompt to inspect the contents of variables or complex Eloquent Collections. This gives a clean, formatted output of the internal data structure.
- Batch Updates: For administrative tasks or data normalization, Tinker is perfect for performing large batch updates. You can run User::query()->update([’status’ => ’active’]) to quickly modify records across an entire table, executed safely within your application’s logic.
In short, Laravel Tinker efficiently handles everything from Eloquent CRUD operations and Artisan command execution to advanced testing of asynchronous jobs and events.
Using Tinkerwell with Laravel Herd Integration
The standard Artisan Tinker shell is useful, but it has one limitation: it’s text-based. For users accustomed to rich editor features, that command-line prompt can feel restrictive. This is precisely where Tinkerwell steps in, offering a dedicated desktop application that transforms the basic REPL experience.
Deep Integration via Herd Environment
When running your projects using Laravel Herd, the integration with Tinkerwell is seamless. Herd provides a specialized development environment that detects the Tinkerwell application on your system. This deep connectivity means you can access a dedicated, enhanced tinkering session for your active project without any complicated setup.
Enhanced REPL Experience
Tinkerwell moves the REPL session out of your basic terminal and into a familiar code editor window. This upgrade brings significant benefits to your workflow:
- Multi-Line Code Editing: You can write complex loops, if/else statements, and intricate Eloquent queries across multiple lines. This is a crucial feature that moves beyond the single-line constraint of the standard shell.
- Autocompletion: The editor provides intelligent autocompletion for class names, method signatures, and variables. This dramatically speeds up writing code and reduces typographical errors.
- Familiar Editor Experience: You gain the comfort of syntax highlighting and powerful navigation tools. This instantly makes long-form interaction with your application much more intuitive.
Accessing this enhanced shell is quick. Herd integrates a dedicated site settings button for any project. Alternatively, you can use a global shortcut defined within Herd. This immediate access to a powerful, feature-rich tinkering environment ensures no break in your focus while coding.
How to Troubleshoot Common Laravel Tinker Errors?
While Tinker offers a smooth interactive experience, you might occasionally encounter errors. Don’t stress! Here’s a breakdown of some common Tinker errors and solutions to get you back on track:
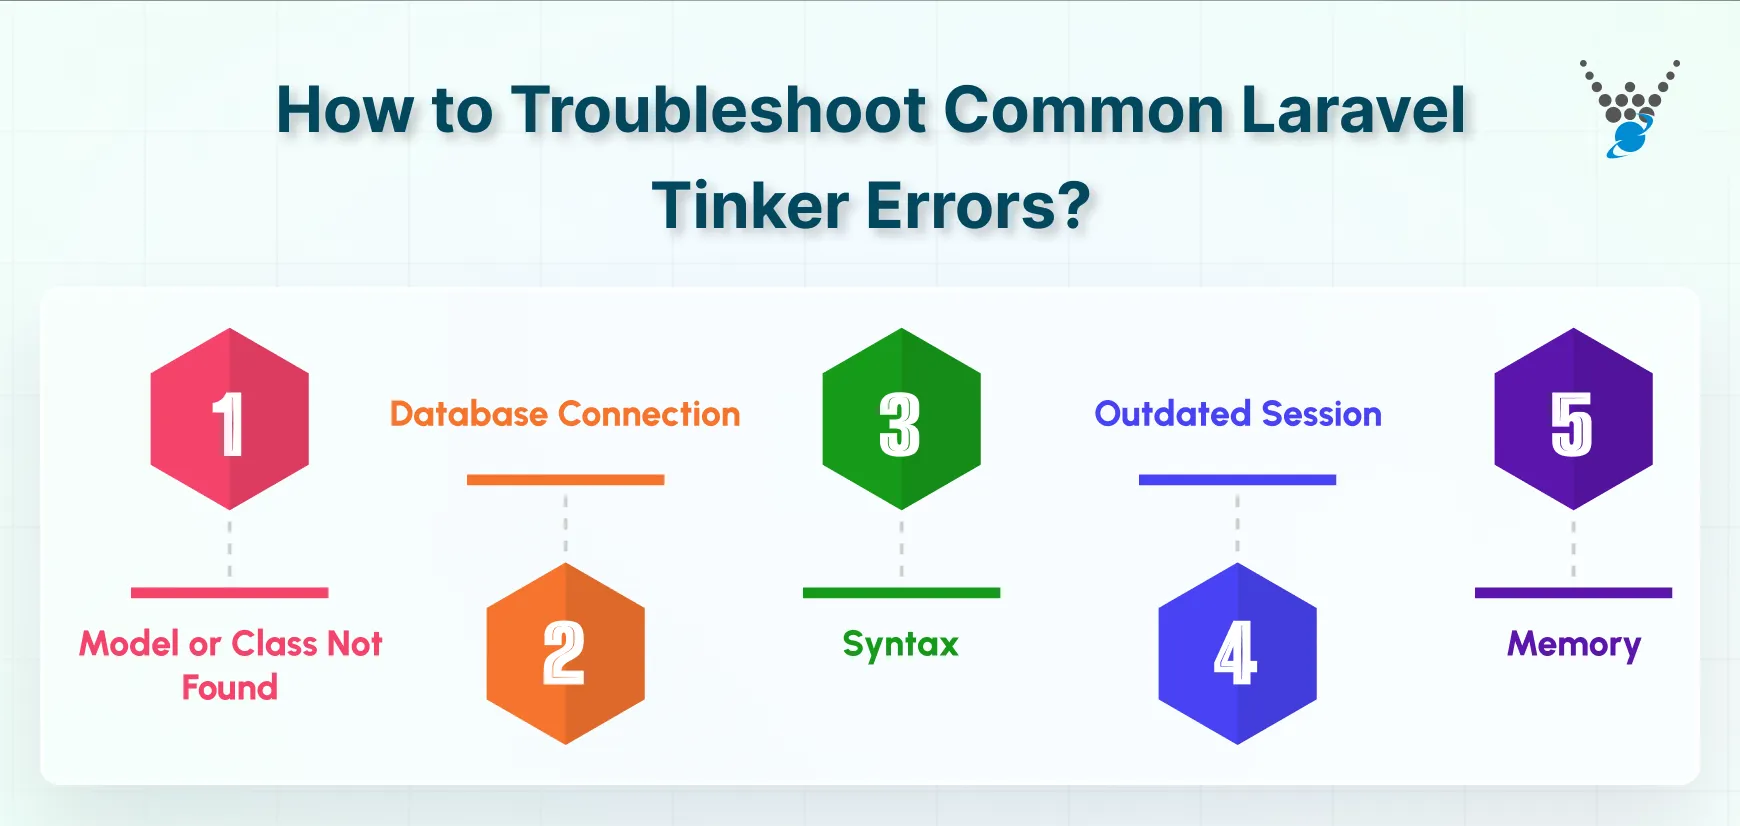
1. Model or Class Not Found
- Error Message. You might see an error like “Class [ModelName] not found.“
- Solution. Ensure the model class you’re trying to access exists and is properly namespaced within your app directory. Double-check for typos and case sensitivity.
2. Database Connection
- Error Message. It might include errors related to database connection issues.
- Solution. Verify your database configuration in the .env file. Ensure your credentials and connection details are accurate. Restart your Artisan services using php artisan cache:clear and php artisan migrate.
3. Syntax
- Error Message. Syntax errors like missing semicolons or incorrect variable usage can cause Tinker to malfunction.
- Solution. Carefully review your code snippets entered in Tinker for any typos or syntax errors. Use your terminal’s syntax highlighting feature (if available) to aid in identifying mistakes.
4. Outdated Session
- Error Message. In rare cases, Tinker might encounter issues due to an outdated session.
- Solution. Try clearing your Laravel cache with php artisan cache:clear and restarting Tinker. If the issue persists, consider restarting your development server.
5. Memory
- Error Message. For complex operations or large datasets, Tinker might encounter memory limitations.
- Solution. If you suspect memory constraints, try working with smaller datasets or adjust your code snippets to be more memory-efficient. In extreme cases, consider increasing your server’s allocated memory.
While these solutions address common errors, complex problems might require a deeper understanding of Laravel and Tinker. Partnering with an experienced Laravel development company can be a perfect option in such scenarios.
Advanced Use Cases of Tinker in Laravel
Once you master the basics, Laravel Tinker transitions from a simple debugging aid to a powerful platform for interacting with the framework’s complex, deeper systems.
- Factories and Seeding: Gain instant control over data generation. Rapidly create single model instances or large collections (e.g., User::factory(10)->create()) to replicate specific test cases immediately, bypassing the full seeder process.
- Model Relationships: Test your Eloquent relationships with precision. Load a parent model and instantly access or create related records to validate complex linkages and ensure referential integrity on the fly.
- Asynchronous Testing: Tinker is essential for testing behind-the-scenes logic. You can trigger events, dispatch jobs directly to the queue, and send notifications to specific users, ensuring your background processes are flawless before deployment, especially when combined with Laravel Horizon for queue management and monitoring.
In short, Tinker allows developers to instantly master complex scenarios like data generation via factories, precise relationship testing, and simulating asynchronous jobs/events, making it the ultimate power tool for deep application interaction.
Common Mistakes & Best Practices for Using Laravel Tinker
Even the tool can cause trouble if misused. To ensure Laravel Tinker remains an asset and not a risk, be mindful of common mistakes and adopt some best practices when you build a website using Laravel.
Common Mistakes to Avoid
- Tinkering in Production: This is the cardinal sin. Never run Tinker on a live production server. One simple delete() or update() command can instantly corrupt your live data. Limit Tinker sessions strictly to your local or staging environments.
- Forgetting Commit/Rollback: Tinker doesn’t automatically wrap database operations in transactions. If a complex update goes wrong, there’s no easy undo. Always explicitly start a database transaction (DB::beginTransaction()) before running any destructive commands.
- Over-relying on Aliases: Laravel automatically aliases many facades. Relying only on short names (e.g., User::all()) can cause issues. Use full namespace paths (e.g., $\texttt{App\Models\User::all()}$) for robust code snippets.
- Testing Output Only: Don’t just check the return value. Ensure you check for side effects, too. Did the event fire? Did the job queue correctly? Did the database record actually update as intended?
Essential Best Practices
- Use the dump() Command: For inspecting variables or collections, use the dump() helper instead of dd() (die and dump). dd() terminates the Tinker session, forcing a restart, but dump() preserves your active session.
- Employ Transactions for Safety: Before any write operation, execute DB::beginTransaction(). Run your test update. Verify the result. Then, explicitly commit (DB::commit()) or discard it (DB::rollBack()). This is non-negotiable for data integrity.
- Use Specific where Clauses: When performing bulk updates, use a conservative, highly specific where clause. Always run a read query first to confirm the expected records are selected before running the write operation. This preemptive check is a hallmark of expert use.
- Keep Code Concise: Since the standard Tinker shell is single-line, use clear variables and break down complex logic. For multi-line code, use the $\texttt{\}$ character to indicate continuation, or switch to a dedicated tool like Tinkerwell.
The core rule is to never use Tinker in production; always use database transactions (DB::beginTransaction()) to prevent accidental data corruption. For best practice, favor full namespaces and use the non-breaking dump() helper instead of dd() to maintain your session while debugging.
Conclusion
Laravel Tinker is an essential tool. It provides developers with an interactive space to quickly test code, access the database, and simplify debugging, which significantly enhances the entire workflow. By providing you with an interactive console directly tied to your application’s core, it eliminates the need for constant browser refreshes and temporary setup.
If you are comfortable in the terminal, the standard Artisan Tinker is robust. However, for those seeking a premium experience, the integration of Tinkerwell with Laravel Herd offers significant advantages, including multi-line editing and autocompletion.For best results, hire expert Laravel developers who already use tools like Tinker to write cleaner, more efficient code from day one. Contact us today to discuss your project needs.
FAQs About Laravel Tinker
Can Laravel Tinker interact with my database?
Yes, Tinker lets you write and run SQL queries directly in the prompt. You can fetch data, modify records, and explore table structures. It is great for testing database interactions and verifying data integrity during development.
Does Laravel Tinker support debugging?
Absolutely! Tinker acts as a powerful debugging tool. You can execute code line by line, inspect variables, and pinpoint errors in your logic. This targeted approach saves you time compared to traditional debugging methods.
Is Laravel Tinker suitable for production environments?
No, Tinker is primarily for development. While it’s convenient for testing code and interacting with your database, security concerns make it unsuitable for production environments. Use Tinker for development testing and debugging, but rely on proper testing frameworks and secure practices for production deployments.


