
Table of Contents
Considering a subdirectory installation for your next Laravel project? You’re not alone! While the default root directory setup is common, there are situations where a subdirectory placement might be more strategic.
This guide will equip you with the knowledge to navigate a Laravel installation within a subdirectory. Packed with insights shared by the top experts, this comprehensive resource will unveil the “whys” and “hows” of subdirectory installations.
We’ll explore the benefits and considerations, then delve into a step-by-step installation process complete with web server configuration and tips. By the end, you’ll be well-versed in installing Laravel within a subdirectory, ensuring a smooth and successful project launch.
Why Install Laravel in a Subdirectory?
The default installation for Laravel places the framework files in the document root directory of your web server. This is suitable for many projects. However, there are situations where a subdirectory installation offers technical advantages. Let’s dive into why you might choose this approach:
- Shared Hosting Environments. Many shared hosting providers restrict users from directly modifying the document root directory. Installing Laravel in a subdirectory allows you to use the framework’s functionalities with shared hosting limitations. Here’s an example:
public_html/ (Document Root)
└── my-laravel-app/ (Subdirectory)
    └── public/ (Laravel Public Folder)
- Multi-tenant Applications. If you plan to host multiple Laravel applications on a single server, subdirectories provide a clean and organized approach. Each application can reside within its own subdirectory, promoting better resource management and code isolation.
- Legacy Code Integration. Integrating Laravel with an existing codebase might necessitate a subdirectory installation. It allows you to migrate functionalities to Laravel while maintaining compatibility with the legacy system. For example:
public_html/ (Document Root)
└── my-legacy-app/
    └── old-code/
    └── my-laravel-app/ (Subdirectory)
        └── public/ (Laravel Public Folder)
In conclusion, understanding these technical benefits equips you to make an informed decision. It denotes whether a subdirectory installation is the most suitable approach for your Laravel project’s requirements.
What are the Prerequisites to Install Laravel in Subdirectory?
Before diving into the subdirectory installation process, it’s important to ensure your environment meets the necessary requirements. Here’s a breakdown of the key prerequisites:
1. PHP Version and Extensions
Laravel has specific PHP version and extension requirements. Verifying compatibility upfront saves you troubleshooting time later. You’ll need to ensure your web server has the following:
- Compatible PHP Version. Consult the Laravel documentation for the exact supported PHP version for your chosen Laravel version.
- Essential PHP Extensions. Laravel relies on several PHP extensions for functionality. Make sure extensions like mbstring, openssl, and pdo are installed and enabled on your server.
For detailed guidance on PHP version compatibility and required extensions, refer to the official Laravel documentation.
2. Web Server Configuration
Depending on your web server (Apache, Nginx, etc.), you might need to adjust its configuration to handle Laravel applications installed in subdirectories. This typically involves creating rewrite rules that route incoming requests to the Laravel application’s public directory.
While basic configuration steps are available online, consulting with experienced Laravel developers can ensure optimal performance and security for your subdirectory installation. Their expertise can help you navigate potential complexities and tailor the configuration to your specific web server setup.
How to Install Laravel in a Subdirectory?
Now that you’ve grasped the prerequisites, let’s embark on the subdirectory installation process for your Laravel project. Here’s a step-by-step breakdown:
Step 1: Create Subdirectory
Before we delve into installing Laravel, let’s establish its home within your web server. This involves creating a subdirectory where your Laravel project will reside. Here’s a breakdown of the steps:
1. Choose a Location. Decide where you want to place your Laravel application within your web server’s document root directory. A common approach is to create a subdirectory with a descriptive name, like my-laravel-app.
2. Create the Directory. Use the method that suits you best:
- Command Line. Open your terminal and navigate to your document root directory. Then, execute the following command, replacing my-laravel-app with your desired subdirectory name:
mkdir my-laravel-app
3. File Manager. Access your web server’s file manager through your control panel or a dedicated FTP client. Locate your document root directory, right-click on a space, and select “Create Folder” or a similar option. Name the new folder as your chosen subdirectory name (e.g., my-laravel-app).
The document root directory is where your web server searches for website files. Consult your web server’s documentation if you need clarification on its location.
After completing these steps, you’ve successfully created the subdirectory that will house your Laravel application. Now you’re ready to proceed with the Laravel installation within this subdirectory.
Step 2: Install Laravel
With the subdirectory prepared, it’s time to install Laravel within it. We’ll leverage Composer, the dependency manager for PHP, to streamline the process.
1. Navigate to Subdirectory. Open your terminal and use the cd command to change directories. Navigate to the subdirectory you created in Step 1, for example:
cd my-laravel-app
2. Use Composer. Ensure you have Composer installed on your system. Then, run the following command to install Laravel using Composer:
composer create-project --prefer-dist laravel/installer your-laravel-version .
- Replace your-laravel-version with the specific Laravel version you want to install (e.g., laravel/installer:^8.40).
- The –prefer-dist flag instructs Composer to download pre-built packages for faster installation.
- The final dot (.) specifies the current directory (your subdirectory) as the installation location.
3. Wait for Completion. The composer will download all necessary Laravel files and dependencies. This process might take a few minutes depending on your internet speed.
Once the installation finishes, you’ve successfully installed Laravel within your designated subdirectory. The next step involves configuring your web server to recognize and serve your Laravel application.
Step 3: Configure Web Server
Now that Laravel is installed within your subdirectory, it’s crucial to configure your web server to understand and route requests to your application. This step ensures that visitors accessing your domain or subdomain see your Laravel application as intended. The configuration process varies depending on your web server.
1. Consult Documentation. Refer to the official documentation for your specific web server to learn how to configure it for subdirectory installations. This documentation explains how to create rewrite rules that redirect incoming requests to the Laravel application’s public directory.
2. Example Rewrite Rule (Apache). For illustration purposes, here’s a simplified Apache rewrite rule that you might need to adapt based on your server configuration:
<IfModule mod_rewrite.c>
    <VirtualHost *:80>
        DocumentRoot /var/www/html # Replace with your document root path
        RewriteEngine On
        RewriteBase /my-laravel-app/ # Replace with your subdirectory name
        RewriteCond %{REQUEST_FILENAME} !-f
        RewriteCond %{REQUEST_FILENAME} !-d
        RewriteRule ^(.+) /my-laravel-app/public/$1 [L]
    </VirtualHost>
</IfModule>
– This rule instructs Apache to rewrite any request (`.+`) that doesn’t point to an existing file or directory within the subdirectory to the `public` directory of your Laravel application (`/my-laravel-app/public/`).
3. Enable Configuration Changes. Once you’ve created or adapted the rewrite rule based on your server’s documentation. Then consider saving the configuration file and restart your web server for the changes to take effect.
By following these steps and rewriting the rule to your setup, you’ve configured your web server to recognize and serve your Laravel application.
Step 4: Additional Considerations
After installing Laravel in your subdirectory and configuring the web server, there are a few final touches to ensure a smooth operation:
1. Adjust Paths. As your application resides in a subdirectory, some paths within your Laravel project might need modifications.
- .env File. The .env file often contains configuration settings like APP_URL. Update this path to reflect the location of your application within the subdirectory. For instance, if your subdirectory is named my-laravel-app. You might change APP_URL from http://localhost to http://localhost/my-laravel-app.
- Asset URLs. Laravel’s asset helper functions (like asset()) might need adjustments depending on your setup. Consult the Laravel documentation for guidance on configuring asset URLs in subdirectory installations.
- Permissions. Verify that the ownership and permissions of the Laravel directory and files are set correctly for your web server user. This ensures the user has the necessary permissions to access and execute the application files. Most web servers provide tools for managing directory and file permissions.
- Testing. Thoroughly test your Laravel application after installation and configuration. Access your application in a web browser to ensure everything functions as expected. Test features, forms, and different routes to catch any potential issues.
While these steps provide a solid foundation, subdirectory installations can involve complexities depending on your environment. If you encounter challenges during configuration or require further assistance, consider enlisting the expertise of a Laravel development agency. Their knowledge can streamline the process, ensure optimal performance, and address any advanced configuration.
What Measures to Consider When Installing Laravel in Subdirectory?
While installing Laravel in a subdirectory offers advantages, there are crucial factors to keep in mind for a successful setup. Here are the key measures to consider:
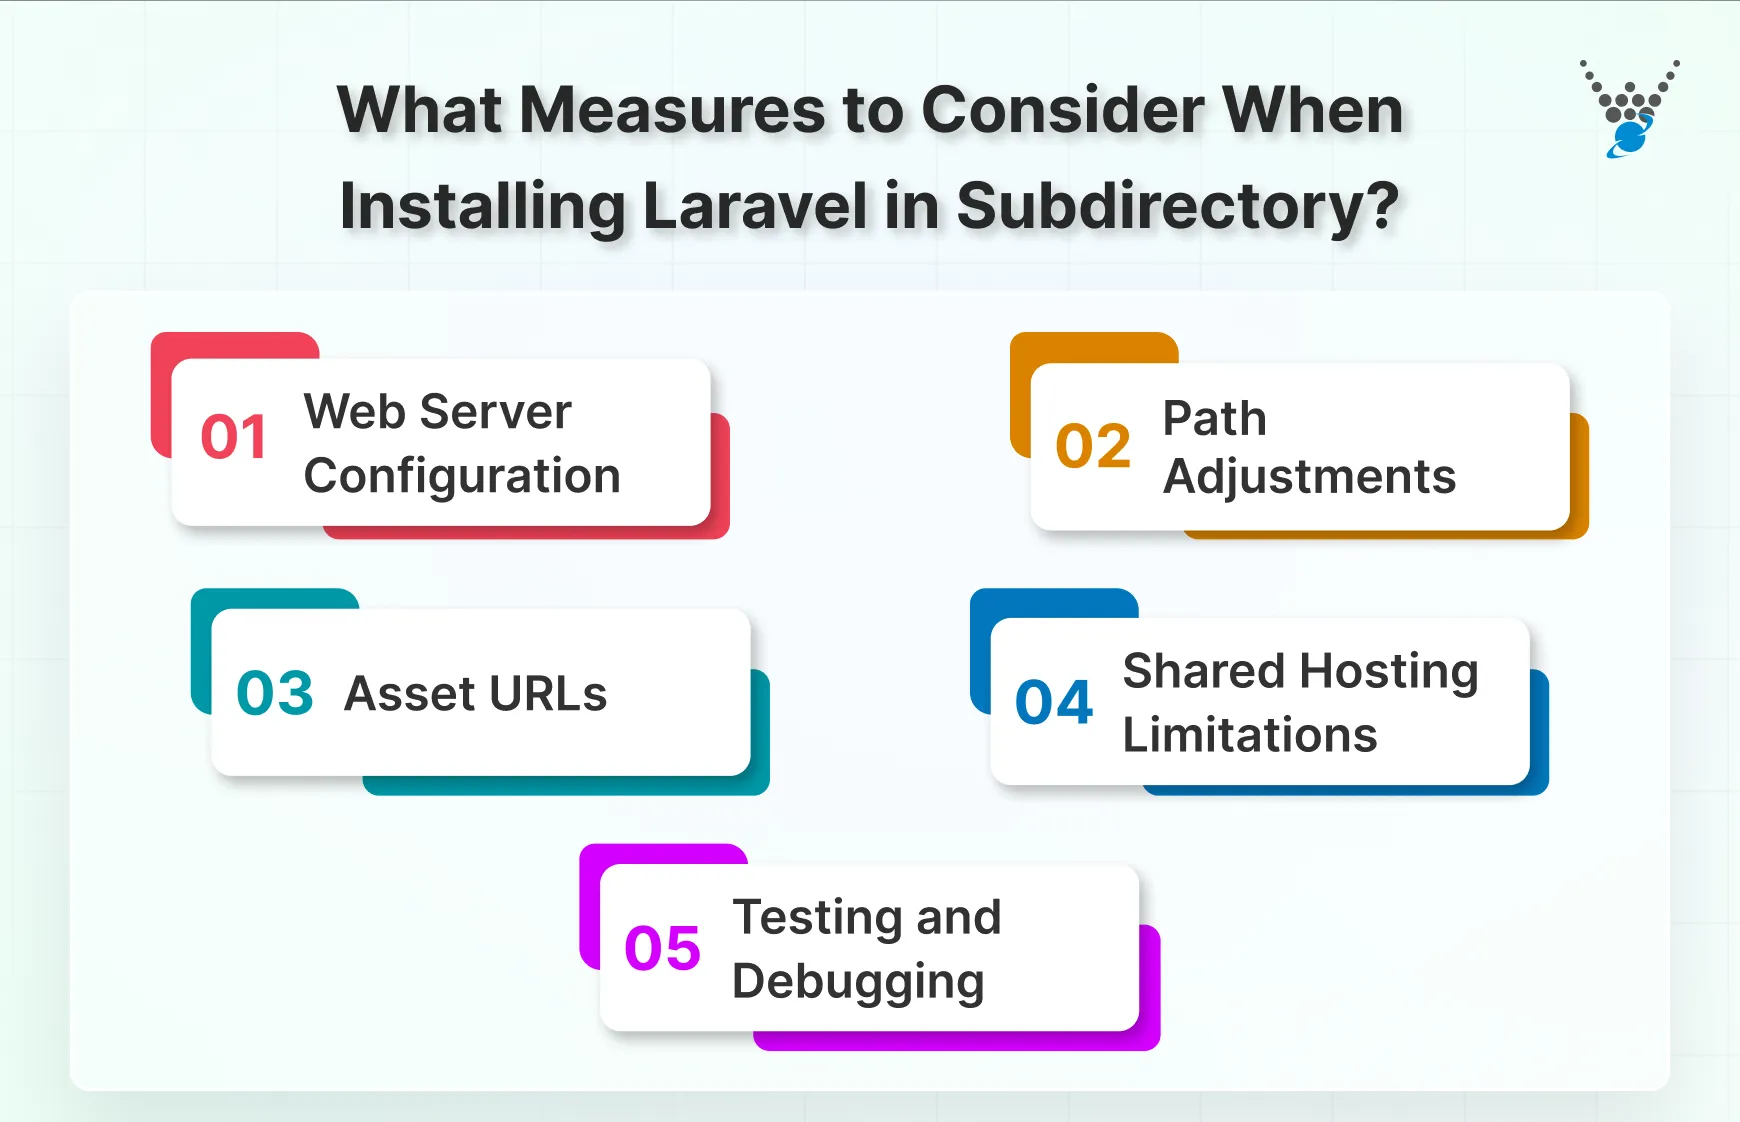
1. Web Server Configuration
This is important for ensuring your web server recognizes and routes requests to your Laravel application within the subdirectory. You’ll need to create rewrite rules for your web server that redirect incoming requests to the Laravel application’s public directory. Consult your web server documentation for detailed instructions.
2. Path Adjustments
Since the application resides in a subdirectory, certain paths within your Laravel project might require modifications. This involves updating paths in the .env file, such as APP_URL, to reflect the subdirectory location. The asset helper functions like asset() might need adjustments depending on your setup.
3. Asset URLs
Closely related to path adjustments, how your application references assets might need changes. Laravel offers configuration options for asset URLs in subdirectory installations. Ensure your assets are loaded correctly from the appropriate location within the subdirectory.
4. Shared Hosting Limitations
If you’re using shared hosting, installing in a subdirectory can help you adhere to limitations imposed by your hosting provider. Restrictions on modifying the document root directory can be bypassed by placing Laravel within a subdirectory. However, be sure to consult your hosting provider’s documentation for any specific requirements.
5. Testing and Debugging
After installation and configuration, thorough testing is crucial. Access your application in a web browser to verify functionality. Test various features, forms, and routes to identify and address any issues that might arise due to the subdirectory setup.
With consideration of these measures, you can ensure a smooth and successful installation of your Laravel application within a subdirectory. Remember, the specific details may vary depending on your web server and Laravel version. Use the official Laravel documentation and your web hosting provider’s resources for further guidance.
Conclusion
By diving into this guide, you’ve equipped yourself with the knowledge to navigate a Laravel installation within a subdirectory. Also, we explored the benefits, considerations, and a step-by-step installation process, empowering you to place your Laravel application. Remember, understanding key measures like web server configuration and testing is essential for a successful subdirectory installation.
This newfound knowledge empowers you to leverage the advantages of subdirectory installations for your Laravel projects. Whether you’re managing shared hosting constraints, or integrating with an existing codebase, subdirectories offer an organized approach.
Ready to kick-start your Laravel project with a subdirectory installation? Hire Laravel developers with us today!
FAQs About Installing Laravel in a Subdirectory?
How do I access the Laravel application installed in a subdirectory?
Once you’ve completed the installation and configuration steps, you can access your Laravel application by visiting the URL in your web browser. If your subdirectory is named my-laravel-app, the application would typically be accessible at “http://your-domain.com/my-laravel-app”
Will installing Laravel in a Subdirectory affect the routing of my application?
No, installing Laravel in a subdirectory shouldn’t directly affect your application’s internal routing. Laravel routes are defined within your application code and remain independent of the installation location. However, you might need to adjust certain path configurations within your application, such as APP_URL in the .env file, to reflect the subdirectory placement.
What if I want to move my Laravel application from a subdirectory to the root directory later?
Moving your application from a subdirectory to the root directory is generally straightforward. Here’s a simplified overview:
– Update Configuration. Modify paths in your .env file and other configuration files to remove references to the subdirectory. Adjust asset URLs if necessary.
– Web Server Configuration. Depending on your web server, you might need to remove or update any rewrite rules.
– Testing. Test your application after making the changes to ensure everything functions as expected in the root directory location.


