
Quick Summary
This guide shows how to integrate WordPress with Laravel by combining Laravel’s structured backend with WordPress’s easy content management. Learn about setup, security practices, using the WordPress REST API, and performance optimization. By connecting both platforms, you gain flexibility, cleaner code, and a scalable workflow. This approach keeps content separate from application logic, making updates simple and secure.
Table of Contents
Integrating WordPress with Laravel opens up many possibilities for web development. Combining the flexibility of Laravel with WordPress’s efficient content management helps you build websites that are both dynamic and easy to manage.
Many developers ask how to integrate Laravel with WordPress without compromising site performance or complicating things. This guide will walk you through practical steps for a smooth WordPress Laravel integration, showing how Laravel and WordPress can work together seamlessly. Let’s dive in!
Benefits of Integrating WordPress into Laravel
You may ask why integrate WordPress Laravel? The thing is that combining them offers a powerful approach to building websites. This integration provides security, flexibility, and maintainability, giving developers and site owners the best of both worlds.
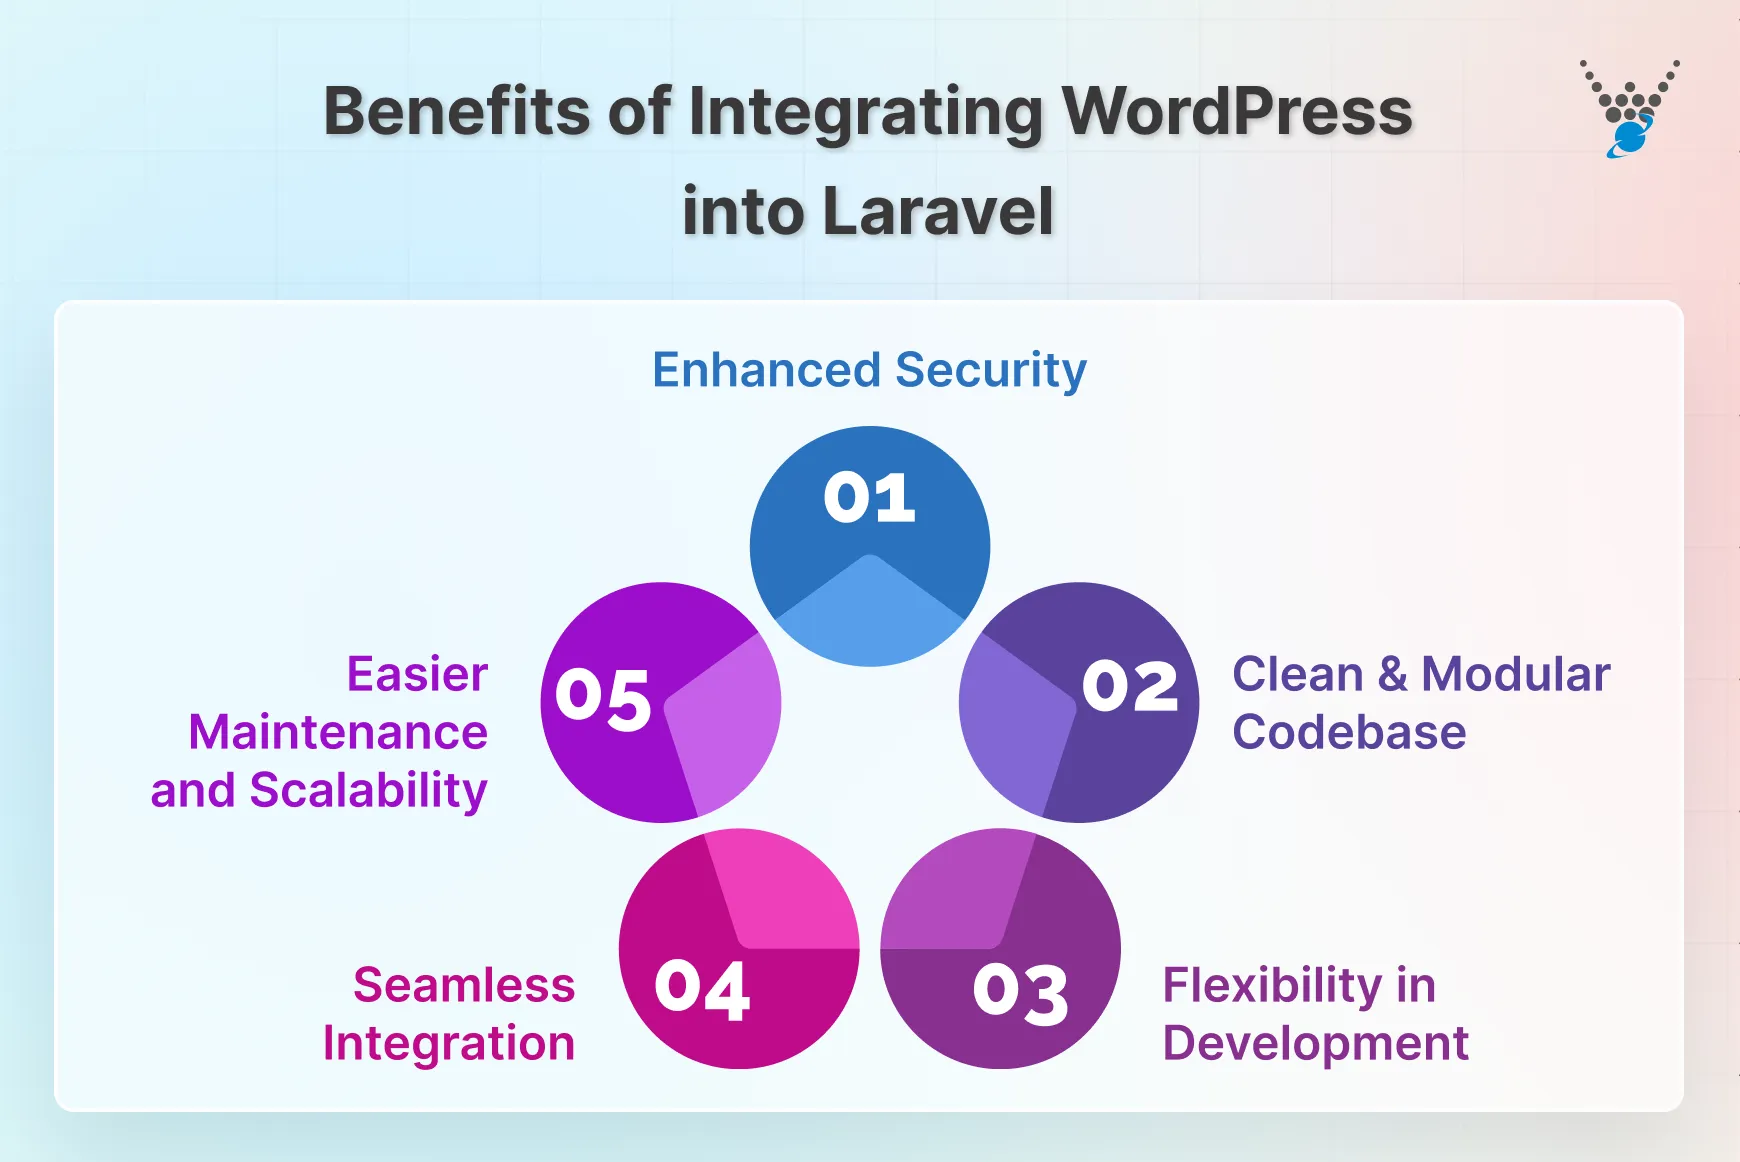
Enhanced Security
Laravel includes built-in protections such as CSRF prevention, password hashing, and input sanitization. These features guard against common threats such as SQL injections.
By keeping WordPress for content management and Laravel for application logic, you maintain a separation of concerns, reducing the risk of security breaches that could impact your entire site. You can also add WordPress security plugins to further strengthen protection.
Clean and Modular Codebase
Using Laravel for backend logic and WordPress for content allows for independent development. You can work on application features without affecting your content, keeping the codebase clean and organized. Modular development in Laravel makes it easier to update, debug, and scale.
Flexibility in Development
Laravel empowers developers to create highly customized functionalities that WordPress alone may not support. You can design tailored dashboards, build custom APIs, or implement unique workflows, while WordPress handles content efficiently. Additionally, WordPress themes and plugins can enhance design and functionality without touching Laravel’s core logic.
Seamless Integration
Laravel’s robust HTTP client and API support make it simple to consume RESTful services. By using WordPress as a headless CMS, you can serve content through APIs and present it via Laravel in a fully customized way. This integration ensures smooth communication between platforms while maintaining clean separation of concerns.
Easier Maintenance and Scalability
A combined Laravel WordPress integration makes maintenance simpler. Laravel’s structured code and support for version control keep deployments organized, while WordPress content can be updated independently. Both platforms have strong communities and rich ecosystems of packages and plugins, reducing the need for repetitive development.
By integrating WordPress with Laravel, you gain enhanced security, a clean, modular codebase, greater development flexibility, and easier maintenance. This approach allows developers to create highly customizable, secure, efficient, and scalable websites.
So, if you’re looking to use the power of Laravel with WordPress, collaborate with a Laravel development company that can help you build secure, scalable, and fully customized web solutions.
Prerequisites to Integrate WordPress Laravel
Before you start integrating WordPress with Laravel, it’s important to set up a few essentials. These tools form the backbone of the integration and ensure a smooth workflow.
- PHP (>= 7.3): Both Laravel and WordPress rely on PHP. Make sure your system has PHP 7.3 or higher installed. This ensures compatibility and smooth execution of scripts.
- Composer: Composer is the dependency manager for PHP. It handles Laravel packages and helps maintain clean, manageable code. Without it, managing Laravel’s libraries becomes cumbersome.
- Laravel: You’ll need Laravel installed as your core application framework. Laravel provides structure, routing, and tools to efficiently handle complex back-end logic.
- WordPress: WordPress will serve as your content management system. It’s perfect for blogs, landing pages, or any content-heavy site you want to manage easily.
- MySQL: A reliable database is essential. MySQL stores all your content, user data, and site configurations. Ensure it’s installed and properly configured for both Laravel and WordPress.
- Node.js and npm: Node.js and npm handle JavaScript dependencies and compile assets in Laravel. They are vital if your project involves dynamic front-end features or requires build tools.
Having these prerequisites in place will save time and prevent roadblocks later. Once your environment is ready, you can move forward confidently to integrate WordPress with Laravel and unlock the full potential of WordPress Laravel integration.
How to Integrate WordPress & Laravel?
Integrating WordPress and Laravel can significantly enhance your web development capabilities. Here, we will dive into two common methods: Using WordPress Corcel and WordPress Pete Plugin to achieve this integration:
Method 1: Using WordPress Corcel
Corcel is a package that allows you to interact with your WordPress database using Laravel’s Eloquent ORM. This method is particularly useful if you want to use Laravel’s features while utilizing content stored in a WordPress database.
Step 1: Install Corcel
First, you must install the Corcel package via Composer to enable Laravel to communicate with the WordPress database. To do that, open your terminal and run the following command:
composer require corcel/corcel
The Corcel package is now installed in your Laravel project. It will allow you to interact with WordPress data using Eloquent models.
Step 2: Add Database Configuration
Add a new database connection in Laravel to connect to your WordPress database. In your config/database.php file, add a new connection for your WordPress database:
'wordpress' => [

    'driver'    => 'mysql',

    'host'      => env('DB_HOST', '127.0.0.1'),

    'database'  => env('WORDPRESS_DB_DATABASE', 'wordpress'),

    'username'  => env('WORDPRESS_DB_USERNAME', 'root'),

    'password'  => env('WORDPRESS_DB_PASSWORD', ''),

    'charset'   => 'utf8mb4',

    'collation' => 'utf8mb4_unicode_ci',

    'prefix'    => env('WORDPRESS_DB_PREFIX', 'wp_'),

    'strict'    => false,

    'engine'    => null,

],
Step 3: Set Environment Variables
In your .env file, add the necessary environment variables for your WordPress database:
WORDPRESS_DB_DATABASE=your_wordpress_database_name

WORDPRESS_DB_USERNAME=your_wordpress_database_username

WORDPRESS_DB_PASSWORD=your_wordpress_database_password

WORDPRESS_DB_PREFIX=wp_
Laravel is now configured to connect to the WordPress database using the new connection details provided.
Step 4: Publish Corcel Configuration
Publish the Corcel configuration file to customize the settings for your project as needed. You can do it by running the following command in your terminal:
php artisan vendor:publish --provider="Corcel\Laravel\CorcelServiceProvider"
Now, the Corcel configuration file has been published for your Laravel project, allowing you to modify Corcel settings if necessary.
Step 5: Use Corcel Models
Utilize Corcel models in Laravel to fetch and interact with WordPress data. Here is how you can use Corcel models to fetch WordPress posts:
use Corcel\Model\Post;

$posts = Post::published()->get();

foreach ($posts as $post) {

    echo $post->title;

}

To access custom fields and metadata from a post:

$post = Post::find(1);

$customFieldValue = $post->meta->custom_field_key;
You can now fetch and display WordPress data, including custom fields, using Corcel models within your Laravel application.
Step 6: Integrate with Laravel Views
Pass the fetched WordPress data to Laravel views and display it using Blade templates. Here is how you can fetch the WordPress data and pass it to a view:
// In your controller

public function index()

{

    $posts = Post::published()->get();

    return view('welcome', compact('posts'));

}
Here is an example to display data in your Blade template:
<!-- In your welcome.blade.php file -->

@foreach ($posts as $post)

    <h2>{{ $post->title }}</h2>

    <p>{{ $post->content }}</p>

@endforeach
Now, you can access WordPress data in your Laravel views. This integration will let you display content fetched from the WordPress database within your Laravel site.
Utilizing Corcel, we have seamlessly integrated WordPress content into the Laravel site. It lets you leverage the best features of both, eliminating the downside of both for building robust websites.
Method 2: Using WordPress Pete Plugin
WordPress Pete plugin allows you to integrate WordPress and Laravel seamlessly. It exposes WordPress data through a RESTful API, and that is consumed within a Laravel site. This method is ideal for leveraging WordPress’s CMS capabilities with Laravel’s robust development features.
Step 1: Install WordPress Pete
Download and install WordPress Pete on your development machine. It’s available for Windows, macOS, and Linux.
Step 2: Create a New WordPress Site
Launch WordPress Pete and use its features to create a new WordPress site. This will be a dedicated WordPress instance for your project, separate from your current site if you have one.
Step 3: Configure Pete Plugin
Configure the Pete plugin settings to ensure they are properly set up to expose the necessary API endpoints.
Step 4: Install HTTP Client in Laravel
To consume the API endpoints exposed by the Pete plugin, you need to install an HTTP client, such as Guzzle, in your Laravel application. Run the following command in the terminal to install Guzzle:
composer require guzzlehttp/guzzle
Guzzle is now installed in your Laravel project, enabling you to make HTTP requests to the WordPress API endpoints.
Step 5: Fetch WordPress Data in Laravel
Use Guzzle to fetch data from the WordPress API endpoints exposed by the Pete plugin. You can create a new Laravel controller to handle the data fetching:
php artisan make:controller WordPressController
In the WordPressController, use Guzzle to fetch WordPress data:
namespace App\Http\Controllers;

use Illuminate\Http\Request;

use GuzzleHttp\Client;

class WordPressController extends Controller

{

    public function index()

    {

        $client = new Client();

        $response = $client->get('http://your-wordpress-site.com/wp-json/pete/v1/posts');

        $posts = json_decode($response->getBody()->getContents());

        return view('wordpress.index', compact('posts'));

    }

}
The WordPress data is fetched from the Pete plugin’s API endpoints using Guzzle and is now available in your Laravel controller.
Step 6: Integrate with Laravel Views
Pass the fetched WordPress data to Laravel views and display it using Blade templates. Use Laravel controller to pass the data to view:
public function index()

{

    // Fetch data

    $client = new Client();

    $response = $client->get('http://your-wordpress-site.com/wp-json/pete/v1/posts');

    $posts = json_decode($response->getBody()->getContents());

    // Pass data to view

    return view('wordpress.index', compact('posts'));

}

Here is an example to create a Blade template to display the data:

<!-- In your resources/views/wordpress/index.blade.php file -->

@foreach ($posts as $post)

    <h2>{{ $post->title->rendered }}</h2>

    <p>{!! $post->content->rendered !!}</p>

@endforeach
The WordPress data is now integrated into your Laravel views, allowing you to display content fetched from the WordPress API within your Laravel application.
Using the WordPress Pete Plugin, you can effectively integrate WordPress content into your Laravel application. This method uses the WordPress Pete Plugin to expose data and HTTP clients like Guzzle to consume the exposed data. If you want seamless WordPress–Laravel integration without the technical hassle, then you should hire Laravel developers to build secure, scalable, and customized solutions tailored to your business.
Expert Tips for Easy WordPress-Laravel Integration
Integrating WordPress with Laravel can be smooth if you follow some proven practices. Here are expert tips to make the process efficient and maintainable.
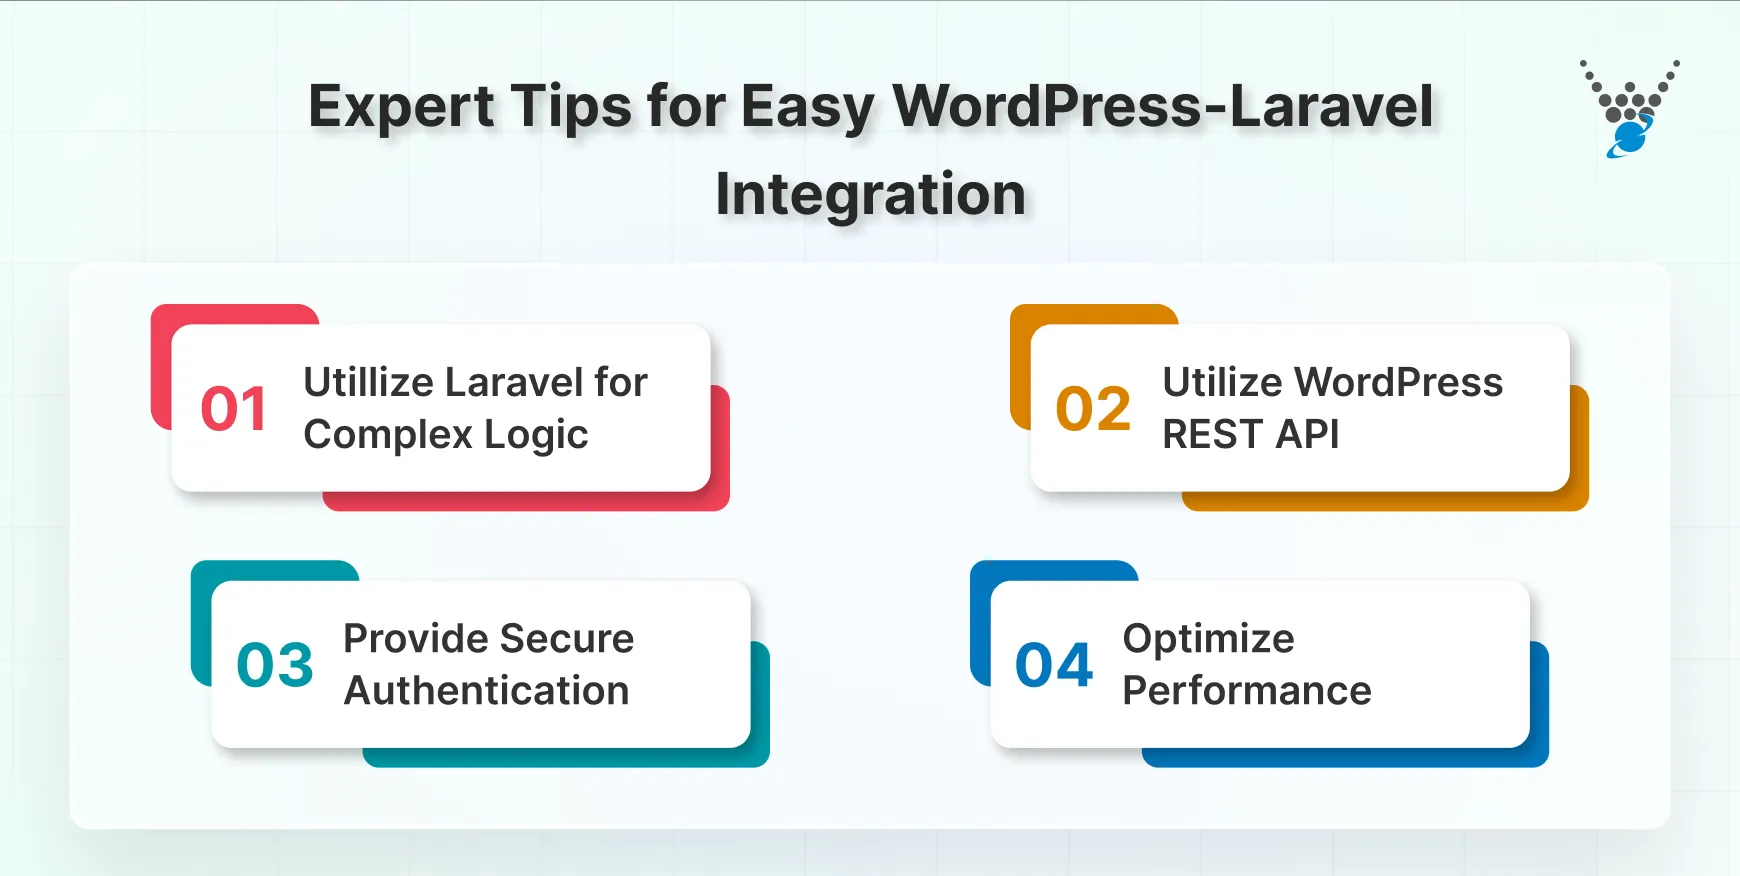
- Utilize Laravel for Complex Logic: Use it for custom workflows, advanced data processing, and backend logic. Keep WordPress focused on content management. This separation simplifies development and keeps your application organized.
- Utilize WordPress REST API: Fetch posts, pages, or custom content easily. This approach lets Laravel present WordPress data dynamically, without interfering with site performance. It also makes updates smoother since WordPress content remains independent.
- Optimize for SEO: Use WordPress plugins for meta tags, sitemaps, and structured data. Ensure Laravel-generated pages follow clean URLs and proper headings. Together, they help search engines index your site effectively.
- Provide Secure Authentication: Use Laravel’s authentication for sensitive areas and API access. Combine it with WordPress roles and permissions to ensure users can only access what they should. This creates a safe environment while maintaining usability.
- Optimize Performance: Cache API responses, use eager loading in Laravel, and optimize images and scripts. Monitor both Laravel and WordPress to prevent bottlenecks. A well-tuned integration ensures smooth performance for all users.
Following these tips helps you achieve a seamless Laravel WordPress integration. The result is a website that is secure, fast, and easy to manage, while fully taking advantage of both platforms’ strengths.
Final Thoughts
Integrating WordPress and Laravel offers significant benefits like enhanced security, flexibility, and scalability. Here is what you can consider when choosing a method to integrate WordPress with Laravel:
- Choose Corcel if you prefer a more integrated approach with direct database access and Laravel’s ORM.
- Choose the Pete Plugin if you prefer working with RESTful APIs and need a more decoupled setup. Here, Laravel interacts with WordPress via HTTP requests.
If you’re not sure which integration method is right for your project, you can contact our experts today!
FAQs About Integrating WordPress & Laravel
Can I use WordPress as a headless CMS with Laravel?
Yes, you can use WordPress as a headless CMS by exposing its content through RESTful APIs or using a package like Corcel. This setup allows Laravel to handle the frontend and backend logic while WordPress manages the content, providing a flexible and scalable solution.
What tools or libraries can help with the integration process?
Useful tools and libraries include:
–Corcel: For accessing WordPress data directly using Laravel’s ORM.
–Guzzle: For making HTTP requests to RESTful APIs.
–Laravel HTTP Client: For interacting with APIs within Laravel applications.
These tools help you to integrate WordPress and Laravel effectively with the right steps.
Can I synchronize data between WordPress and Laravel?
Yes, you can synchronize data by regularly updating the Laravel application with the latest content from WordPress through API calls or database queries. Implement caching strategies to improve performance and reduce the load on both systems.


