
Table of Contents
Let’s say you have created a high-quality website or app with Laravel. Now, it’s time to check its efficiency and reliability with unit, integration, and feature testing. For that, you will need some fake, dummy data and a controlled environment. That’s where Laravel Factories come in.
They provide a structured and efficient way to generate fake data that closely resembles your application’s real-world data. That way, you can ensure consistent, reliable testing environments for your project. So how do you use Laravel factories?
Well, that’s what we are going to cover through this blog. I’ll show you how our Laravel experts go about using factories for saving time and effort during the development. Let’s begin.
What are Laravel Factories?
Laravel Factories are a powerful tool in the Laravel ecosystem that simplify the creation of dummy data for testing purposes. They provide a structured and efficient way to generate fake data that closely resembles your application’s real-world data.
Using factories, you can ensure consistent and reliable testing environments, saving time and effort during development.
Why Use Laravel Factories?
Well, a Laravel factory can offer a range of benefits for your project, including:
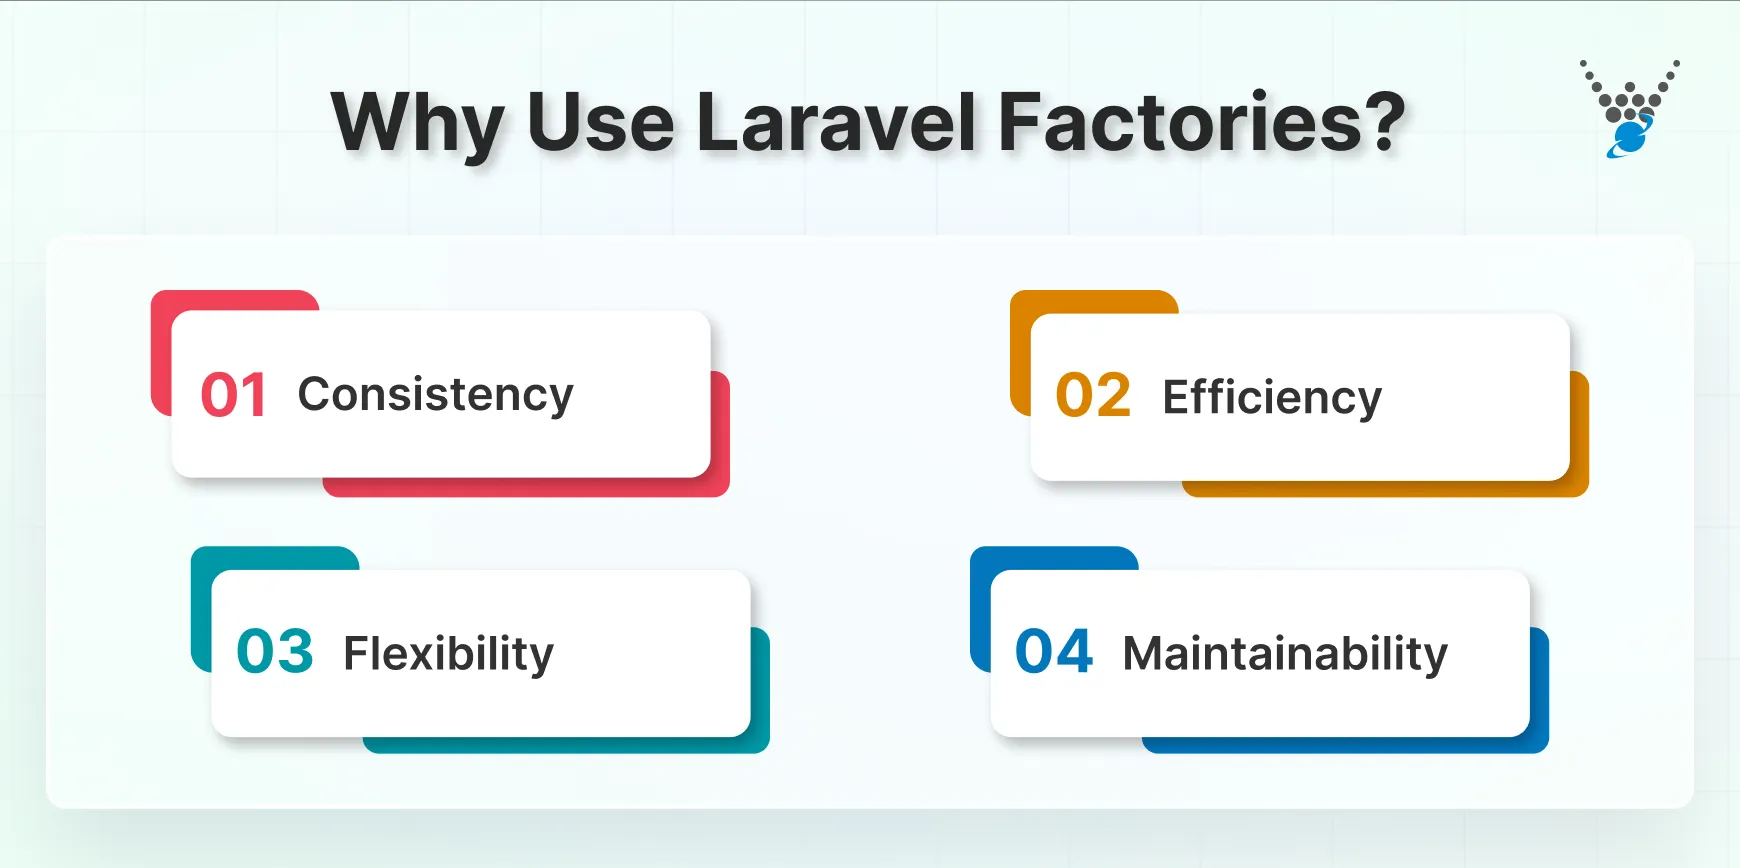
- Consistency: Factories guarantee that test data remains consistent and predictable. That makes it easier to identify and fix issues.
- Efficiency: By automating the creation of test data, factories reduce the time and effort required for manual data entry.
- Flexibility: Factories can be customized to generate data with specific attributes or constraints. So you can simulate various scenarios, especially when testing URL flows or logic defined through Laravel redirection and routing.
- Maintainability: As your application grows, factories can be updated to reflect changes in your data structure. That ensures your tests remain relevant.
Laravel Factories streamline your testing and development workflow—saving you hours of manual data entry. But what if you need experts to implement advanced Laravel features like this? Hire Laravel developers from our team to build scalable applications with optimized testing workflows.
Prerequisites for Laravel Factories
To work with Laravel factories, you will need to be well familiar with Composer and PHP.
- Laravel: You need to have a Laravel application set up. If you haven’t done this yet, you need to install Laravel to create your first Laravel project using Composer:
composer create-project laravel/laravel my-project
- Composer: Composer is a dependency manager for PHP that is essential for installing Laravel and its packages. It’s automatically installed when you create a new Laravel project.
- Basics of PHP: While not explicitly a requirement, a basic understanding of PHP is beneficial for understanding the syntax and logic used in Laravel factories.
After you have covered the prerequisites, it’s time to use the Laravel factories to generate fake data.
How to Generate Fake Data With Laravel Factories?
Laravel factories provide a convenient way to generate fake data for your tests. Here’s a step-by-step guide:

Step 1: Create the Comment Model
First, let’s create a Comment model to represent comments in our application. You can do this using the Artisan CLI:
php artisan make:model Comment
Step 2: Create the Migration File
Next, create a migration file to define the database table structure for the Comment model:
php artisan make:migration create_comments_table
Open the newly created migration file (located in the database/migrations directory) and add the necessary columns for the comments table:
use Illuminate\Database\Migrations\Migration;
use Illuminate\Database\Schema\Blueprint;
use Illuminate\Support\Facades\Schema;
class CreateCommentsTable
 extends Migration
{
    /**
     * Run the migrations.
     *
     * @return void
     */
    public function up()
    {
        Schema::create('comments', function (Blueprint $table) {
            $table->id();
            $table->text('content');
            $table->unsignedBigInteger('post_id');
            $table->foreign('post_id')->references('id')->on('posts')->onDelete('cascade');
            $table->timestamps();
        });
    }
    /**
     * Reverse the migrations.
     *
     * @return void
     */
    public function down()
    {
        Schema::dropIfExists('comments');
    }
}
Step 3: Run the Migrations
Execute the migrations to create the comments table in your database:
php artisan migrate
Step 4: Create the CommentFactory File
Create a factory class for the Comment model:
php artisan make:factory CommentFactory.php
This will create a CommentFactory class in the database/factories directory.
Step 5: The Definition Function
Open the CommentFactory class and define the default state of the comments:
use Illuminate\Database\Eloquent\Factories\Factory;
use App\Models\Comment;
/**
 * @extends \Illuminate\Database\Eloquent\Factories\Factory<\App\Models\Comment>
 */
class CommentFactory extends Factory
{
    /**
     * Define the model's default state.
     *
     * @return array<string, mixed>
     */
    public function definition()
    {
        return [
            'content' => $this->faker->sentence(),
            'post_id' => Post::factory()->create()->id,
        ];
    }
}
This factory will generate comments with random content and assign them to a randomly created post.
Step 6: Connect the Comment Model to Comment Factory
In the Comment model, add a factory method to specify the corresponding factory class:
use Illuminate\Database\Eloquent\Factories\HasFactory;
use Illuminate\Database\Eloquent\Model;
class Comment extends Model
{
    use HasFactory;
    protected $fillable = ['content', 'post_id'];
    public function post()
    {
        return $this->belongsTo(Post::class);
    }
    protected static function newFactory()
    {
        return CommentFactory::new();
    }
}
Now, you can use the CommentFactory to generate fake comments:
$comments = Comment::factory()->count(10)->create();
This will create 10 fake comments with random content and associated posts.
How to Seed the Database with Laravel Factories?
When it comes to Laravel factories, seeding means generating random fake data for testing purposes. So how do you seed the database with the Laravel factory:

Step 1: Create the CommentSeeder File
Use the Artisan CLI to create a new seeder class:
php artisan make:seeder CommentSeeder
Step 2: Edit the Run Function
Open the CommentSeeder class and edit the run method to populate the database with the desired number of comments:
use Illuminate\Database\Seeder;
class CommentSeeder extends Seeder
{
    /**
     * Run the database seeds.
     *
     * @return void
     */
    public function run()
    {
        Comment::factory()->count(50)->create();
    }
}
This will create 50 random comments using the CommentFactory. You can adjust the count as needed.
Step 3: Run the Seeder
To execute the seeder and populate the database, use the following command:
php artisan db:seed
This will run all seeders, including the CommentSeeder, to populate your database with the specified data. Once seeded, you can display the generated content neatly in views using Laravel Blade for a clean and dynamic front-end structure.
Let’s Conclude
Factories are a valuable tool for ensuring consistent and controlled site testing in Laravel applications. By automating the creation of test data, factories save time and effort, while also providing a reliable and predictable testing environment.
With Laravel factories, you can ensure a range of key benefits, including consistency, efficiency, flexibility, and maintainability.
Mastering Laravel Factories can supercharge your development process, but integrating them into a large-scale project requires expertise. Need a reliable team? Our Laravel development services can help with building robust applications with efficient testing strategies—let’s talk!
FAQs on Laravel Factories
What are Laravel factories used for?
Laravel factories are a powerful tool for generating fake data for testing purposes. They provide a structured and efficient way to create consistent and realistic test data, allowing you to simulate various scenarios and ensure the quality of your application.
Where are factories stored?
By default, Laravel factories are stored in the database/factories directory of your project. This directory is specifically designated for defining factory classes.
What are states and traits in factories?
States are used to define specific variations or conditions of a factory. They allow you to create different types of data based on predefined criteria. For example, you could define a published state for a post factory to generate posts with a published status.
Traits are reusable code blocks that can be included in multiple factory classes. They help you encapsulate common factory logic and promote code reuse. For example, you could create a Timestampable trait to automatically set created_at and updated_at timestamps for factories that use it.
What should I do if I get the error “new command not found” while setting up Laravel for factories?
This error usually appears if Laravel or Composer isn’t properly installed. You can refer to our detailed guide on Laravel new command not found to resolve it before proceeding with factories.


