Quick Summary
Discover the power of Task Scheduling in Laravel 12. Learn how the Laravel scheduler and Laravel cron automate repetitive tasks, run jobs in the background, and prevent overlaps. From Artisan commands to closures, queued jobs, and custom cron expressions, this guide walks you through setup, frequency options, advanced features, and real-world examples helping you streamline workflows and keep your applications running reliably and efficiently.
Table of Contents
Keeping your Laravel app steady and efficient often comes down to timing. From sending alerts to cleaning up old records, many actions need to run automatically. That’s where Task Scheduling in Laravel makes a real difference.
Instead of relying on manual triggers, Laravel scheduler provides a clean, built-in way to automate recurring tasks. It keeps your system organized, reduces errors, and saves you from extra late-night fixes.
Under the hood, it works seamlessly with Laravel cron, allowing your application to run background tasks reliably. You simply set the schedule, and Laravel task scheduling handles the execution.
In this blog, we’ll explore how to schedule tasks in Laravel 12, why it matters, and share practical tips and examples, including a Laravel task scheduling example to help you set it up smoothly.
What is Task Scheduling in Laravel?
Laravel’s task scheduling provides a streamlined approach to automating repetitive tasks within your application. Instead of manually configuring cron jobs for each task, Laravel allows you to define them directly within your application’s code. It offers several advantages, including improved code maintainability and centralized task management.
How Do Tasks Scheduling in Laravel Work?
- Define Scheduled Tasks. You configure tasks within the schedule method of your application’s console kernel (app/Console/Kernel.php). Here, you can use a fluent API to specify the task to be executed and its desired schedule.
- Schedule Options. Laravel provides various scheduling options. It allows you to define tasks to run on specific days or times (hourly, daily, weekly, etc.), or even at custom intervals.
- Centralized Cron Job. Despite defining tasks within Laravel, you’ll still need a cron job on your server to trigger the Laravel scheduler periodically. This cron job typically calls an artisan command like php artisan schedule:run to execute the defined tasks.
In conclusion, Laravel’s task scheduling simplifies managing background tasks within your application. By leveraging its built-in functionalities, you can automate tasks. It also benefits in maintaining a clean separation between application logic and server-level configuration.
What’s the Main Purpose of a Laravel Scheduler?
A scheduler keeps your application on track. It ensures tasks happen on time without constant manual attention. In Laravel, this is both simple and powerful. Here’s why it matters:
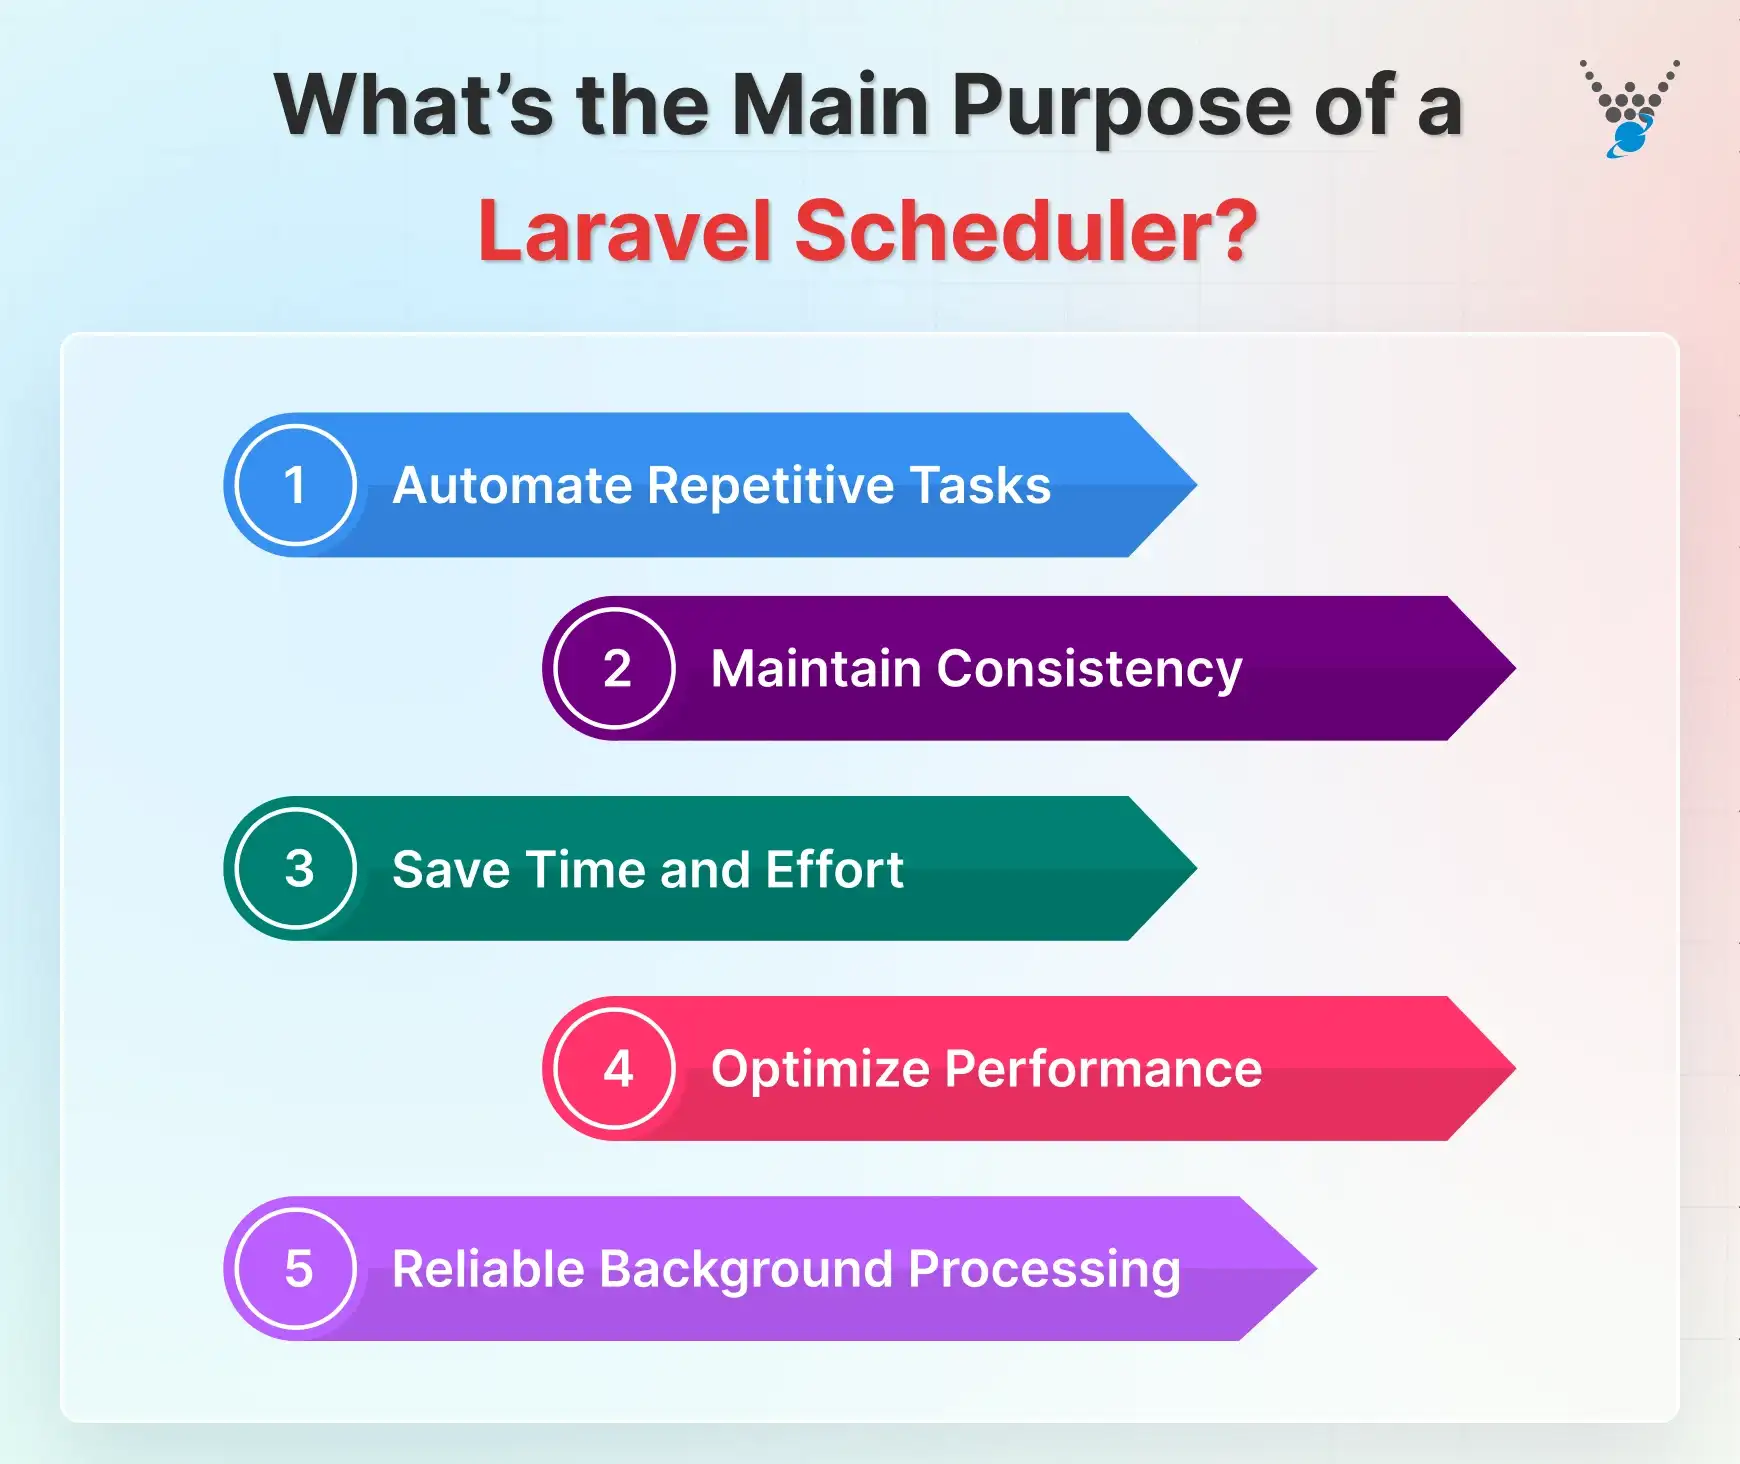
- Automate Repetitive Tasks: Run routine jobs like sending emails, cleaning databases, or generating reports automatically.
- Maintain Consistency: Tasks execute at exact intervals, reducing errors caused by manual handling.
- Save Time and Effort: Free your team from repetitive work, letting them focus on development and strategy.
- Optimize Performance: Schedule heavy tasks during off-peak hours to keep your app responsive.
- Reliable Background Processing: Ensure critical tasks run even when no one is actively managing them.
In short, a scheduler turns manual chores into a smooth, invisible workflow. It’s the backbone of any well-organized Laravel application.
Why Schedule Tasks in Laravel?
In web development, tasks that need to run periodically in the background are often important for keeping your application running smoothly. Laravel’s task scheduling functionality provides a powerful and convenient way to automate these tasks directly within your Laravel code. This prevents the need for manual configuration and streamlines managing background processes within your application.
Benefits of Scheduling Tasks in Laravel
- Automation. Schedule repetitive tasks to run automatically in the background. This frees your application from the overhead of executing them manually. That speeds up the Laravel website development process.
- Improved Maintainability. By centralizing task definitions within your Laravel codebase, you keep the scheduling logic alongside the application code it interacts with. It improves code organization and simplifies future maintenance efforts.
- Flexibility. Laravel’s scheduler offers a wide range of scheduling options. You can define tasks to run on specific days and times. It even offers you the flexibility to schedule at regular intervals or even trigger them based on specific events.
In conclusion, Laravel’s task scheduling feature enables automation of repetitive tasks, enhancing code maintainability and providing greater flexibility in managing scheduled operations. For background jobs that run asynchronously, the Laravel Queue System offers a reliable way to ensure smooth, scalable, and efficient task execution.
What are the Different Types of Tasks in Laravel?
Laravel’s task scheduling capability extends to a broad spectrum of tasks within your web application. These tasks can be categorized into two main types, each serving distinct purposes in your application’s functionality:
1. Web Application Tasks
These tasks are tightly coupled with user interaction or specific events triggered within your application’s frontend logic. Laravel’s scheduling features allow you to define automated actions or background processes that seamlessly follow these events. For example, you can automate sending a welcome email upon user registration.
2. Background Tasks
In contrast, background tasks operate periodically in the background, independent of any user interaction. They are often mission-critical for maintaining the smooth operation of your application. Common examples include scheduling daily database backups or running system health checks to ensure optimal performance.
Recognizing these two categories of tasks is essential for making the most of Laravel’s scheduling capabilities. Strategic task automation helps streamline your application’s workflow and improve efficiency. When managing distributed systems, using Laravel microservices can further enhance scalability and simplify complex automation processes.
Defining Scheduled Tasks in Laravel
In Laravel, scheduling tasks is simple and flexible. You can define them in several ways:
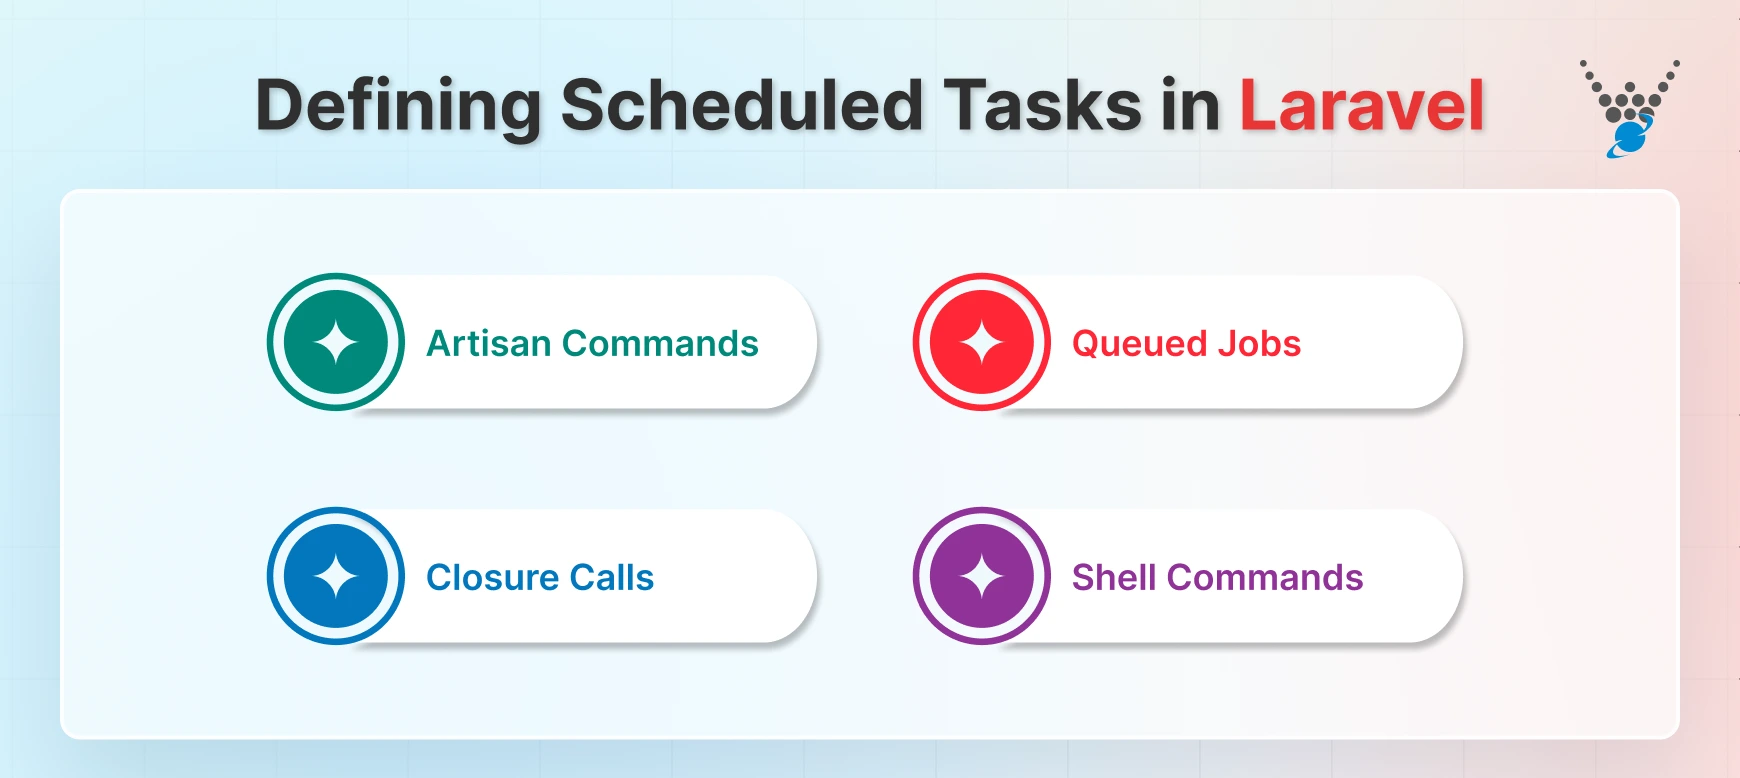
- Artisan Commands: Reuse your existing Artisan commands as scheduled tasks. Perfect for repetitive processes like clearing caches or sending reports.
- Queued Jobs: Push jobs to the queue and schedule them for later. This keeps heavy tasks from slowing down your app.
- Closure Calls: Write quick, inline tasks directly in the scheduler. Handy for simple, one-off actions.
- Shell Commands: Run any system command on schedule. Useful for scripts, backups, or maintenance tasks outside Laravel.
Each method gives you control over timing, frequency, and execution, making Laravel’s scheduler easy to manage.
Schedule Frequency Options Task in Laravel
Laravel makes scheduling tasks readable and intuitive. You don’t need to memorize complex cron syntax unless you want full control. Here’s what you can do:
- Daily: Run tasks once a day with ->daily(). Need a specific time? Use –>dailyAt(’13:00′).
- Weekly: Schedule weekly tasks using ->weekly(). For a specific day and time, try ->weeklyOn(1, ‘8:00’) (Monday at 8 am).
- Hourly: Execute tasks every hour with ->hourly(). Want a precise minute? ->hourlyAt(15) runs at the 15th minute every hour.
- Minutes: Laravel lets you go granular. Use ->everyMinute(), ->everyFiveMinutes(), or ->everyThirtyMinutes() depending on your need.
- Custom Cron: For full flexibility, ->cron(‘* * * * *’) lets you define any schedule using standard cron expressions.
These options make it easy to control timing without clutter. You can mix and match them to suit your workflow, keeping tasks precise, reliable, and hassle-free.
How to Schedule Tasks in Laravel?
Scheduling tasks in Laravel involves a streamlined process that leverages its built-in functionalities and your server’s cron job capabilities. Here’s a step-by-step breakdown:
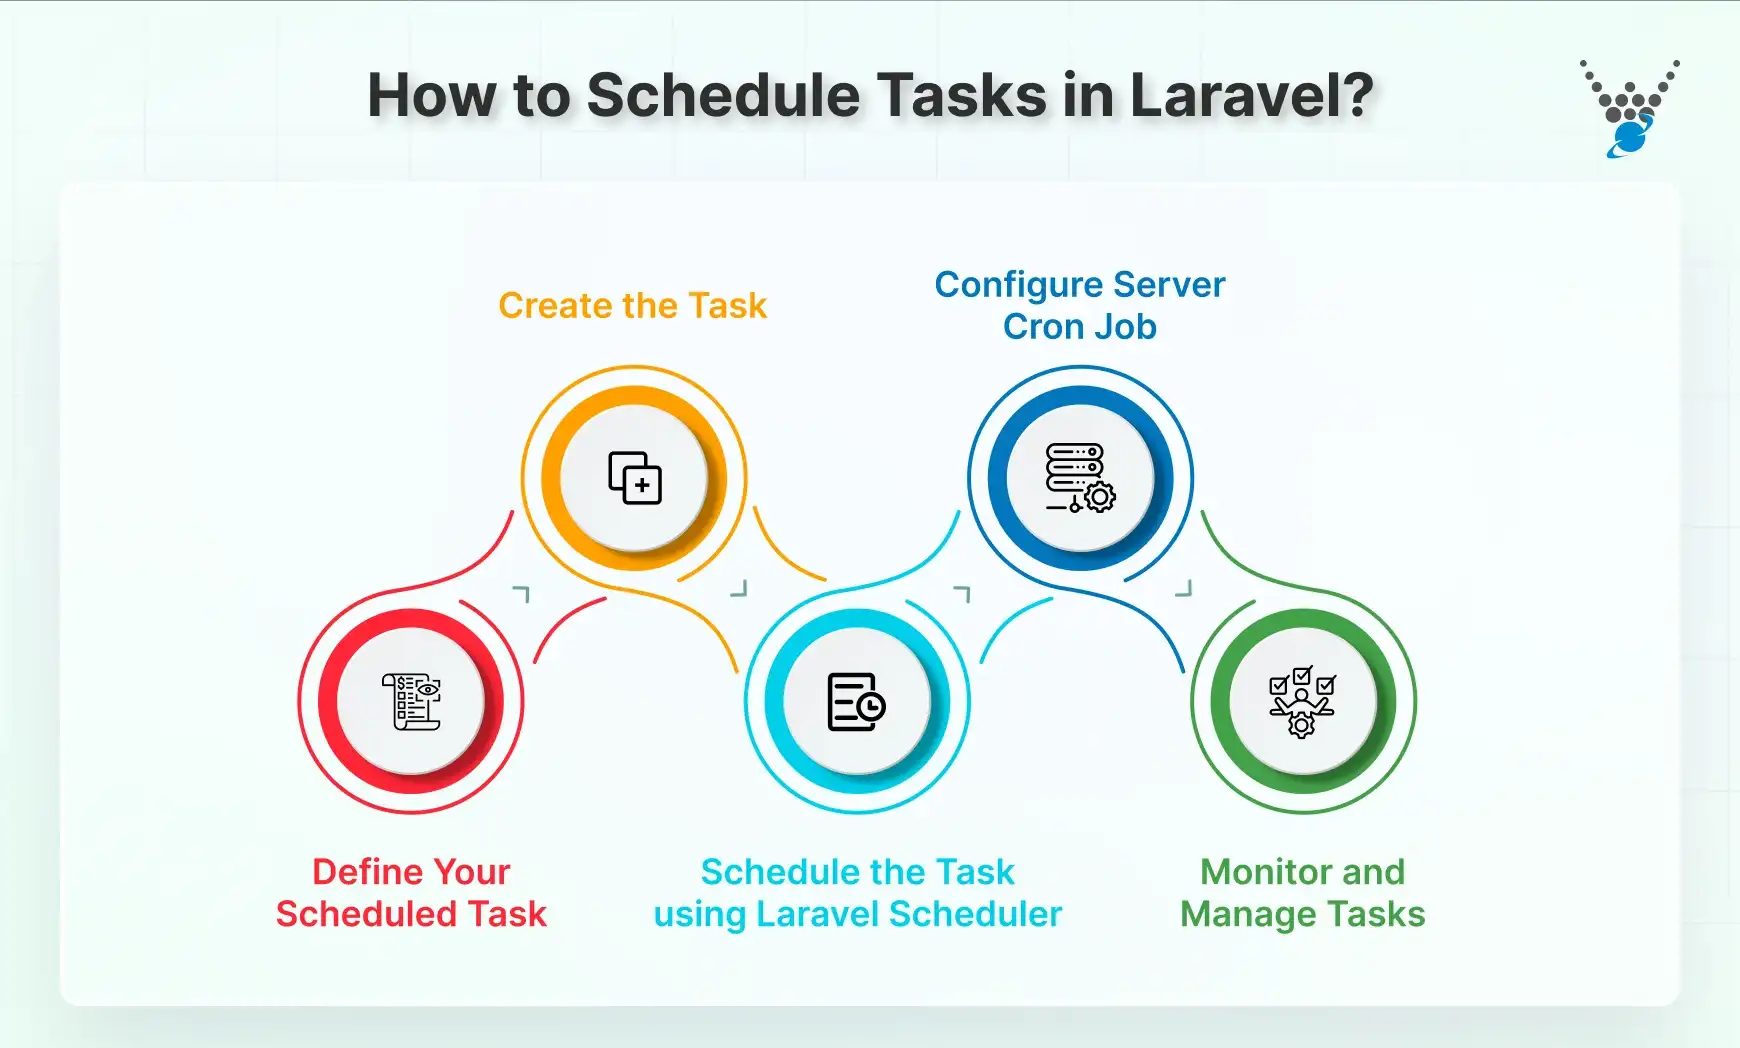
Step 1: Define Your Scheduled Task
Laravel’s built-in task scheduler simplifies automating tasks within your application. Instead of managing individual cron jobs on the server, you can define schedules directly in your Laravel code.
1. Create an Artisan Command (if necessary). For complex tasks, create an Artisan command using the php artisan make:command. This command will contain the logic for your scheduled task.
2. Define the Schedule in app/Console/Kernel.php. Open the Kernel.php file. Laravel provides various methods for defining the schedule, such as:
- daily(). Run the task once every day.
- hourly(). Run the task once every hour.
- cron(‘* * * * *’). Uses the standard cron syntax for more granular scheduling.
Here’s an example using daily():
$schedule->daily(function () {
    // Your task logic here
});
3. Schedule Queued Jobs. For heavy-duty tasks, consider using Laravel’s queue system. The job method allows you to schedule queued jobs:
$schedule->job(new YourJobClass)->everyFiveMinutes();
Once you’ve completed these steps, you can easily automate tasks within your Laravel application, ensuring they run at the desired intervals.
Scheduled tasks live in the schedule method of your app/Console/Kernel.php file. Using the Schedule facade, you can chain methods to define what runs, when, and how often.
For example
namespace App\Console;
use Illuminate\Console\Scheduling\Schedule;
use Illuminate\Foundation\Console\Kernel as ConsoleKernel;
class Kernel extends ConsoleKernel
{
    protected function schedule(Schedule $schedule): void
    {
        // Schedule an Artisan command to run daily
        $schedule->command('emails:send')->daily();
        // Schedule a closure to run every minute
        $schedule->call(function () {
            // Perform some action
        })->everyMinute();
    }
    protected function commands(): void
    {
        $this->load(__DIR__.'/Commands');
        require base_path('routes/console.php');
    }
}
Key methods to define frequency include: daily(), hourly(), everyMinute(), or a custom cron expression with cron(‘* * * * *’).
Step 2: Create the Task
you defined the schedule for your task. Now, it’s time to create the actual code that will be executed when the task runs. There are two primary approaches for this:
1. Using Artisan Commands (For Complex Tasks). If your task involves complex logic with your application’s models and functionalities, creating an Artisan command is a recommended approach. This command encapsulates the task’s logic, making it reusable and maintainable.
Here’s how to create an Artisan command:
php artisan make:command YourTaskCommand
- Open the generated command file (usually located in app/Console/Commands).
- Implement the task logic within the handle method of the command class. This method will be executed when the task runs.
Example: Sending Daily Reminder Emails
<?php
namespace App\Console\Commands;
use App\Mail\DailyReminderEmail;
use Illuminate\Support\Facades\Mail;
use Illuminate\Console\Command;
class SendDailyReminders extends Command
{
    protected $signature = 'reminder:daily';
    protected $description = 'Sends daily reminder emails to users.';
    public function handle()
    {
        // Fetch users who need reminders
        $users = User::where('needsReminder', true)->get();
        foreach ($users as $user) {
            Mail::to($user->email)->send(new DailyReminderEmail($user));
        }
        $this->info('Daily reminder emails sent successfully!');
    }
}
Implement your logic in the handle method. Example: sending daily reminders:
class SendDailyReminders extends Command
{
    protected $signature = 'reminder:daily';
    protected $description = 'Sends daily reminder emails to users.';
    public function handle()
    {
        $users = User::where('needsReminder', true)->get();
        foreach ($users as $user) {
            Mail::to($user->email)->send(new DailyReminderEmail($user));
        }
        $this->info('Daily reminder emails sent successfully!');
    }
}
2. Using Closures (For Simpler Tasks). For straightforward tasks, this method is suggested. It benefits in consequence where extensive logic or interaction with the application. You can directly define the task logic within a closure passed to the schedule methods in app/Console/Kernel.php.
Example: Deleting Old Session Data
$schedule->call(function () {
    DB::table('sessions')->where('last_activity', '<', Carbon::now()->subWeek())->delete();
})->daily();
Remember:
- Choose the approach that best suits the complexity of your task.
- Ensure proper error handling and logging within your task logic for debugging and monitoring purposes.
Picking the approach as per the need, you’ll create the functionality that your scheduled tasks will execute at the designated intervals.
For straightforward tasks, define the logic directly in the scheduler:
$schedule->call(function () {
    DB::table('sessions')->where('last_activity', '<', now()->subWeek())->delete();
})->daily();
Tip: Use proper error handling and logging to monitor task execution.
Step 3: Schedule the Task using Laravel Scheduler
With your task logic defined, it’s time to integrate it into Laravel’s scheduling system. The schedule method within app/Console/Kernel.php provides various options for specifying when your task should run:
- Predefined Methods:
- daily(). Runs the task once every day (at midnight by default).
- hourly(). Run the task once every hour (at the beginning of the hour by default).
- cron(‘* * * * *’). Uses the standard cron syntax for more granular scheduling (e.g., cron(‘0 * * * *’) for every minute at the top of the hour).
- Custom Scheduling:
- everyMinute(). Run the task every minute.
- everyFiveMinutes(). Runs the task every five minutes.
- everyTenMinutes(). Runs the task every ten minutes, and so on.
- everySixHours(). Runs the task every six hours.
- weekly(). Run the task once a week (on a specific day you can define).
- monthly(). Run the task once a month (on a specific day you can define).
Once your task logic is ready, integrate it with Laravel’s scheduler using these methods:
- Predefined Frequency: daily(), hourly(), weekly(), monthly().
- Minute-based Frequency: everyMinute(), everyFiveMinutes(), everyTenMinutes().
- Background Execution: Use runInBackground() for tasks that should run concurrently:
$schedule->command('long:running:task')->everyMinute()->runInBackground();
- Prevent Overlaps: Use withoutOverlapping() to avoid running multiple instances simultaneously.
Queued Jobs are ideal for heavy tasks:
$schedule->job(new YourJobClass)->everyFiveMinutes();
Here’s how to schedule your task using these methods:
Example 1: Sending Daily Reminder Emails (Using Artisan Command)
$schedule->command('reminder:daily')->daily();
Example 2: Deleting Old Session Data (Using Closure)
$schedule->call(function () {
    // Your task logic here
})->daily();
This schedules the provided closure to run every day, deleting old session data.
Additional Considerations:
- Overlapping Task Prevention. Use withoutOverlapping() to prevent a task from running if a previous instance is still executing.
- Queued Jobs for Heavy Tasks. For resource-intensive tasks, consider using Laravel’s queue system with the job method:
$schedule->job(new YourJobClass)->everyFiveMinutes();
Using the schedule methods and their options, you can control the execution of your tasks within your Laravel application. For real-time data handling or background message updates, WebSockets in Laravel can work hand-in-hand with scheduled jobs.
Step 4: Configure Server Cron Job
It is a system-level tool used to schedule tasks on Unix-based operating systems (like Linux or macOS). While the Laravel’s scheduler offers convenience, some scenarios might still require cron jobs:
- External Scripts. If you have scripts that aren’t part of your Laravel application and need scheduling, cron jobs would be the way to go.
- Shared Hosting Environments. In some shared hosting environments, limitations might prevent using Laravel’s scheduler effectively. In such cases, cron jobs could be an alternative.
Laravel’s scheduler itself doesn’t run automatically. You need a single cron entry on your server to check for due tasks every minute:
* * * * * cd /path-to-your-project && php artisan schedule:run >> /dev/null 2>&1
- Replace /path-to-your-project with your Laravel root directory.
- This entry triggers the Laravel scheduler, which evaluates and runs any tasks due.
Why Use Cron?
- External scripts outside Laravel.
- Shared hosting environments where built-in scheduler may not run reliably.
Steps to Configure Cron Job
1. Access the Server. Establish a connection to your server using SSH (Secure Shell). Common SSH clients include PuTTY (Windows) or Terminal (macOS/Linux).
2. Edit the Crontab: Use the crontab -e command to edit the crontab file, which stores cron job definitions. Choose a preferred text editor (e.g., nano, vim) when prompted.
3. Add the Cron Job Entry. In the crontab file, add a line specifying the schedule and command for your task. Here’s the syntax:
* * * * * command_to_run
- Each asterisk (*) represents a specific time unit:
- Minute (0-59)
- Hour (0-23)
- Day of Month (1-31)
- Month (1-12)
- Day of Week (0-6, where 0 or 7 is Sunday)
Replace command_to_run with the actual command you want to execute (e.g., the path to a PHP script or an Artisan command).
4. Save and Exit. Save the changes to the crontab file and exit the editor.
Example: Running an Artisan Command Every Hour
crontab -e # Open the crontab for editing
* * * * * php artisan your:command # Run 'your:command' every hour
Important Considerations:
- Security. Be cautious when editing the crontab file, as incorrect entries can lead to unintended task execution.
- Permissions. Ensure the user running the cron job has the necessary permissions to execute the specified command.
- Alternatives. If possible, consider using Laravel’s scheduler within your application’s code for better integration and management.
Step 5: Monitor and Manage Tasks
Laravel provides commands to keep track of scheduled tasks:
- php artisan schedule:list – lists all registered tasks and their next run times.
- php artisan schedule:work – runs the scheduler as a long-running process, checking for due tasks without a cron job. Useful in development or specific deployment setups.
You must understand these concepts in-depth to make an informed decision about whether to use Laravel’s scheduler or configure a cron job for your Laravel tasks. And if you want a more customized experience, consult with a Laravel development agency.
Laravel Scheduler Advanced Features
Laravel’s task scheduler is powerful on its own, but it also offers advanced features that give you greater control and reliability. These tools help you prevent conflicts, manage output, and handle tasks efficiently across multiple servers.
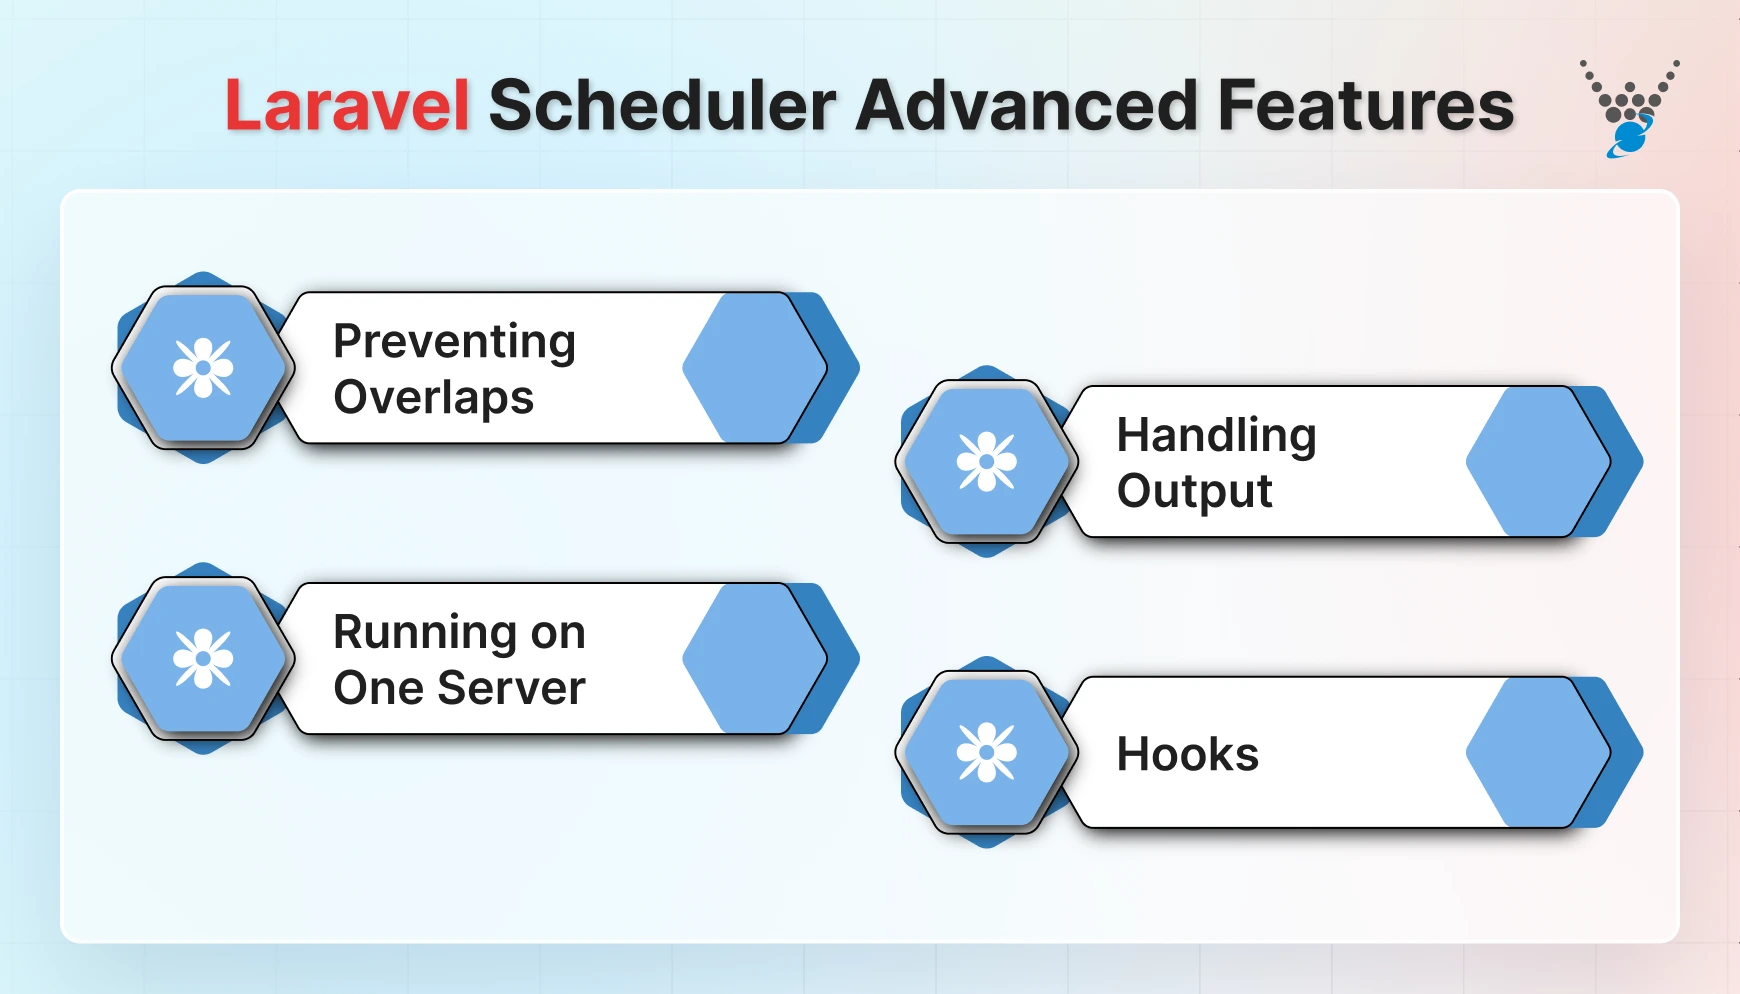
Preventing Overlaps
Sometimes tasks take longer than expected. Running the same task twice can cause conflicts or duplicate work.
Solution: Use withoutOverlapping() to ensure a task only runs if the previous instance has finished.
$schedule->command('emails:send')->daily()->withoutOverlapping();
This keeps your tasks safe and prevents unintended issues.
Running on One Server
In multi-server setups, you may want certain tasks to run on only one server.
Solution: Use onOneServer() to ensure a task executes on a single instance, avoiding duplication across servers.
$schedule->command('cache:clear')->hourly()->onOneServer();
This is essential for tasks like sending emails, clearing caches, or database maintenance in distributed environments.
Handling Output
Laravel allows you to capture task output for debugging or logging purposes, storing the logs or directing them to files for review. Using Laravel Pipelines helps streamline data flow within your application, making complex operations more organized and easier to manage.
Solution: Use sendOutputTo() or appendOutputTo() to direct output to a file.
$schedule->command('reports:generate')
         ->daily()
         ->sendOutputTo(storage_path('logs/report.log'));
This makes it easy to track task results and troubleshoot issues without checking the server manually.
Hooks
Laravel provides hooks to run code before or after a scheduled task. This allows you to perform preparation or cleanup steps.
- Before a Task: before() executes a closure before the task starts.
- After a Task: after() executes a closure after the task finishes.
$schedule->command('emails:send')
         ->daily()
         ->before(function () {
             // Preparation code here
         })
         ->after(function () {
             // Cleanup or notifications here
         });
Hooks provide precise control over your workflow, ensuring tasks remain predictable and reliable. Laravel Middleware enhances request handling and security by ensuring that only authorized processes are executed throughout the application lifecycle.
By using these advanced features, you can ensure your Laravel tasks are robust, safe, and well-managed, whether your application is running on a single server or a distributed setup.
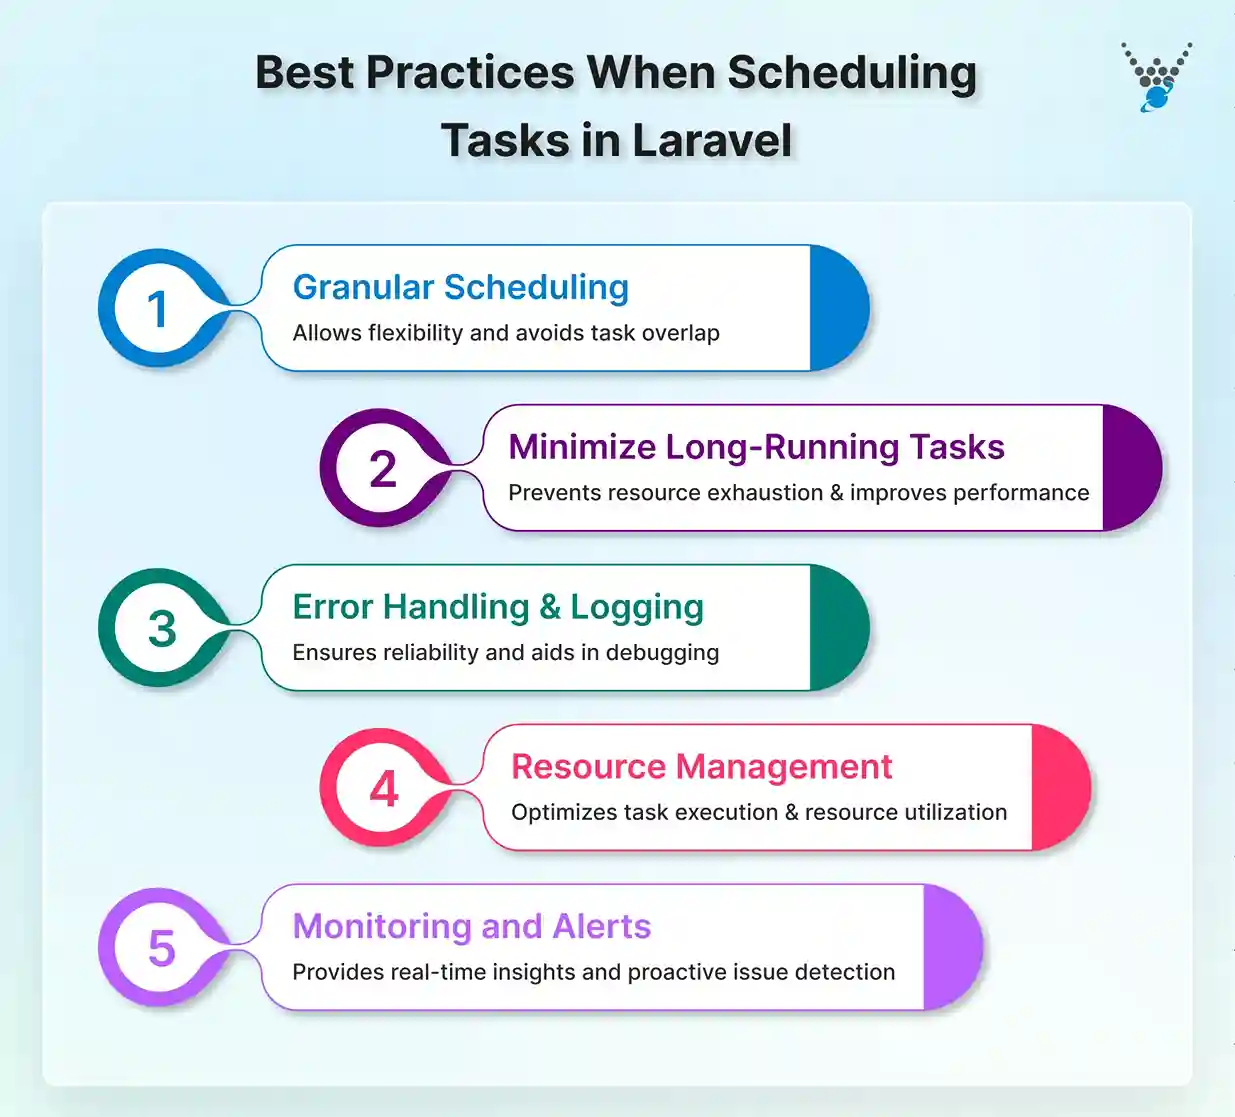
What are the Best Practices When Scheduling Tasks in Laravel?
Scheduling tasks within your Laravel application streamlines automation and improves efficiency. Here are key best practices to ensure your scheduled tasks run smoothly and effectively:
1. Granular Scheduling
- Leverage Flexibility. Laravel’s scheduler offers a variety of scheduling methods, from predefined options like daily() and hourly() to custom methods like everyFiveMinutes(). Use this flexibility to schedule tasks at the desired intervals, balancing performance with frequency.
- Avoid Overlapping Tasks. If a task takes some time to complete, use the withoutOverlapping() method. It will prevent multiple instances from running concurrently, causing conflicts or performance issues.
2. Minimize Long-Running Tasks
- Break Down Tasks. In case a scheduled task is complex, it can take a long time to execute. Here, you must consider breaking it down into smaller, more manageable tasks. This can improve overall performance and prevent potential timeouts.
- Use Queues. For resource-intensive tasks, leverage Laravel’s queue system. This allows tasks to be processed in the background without blocking the scheduler or impacting application responsiveness.
3. Error Handling and Logging
- Implement Error Handling. Wrap your task logic in a try…catch block to handle potential exceptions. Log any errors that occur for troubleshooting and debugging purposes.
- Logging for Monitoring. Log the execution of your scheduled tasks, including timestamps and success/failure status. This information provides valuable insights into task behavior and facilitates monitoring.
4. Resource Management
- Consider Task Execution Time. Be mindful of the resources your tasks consume during execution. If multiple tasks run concurrently, they might impact server performance. Schedule resource-heavy tasks strategically to avoid overloading the system.
- Optimize Task Logic. Optimize the code within your tasks to minimize resource usage. This ensures efficient execution and avoids unnecessary strain on server resources.
5. Monitoring and Alerts
- Use Monitoring Tools. Implement tools or external services to monitor the execution of your scheduled tasks. This allows you to identify potential issues or delays promptly.
- Set Up Alerts. Configure alerts to notify you of task failures or performance anomalies. This proactive approach ensures you can address issues before they impact your application. To add another layer of control, discover how Laravel policies and gates manage permissions efficiently.
Following the valuable best practices outlined above will enhance your scheduled tasks in Laravel. You can also improve your overall application structure by mastering advanced routing techniques in Laravel for cleaner and more efficient route management.
Conclusion
By harnessing the power of task scheduling in Laravel, you can streamline your development workflow and enhance the overall performance of your application. With automated background tasks taking care of repetitive processes, you’ll be free to focus on what truly matters – building innovative features and delivering exceptional user experiences.
Remember, effective task scheduling requires careful planning and consideration. This guide has equipped you with the foundational knowledge to get started. However, if you’re looking to take your Laravel development to the next level and leverage the expertise of seasoned professionals, look no further!
Need help with implementing task scheduling in your Laravel project? Let our Laravel developers for hire guide you through the process and ensure your application runs smoothly and efficiently.
FAQs About Scheduling Tasks in Laravel
How does Laravel’s Scheduler differ from traditional Cron jobs?
Unlike Cron jobs, which require manual setup on your server, Laravel’s Scheduler lets you define tasks within your Laravel application itself. This makes your scheduling configuration part of your codebase, improving maintainability and version control.
Can I schedule tasks to run at specific times and intervals in Laravel?
Absolutely! Laravel’s Scheduler provides a wide range of options for defining task execution. You can schedule tasks to run hourly, daily, weekly, or even at specific times using advanced methods.
Is it possible to prioritize or sequence scheduled tasks in Laravel?
While Laravel doesn’t offer explicit priority queues for scheduled tasks, you can influence their order by defining them in the sequence you desire within the schedule method of your application’s Console Kernel. This approach helps manage task execution flow to some extent.
How to schedule tasks in Laravel 12?
In Laravel 12, scheduling tasks is done using the built-in scheduler in app/Console/Kernel.php. You define tasks inside the schedule method using Artisan commands, closures, or queued jobs. Set the frequency with methods like daily(), hourly(), or cron(‘* * * * *’). Finally, ensure your server has a single cron entry running php artisan schedule:run every minute to trigger due tasks automatically. This setup lets your tasks run reliably without manual intervention.
Automate Effortlessly with Laravel Task Scheduling
Discover how Laravel task scheduling can save your time, boost efficiency, and simplify recurring jobs. Keep your applications running smoothly with your customisation and powerful automation tool.


