Quick Summary
Tired of bloated REST APIs? Discover how GraphQL in Laravel delivers precisely the data your app needs. Our guide walks you through building a modern GraphQL server with Laravel Lighthouse. We’ll show you how to eliminate over-fetching, consolidate requests, and create a flexible, powerful API. Learn to avoid common pitfalls and set up a robust, efficient server step-by-step. Stop negotiating with your API and start building faster, smarter applications.
Table of Contents
Building an API can feel like a constant negotiation. Your front-end team needs specific data. Your mobile team needs something slightly different. You end up building new endpoints for everyone, or they have to sift through oceans of data they didn’t ask for. It’s inefficient. It bogs down development for everyone.
What if your API could deliver exactly what a client requests?
That’ what GraphQL promises. It hands control to the front-end, letting developers request precise data with a single query. The result is faster applications and happier teams. Integrating this powerful technology into a Laravel project is surprisingly straightforward.
In this guide, we will walk through building a robust GraphQL server with Laravel from the ground up. So, let’s get started.
What is a GraphQL Server?
A GraphQL server is the backend component that powers GraphQL queries. It’s like a translator between your application and your data sources. This server understands the GraphQL requests from your application and fetches the specific data it needs.
GraphQL serves as an alternative to REST APIs but with high flexibility and power for data querying and manipulation.
The server-side implementation of GraphQL involves a single endpoint that accepts queries or mutations. This centralized approach reduces network overhead and creates faster data retrieval.
Here’s a breakdown of its key functions:
- Data Retrieval: The GraphQL server receives queries written in the GraphQL language. These queries specify the exact data an application needs.
- Schema Enforcement: The server validates the queries against a predefined schema. This schema acts like a blueprint, defining the data structure and what information can be requested.
- Data Fetching: Based on the validated query, the server fetches the requested data from your underlying data sources (databases, APIs, etc.).
- Response Building: The server combines the fetched data according to the query structure and sends it back to the application in a single response.
Overall, a GraphQL server acts as the central hub for processing GraphQL requests and delivering the exact data an application needs. Laravel developers use it to optimize data fetching and reduce unnecessary back-and-forth communication.
Why Build a GraphQL Server with Laravel?
There are several compelling reasons to build a GraphQL server with Laravel, especially if you’re aiming to create top-notch Laravel websites:
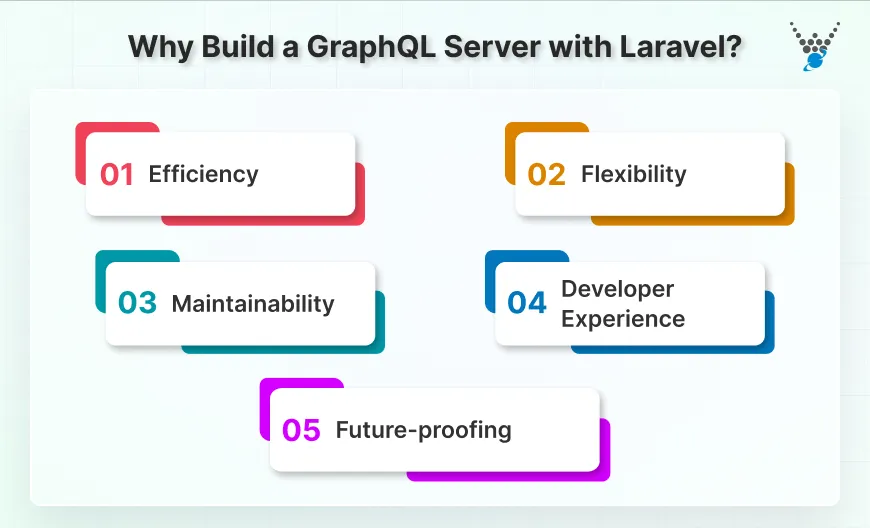
Efficiency
GraphQL’s core strength lies in its ability to reduce over-fetching and under-fetching of data. Clients can specify exactly what they need, meaning fewer API calls and faster loading times for your Laravel application.
Flexibility
The query-based nature of GraphQL allows applications to request specific data structures, including nested relationships. This eliminates the need for multiple REST endpoints for complex data interactions, making your Laravel API more adaptable.
Maintainability
Laravel’s well-structured approach to code organization combined with GraphQL’s clearly defined schema leads to cleaner and easier-to-maintain codebases. This makes it simpler to introduce new features and updates to your Laravel application.
Developer Experience
Both Laravel and GraphQL offer strong developer experiences. Laravel’s robust tooling and community support streamline development, while GraphQL’s clear schema definition and predictable response format make it easier for developers to understand and work with data.
Future-proofing
Modern web applications often involve complex data interactions. By adopting GraphQL, you’re future-proofing your Laravel website, ensuring it can handle evolving data needs and integrate seamlessly with other GraphQL-based services.
Building a GraphQL API in Laravel requires precision and expertise. If you need a team that specializes in high-performance Laravel development, consider partnering with a leading Laravel development company to bring your project to life efficiently.
A Step-by-Step Guide to Your Laravel GraphQL Server Setup
To build a clean, modern GraphQL API in Laravel, we’ll be using Lighthouse. This package is the industry standard for a reason. It’s elegant, powerful, and follows the schema-first paradigm.
Prerequisites
- PHP 8.0 or higher
- Database (MySQL, PostgreSQL, SQLite, or SQL Server)
- A Laravel project (you can use laravel new your-project-name)
- Composer (dependency manager), one of the key web development tools.
Step 1: Create a New Laravel Project
Start with a fresh Laravel installation. Open your terminal and run:
composer create-project --prefer-dist laravel/laravel graphql-server
cd graphql-server
This creates the foundation for our project.
Step 2: Install Lighthouse
This is the only GraphQL package we need. It handles the heavy lifting for our GraphQL server with Laravel.
composer require nuwave/lighthouse
Lighthouse will provide all the tools necessary for a robust Laravel GraphQL API.
Step 3: Publish the Lighthouse Configuration
Lighthouse uses a simple configuration file. Let’s publish it.
php artisan vendor:publish --provider="Nuwave\Lighthouse\LighthouseServiceProvider"
This command creates a lighthouse.php file in your config directory. You can leave the defaults for now.
Step 4: Define Your Schema
The schema is the heart of your GraphQL server with Laravel. It defines your data contract. Create a new file at graphql/schema.graphql and define your types.
type Query {
  users: [User!]! @all
  user(id: ID! @eq): User @find
}
type Mutation {
  createUser(name: String!, email: String!): User! @create
}
type User {
  id: ID!
  name: String!
  email: String!
}
Notice the Lighthouse directives like @all, @find, and @create. They do the work of resolvers automatically.
Step 5: Set Up Your Model and Database
Ensure your Eloquent model and database migration are ready. Your User model should be standard, but ensure the name and email are fillable.
// app/Models/User.php
namespace App\Models;
use Illuminate\Database\Eloquent\Factories\HasFactory;
use Illuminate\Database\Eloquent\Model;
class User extends Model
{
    use HasFactory;
    protected $fillable = ['name', 'email'];
}
Run your migrations to create the users table:
php artisan migrate
Step 6: Test Your GraphQL Server
The moment of truth. Start the development server:
php artisan serve
Now, visit http://localhost:8000/graphql-playground. This interactive IDE is where you’ll test your API.
Try fetching all users:
query {
  users {
    id
    name
    email
  }
}
Now, create a new user with a mutation:
mutation {
  createUser(name: "Jane Doe", email: "jane@example.com") {
    id
    name
    email
  }
}
Run the query again. You’ll see your new user. And your server will be live.
Advantages of Using GraphQL in Laravel
GraphQL flips the script. Instead of multiple, rigid endpoints, you get a single, intelligent endpoint. It answers any question, as long as it falls within the schema. Below are the advantages it delivers:
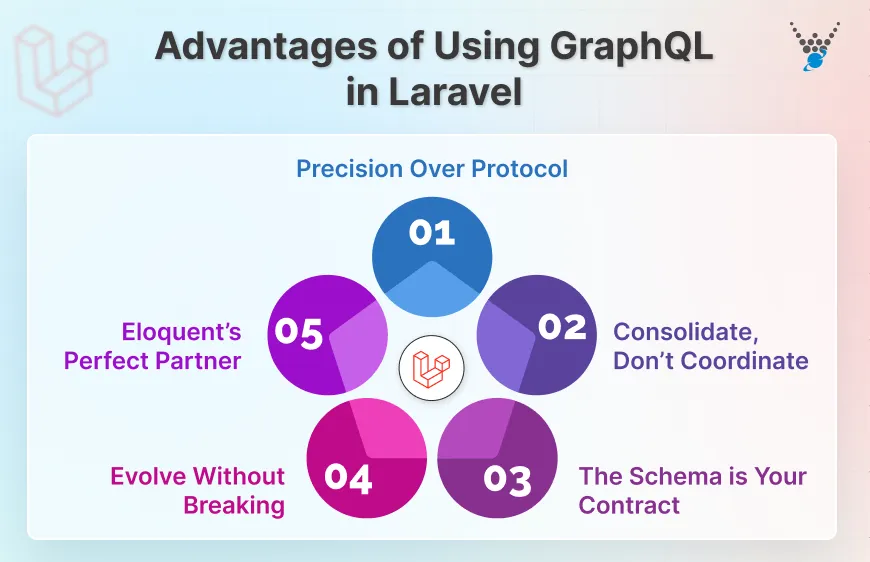
- Precision Over Protocol: REST returns a predefined dataset. GraphQL returns exactly what you request. No more over-fetching an entire user object for a dropdown list. No more under-fetching and needing a second API call. This precision makes your applications inherently faster and more efficient.
- Consolidate, Don’t Coordinate: A single GraphQL query can replace a half-dozen REST calls. Need a post, its author, and the top three comments? One request. Done. This consolidation slashes network overhead and simplifies your frontend logic. The performance gain is not incremental; it’s transformative.
- The Schema is Your Contract: Your GraphQL schema is a living document and an unwavering contract. It dictates what is possible. This clarity allows frontend and backend teams to work autonomously, yet in perfect sync. The guesswork and integration disputes simply vanish.
- Evolve Without Breaking: Adding a new field? Just start using it. Existing clients remain unaffected. There are no version numbers in your URLs. A GraphQL server with Laravel evolves organically. This freedom accelerates development and eliminates legacy endpoint maintenance.
- Eloquent’s Perfect Partner: GraphQL resolvers align beautifully with Laravel’s Eloquent ORM. Nested data and complex relationships are resolved with elegant simplicity. The two technologies feel like they were conceived together.
GraphQL gives you a more deliberate and powerful way to work with data. It’s not just a new technology; it’s a better philosophy for building modern APIs.
Common Mistakes to Avoid When Building a GraphQL Server
Development teams often make common mistakes when building a GraphQL server. Avoiding these will save you from debugging sessions and a sluggish API. Here are the missteps that can undermine your Laravel GraphQL server setup.
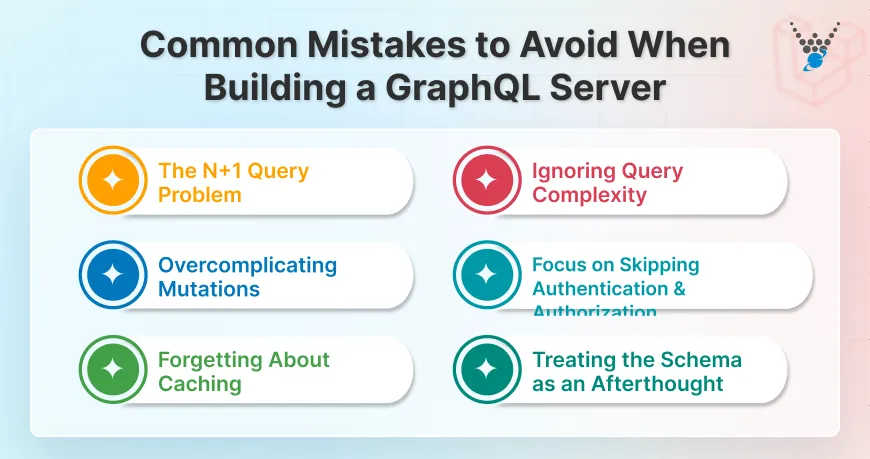
The N+1 Query Problem
The N+1 query problem is a critical performance trap in GraphQL. Imagine a query requests ten blog posts. The system first makes one query to fetch all ten posts. However, if it then needs to display the author for each post, a naive setup will trigger a separate, new database query to find the author for the first post, another for the second post, and so on.
This results in one initial query plus ten additional individual queries, creating a total of eleven database calls. This “query waterfall” severely bottlenecks your application. The solution is to use Laravel’s eager loading or Lighthouse’s @with directive, which intelligently fetches all related data in just one or two optimized queries, preserving your server’s performance.
Ignoring Query Complexity
GraphQL gives clients a blank check. A single query could request a full social network – users, their friends, their friends’ posts, and so on. This can crash your server. You must define limits. Implement query depth limiting and pagination. A well-configured GraphQL server with Laravel has guardrails.
Overcomplicating Mutations
Think of mutations as commands, not updates. Avoid generic names like updateUser. Be explicit. Use action-oriented names like userRegister or userChangePassword. This makes your API’s intent crystal clear and easier to maintain.
Skipping Authentication & Authorization
Your GraphQL endpoint is a gateway. Leaving it unguarded is a catastrophic error. Just because a field isn’t in the schema doesn’t mean it’s secure. You must layer Laravel’s robust authentication and policy systems onto your GraphQL types. Authorization is not an afterthought.
Forgetting About Caching
RESTful endpoints are trivial to cache. GraphQL’s single endpoint and unique queries make it trickier. Don’t ignore it. Investigate query whitelisting and persisted queries. Plan your caching strategy early. The performance dividends are too significant to overlook.
Treating the Schema as an Afterthought
Your schema is your API’s foundation. A sloppy, poorly designed schema becomes a technical debt you can’t repay. Think deeply about your types and relationships from the start. A clean schema is a joy to use; a messy one is a constant burden.
Building a powerful GraphQL API in Laravel is as much about avoiding these pitfalls as it is about implementing the features. A little foresight here makes all the difference.
Conclusion
Building a GraphQL server with Laravel is a powerful combination. It offers developers a flexible and efficient way to create APIs. GraphQL offers the ability to reduce over-fetching and precisely target data needs. That translates to faster loading times, superior maintainability, and a smoother user experience for your Laravel applications.
Optimizing GraphQL queries and ensuring seamless integration takes deep Laravel knowledge. Need skilled professionals? Hire Laravel developers with hands-on GraphQL experience to build scalable, high-speed APIs tailored to your needs.
FAQs About Building a GraphQL Server with Laravel
Does Laravel provide any tools for testing GraphQL endpoints?
Yes, Laravel includes a testing framework called Dusk that allows you to perform automated testing of your GraphQL endpoints. This ensures your API works correctly and changes to code don’t break existing functionality.
How do I handle authentication and authorization in a GraphQL server with Laravel?
Laravel’s built-in authentication and authorization mechanisms can be leveraged for your GraphQL API. You can define authorization rules within your resolvers to control access to specific data based on user roles or permissions.
Are there any security considerations when using GraphQL?
Yes, like any API, it’s essential to implement authentication, authorization, and validation to protect against security vulnerabilities. Use Laravel’s built-in features and middleware to secure your GraphQL server.