Quick Summary
Laravel Tailwind CSS makes it easy to quickly style Laravel pages using utility classes, enabling modern, customizable designs without writing custom CSS. Just install and configure Tailwind in your project, then use its classes in your Blade templates for beautiful, responsive pages.
Table of Contents
A beautiful and responsive UI can mean the difference between a user staying engaged on the website and someone bouncing off. But crafting that perfect user experience (UX) doesn’t have to be a monumental undertaking. And with Laravel, this task is made much easier with the help of Tailwind CSS.
This utility-first framework provides a robust set of pre-designed classes that seamlessly integrate with the Laravel Blade templating engine. Experts use it to create stunning and modern UIs directly within the Blade templates.
If you’re new to the Laravel templating engine, you can check out our beginner-friendly guide on how to use Laravel blade to understand how Blade works before styling it with Tailwind CSS.
Intrigued? In this blog, I’ll tell you how to make beautiful Laravel pages with Tailwind CSS. Let’s begin.
What is Tailwind CSS?
Laravel Tailwind CSS is a unique CSS framework designed to streamline web development by offering a collection of pre-built utility classes. Instead of defining styles in separate CSS files, Tailwind lets you directly apply these classes in your HTML markup to achieve the desired design.
Here’s what makes Tailwind CSS stand out:
- Utility-first Approach: Traditional frameworks that provide predefined components. But Tailwind offers low-level utility classes for things like spacing, colors, typography, and layout. You combine these classes to build any design you can imagine.
- Rapid Development: Tailwind directly applies CSS in your HTML. That allows for faster development by eliminating the need to switch between HTML and CSS files.
- Responsiveness Made Easy: Tailwind includes responsive variants for its utility classes. So you can easily design layouts that adapt seamlessly to different screen sizes.
- Customization: Tailwind offers extensive customization options. You can purge unused classes to keep your CSS files lean and even create your own custom classes for specific design needs.
Overall, Laravel Tailwind CSS empowers developers to build modern, responsive websites. And there is a clean separation of concerns between HTML structure and visual presentation.
Benefits of Using Laravel Tailwind for Laravel Development

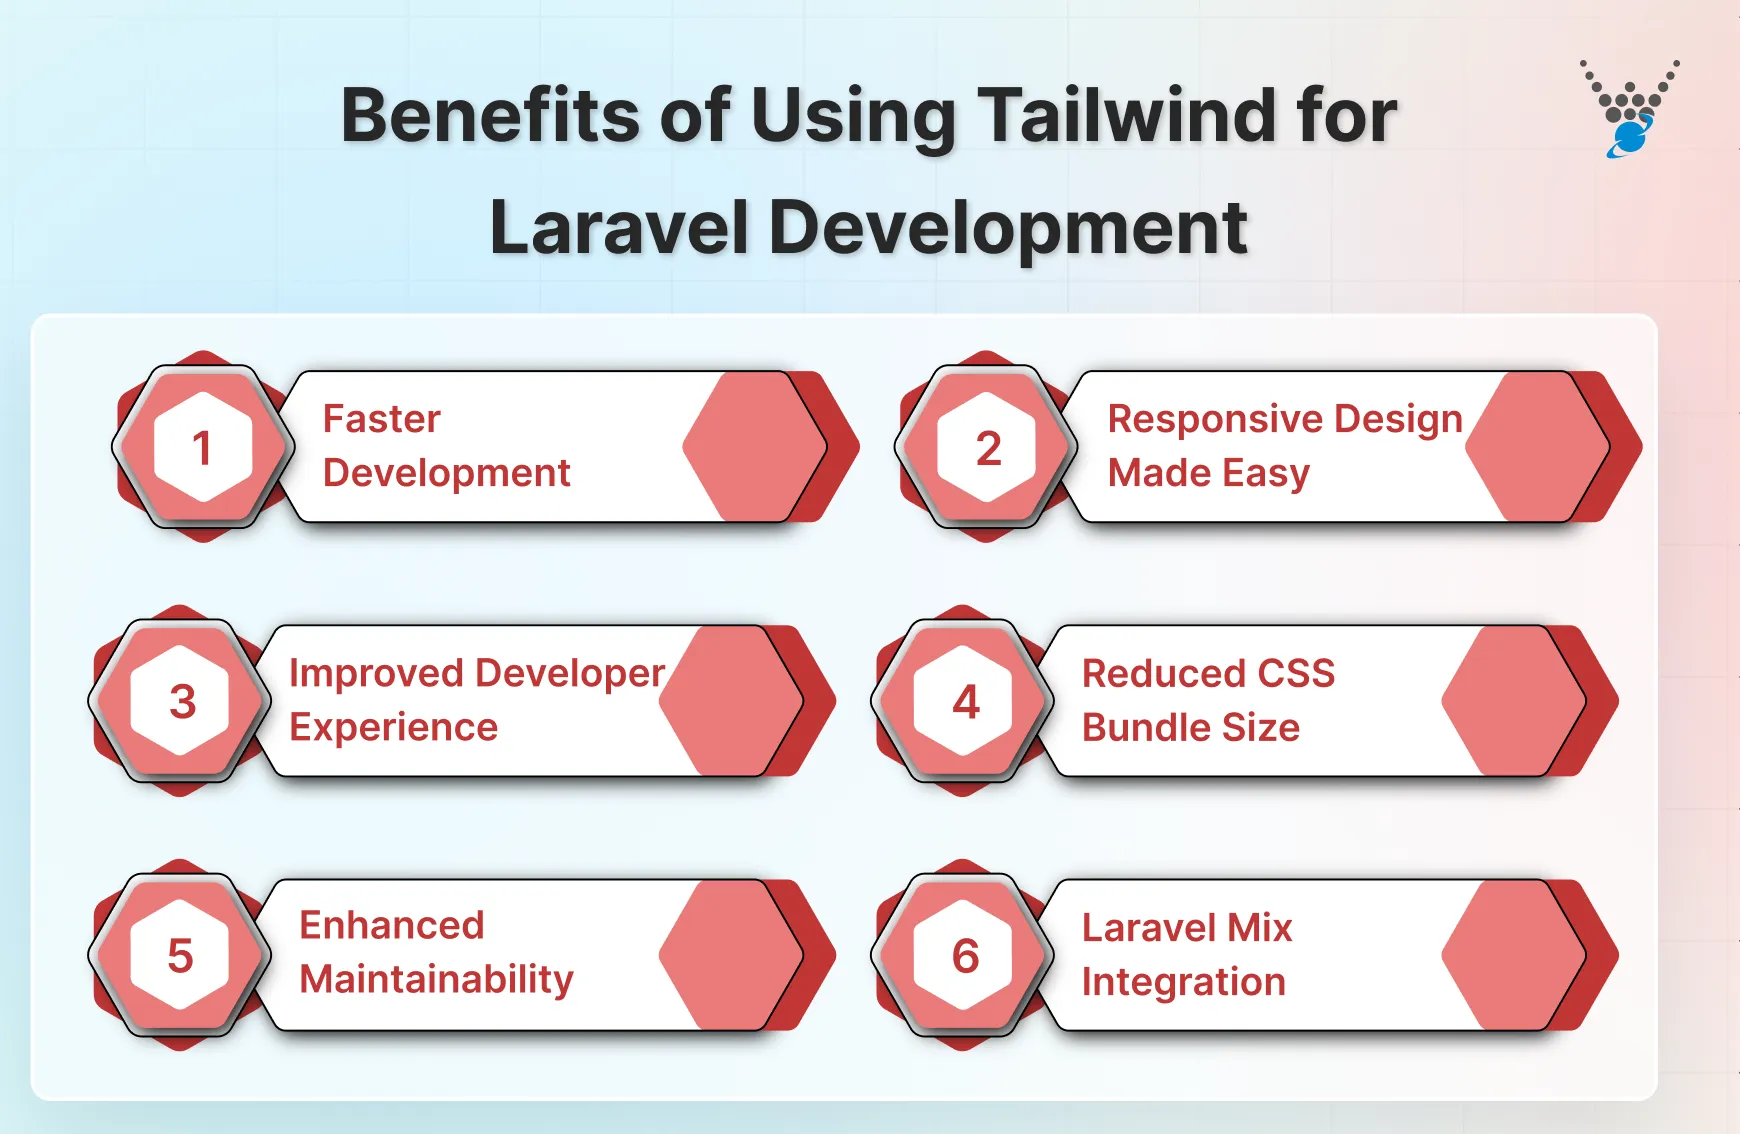
Laravel’s robust features, like MVC architecture, make it unique for building web applications. But when it comes to styling those applications, you might be considering various options. Tailwind CSS offers a compelling option that is perfect for Laravel’s development. Here are the key benefits it offers:
- Faster Development: Tailwind’s pre-built classes eliminate the need for extensive CSS writing. You can style elements directly in your Laravel blade templates, reducing development time and allowing for rapid prototyping.
- Improved Developer Experience: Switching between HTML and CSS files becomes a thing of the past. Tailwind keeps you focused on your code structure, leading to a more streamlined and enjoyable development experience.
- Enhanced Maintainability: Tailwind promotes a consistent and predictable way of styling your Laravel application. This consistency makes your codebase easier to maintain for yourself and other developers in the future.
- Responsive Design Made Easy: Tailwind’s built-in responsive variants for utility classes allow you to create layouts that adapt perfectly to any device, from desktops to smartphones, without writing a single line of media queries.
- Reduced CSS Bundle Size: Tailwind includes a feature called “purgeCSS” that automatically removes unused styles from your final CSS file. This keeps your bundle size lean and improves website performance.
- Laravel Mix Integration: Tailwind integrates smoothly with Laravel Mix, Laravel’s default build tool. That simplifies the setup and management of CSS assets, streamlining the development workflow.
Laravel developers leverage Tailwind CSS to offer you a beautiful and functional website. With their expertise, they are able to create websites with responsive UIs that are maintainable and scalable.
How to Make Beautiful Laravel Pages Using Tailwind CSS?
Creating beautiful Laravel pages using Tailwind CSS involves several steps. It begins with setting up your Laravel project and continues with designing your pages with Laravel Tailwind’s utility classes. Here’s a step-by-step guide to help you get started:
Step 1: Set Up Your Laravel Project
First, ensure you have a Laravel project set up. If not, you can create a new Laravel project using Composer:
composer create-project --prefer-dist laravel/laravel laravel-tailwind
Then, navigate to your project directory:
cd laravel-tailwind
Now, we have a fresh Laravel project ready to integrate with Tailwind CSS.
Step 2: Install Tailwind CSS
Next, you need to install Tailwind CSS via npm. First, ensure you have Node.js and npm installed. Then, install Tailwind CSS:
npm install tailwindcss
Installing Tailwind CSS via npm prepares your project to utilize Tailwind’s utility-first CSS framework.
Step 3: Configure Tailwind CSS
Create a Tailwind configuration file by running the following:
npx tailwindcss init
Running this will create a tailwind.config.js file in the root of your project. Open this file and customize the configuration as needed. Configuring Tailwind CSS allows you to customize its settings to fit your project’s specific design requirements.
Step 4: Integrate Tailwind CSS with Laravel Mix
Laravel Mix is a wrapper around Webpack that provides a clean API for defining Webpack build steps for your Laravel application. Install Laravel Mix if it’s not already installed:
npm install laravel-mix --save-dev
Then, configure Mix to use Tailwind. Open webpack.mix.js and update it to process Tailwind CSS:
const mix = require('laravel-mix');
const tailwindcss = require('tailwindcss');
mix.js('resources/js/app.js', 'public/js')
.postCss('resources/css/app.css', 'public/css', [
tailwindcss('./tailwind.config.js'),
]);
Create a resources/css/app.css file and add the following lines to include Tailwind’s base, components, and utilities:
@tailwind base;
@tailwind components;
@tailwind utilities;
Integrating Tailwind CSS with Laravel Mix streamlines the build process, making it easier to manage and compile your CSS assets.
Step 5: Build Your Assets
Run the following command to compile your CSS with Tailwind:
npm run dev
For production builds, you can use:
npm run production
Building your assets ensures that Tailwind’s styles are correctly compiled and included in your Laravel project.
Step 6: Design Your Laravel Pages
Now, you can start designing your pages using Tailwind’s utility classes. Open your Blade template files (e.g., resources/views/welcome.blade.php) and use Tailwind classes to style your HTML elements. If you plan to reuse UI elements, consider implementing Laravel blade components to make your template design more modular and maintainable.
Here’s a simple example of a Blade template styled with Tailwind:
<!DOCTYPE html>
<html lang="en">
<head>
<meta charset="UTF-8">
<meta name="viewport" content="width=device-width, initial-scale=1.0">
<title>Laravel with Tailwind CSS</title>
<link href="{{ mix('css/app.css') }}" rel="stylesheet">
</head>
<body class="bg-gray-100 text-gray-900">
<div class="container mx-auto p-4">
<h1 class="text-4xl font-bold text-center">Welcome to Laravel with Tailwind CSS</h1>
<p class="mt-4 text-lg text-center">Start building beautiful, responsive web pages effortlessly.</p>
</div>
</body>
</html>
Applying Tailwind’s utility classes directly in your Blade templates allows you to rapidly design and style your Laravel pages.
Step 7: Customize and Extend
Tailwind CSS is highly customizable. You can modify the default theme, extend the utility classes, and create custom components to fit your specific design needs. Update the tailwind.config.js file to extend Tailwind’s default configuration:
module.exports = {
content: [
'./resources/**/*.blade.php',
'./resources/**/*.js',
'./resources/**/*.vue',
],
theme: {
extend: {
colors: {
brand: '#5A67D8',
},
spacing: {
'128': '32rem',
},
},
},
plugins: [],
};
Customizing Tailwind allows you to extend its capabilities and ensure your design perfectly aligns with your project’s requirements.
Step 8: Optimize for Production
For production, ensure that unused CSS is purged to keep your CSS file size minimal. Configure PurgeCSS in your tailwind.config.js file:
module.exports = {
purge: [
'./resources/views/**/*.blade.php',
'./resources/js/**/*.vue',
],
// ... other configurations
};
Run the production build to apply the changes:
npm run production
Optimizing your CSS for production by purging unused styles ensures your Laravel application loads quickly and performs well.
Tailwind’s utility approach, combined with Laravel’s robustness, offers a powerful solution for web development. You can consult with our Laravel development company to integrate Tailwind CSS and create beautiful and responsive pages with ease.
Best Practices to Use Tailwind CSS with Laravel

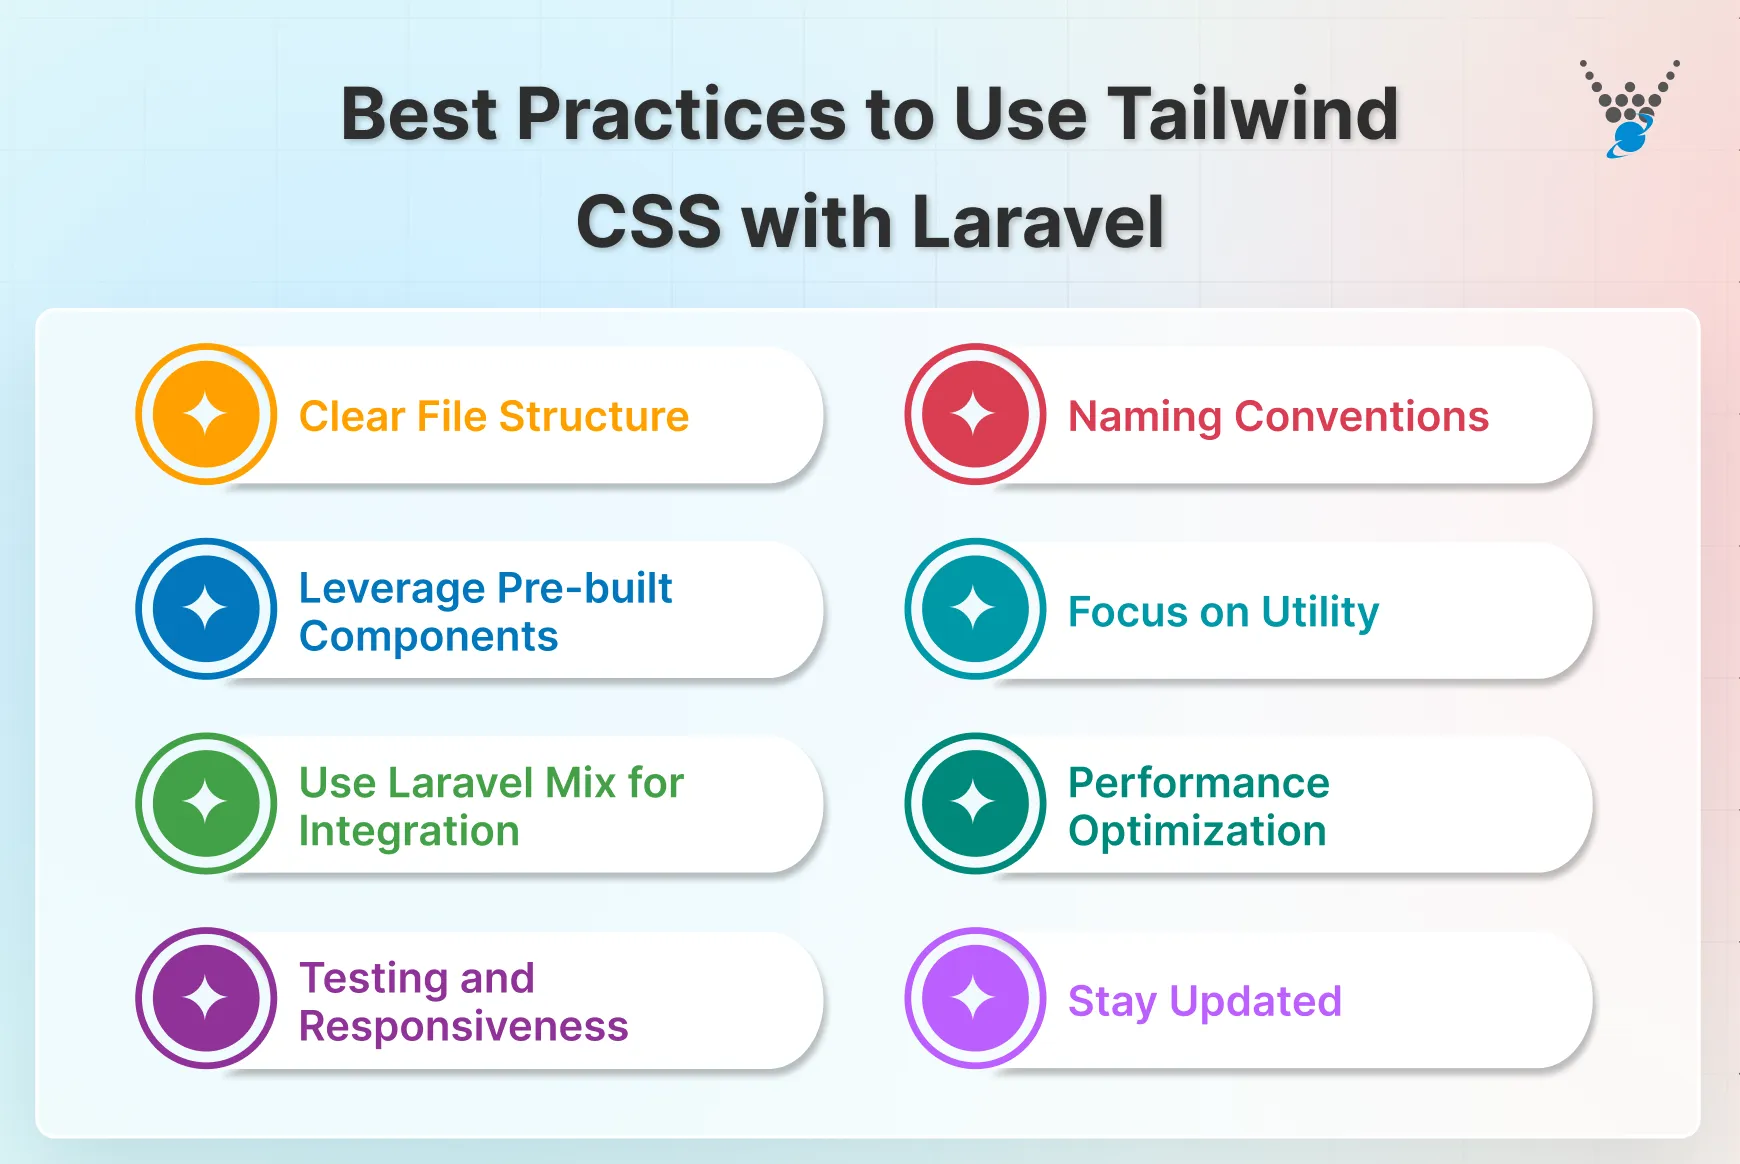
Using Tailwind CSS, you can build beautiful web pages, but that’s not it. To leverage your full potential, you also need to follow the best practices for using Tailwind with Laravel. This practice includes practices as below:
- Clear File Structure: Maintain a well-organized project structure. Consider separating custom Tailwind configurations and utility classes into dedicated files for better maintainability.
- Naming Conventions: Establish clear naming conventions for your custom Laravel Tailwind classes to avoid conflicts and improve readability. Prefixes or namespaces can help differentiate your custom styles from Tailwind’s core classes.
- Leverage Pre-built Components: Explore Tailwind UI, a collection of pre-built Tailwind components. This can save you development time while ensuring a consistent design language throughout your application.
- Focus on Utility: While it allows some basic customization, its core strength lies in combining atomic classes to achieve the desired styles. Focus on leveraging this utility-based approach for efficient development.
- Use Laravel Mix for Integration: Tailwind integrates well with Laravel Mix, a popular tool for building and compiling assets. Utilize Laravel mix to automate Tailwind’s build process and optimize your application’s performance.
- Performance Optimization: While Tailwind is lightweight, minimize using classes that might generate unnecessary CSS. Consider purging unused classes during production builds using Tailwind’s PurgeCSS integration.
- Testing and Responsiveness: Always test your UI components and layouts across different screen sizes and devices. Tailwind’s responsive utilities make this easy, but ensure your application adapts seamlessly to various user experiences.
- Stay Updated: Tailwind CSS is constantly evolving. Keep yourself updated with the latest features and best practices to leverage the framework’s full potential.
By following these best practices, you can streamline your Laravel website with Tailwind CSS.
Final Summary
Tailwind CSS offers a refreshing approach to styling Laravel applications. By using Tailwind’s utility-first approach, you can ease your styling process and keep a consistent design across your project. Its extensive library of classes empowers you to achieve beautiful designs, maintaining clean and responsive layouts.
Remember, the possibilities are vast. Keep learning, experiment, and embrace the ever-evolving Laravel Tailwind ecosystem to craft exceptional web applications with Laravel.
If you want the same for your site, hire Laravel developers to build beautiful and robust sites efficiently.
FAQs on Integrating Laravel with Tailwind CSS
Can I customize the colors and styles in Tailwind CSS?
Yes, Tailwind CSS allows for full customization of colors, fonts, and styles through its configuration file. You can add your own custom classes with specific styles or modify the existing classes to match your design preferences.
What makes Tailwind CSS a good choice for creating beautiful pages?
Tailwind CSS is a great choice for designing beautiful pages because it provides a set of utility classes that can be easily added to HTML elements. This allows for a highly customizable design without the need to write custom CSS code.
What is PurgeCSS, and why do I need it?
PurgeCSS is a tool that removes unused CSS from your final build. When using Tailwind CSS, PurgeCSS is essential for reducing the size of your CSS files by eliminating classes that are not used in your HTML, Blade templates, or JavaScript.
Want Stunning Laravel Pages with Tailwind CSS?
Create beautiful, responsive Laravel pages powered by Laravel Tailwind CSS. Our experts can help you design visually appealing layouts that are fast, modern, and user-friendly.


