Quick Summary
This guide provides a systematic approach to building a REST API in Laravel. You’ll learn to set up a new project, design models and migrations, and create controllers with robust validation. We cover securing endpoints with Laravel Sanctum for token-based authentication, structuring consistent JSON responses using API Resources, and implementing essential testing to ensure a scalable, production-ready API.
Table of Contents
Let’s say you have a company website and a mobile app, both of which need access to the same user data. Acting as an intermediary and following to a set of rules, a REST API enables different applications to request and exchange data seamlessly.
Laravel is an excellent platform for creating REST API using Laravel. It offers an expressive syntax and several powerful built-in features, including the Eloquent ORM and resource classes, which streamline the entire process.
So this guide will break down how to create REST API using Laravel. That means everything from setup to testing, deployment, and beyond. Let’s start with the basics.
What is REST API?
A REST API is a standardized way for applications to communicate over the web. It uses a set of HTTP requests (like GET, POST, PUT, and DELETE) to fetch, create, update, or delete data.
Unlike traditional APIs, REST APIs are stateless. That means, each request contains all the information needed to process it, improving scalability and performance. Data is typically exchanged in lightweight formats like JSON or XML. That makes REST APIs ideal for web and mobile apps.

Key Concepts of REST API
A well-designed REST API relies on two key concepts that work together for seamless client-server communication.
REST (Representational State Transfer)
REST is an architectural style that defines constraints for creating web services. Key principles include:
- Statelessness: Each request contains all necessary data; the server doesn’t store session information.
- Client-Server Separation: Frontend and backend operate independently, improving scalability.
- Uniform Interface: Standardized communication using HTTP methods (GET, POST, PUT, DELETE).
- Cacheability: Responses can be cached to improve performance.
- Layered System: Intermediary servers (like load balancers) can enhance security and scalability.
API (Application Programming Interface)
An API defines how different software components interact. In REST APIs:
- Endpoints (URLs): Act as access points for resources (e.g., /api/users).
- HTTP Methods: Perform actions on resources:
- GET: Retrieve data.
- POST: Create data.
- PUT/PATCH: Update data.
- DELETE: Remove data.
- Status Codes: Indicate request outcomes (e.g., 200 OK, 404 Not Found).
- Request/Response Formats: Typically JSON or XML for structured data exchange.
Imagine it as a standardized language that allows applications to request and exchange information.
How Does REST API Work?
A REST API operates as an intermediary between a client (like a web or mobile app) and a server. It enables seamless data exchange over HTTP. Here’s how it functions.
Client Sends a Request
The process begins when a client makes an HTTP request to a specific API endpoint (URL). This request includes:
- HTTP Method: Defines the action (GET, POST, PUT, DELETE).
- Headers: Carry metadata (e.g., authentication tokens, content type).
- Body (Optional): Contains data for POST/PUT requests (usually in JSON or XML).
Server Processes the Request
The server receives the request, validates it, and performs the required operation. Like, querying a database, updating records, or deleting data.
Server Sends a Response
The API returns an HTTP response, which includes:
- Status Code: Indicates success (200 OK), failure (404 Not Found), or errors (500 Internal Server Error).
- Response Body: Contains requested data (for GET) or confirmation messages (for POST/PUT/DELETE).
- Headers: Provide additional context (e.g., caching directives).
Client Handles the Response
The client application (e.g., a frontend or mobile app) interprets the response and updates the user interface accordingly. That involves displaying data, confirming actions, or handling errors.
By adhering to REST principles, APIs ensure stateless, scalable, and standardized communication.
Prerequisites & Setting Up Laravel for REST API
Before you begin with the Laravel REST API tutorial, there are a few prerequisites to consider. Make sure you have the following installed and running on your local machine:
- PHP (>= 8.0)
- Composer (Dependency Manager for PHP)
- MySQL (or another supported database like PostgreSQL or SQLite)
Another important thing to do is to set up a new Laravel project.
Create the Project
Open your terminal and run the following Composer command to create a new Laravel application. Replace my-api with your desired project name.
composer create-project laravel/laravel my-api
Navigate to the Project Directory
After creating the project, navigate to the directory:
cd my-api
Configure Your Environment
Laravel uses a .env file for environment-specific configuration. Rename the existing .env.example file to .env and generate an application key.
php artisan key:generate
Configure the Database
Open the .env file and update the database configuration settings to match your local MySQL setup.
DB_CONNECTION=mysql
DB_HOST=127.0.0.1
DB_PORT=3306
DB_DATABASE=your_database_name
DB_USERNAME=your_mysql_username
DB_PASSWORD=your_mysql_password
Test the Installation
Start the Laravel development server to confirm everything is working.
php artisan serve
Visit http://localhost:8000 in your browser. You’ll see the default welcome page of Laravel. Your project foundation is now ready for API development.
How to Create REST APIs Using Laravel?
Building a REST API in Laravel is a structured process that leverages the framework’s powerful tools and features. We’ll create a simple API in Laravel for a Post resource to illustrate the core steps.
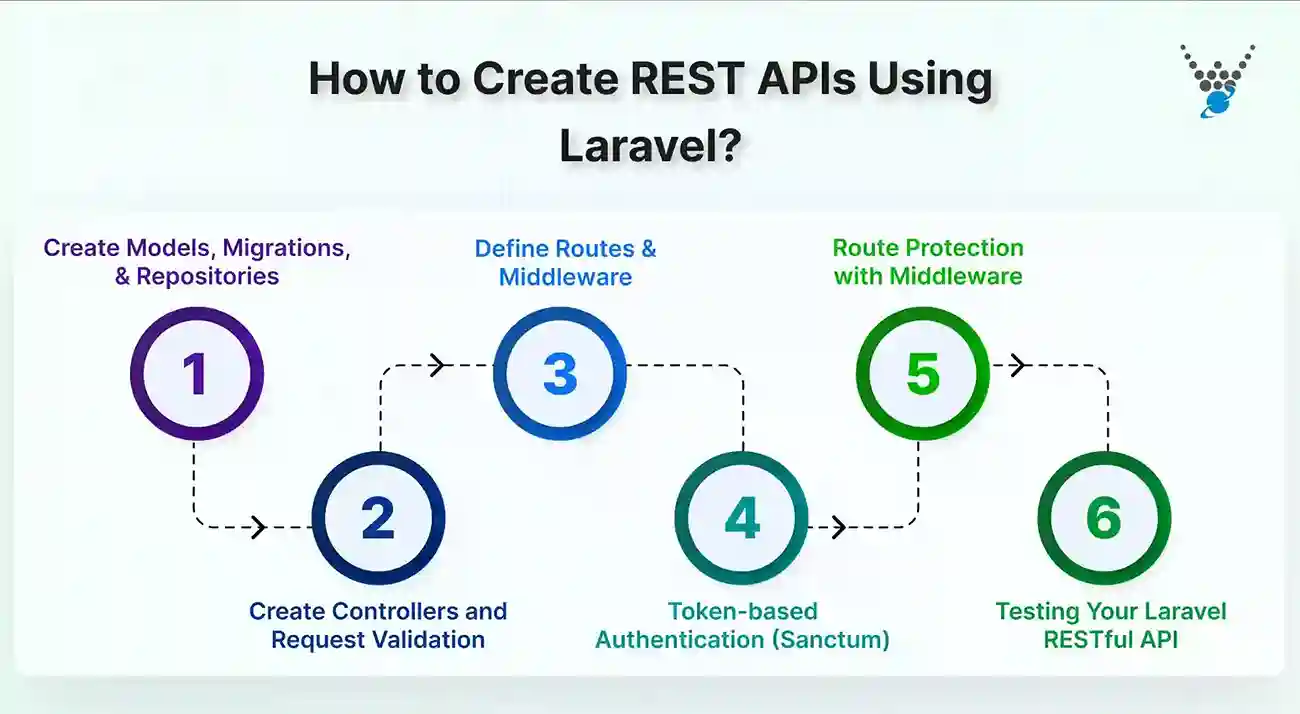
Step 1: Create Models, Migrations, & Repositories
This step of the process is meant to define the data structure for your project.
Model & Migration
A Model is a PHP class that interacts with your database table. And Migration resembles your database schema’s version control. Generate both simultaneously using Artisan:
php artisan make:model Post -m
This creates a Post.php model in the app/Models directory and a migration file in database/migrations.
Define the Schema
Open the newly created migration file. In the up() method, define the table structure.
// In your migration file
public function up()
{
    Schema::create('posts', function (Blueprint $table) {
        $table->id();
        $table->string('title');
        $table->text('content');
        $table->timestamps(); // Creates 'created_at' and 'updated_at'
    });
}
Run the migration to create the table in your database:
php artisan migrate
Repositories (Optional but Recommended)
Repositories encapsulate the logic for retrieving data, acting as a bridge between your model and controller. This keeps your controllers thin and your code testable.
You can create a PostRepository class in app/Repositories that handles all database interactions like getAll(), findById($id), create($data), etc.
Step 2: Create Controllers and Request Validation
Controllers handle the incoming HTTP requests and return responses.
API Resource Controller
Create a controller specifically designed for API responses.
php artisan make:controller Api/PostController --api
The –api flag generates a controller with methods for a typical REST API: index, store, show, update, and destroy (but no create or edit).
Implement Logic
In the PostController, use your Model (or Repository) to perform actions.
// PostController.php
public function index()
{
    return Post::all(); // Returns all posts as JSON
}
public function store(Request $request)
{
    $post = Post::create($request->all());
    return response()->json($post, 201); // HTTP 201 Created
}
Request Validation
Never trust user input. Laravel provides a robust way to validate incoming requests.
Create a Form Request for more complex validation:
php artisan make:request StorePostRequest
Define rules in the authorize() and rules() methods of the generated StorePostRequest class.
public function rules()
{
    return [
        'title' => 'required|string|max:255',
        'content' => 'required|string',
    ];
}
Then, type-hint this request in your controller:
public function store(StorePostRequest $request)
{
    // The request is already validated at this point
    $post = Post::create($request->validated());
    return response()->json($post, 201);
}
Step 3: Define Routes & Middleware
Routes map API endpoints (URLs) to controller methods. Middleware provides a layer of security and functionality.
API Routes
Define your endpoints in routes/api.php. Laravel automatically prefixes these routes with /api.
// routes/api.php
use App\Http\Controllers\Api\PostController;
Route::apiResource('posts', PostController::class);
The single apiResource method generates all the necessary routes for a RESTful resource:
- GET /api/posts → PostController@index
- POST /api/posts → PostController@store
- GET /api/posts/{id} → PostController@show
- PUT/PATCH /api/posts/{id} → PostController@update
- DELETE /api/posts/{id} → PostController@destroy
Middleware
Middleware acts on the request before it reaches your controller. Laravel’s API middleware group, applied by default in routes/api.php. That includes essential middleware like throttle for rate-limiting and ensures responses are returned as JSON.
For authentication, you would add a middleware like auth:sanctum to protect specific routes.
Route::apiResource('posts', PostController::class)->middleware('auth:sanctum');
By following these steps, you establish a clean, secure, and maintainable foundation for your Laravel REST API.
Step 4: Token-based Authentication (Sanctum)
For most single-page applications, mobile apps, and simple token-based APIs, Laravel Sanctum is the clear, recommended choice.
Install Sanctum
First and foremost, you install Sanctum on your Laravel project.
composer require laravel/sanctum
php artisan vendor:publish --provider="Laravel\Sanctum\SanctumServiceProvider"
php artisan migrate
Add the Middleware
Ensure your user model uses the HasApiTokens trait.
use Laravel\Sanctum\HasApiTokens;
class User extends Authenticatable
{
    use HasApiTokens, ...;
}
Create a Token
A user can authenticate by providing their credentials to a login endpoint. Upon verification, you issue a token.
// In your AuthController
if (Auth::attempt($credentials)) {
    $user = Auth::user();
    $token = $user->createToken('auth-token')->plainTextToken;
    return response()->json(['token' => $token]);
}
The client must then send this token in the Authorization header for subsequent requests: Authorization: Bearer <your_token>.
Integrate Laravel Passport for complex OAuth2 flows, like if you’re building a 3rd-party login service.
Step 5: Route Protection with Middleware
Once you have tokens, you must protect your routes.
Apply Auth Middleware
In your routes/api.php file, apply the auth:sanctum middleware to any routes that require a valid user token.
// Protect all routes in a group
Route::middleware('auth:sanctum')->group(function () {
    Route::apiResource('posts', PostController::class);
});
// Or protect individual routes
Route::get('/user', function (Request $request) {
    return $request->user();
})->middleware('auth:sanctum');
Here’s how it works.
When a request hits a protected route, the middleware automatically validates the token in the Authorization header. If the token is invalid or missing, Laravel will automatically return a 401 Unauthorized response. It prevents access to the controller logic.
Step 6: Testing Your Laravel RESTful API
Rigorous testing ensures your Laravel API is reliable and behaves as expected. You can follow a detailed breakdown in create and test an API in Laravel, which walks through step-by-step testing methods for endpoints and responses.
Manual Testing with Postman
Postman is an essential tool for manually interacting with your API during development.
- Create a Collection: Group your API endpoints (e.g., Posts API) for organized testing.
- Define Requests: For each endpoint (GET /api/posts, POST /api/posts, etc.), set the correct HTTP method, URL, and headers.
- Handle Authentication: If your routes are protected, set the Authorization header to Bearer <your_token> in the Headers tab of Postman.
- Test Request & Response: Send JSON payloads in the Body tab (raw > JSON) for POST/PUT requests and verify the status codes and response structure you receive.
This process allows you to quickly debug endpoints and confirm their behavior before writing automated tests.
Automated Testing with PHPUnit
Laravel includes PHPUnit, one of the best PHP testing frameworks available. With it, you can write tests that automatically verify your API’s functionality.
- Create a Test: Generate a feature test for your API.
php artisan make:test PostApiTest
- Write Test Cases: In the generated tests/Feature/PostApiTest.php file, write methods to test critical behaviors.
public function test_can_get_all_posts()
{
    // Create sample posts in a test database
    $posts = Post::factory(3)->create();
    // Hit your API endpoint
    $response = $this->getJson('/api/posts');
    // Assert the expected HTTP status and JSON structure
    $response->assertStatus(200)
             ->assertJsonCount(3, 'data');
}
public function test_cannot_create_post_without_auth()
{
    $response = $this->postJson('/api/posts', []);
    $response->assertStatus(401); // Unauthorized
}
- Run the Tests: Execute your tests from the command line.
php artisan test
Automated tests act as a safety net, catching regressions instantly whenever you make changes to your codebase.
Standardized Response Structure
Make sure to return a uniform structure for both success and error messages, rather than ad-hoc responses. You can achieve this by creating a helper trait or using consistent formatting in your controllers.
Here’s an example of a “Success” response.
{
  "data": {
    "id": 1,
    "title": "My Post"
  },
  "message": "Post retrieved successfully."
}
Here’s an example for an “Error” response.
{
  "message": "The given data was invalid.",
  "errors": {
    "title": ["The title field is required."]
  }
}
This consistency allows clients to reliably parse results, status messages, and validation errors.
Using Laravel API Resources
API Resources are a way to transform your models and collections into JSON. Then you will have complete control over the output.
Create a Resource
Generate a resource class for your Post model.
php artisan make:resource PostResource
Define the Data Structure
In the generated app/HTTP/Resources/PostResource.php file, specify exactly which model attributes to expose in the toArray method.
public function toArray($request)
{
    return [
        'id' => $this->id,
        'title' => $this->title,
        'content' => $this->content,
        'published_at' => $this->created_at->toISOString(),
    ];
}
Use the Resource in Your Controller
Return a new resource for a single item, or use the collection method for multiple items.
use App\Http\Resources\PostResource;
public function index()
{
    return PostResource::collection(Post::all());
}
public function show(Post $post)
{
    return new PostResource($post);
}
By using API Resources, you decouple your database structure from your public API response. That ensures you can change your internal models without breaking the contract with your API consumers.
You can use API resources to decouple your database structure from your public API response. That ensures you can change your internal models without breaking the contract with your API consumers.
So, want help with creating the RESTful API in Laravel? Then the best way forward is to consult with a professional Laravel development company.
Advanced Features of Laravel REST API
Elevate your Laravel API from functional to robust and production-ready by implementing these advanced features.
Queued Jobs for Async Tasks
Improve performance for slow operations by moving them to a queue – or by leveraging Laravel events and listeners to trigger background tasks such as sending email or processing images when specific actions occur.
Create a Job
First, you need to create a job. Then you can dispatch it.
php artisan make:job ProcessPodcast
Dispatch the Job
In your controller, instead of running the task immediately, dispatch it to run in the background.
ProcessPodcast::dispatch($podcast); // Returns an immediate response
The user gets a fast response while the heavy task processes asynchronously.
Rate Limiting
Protect your Laravel API from abuse and excessive use by limiting the number of requests a user can make, while using the Laravel Notification System to alert users or admins when thresholds are exceeded or unusual activity occurs.
Apply a Throttle
In your routes/api.php file, use the throttle middleware. The example below allows 60 requests per minute per user.
Route::middleware('throttle:60,1')->group(function () {
    // Your API routes here
});
Laravel will automatically return a 429 Too Many Requests response with appropriate headers when the limit is exceeded.
API Key Authentication
For server-to-server communication, a simple API key can be effective.
Create a Middleware
Generate a middleware to check for a valid API key.
php artisan make:middleware VerifyApiKey
Validate the Key
In the middleware’s handle method, check the request header against a key stored in your .env file.
if ($request->header('X-API-KEY') !== config('app.api_key')) {
    return response()->json(['message' => 'Invalid API Key'], 401);
}
Apply this middleware to any routes that require a key.
Generating API Documentation
Automatically generate interactive documentation from your code, keeping it always in sync.
Use a Tool like Scribe
Install a package like Scribe via Composer.
composer require --dev knuckleswtf/scribe
Generate Docs
Add annotations to your controllers or use a configured strategy, then run the Artisan command.
php artisan scribe:generate
This creates a clean, web-based documentation page that lists all your endpoints, parameters, and allows for live testing.
Why Use Laravel for Creating REST APIs?
Laravel is a popular PHP framework known for its elegant syntax, developer-friendly features, and robust ecosystem. When it comes to creating RESTful APIs, Laravel offers several advantages:
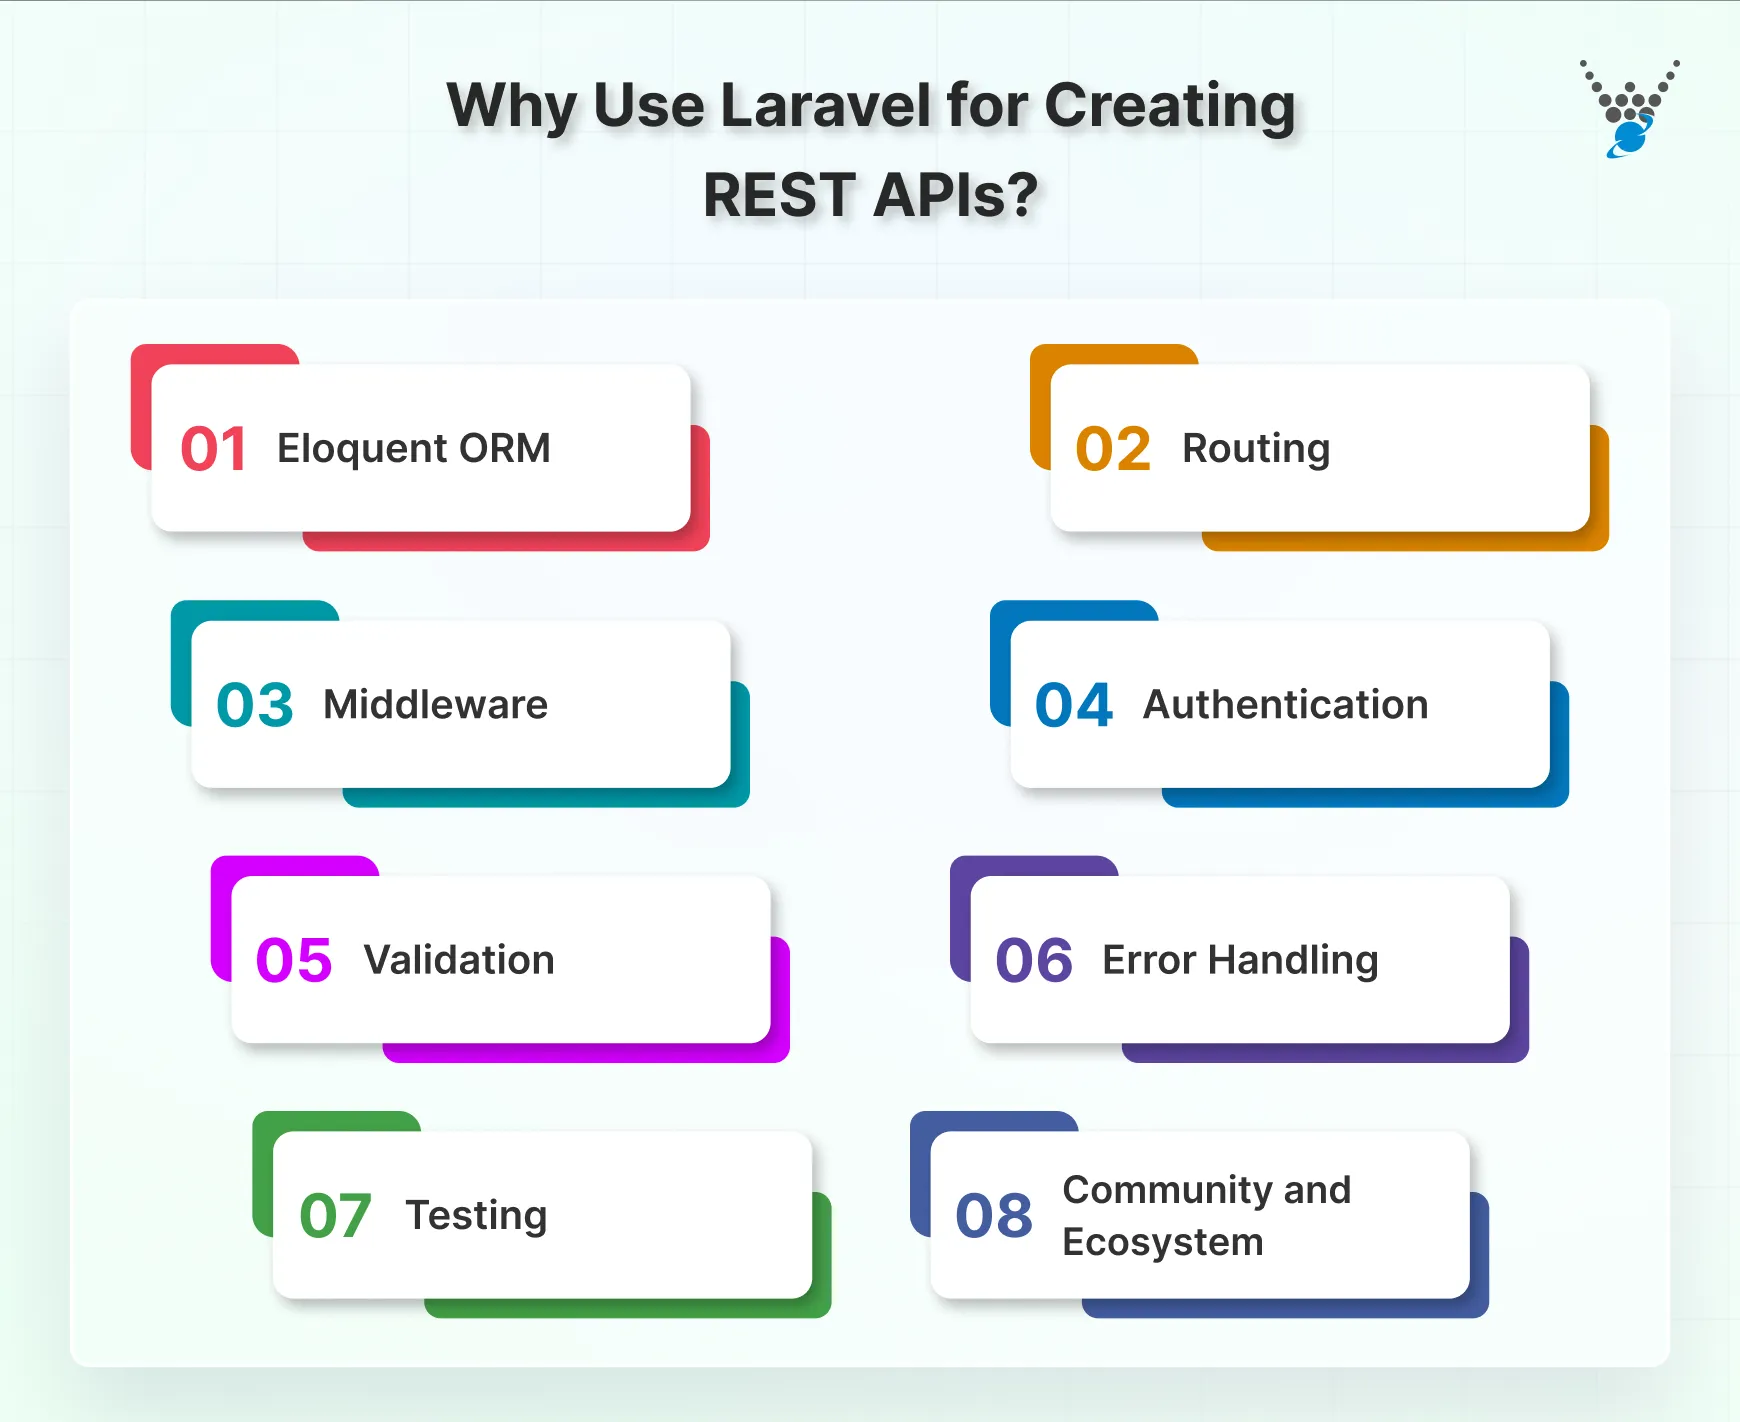
Eloquent ORM
Laravel ORM Eloquent tactics simplify database interactions by allowing developers to work with database objects using a fluent, expressive syntax. This makes it easier to query and manipulate data, reducing the amount of boilerplate code needed.
Routing
Laravel routing allows developers to define API routes using a concise and expressive syntax. From setting up simple web forms like create contact form using Laravel to building complex RESTful APIs, this approach ensures clean, maintainable routes across your applications.
Middleware
Middleware in Laravel allows you to filter HTTP requests entering your application. This can be useful for tasks such as authentication, authorization, and request preprocessing. They are essential for building secure and efficient REST APIs.
Authentication
Laravel provides built-in support for API authentication using tokens, making it easy to secure your API endpoints. Additionally, Laravel Passport, a OAuth2 server implementation, provides a full authentication system out of the box.
Validation
Laravel makes input validation simple with its intuitive validation features. You can easily validate incoming request data using Laravel’s validation rules, ensuring that your API endpoints receive valid data.
Error Handling
Laravel provides a consistent and easy-to-use error handling mechanism. So you can handle exceptions gracefully and return informative error responses to API clients.
Testing
Laravel comes with built-in support for testing, allowing you to write automated tests for your API endpoints. This helps ensure that your APIs are reliable and function as expected.
Community and Ecosystem
Laravel has a large and active community, which means there are plenty of resources, tutorials, packages, and extensions available to help you build and maintain your RESTful APIs.
It streamlines the development process, enforces best practices, and offers a supportive community. That makes it an excellent choice for your next API project.
Let’s Summarize
With Laravel, you can build more than just a set of endpoints. It entails you following everything from initial setup with Composer and MySQL to implementing robust security with Sanctum. There are also standardized responses with API resources.
Make sure to adhere to the Laravel best practices, like structured validation, meticulous testing, queues, rate limiting, and more. That ensures your REST API is not only functional but production-ready.
With this foundation, your application can serve data seamlessly to any client, from mobile apps to frontend frameworks. That forms a reliable core for your digital ecosystem. If you want help to create a RESTful API using Laravel, connect with our Laravel developers for hire today!
FAQs on Creating Laravel REST APIs
How do I handle CORS (Cross-Origin Resource Sharing) in Laravel APIs?
Configure allowed origins, methods, and headers in config/cors.php. For security, specify trusted domain names instead of using a wildcard (*).
How can I implement API versioning in Laravel?
Prefix your routes with a version like /api/v1/. Organize controllers into corresponding folders (e.g., Http/Controllers/Api/V1) to safely manage changes without breaking existing clients.
What’s the best way to manage file uploads in Laravel APIs?
Use the $request->file() method in your controller and the Storage facade to save files. Always validate file types and sizes in your form request to ensure security and prevent errors.
How should API keys and tokens be managed securely?
Store all keys in your .env file, never in code. Use Laravel Sanctum or Passport for token management, which includes built-in abilities to revoke tokens if they are compromised.
How can I optimize my API’s performance and response speed?
Use Laravel’s caching for frequent queries, implement pagination on large results. Use Eager Loading to prevent the N+1 query problem, which dramatically slows down responses.
How do I enforce HTTPS and other advanced security controls?
You can force HTTPS by setting up a middleware that redirects all HTTP traffic. For production, configuring your web server (like Nginx or Apache) to handle HTTPS is the most common and secure method.
What tools can I use to generate API documentation for Laravel?
Packages like Scribe and Laravel API Documentation Generator can automatically create clean, interactive docs by reading your codebase and route definitions.