
Quick Summary
Learn how to install Laravel the right way using Composer on Windows, macOS, and Linux. This guide covers prerequisites, step-by-step installation, and why Composer is the go-to tool for a stable, secure setup. You’ll also discover the key differences between Composer and Laravel Installer, helping you choose the best option for your workflow. Simple steps, expert tips, and best practices, everything you need to start your Laravel project confidently.
Table of Contents
For any Laravel-based web application, you need a strong core foundation before anything else. Installing Laravel correctly is crucial for using its capabilities effectively, and one of the best ways to do this is to install Laravel via Composer.
This package manager handles all of Laravel’s intricate dependencies seamlessly, ensuring your installation is complete, up-to-date, and secure.
This blog explores how to install Laravel via Composer on Windows, macOS, and Linux. But first, let’s take a look at the benefits of using Composer for Laravel installation and the prerequisites you need to take care of. Let’s begin.
Why Use Composer to Install Laravel?
Composer is a dependency management tool for PHP. With this PHP development tool, you can manage the libraries and packages on which your Laravel project depends. It simplifies the process of adding, updating, and managing external libraries. So your project has the correct versions of these dependencies.
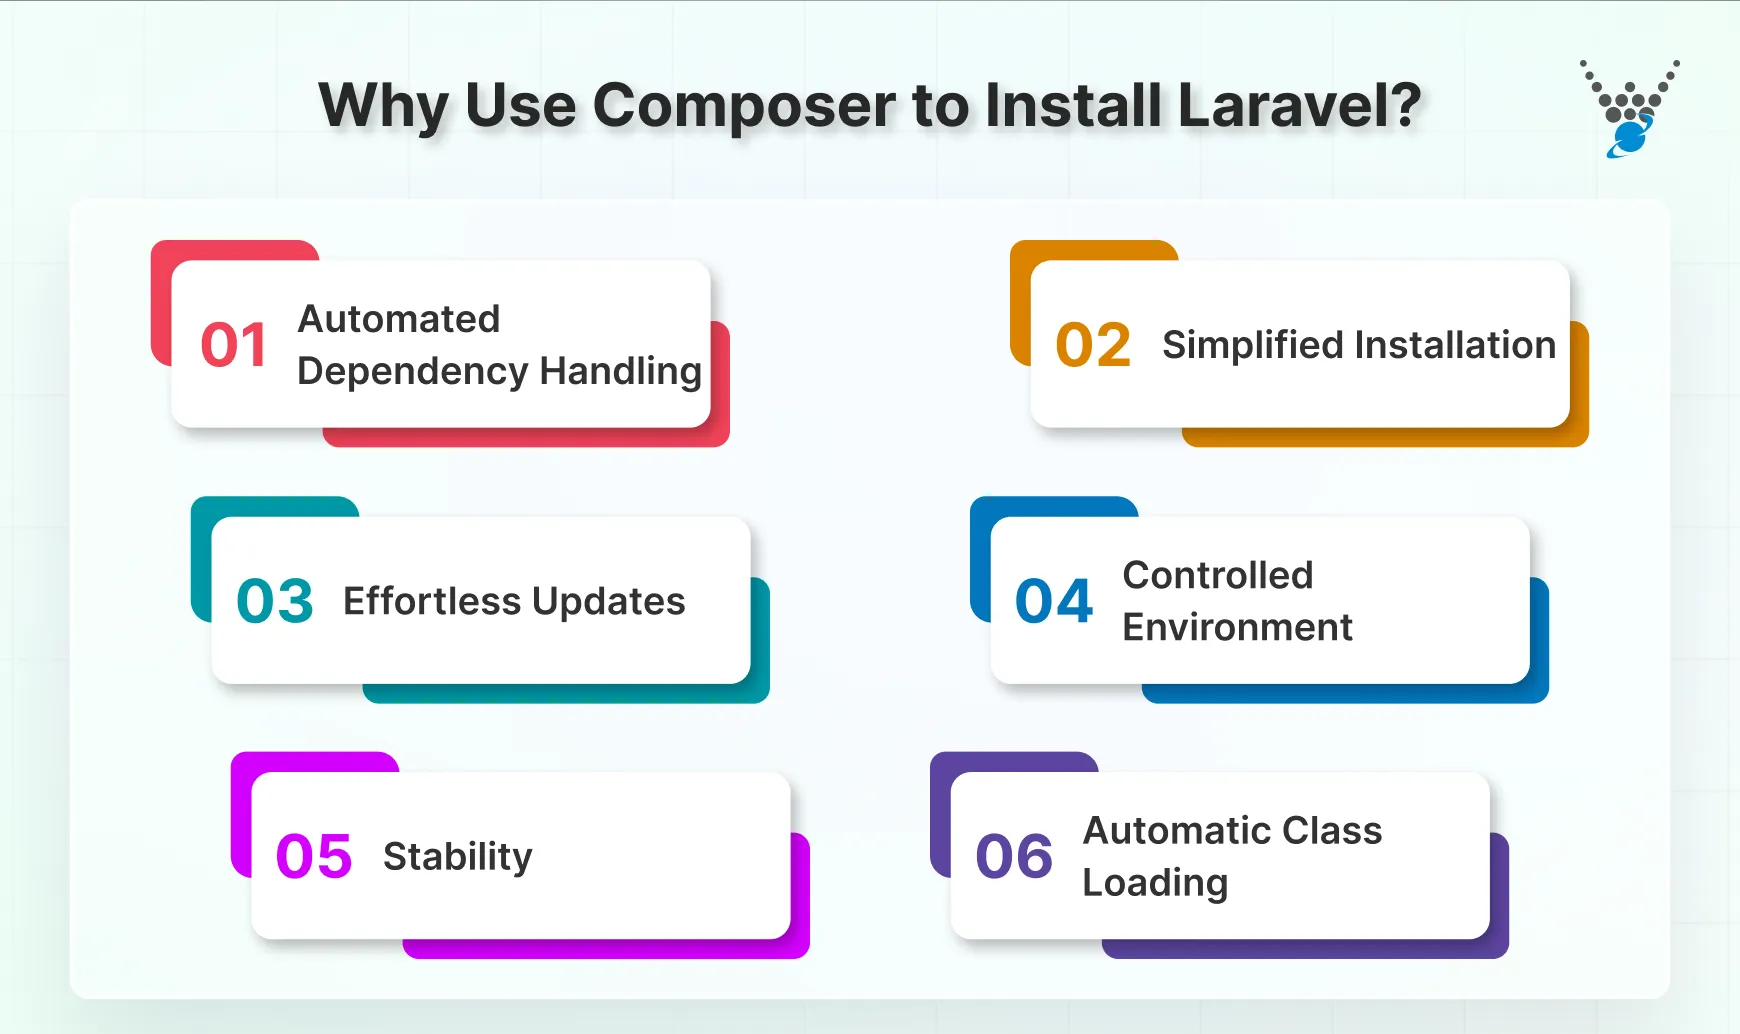
Let’s look at a few reasons to use Composer to install Laravel.
Automated Dependency Handling
Laravel relies on various third-party libraries and packages to function. Composer automatically manages these dependencies, ensuring that all required libraries are installed and correctly configured. This eliminates the need to manually download and manage individual packages.
Simplified Installation
With Composer, installing Laravel is as simple as running a single command. Composer handles the download of the Laravel framework, along with all its dependencies, and sets up the project structure for you.
Effortless Updates
Composer makes it easy to keep Laravel and its dependencies up to date. By running the composer update command, you can update Laravel to the latest version. Keeping Laravel updated ensures that your project benefits from the latest features and security patches.
Controlled Environment
It allows you to specify the exact version of Laravel you want to install. This ensures consistency across different environments (development, staging, production) and among developers working on the same project.
Stability
You can lock dependencies to specific versions via the composer.lock file. This allows you to ensure that your project remains stable, even when newer versions of packages are released.
Automatic Class Loading
It generates an autoload file that automatically loads the necessary classes and files in your Laravel project. This feature simplifies the development process by reducing the need to require files manually.
Installing via Composer is not just an installation step—it is the foundational investment for your project’s entire lifecycle.
Installing Laravel with Composer on Windows
Before moving on to the Laravel installation using Composer on Windows, take care of the prerequisites.
Prerequisites
PHP Version
Laravel requires PHP 8.1 or higher. You can install PHP by downloading it from the official PHP website.
Download and Install Composer
Download Composer from the official Composer website and run the installer. To verify that installation is completed, open the Command Prompt and run:
composer -v
Web Server
Install a local web server like XAMPP or WAMP, which comes with Apache, PHP, and MySQL. If you want to use Laravel’s built-in server, you can run the command:
php artisan serve
How to Install?
Step 1: Open the command prompt and navigate to the directory where you want to create your Laravel project:
cd path\to\your-directory
Step 2: Run the following command to create a new Laravel project:
composer create-project --prefer-dist laravel/laravel project-name
Step 3: Once the installation is completed, go to the newly created project directory:
cd project-name
Step 4: To start the built-in development server to verify your Laravel installation, run the command:
php artisan serve
Open your browser and navigate to http://localhost:8000 to see the Laravel welcome page. With this, we have successfully completed Laravel Composer install on Windows.
Step-by-Step Laravel Installation on macOS Using Composer
Before moving on to the Laravel installation using Composer on macOS, take care of the prerequisites.
Prerequisites
PHP Installation
macOS often comes with PHP pre-installed. However, you may need to upgrade to a version that meets Laravel’s requirements using Homebrew:
brew install php
To verify the installation, open the terminal and run the following:
php -v
php -m
Composer Installation
You can install Composer globally using the following command in terminal:
curl -sS https://getcomposer.org/installer | php
sudo mv composer.phar /usr/local/bin/composer
To verify Composer is installed, run the command:
composer -v
Web Server
macOS includes a built-in Apache server. To start using it, you can run the command:
sudo apachectl start
Alternatively, you can install MAMP, which includes Apache, PHP, and MySQL.
How to Install?
Step 1: Navigate to the directory where you want to create the Laravel project:
cd /path/to/your-directory
Step 2: To create a new new Laravel project, run the command:
composer create-project --prefer-dist laravel/laravel project-name
Step 3: Now, go to the newly created project directory:
cd project-name
Step 4: To start the Laravel’s built-in server, you can run the command:
php artisan serve
Once done, visit http://localhost:8000 in your browser to check if the Laravel installation is completed or not. If it’s successful, you will see a welcome page.
Composer-Based Laravel Setup on Linux
Before moving on to the Laravel installation using Composer on Linux, take care of the prerequisites.
Prerequisites
PHP Installation
Depending on your Linux distribution, install PHP 8.1 or higher. For example, how to install Laravel on Ubuntu:
sudo apt-get update
sudo apt-get install php php-cli php-mbstring php-xml php-pdo php-json php-tokenizer php-bcmath
To verify the installation, open the terminal and run the following:
php -v
php -m
Composer Installation
Use the following commands to install Composer globally:
curl -sS https://getcomposer.org/installer | php
sudo mv composer.phar /usr/local/bin/composer
To verify Composer is installed on your Linux OS, run the command:
composer -v
Web Server
You can install Apache or Nginx to configure a web server.
- For installing Apache, run the command:
sudo apt-get install apache2
- For installing Nginx, the command:
sudo apt-get install nginx
How to Install?
Step 1: Navigate to the directory where you want to create your Laravel project:
cd /path/to/your-directory
Step 2: Run the following command to create a new Laravel project:
composer create-project --prefer-dist laravel/laravel project-name
Step 3: Navigate to your project directory where you created the new project; here is how:
cd project-name
Step 4: Start the development server by running:
php artisan serve
After finishing, open your web browser and go to http://localhost:8000; if you see the Laravel welcome page, your composer install Laravel process is completed. Now that you’ve installed Laravel with Composer, you might need expert help to build a high-performance application. For that, you can consult with our Laravel development company.
Composer vs Laravel Installer: Which One to Use?
When you set up a new Laravel project, you’ll likely choose between Composer and the Laravel Installer. Both work well, but they serve different purposes. Picking the right one depends on your workflow and priorities.
Composer: Reliable and Consistent
Composer is the standard way most developers install Laravel.
- It works the same on every system.
- A single command sets up Laravel with all required dependencies.
- You always get the latest stable version of Laravel.
- It avoids version conflicts between different machines.
Because of its consistency, teams and professional developers often rely on Composer. It gives you a clean, fresh installation every time without depending on local tools.
Laravel Installer: Fast and Handy
The Laravel Installer acts like a shortcut.
- You install it once on your system.
- Creating a new Laravel project then takes seconds.
- It skips some steps and makes setup feel effortless.
But there’s a small trade-off. If the installer itself isn’t updated, it may install an older version of Laravel. That means you have to keep the installer up to date manually.
How to Choose Between the Two?
- Use Composer if you want stability, exact versions, and consistency across your team. It’s ideal for professional projects and long-term development.
- Use Laravel Installer if you want speed and build projects frequently. It’s perfect for quick setups, personal projects, or prototypes.
Simply put, Composer is steady and precise, while Laravel Installer is fast and convenient. Both are useful. The best choice depends on whether your priority is reliability or speed. Many experienced developers even use both.
Best Practices for Managing Laravel Projects with Composer
Composer is a cornerstone of Laravel development, offering efficient dependency management and streamlined package installation — making Laravel Composer install the go-to method for most developers. Here are some best practices to optimize your Laravel projects with Composer:
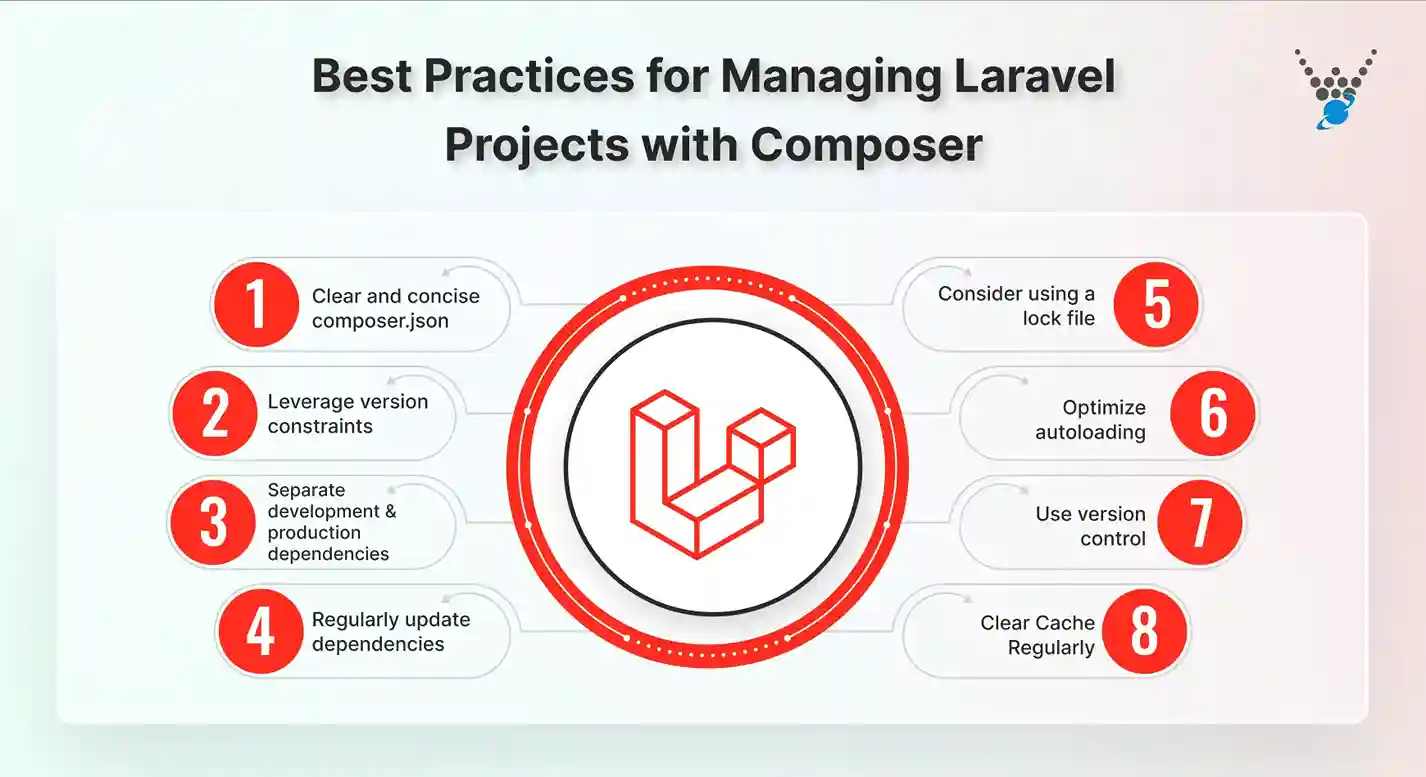
- Clear and concise composer.json: Maintain a well-structured composer.json file, accurately reflecting project dependencies.
- Leverage version constraints: Use appropriate version constraints (^, ~, = operators) to manage dependency versions effectively.
- Separate development and production dependencies: Use the –dev flag when installing packages required only for development (e.g., testing frameworks, code linters).
- Regularly update dependencies: Keep your project up-to-date by regularly running composer update. Be cautious of breaking changes.
- Consider using a lock file: Enable the lock file (composer install –no-dev) to ensure consistent dependency installations across environments.
- Optimize autoloading: Configure Composer’s autoloader efficiently to reduce performance overhead.
- Use version control: Employ Git version control systems to track changes and collaborate efficiently.
- Clear Cache Regularly: If you encounter issues with outdated packages or corrupted files, clear Composer’s cache using:
By following these best practices, you can manage Laravel projects to ensure a stable, secure, and efficient development environment.
Conclusion
Installing Laravel using Composer is a simple and straightforward process. Composer streamlines the process by managing dependencies to ensure you have the right versions of libraries. That makes it a valuable tool for Laravel development.
Every OS has a slight change in the installation process. By fulfilling the required prerequisites, you can begin to install and create websites using Laravel. But if you want to create a highly customized and robust site, hire Laravel developers with us today!
FAQs About Installing Laravel Using Composer
What are the primary methods to install Laravel using Composer?
There are two methods to install Laravel using Composer:
Method 1: Using the Laravel Installer: composer global require laravel/installer followed by laravel new your_project_name.
Method 2: Using the Composer create-project command: composer create-project laravel/laravel your_project_name.
How do I start the Laravel development server after installation?
Navigate to your project directory and run php artisan serve. This will start the development server on http://localhost:8000.
What is the composer.lock file, and why is it important?
The composer.lock file is generated by Composer and contains a list of all the packages and their versions that were installed. It ensures that everyone working on the project has the same versions of dependencies. That helps developers maintain consistency across different environments.


