
Quick Summary
Laravel is a powerful framework for building custom eCommerce stores. This blog shows how to build a professional eCommerce store using Laravel. You’ll learn how to plan your store, define goals, choose tools, design user experience, and follow best practices for code, security, performance, and SEO. It also covers testing, deployment, and integrations with payments or shipping. This will help you create a fast, secure, and scalable online store that meets business needs.
Table of Contents
Running an online store isn’t just about listing products. You need a platform that is fast, secure, and easy to manage. Laravel for eCommerce makes this possible. This popular PHP framework helps developers build custom online stores that fit your business perfectly.
Simply put, eCommerce is selling products or services online. Millions of people shop online every day. That means your website has to be smooth, reliable, and simple to use. A good platform helps manage products, handle payments safely, and give customers a great experience.
In this blog, we’ll show why Laravel is a top choice for building online stores. We’ll explore its key features, benefits, and how it can help you create a professional store that grows with your business. So, let’s begin!
Why Use Laravel for eCommerce?
When it comes to backend technologies, Laravel for eCommerce stands out as one of the best. It combines power, flexibility, and reliability. It offers everything you need to run a professional eCommerce business.
Flexibility and Customization
Every store is unique. Some businesses need a simple catalog, while others require advanced features like subscriptions, multi-vendor setups, or custom checkout flows. Laravel’s modular architecture makes this possible. You can tailor every part of your store to your brand without worrying about breaking future updates.
Security Features
Security breaches can destroy trust in an online store. Laravel helps protect you with built-in features like CSRF protection, password hashing, and input validation. These tools make sure customer data and payments stay safe, giving your business credibility and customers peace of mind.
Scalability and Performance
As your store grows, so does the demand on your platform. Laravel for eCommerce is built to scale, handling traffic spikes and large product inventories without slowing down. Its performance-first design ensures that customers always enjoy a fast, smooth shopping experience. Laravel’s scalability is not limited to online stores — it’s also a great framework for enterprise application development where performance and flexibility matter most.
Rich Package Ecosystem
Laravel offers a wide range of ready-to-use packages, from payment gateways to shopping carts. These tools save development time and reduce costs while still providing professional-grade functionality. To explore tools that simplify your store setup, the Laravel eCommerce package and know how it accelerates store development.
Easy Maintenance
Running an online store also means handling regular updates and repetitive tasks. Laravel’s Artisan console helps automate many of these processes. This reduces manual effort and makes maintaining your store much easier over time.
Active Community and Long-Term Support
A strong global developer community supports Laravel. That means ongoing updates, reliable support, and long-term stability. For business owners, this ensures the platform will stay modern and secure for years to come.
Seamless Integrations
Modern eCommerce relies on tools like email marketing, shipping systems, and CRMs. Laravel makes these integrations simple, so your store works smoothly with the services you already use. If you’re planning to go deeper into customer relationship management, need to build a CRM with Laravel for better sales and support integration.
Simply put, Laravel makes building online stores secure, flexible, and ready to grow. From customization and scalability to security and easy integrations, it offers everything needed for a smooth eCommerce experience.
Planning Your Laravel eCommerce Store
Before you start the development process, we recommend having a clear plan. A well-planned eCommerce store saves time, avoids costly mistakes, and sets you up for long-term success. With Laravel, you get the flexibility to shape your store exactly how you want, but the foundation always starts with planning.
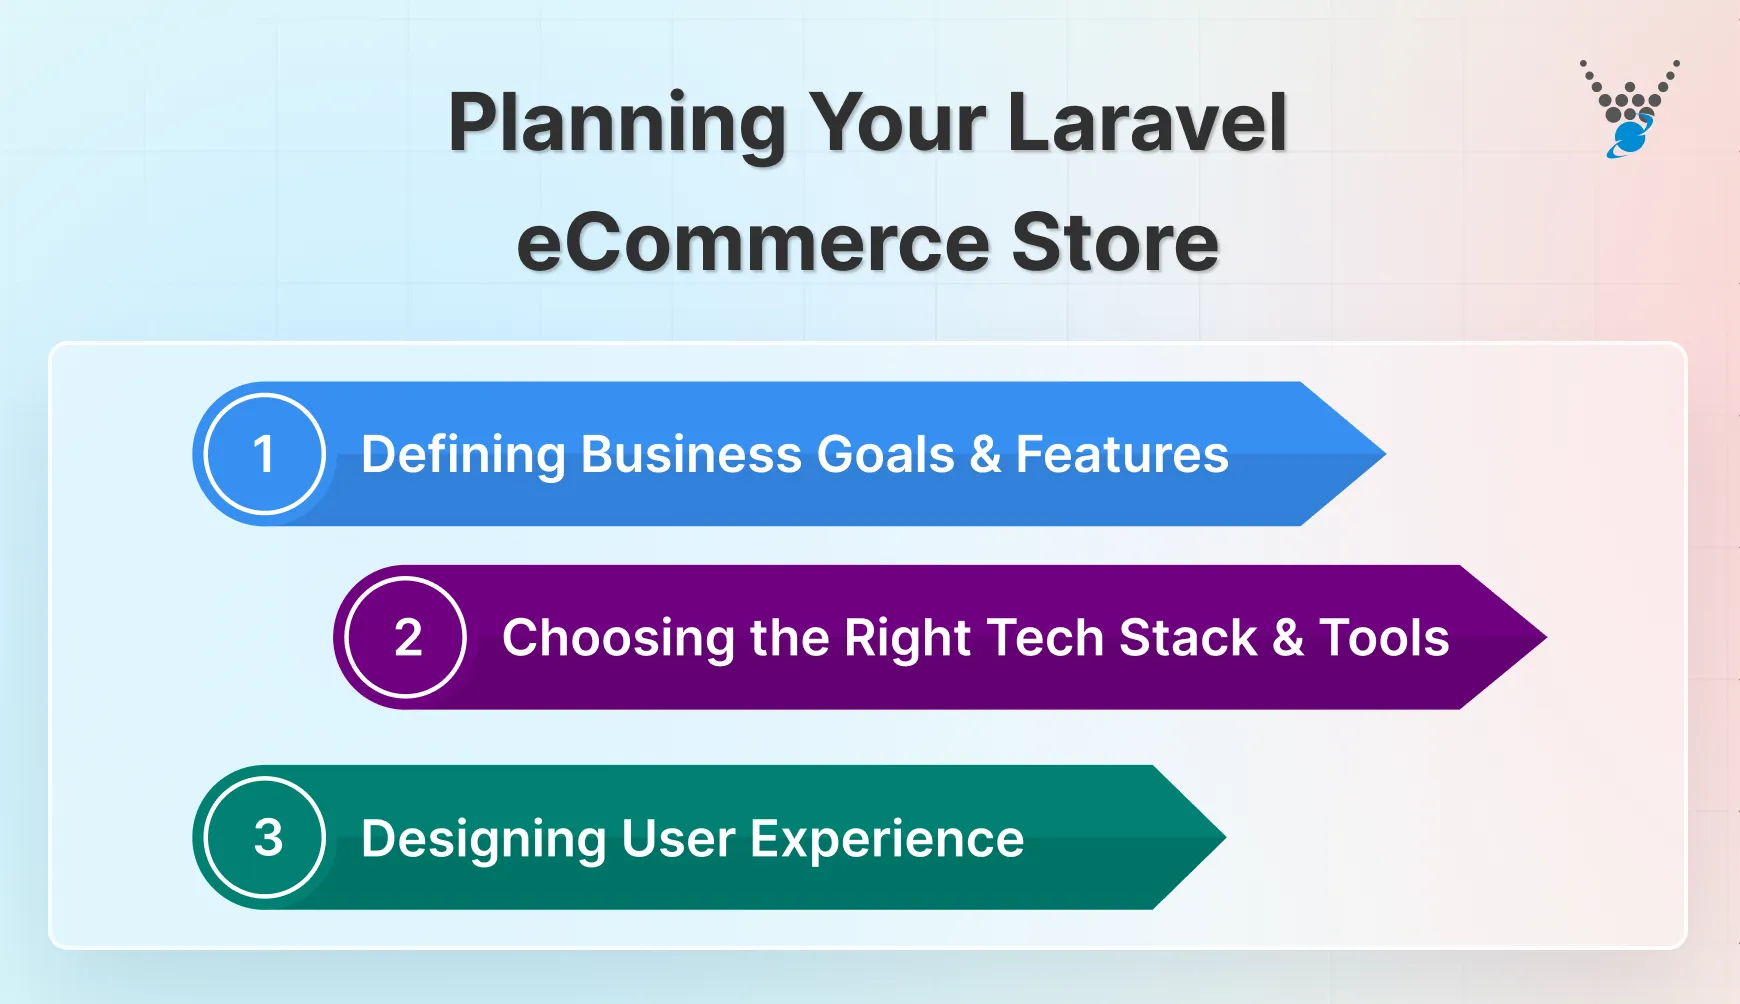
Defining Business Goals and Features
Start by answering what you want your store to achieve. Are you focusing on selling a small set of products, or do you want a marketplace with multiple vendors?
Defining goals early helps you decide what features are essential, such as product catalogs, payment gateways, or subscription models. This clarity keeps your project focused and aligned with your business vision.
Choosing the Right Tech Stack and Tools
Laravel is the core of your backend, but you’ll also need supporting tools. These include databases, payment integrations, hosting services, and add-ons for analytics or marketing. The right tech stack ensures smooth performance and easy management. Working with tools that integrate well with Laravel saves time and avoids technical issues later.
Designing User Experience
The look and feel of your store matter as much as the technology behind it. A clean, simple design helps customers find products quickly and builds trust in your brand. With Laravel, developers can create user-friendly layouts that adapt to mobile and desktop devices.
Always keep the customer journey in mind, from browsing to checkout, to make sure the experience is fast and hassle-free.
In short, planning your Laravel eCommerce store starts with clear goals, the right tech stack, and essential features. A strong plan ensures smooth performance, easy maintenance, and a user-friendly shopping experience. Laravel’s flexibility isn’t limited to eCommerce – you can also use it to build a property listing app with Laravel that manages listings, filters, and user interactions seamlessly.
How to Build an eCommerce Site Using Laravel?
Building an eCommerce platform requires careful planning and the right tools. Laravel framework enables you to build a scalable, secure, and personalized online store. Let’s get on the step-by-step guide to build an eCommerce store using Laravel.

Step 1: Set Up the Laravel Project
Laying the foundation for your eCommerce paradise starts with setting up your Laravel project. Let’s walk through the essential steps:
- Install PHP: Ensure you have the latest version of PHP installed on your system. You can check and download it from the official PHP site.
- Install Composer: Download and install Composer. It is a dependency manager for PHP projects, from GetComposer. Follow the instructions for your operating system.
- Create a New Laravel Project: Open your terminal or command prompt and navigate to the desired directory for your project. Run the following command.
composer create-project laravel/laravel your-project-name
Replace ‘your-project-name’ with your chosen name. This will download and install the necessary Laravel files and dependencies.
- Configure ‘.env’ File: Locate the
.envfile in your project’s root directory. This file stores sensitive information like database credentials. Set the database connection details, app key, and other necessary configurations according to your environment. - Run the Development Server: Navigate to your project directory in the terminal. Run the following command to start the Laravel development server:
php artisan serve
This will launch the server, usually accessible at ‘http://localhost:8000’ by default in your web browser.
With this step, you’ve successfully set up your Laravel project. Remember, this is just the beginning. Subsequent steps will dive deeper into database design, and other development aspects.
Step 2: Plan and Design Database Schema
A well-designed database is the heart of any powerful eCommerce platform. Here, we’ll explore important tables and relationships for your Laravel eCommerce project:
- Essential Tables:
- Products: Define product details. This includes name, description, price, SKU, images, variations, and inventory levels.
- Categories: Organize products into easily browsable categories and subcategories. Consider using a set structure for the organization.
- Users: Store user information including name, email, address, and any desired customer-specific fields.
- Orders: Capture order details. You can consider including users, products purchased, price, and order status.
- Order Items: Link orders to specific products and quantities within each order.
- Payments: Track payment information like transaction ID, method, amount, and status.
- Relationships:
- A product belongs to one or more categories (many-to-many).
- A user can have many orders (one-to-many).
- An order has many order items (one-to-many).
- An order item belongs to one product (one-to-one).
- A payment belongs to one order (one-to-one).
<?php
namespace App\Models;
use Illuminate\Database\Eloquent\Model;
class Product extends Model
{
    // ... other model properties
    public function categories()
    {
        return $this->belongsToMany(Category::class);
    }
    public function orderItems()
    {
        return $this->hasMany(OrderItem::class);
    }
}
This is a basic example. Depending on your specific needs, you may need to design additional tables and relationships. Designing your database involves careful planning and consideration of future functionality.
Step 3: Develop Models, Views, and Controllers
Now we enter the core of application development. Building the essential components that power your eCommerce website:
- Models: Translate your database design into models that direct data access logic.
Example: Create a model for Products with methods to retrieve, create, update, and delete product information.
<?php
namespace App\Models;
use Illuminate\Database\Eloquent\Model;
class Product extends Model
{
    protected $fillable = [
        'name', 'description', 'price', 'category_id', ...
    ];
    public function categories()
    {
        return $this->belongsToMany(Category::class);
    }
    // ... other methods for retrieving, creating, updating, and deleting products
}
- Controllers: Handle incoming user requests, interact with models to retrieve data, and generate appropriate responses.
Example: Develop a ProductsController with actions for displaying product listings. Also, for retrieving individual product details and handling product searches.
<?php
namespace App\Http\Controllers;
use App\Models\Product;
class ProductsController extends Controller
{
    public function index()
    {
        $products = Product::all(); // Retrieve all products
        return view('products', compact('products'));
    }
    public function show($id)
    {
        $product = Product::findOrFail($id); // Find a specific product by ID
        return view('product', compact('product'));
    }
    // ... other methods for handling product search, adding to cart, etc.
}
- Views: Present data retrieved from controllers in a user-friendly and visually appealing format. Leverage Laravel Blade to inject dynamic data and create reusable layout components.
Example: Build a products.blade.php view to display a list of products with images, prices, and descriptions.
@extends('layouts.app')
@section('content')
    <h1>Products</h1>
    <ul>
        @foreach ($products as $product)
            <li>
                <a href="{{ route('products.show', $product->id) }}">{{ $product->name }}</a>
                - {{ $product->price }}
            </li>
        @endforeach
    </ul>
@endsection
With real-world development, you’ll create additional models, controllers, and views. To make these functionalities work as per your specific eCommerce store needs.
Step 4: Implement Authentication and User Management
Building trust with your customers is important. The same goes for your Laravel ecommerce store too. In this step, we’ll explore implementing authentication features to secure your Laravel eCommerce project:
- Key Features
- Registration: Allow users to create accounts with secure password hashing and validation.
- Login: Implement secure login mechanisms with email or username authentication.
- Account Management: Enable users to edit their profile information. Such as; managing addresses, and tracking order history.
- Password Reset: Provide a user-friendly password reset functionality. It will benefit them in case they forget their credentials.
- Email Verification: Optionally, offer email verification for added security and account confirmation.
- Laravel Features
- Leverage Laravel’s built-in authentication system for a quick and secure setup.
- Utilize packages like Laravel Sanctum for API authentication if your store offers mobile apps.
- Customize the authentication and user management features based on your specific requirements.
Example Code Snippet (User Registration):
<?php
namespace App\Http\Controllers;
use App\Models\User;
use Illuminate\Http\Request;
use Illuminate\Support\Facades\Hash;
class RegisterController extends Controller
{
    public function create()
    {
        return view('register');
    }
    public function store(Request $request)
    {
        $request->validate([
            'name' => 'required|string|max:255',
            'email' => 'required|string|email|unique:users',
            'password' => 'required|string|confirmed|min:8',
        ]);
        $user = User::create([
            'name' => $request->name,
            'email' => $request->email,
            'password' => Hash::make($request->password),
        ]);
        // Optionally, send a confirmation email or handle account activation logic
        return redirect()->route('login')->with('success', 'Account created successfully!');
    }
}
Ensuring secure and convenient user access is essential for building trust and loyalty. While Laravel offers powerful tools, consider implementing a customized authentication system. You should explore several options to get one as per your security requirements.
Step 5: Build a Product Catalog and Shopping
Your product catalog is the core of your eCommerce store. It magnets customers to browse and discover your products or services.
- Product Catalog
- Product Listing: Display products in a user-friendly format with clear images, descriptions, and prices.
- Filtering and Sorting: Allow customers to filter by category, price range, and other criteria.
- Product Details: Offer detailed information pages. It must include high-quality images, reviews, and related products.
- Search Functionality: Implement a search bar to help customers find specific products quickly.
- Shopping Cart and Checkout
- Add to Cart: Allow customers to add products to their cart with quantity selection and variations.
- Cart Management: Provide a clear overview of cart content. It should contain product details, quantities, and total price.
- Checkout Process: Design a smooth and secure checkout flow with user-friendly address selection and order confirmation.
- Laravel Features
- Utilize Laravel’s Eloquent ORM for efficient data retrieval and product listing.
- Implement packages like Laravel Shopping Cart for cart management and checkout functionality.
- Leverage Laravel’s validation and security features to ensure a secure shopping experience.
@foreach ($products as $product)
    <div class="product">
        <a href="{{ route('products.show', $product->id) }}">
            <img src="{{ $product->image_url }}" alt="{{ $product->name }}">
        </a>
        <h3>{{ $product->name }}</h3>
        <p>{{ $product->price }}</p>
        <a href="{{ route('cart.add', $product->id) }}">Add to Cart</a>
    </div>
@endforeach
Building an engaging product catalog and a streamlined shopping experience is crucial for eCommerce success. Indeed, Laravel provides powerful tools. But, you must also ensure a user-friendly and secure shopping journey that converts visitors into loyal customers.
Step 6: Checkout and Payment Integration
The checkout and payment process is the final hurdle before customers finalize their purchases. Let’s build a secure and efficient checkout flow with integrated payment options:
- Essential Features
- Address Selection: Offer options for shipping and billing addresses, including managing saved addresses.
- Payment Methods: Integrate with secure payment gateways. Some of the common ones include Stripe, PayPal, or others based on your region and preferences.
- Order Confirmation: Provide a clear overview of order details, shipping information, and payment confirmation.
- Order Status Updates: Keep customers informed throughout the fulfillment process. Consider sending email notifications and offering order-tracking capabilities.
- Security Considerations
- Ensure PCI compliance for secure credit card processing.
- Utilize encrypted connections and tokenization for sensitive data protection.
- Implement fraud detection measures to safeguard against unauthorized transactions.
- Laravel Features
- Leverage Laravel’s validation and security tools to protect sensitive information.
- Utilize Laravel Cashier or Laravel and Stripe integration for seamless payment gateways.
- Employ event listeners to trigger order confirmation emails and status updates automatically.
// Using Laravel Cashier
$user = auth()->user();
$charge = $user->charge(
    $request->amount,
    $request->payment_token,
    [
        'description' => $request->order_description,
    ]
);
// Handle successful payment and create the order
The implementation of your Laravel eCommerce project might involve handling various payment scenarios. You can count on error cases, potential tax calculations, and integration with specific gateway APIs.
Step 8: Order Management and Admin Panel
Now that your customers can seamlessly purchase your offerings, it’s time to build the control hub for your eCommerce empire. That is the order management and admin panel of your Laravel eCommerce project.
- Essential Features
- Order Listing: View and manage all orders, filter by status (pending, processing, shipped, etc.), and search for specific orders.
- Order Details: Access detailed information for each order. It must retain customer details, products purchased, shipping information, and payment status.
- Order Status Updates: Manually update order statuses as needed. Consider notifying customers of progress through the fulfillment process.
- Inventory Management: Receive low-stock alerts and manage inventory updates based on orders and sales.
- Reporting and Analytics: Gain valuable insights into sales performance and popular products using reports and analytics dashboards.
- Laravel Features
- Eloquent Models and Relationships: Leverage models and relationships to efficiently manage orders, products, users, and other relevant data.
- DataTables and Datagrid Packages: Utilize packages like DataTables or YajraBox. It will help in creating interactive and searchable order lists and product tables in the admin panel.
- Laravel Charts: Generate insightful charts and graphs for sales trends and other key metrics using Laravel Charts.
- Laravel Policies and Authorization: Implement Laravel’s Authorization. With this, you’ll be able to control access to specific features and functionalities within the admin panel.
// Route for admin order listing
Route::get('/admin/orders', 'OrderController@index')->middleware('auth')->name('admin.orders.index');
// OrderController@index method using DataTables package
public function index()
{
    $orders = Order::all();
    return DataTables::of($orders)
        ->addColumn('action', function ($order) {
            return view('admin.orders.actions', compact('order'));
        })
        ->make(true);
}
An efficient order management system and a user-friendly admin panel are important for smooth business operations. While Laravel provides powerful tools, consider collaborating with Laravel experts. This will ensure a scalable and secure admin panel tailored to your eCommerce store’s management requirements.
Step 9: Testing, Security Checks, and Deployment
Before launching your Laravel eCommerce store, it’s essential to make sure everything works as expected. This step covers testing, checking security, and finally deploying your project.
Testing
Testing ensures your store runs smoothly and delivers a good experience to customers. Laravel provides built-in tools to make this process easier.
- Unit Testing: Check small parts of your code, such as models or controllers, to confirm they work correctly.
- Feature Testing: Test complete features like checkout, login, or order placement to make sure the customer journey is seamless.
- Integration Testing: Verify that different parts of the system work well together. For example, ensuring that payment gateways and order management communicate properly.
- Browser Testing: Utilize tools like Laravel Dusk to test your store’s functionality in a real browser environment.
Security Checks
Security is critical for any eCommerce store. Customers trust you with sensitive data, and it’s your responsibility to protect it.
- Vulnerability Testing: Run checks for common risks like SQL injections or cross-site scripting.
- CSRF Protection and Validation: Make sure forms and inputs are protected from attacks.
- Penetration Testing: Simulate attacks to identify weak spots before hackers do.
- Server Security: Configure firewalls, SSL certificates, and proper access controls to safeguard your production environment.
Deployment
Once testing and security checks are complete, it’s time to launch. A proper deployment strategy ensures your store is stable and ready for traffic.
- Local Testing First: Test your application in a local environment before moving to production.
- Version Control: Use Git to track changes, manage updates, and roll back if needed.
- Deployment Strategy: Choose a method that fits your business, whether manual deployment, CI/CD pipelines, or services like Laravel Forge or Vapor.
- Server Setup: Configure your production server with the right software, security measures, and backup solutions.
Rigorous testing, strong security checks, and a clear deployment plan are key to a successful launch. By following these steps, you ensure your Laravel eCommerce store is reliable, secure, and ready for real customers. If you lack the necessary skills and expertise, consider consulting our Laravel development company.
Laravel for eCommerce: Best Practices
Building an eCommerce store with Laravel is powerful, but success depends on how you set it up and maintain it. Following best practices ensures your store is secure, fast, and ready to grow.
Architecture and Code Organization
A well-structured codebase keeps your project easy to manage and scale. Laravel follows the MVC (Model-View-Controller) pattern, which separates business logic, design, and data handling. Keeping code organized not only saves time but also reduces errors as your store grows.
Security Best Practices
Security should never be an afterthought in eCommerce. Always enable Laravel’s built-in protections like CSRF tokens, password hashing, and input validation. Use SSL certificates for encrypted transactions and limit server access. Regular security audits help protect both your store and your customers.
Performance Optimization
Speed matters in online shopping. Optimize images, use Laravel’s caching system, and minimize database queries to improve performance. A faster site not only makes customers happy but also helps with search engine rankings.
SEO and Mobile Responsiveness
Your store should be easy to find and easy to use. Clean URLs, meta tags, and optimized page titles help with SEO. At the same time, make sure your site is mobile-friendly. Most customers shop on their phones, so a responsive design is a must.
Scalability with Queues, Caching, and Horizon
As your business grows, so will the demands on your store. Laravel’s queues and caching systems handle heavy traffic smoothly. Horizon, Laravel’s dashboard for managing queues, makes it simple to monitor performance in real time. This ensures your store runs reliably during peak seasons.
Third-Party API Integrations (Payments, Shipping, ERP/CRM)
Modern eCommerce requires seamless connections with external services. Laravel makes it easy to integrate payment gateways, shipping providers, and even ERP or CRM tools. These integrations reduce manual work and create a smooth experience for customers and your team.
Following best practices in Laravel eCommerce ensures your store is secure, fast, and easy to scale. From clean code and strong security to performance, SEO, and third-party integrations, these steps build a reliable foundation for growth.
Conclusion
So, is Laravel the ideal platform for your eCommerce dreams? Absolutely! Its robust features, flexible nature, and thriving community make it a powerful tool for crafting scalable and secure online stores. Whether you’re an experienced developer or starting your eCommerce journey, Laravel offers a framework to bring your vision to life.
Remember, building a successful eCommerce store involves more than just the platform. Careful planning, strategic development, and continuous optimization are key ingredients for long-term success. Explore the best practices we’ve covered, leverage additional resources, and don’t hesitate to seek expert guidance when needed.
Ready to turn your Laravel vision into a thriving eCommerce store? Connect with our Laravel developers for hire today!
FAQs About Laravel and eCommerce
Which Laravel packages are commonly used for eCommerce?
Commonly used Laravel packages for eCommerce include Laravel Cashier for subscription billing. Laravel Shopping Cart for managing cart functionalities, and Laravel Voyager for admin panel customization.
Is Laravel secure for eCommerce development?
Laravel provides strong security features such as CSRF protection, authentication, and authorization mechanisms. This makes Laravel a secure choice for eCommerce development when implemented correctly with best practices.
How can I implement internationalization and localization in Laravel eCommerce applications?
To implement internationalization and localization in Laravel eCommerce applications, you can use Laravel’s built-in localization features. By creating language files for different locales, implementing middleware, and utilizing translation functions to display content in various languages throughout the application.
Can Laravel handle high-traffic eCommerce sites?
Yes, Laravel is fully capable of handling high-traffic eCommerce sites. Its modular architecture, caching system, and support for queues allow the platform to process large numbers of users and orders smoothly. Tools like Laravel Horizon make it easy to monitor performance in real time. With proper optimization and hosting, your store can scale seamlessly as traffic grows.
How does Laravel compare with Shopify or Magento for eCommerce?
Unlike Shopify or Magento, Laravel is a framework rather than a ready-made platform. This gives you complete control to customize every aspect of your store. While Shopify is simple and Magento is feature-rich, Laravel combines flexibility, scalability, and performance. It’s ideal if you want a tailored solution that can grow with your business without being limited by platform restrictions.


