Quick Summary
Laravel sessions help manage user data, maintain authentication, and enhance user experience across requests. This guide covers session configuration, drivers like file, database, and Redis, session lifetime, middleware, and security best practices. Learn how to store, retrieve, flash, and delete session data, troubleshoot common errors, and explore real-world use cases like carts, multi-step forms, and flash messages for building secure, high-performing Laravel applications.
Table of Contents
When you work with Laravel, sessions are one of the most essential tools you’ll use. They handle session management, keeping track of user activity and storing important data between requests. If you’ve ever logged into a site and stayed signed in, that’s a session at work.
But here’s the important part: sessions are not just about convenience. Configuring your Laravel session driver and managing session lifetime and timeout can significantly impact performance, user experience, and security. Ignoring these settings can also lead to Laravel session errors, which can frustrate both you and your users.
In this blog, we’ll discuss everything you need to know about Laravel sessions. We’ll tell you how they work, how to pick the right driver, set proper lifetimes, and avoid common errors.
Why Use Laravel Sessions?
Sessions are one of the core features that make Laravel applications smooth and reliable. They do much more than just store temporary data. Here’s why developers rely on them:
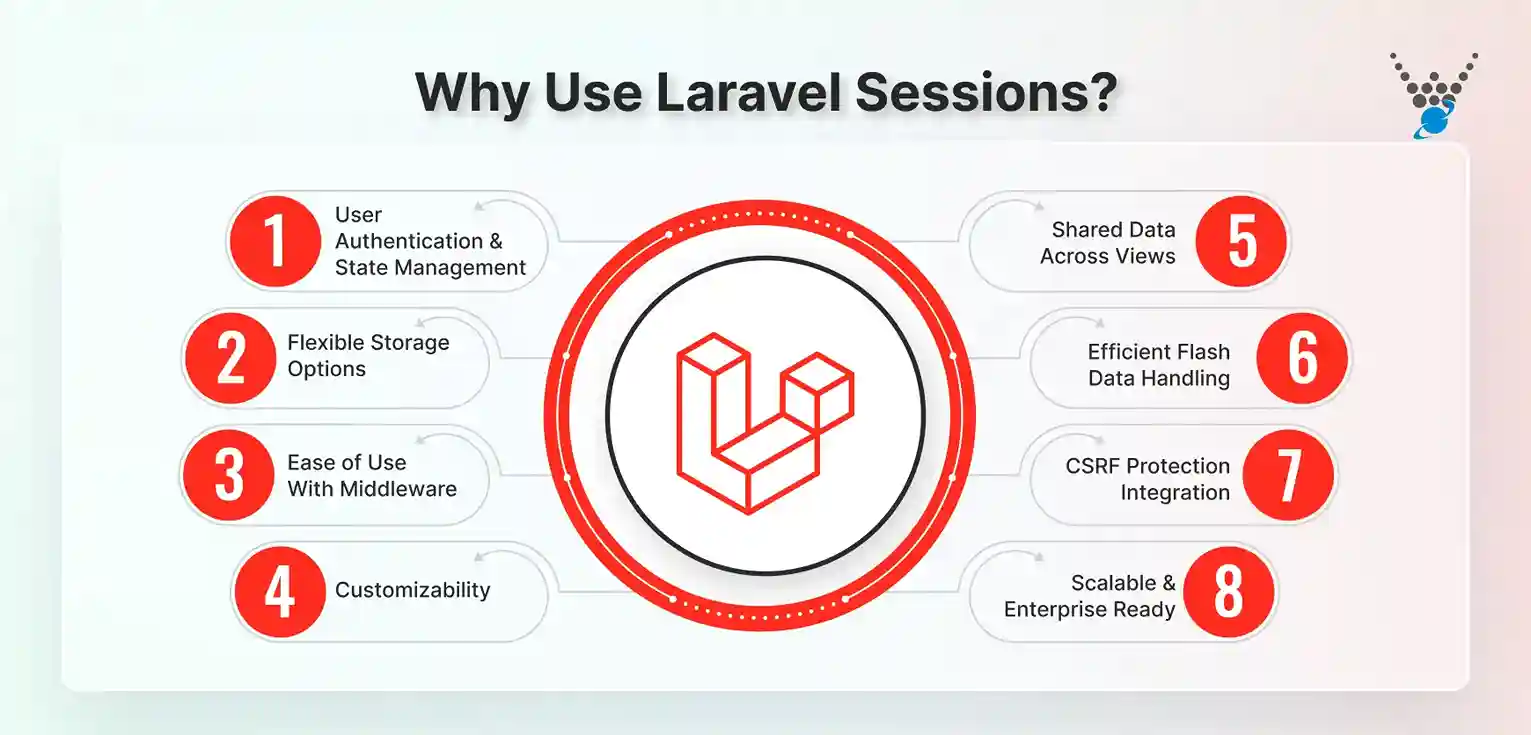
- User Authentication and State Management: Sessions allow management of user data and state across multiple requests. This means once someone logs in, they stay logged in until their session lifetime ends. It also allows Laravel to manage user state across pages.
- Inbuilt Security: Laravel sessions come with built-in protection against common threats. Features like session encryption and CSRF tokens ensure that sensitive data is not exposed or misused.
- Flexible Storage Options: Laravel supports different session drivers. You can store sessions in files, a database, Redis, or even in memory. This flexibility makes it easier to pick the right option for your project.
- Ease of Use With Middleware: Session handling in Laravel is simple because of middleware. You don’t need to write complex code; Laravel manages most of the heavy lifting for you.
- Customizability: Every app has different needs. With Laravel, you can adjust session settings such as timeout, lifetime, and even create custom logic for how sessions behave.
- Shared Data Across Views: Sessions make it easy to pass data across different pages. For example, once a user adds items to a cart, that data is available across the checkout process.
- Efficient Flash Data Handling: Laravel allows storing flash data, which is data kept for just one request. This is useful for displaying messages like “Profile updated successfully” without retaining the data longer than necessary.
- CSRF Protection Integration: Integrates session management with CSRF protection through Laravel Middleware. This prevents attackers from performing unwanted actions on behalf of users.
- Scalable and Enterprise Ready: As your application grows, sessions remain reliable. Using drivers like Redis or a database makes session handling scalable for high-traffic and enterprise-level projects.
Simply put, Laravel sessions make applications secure, reliable, and user-friendly by handling logins, data sharing, and request management with ease. They offer built-in security, flexible storage, and scalability, making them suitable for projects of any size.
How Laravel Sessions Work?
Sessions in Laravel are designed to store small amounts of data for each user. This data is kept between requests, so your app can remember who the user is and what they are doing. Let’s break down how it all works.
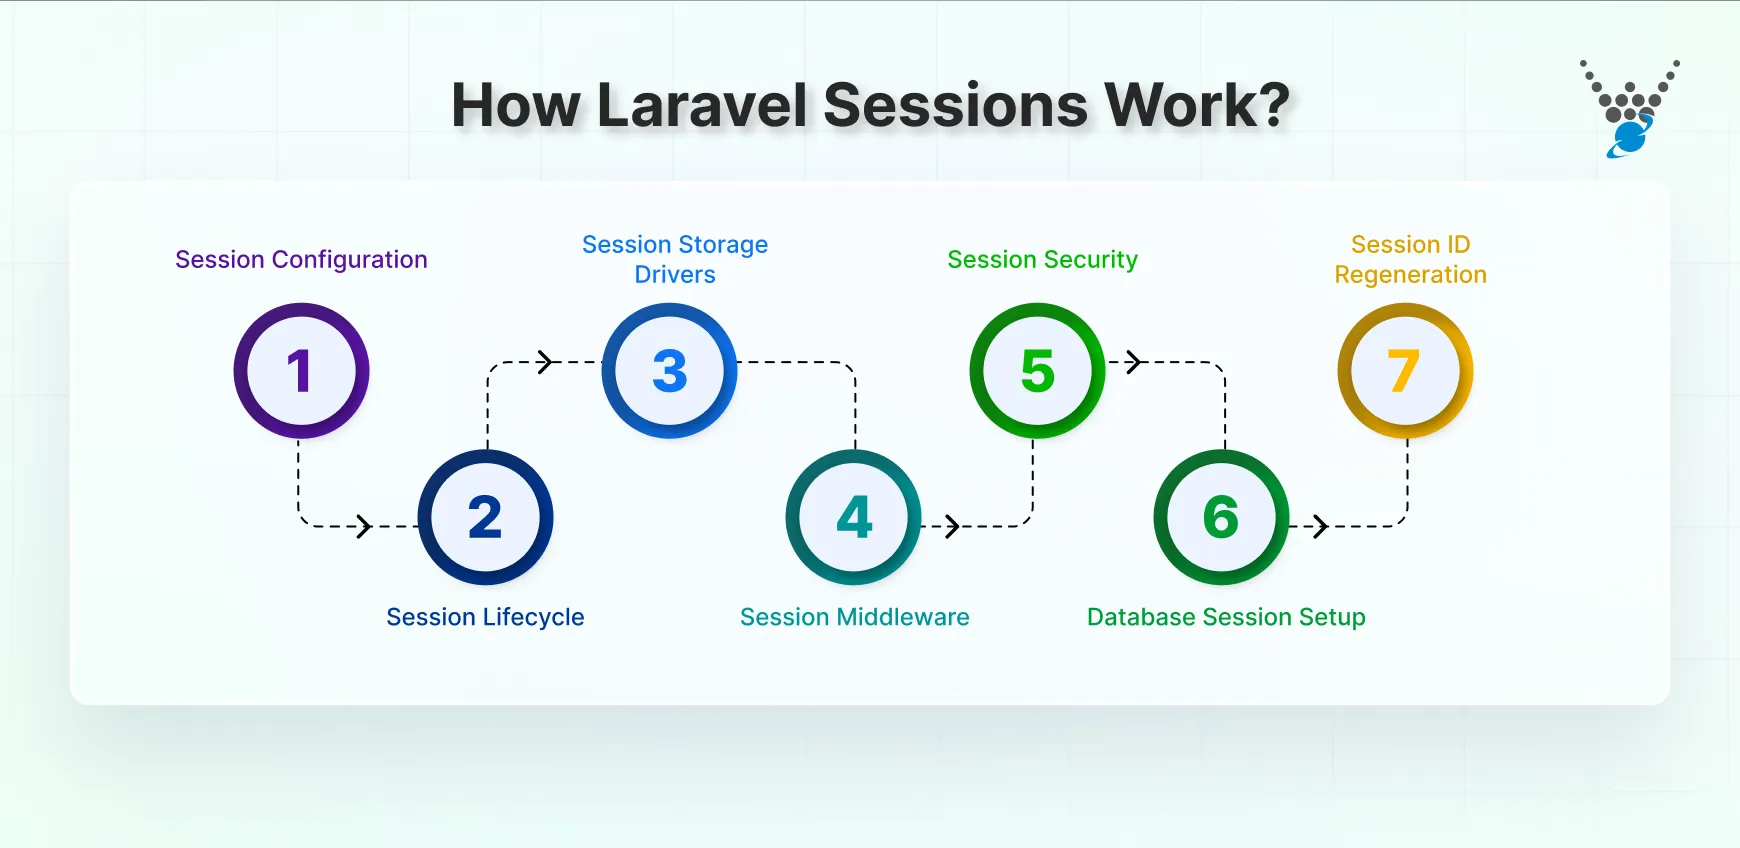
- Session Configuration: Every Laravel project comes with a default session configuration file located at config/session.php. Here, you can set the session lifetime, choose the storage driver, and configure other options like encryption or cookie names.
- Session Lifecycle: A session starts when a user visits your app, and Laravel assigns them a session ID. This ID helps the system keep track of that user. Data is stored as long as the session lifetime allows. Once the time expires or the user logs out, the session ends.
- Session Storage Drivers: The way sessions are stored depends on the session driver Laravel uses. Options include files, database, Redis, or array storage. File sessions are suitable for small projects. Databases or Redis work better for large and scalable applications.
- Session Middleware: Laravel uses Middleware to handle sessions. Middleware ensures that session data is initiated, read, and saved with every request. This process is automatic, so you don’t need to write extra code to manage it.
- Session Security: Sessions in Laravel are secure by default. Data can be encrypted, and the system integrates with CSRF protection. You can also enable session ID regeneration to reduce the risk of session hijacking.
- Database Session Setup: If you choose the database driver, you’ll need to run a migration that creates a sessions table. Laravel makes this easy with an Artisan command. After setup, session data will be stored in the database instead of files.
Example Usage
Here’s a Laravel session example:
// Set session data
session(['user_name' => 'John Doe']);

// Get session data
$user = session('user_name');
// Forget session data
session()->forget('user_name');
This simple code demonstrates how to set, retrieve, and remove a session in Laravel when needed.
- Session ID Regeneration: To improve security, Laravel allows you to regenerate the session ID. This usually happens during login. It prevents attackers from using an old session ID to access someone’s account.
In short, sessions in Laravel store user data across requests, helping apps remember users and their activity. With configurable drivers, middleware support, built-in security, and features like database storage and ID regeneration, they are both flexible and secure.
Session Lifecycle in Laravel
Understanding the session lifecycle is key to managing user data properly. Here’s how sessions in Laravel work from start to finish.
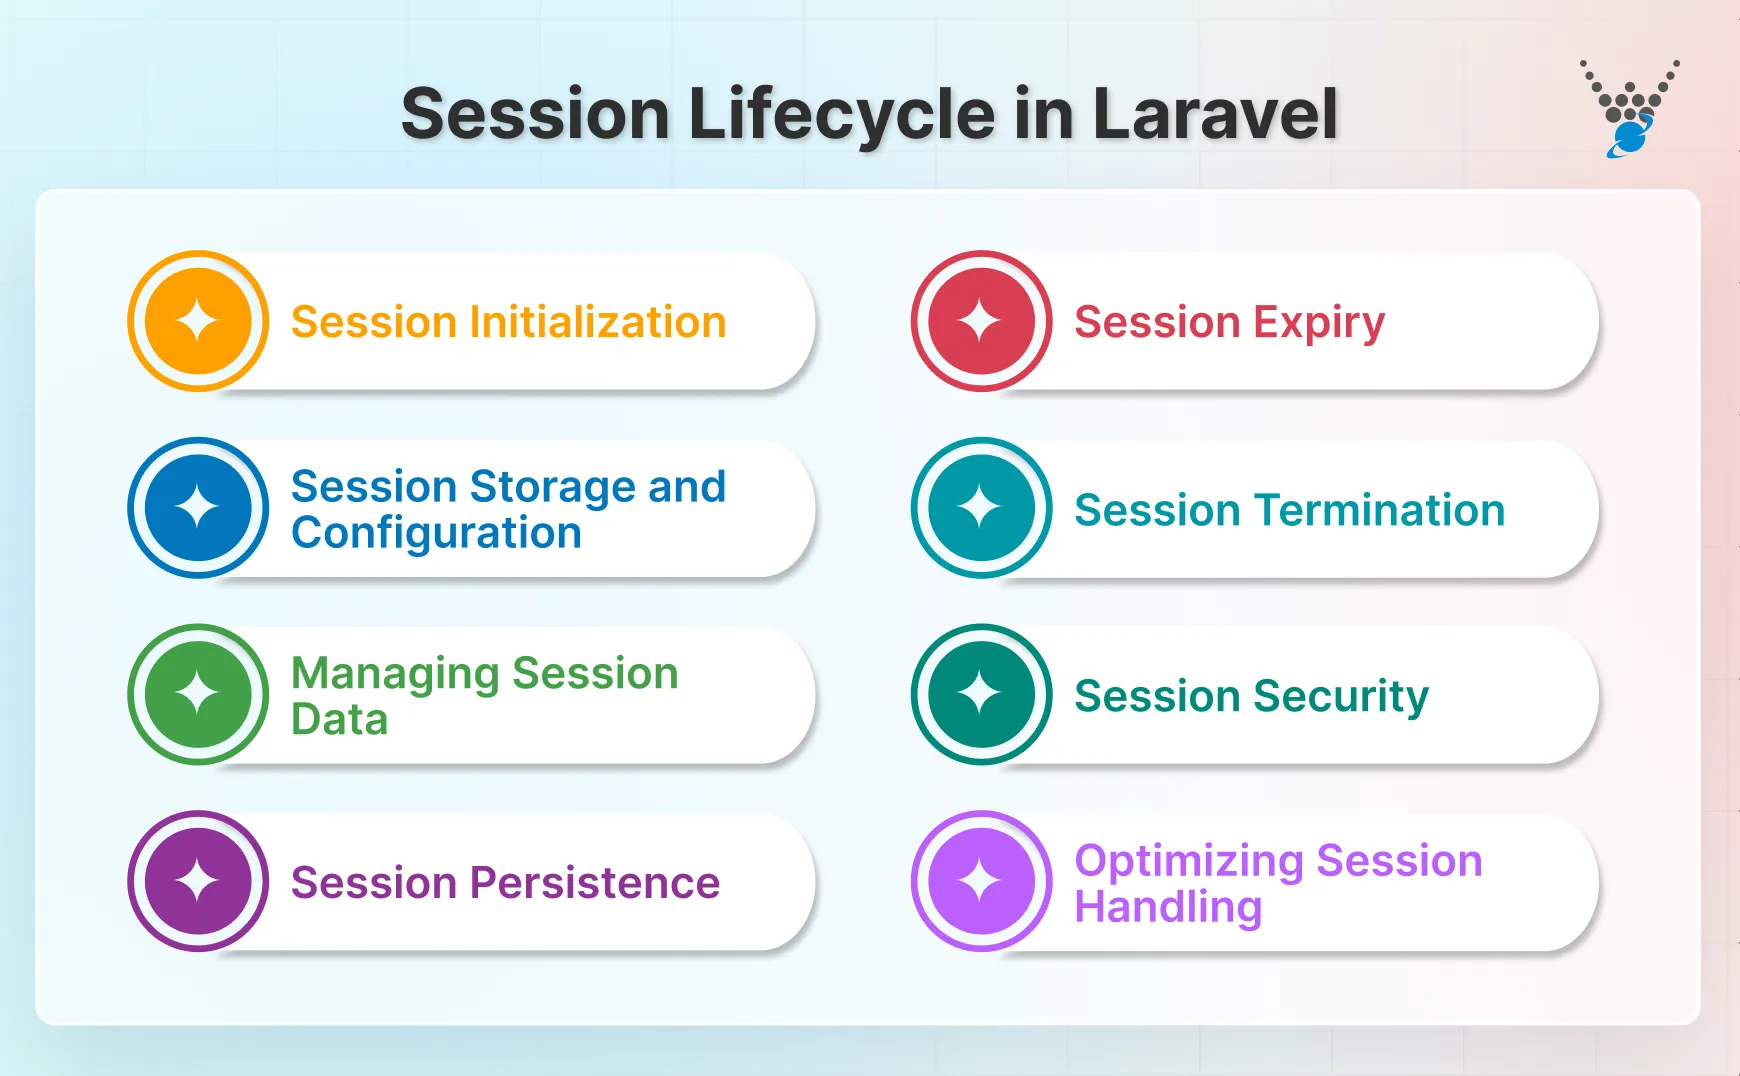
- Session Initialization: When a user first interacts with your app, Laravel creates a session ID. This ID is unique for each user and is used to track their activity.
- Session Storage and Configuration: Laravel stores session data based on the session driver you select in config/session.php. It could be files, a database, or Redis. You can also configure options like encryption, cookies, and session lifetime.
- Managing Session Data: Developers can easily store and retrieve data inside a session. For example, you can use Laravel to set a session like this:
// Set session
session(['cart_items' => 3]);
// Get session
$items = session('cart_items');
// Remove session
session()->forget('cart_items');
This makes it simple to keep user-specific data available across requests.
- Session Persistence: Laravel automatically keeps session data between requests. A user can click through multiple pages, and their session values remain the same until they are cleared or expire.
- Session Expiry: Sessions do not last forever. The session lifetime Laravel setting controls how long data is stored. Once this time passes, the session ends. This is also known as a Laravel session timeout.
- Session Termination: A session can end in two ways: when the user logs out or when the lifetime expires. At that point, Laravel removes the session data, and the user is treated as new again.
- Session Security: Laravel adds security by encrypting session data and preventing common threats like session hijacking. You can also enable session ID regeneration to protect active sessions further.
- Optimizing Session Handling: For small apps, file sessions work fine. But for larger or enterprise apps, switching to Redis or database drivers ensures faster performance and better scaling. Regularly clearing old sessions also helps keep your app efficient.
Simply put, the session lifecycle in Laravel covers everything from initialization and storage to expiry and termination, ensuring user data is tracked safely across requests. With flexible drivers, easy data handling, built-in security, and scalability, sessions remain reliable for apps of any size.
How To Configure Sessions in Laravel
Configuring sessions in Laravel is simple, but doing it correctly ensures your app is secure, reliable, and scalable. Follow these steps to set up sessions the right way.
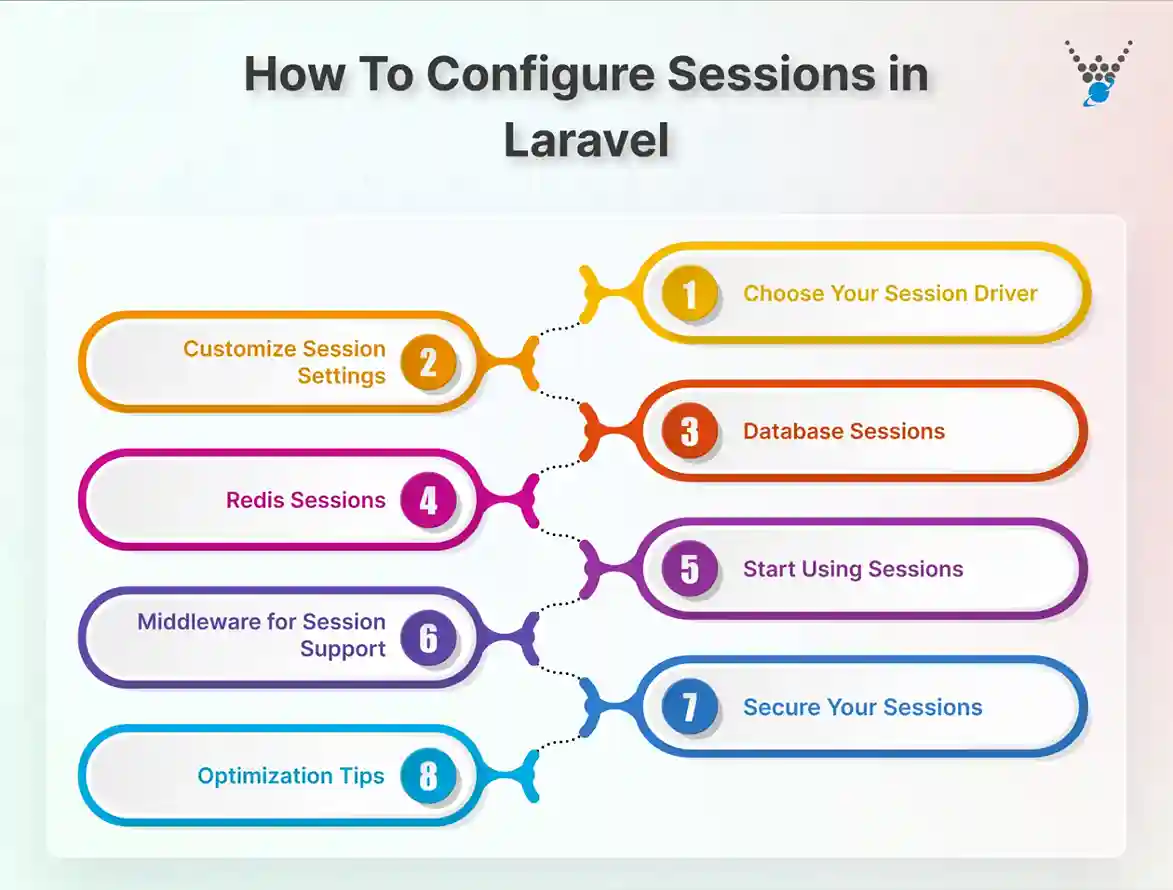
Step 1: Choose Your Session Driver
Laravel allows multiple storage options. This is called the session driver Laravel. Common choices:
- File: Stores sessions on the server. Best for small apps or local testing.
- Database: Stores sessions in a database. Ideal for apps running on multiple servers.
- Redis: Fast, in-memory storage for high-traffic apps.
- Array: Temporary storage, useful for testing.
Set the driver in your .env file:
SESSION_DRIVER=file
Choose the driver based on app size and traffic. Files work for small apps; Redis or database for enterprise-level apps.
Step 2: Customize Session Settings
Open config/session.php to adjust settings.
- Session Lifetime: Set how long a session lasts using SESSION_LIFETIME in minutes. This controls the Laravel session lifetime.
- Expire on Close: End sessions when the browser closes.
- Cookie Settings: Define secure cookies, http_only, and same_site.
- Encryption: Protect sensitive session data by enabling encryption.
Example .env settings:
SESSION_LIFETIME=120
SESSION_EXPIRE_ON_CLOSE=false
SESSION_SECURE_COOKIE=true
Balance lifetime and security. Longer sessions are convenient; shorter sessions are safer.
Step 3: Database Sessions
If you pick the database as the session driver:
- Create the sessions table:
php artisan session:table
php artisan migrate
- Update your .env:
SESSION_DRIVER=database
SESSION_CONNECTION=mysql
It’s ideal for apps on multiple servers or cloud setups. All servers share the same session data.
Step 4: Redis Sessions
For high-speed, high-traffic applications:
- Install Redis PHP extension:
composer require predis/predis
- Update .env:
SESSION_DRIVER=redis
SESSION_CONNECTION=default
Redis handles thousands of requests quickly and scales well.
Step 5: Start Using Sessions
Once configured, Laravel makes it easy to store and retrieve session data. Here’s a Laravel session example:
// Set session (laravel set session)
session(['user_name' => 'Jane']);

// Get session
$user = session('user_name');

// Remove session
session()->forget('user_name');

// Flash data (temporary)
session()->flash('message', 'Profile updated!');
Use flash data for messages that disappear after one request.
Step 6: Middleware for Session Support
Sessions in Laravel are handled by middleware. The web middleware group automatically starts and saves sessions.
For custom routes, add:
Route::middleware(['web'])->group(function () {
    // routes that require sessions
});
Middleware ensures session data is loaded before your code runs and saved after the request finishes.
Step 7: Secure Your Sessions
Security is critical. Follow these best practices:
- Use secure cookies in production (SESSION_SECURE_COOKIE=true).
- Enable HTTP-only cookies (http_only=true) to prevent JavaScript access.
- Configure same_site to protect against CSRF attacks.
- Regenerate session IDs after login:
$request->session()->regenerate();
- Invalidate sessions at logout:
Auth::logout();
$request->session()->invalidate();
$request->session()->regenerateToken();
Step 8: Optimization Tips
- Choose the right driver: Redis or database for large apps.
- Keep session data small: Store IDs or references, not large objects.
- Clear old sessions: Helps maintain performance for file-based storage.
- Set appropriate session lifetime: Adjust SESSION_LIFETIME to balance security and user convenience.
By following these steps, you’ll have a secure, reliable, and scalable session setup in Laravel. From choosing the right driver to managing session data, this setup ensures your users have a smooth experience while keeping your app safe.
If you want to set up sessions for enhancing the user experience of your site, consider collaboration with our Laravel development services.
How to Interact with the Laravel Session?
Interacting with sessions in Laravel involves retrieving, storing, flashing, deleting data, and regenerating session IDs. Here’s a detailed guide on each interaction:
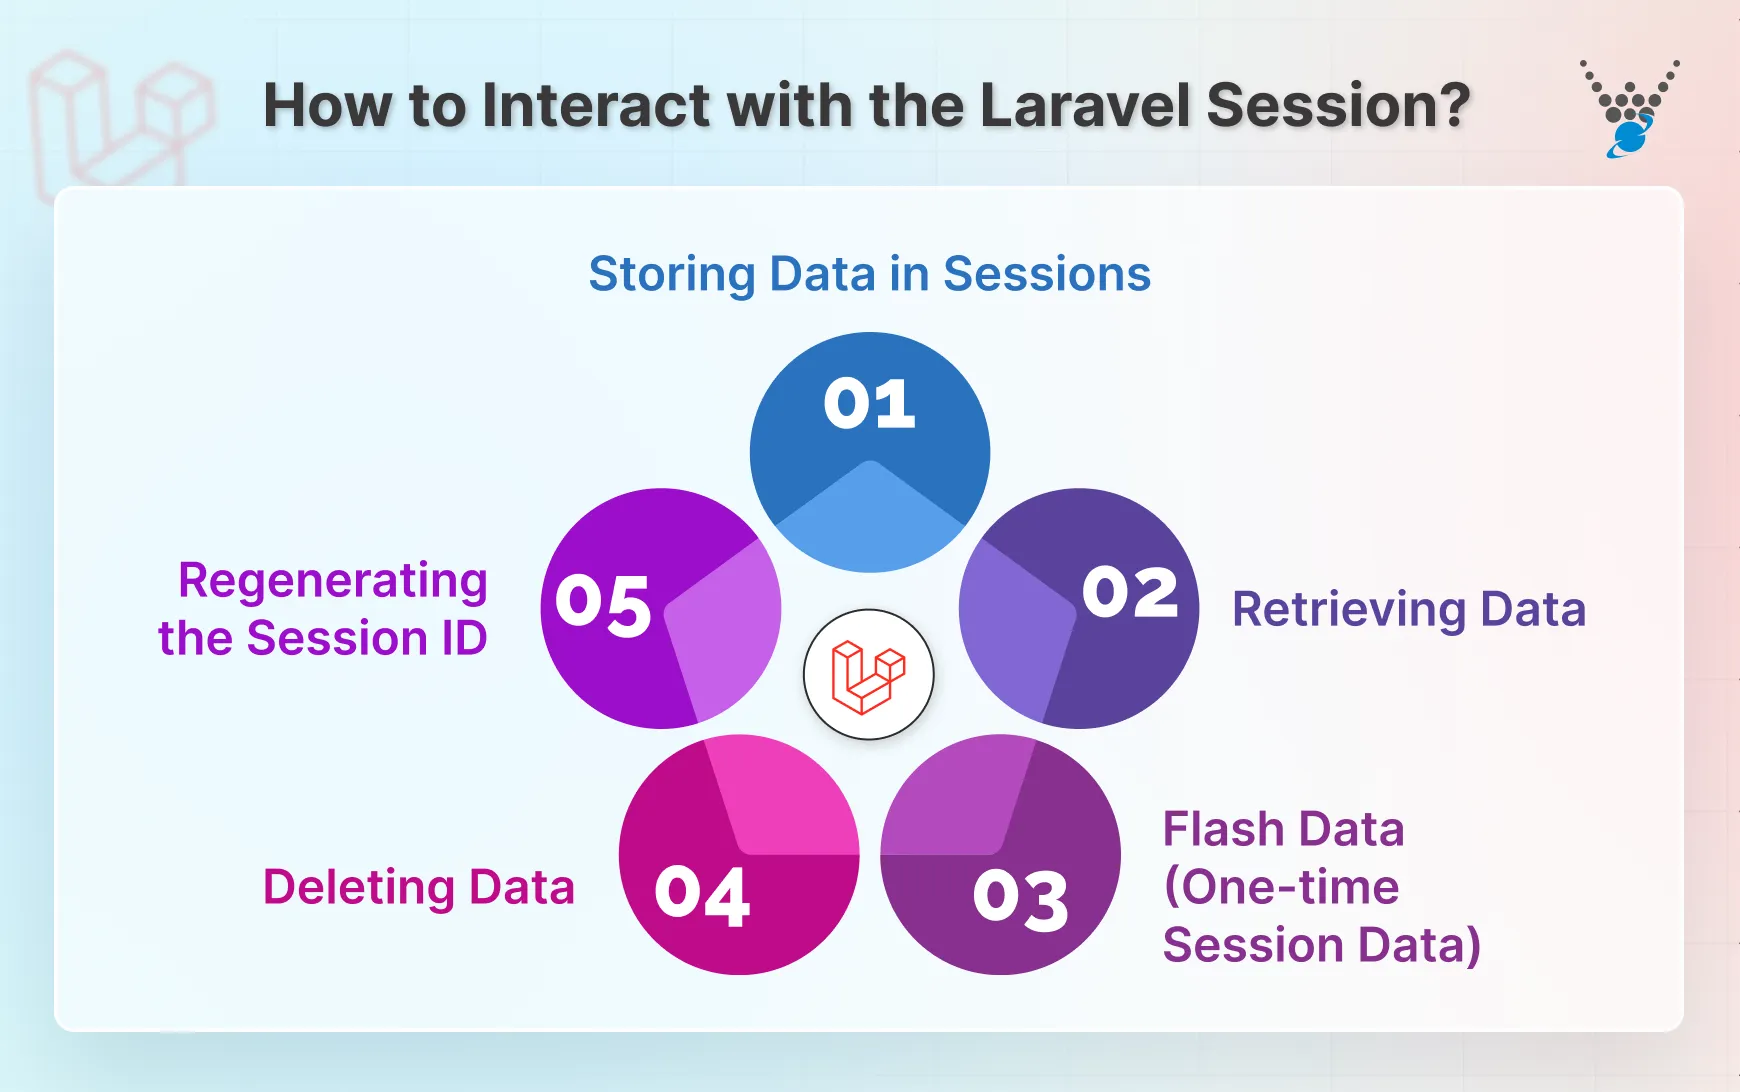
Storing Data in Sessions
You can store data in the session easily using the session helper. This is also referred to as laravel set session or set session Laravel.
// Set session data
session(['user_name' => 'Jane']);

// Alternative
session()->put('cart.items', 5);
This allows you to save user-specific information across multiple requests. Storing data properly is key for features like login persistence, shopping carts, or user preferences.
Retrieving Data
To access data stored in the session, you can use the Session::get method. This method takes the key (identifier) of the data you want to retrieve as its argument. If the key exists in the session, the corresponding value is returned.
$value = session()->get('key');
This allows you to access user-specific information across multiple requests within the session’s lifetime.
Flash Data (One-time Session Data)
Laravel offers flash data, a special type of session data designed to survive only for the next request. This is useful for one-time messages like success notifications after form submissions.
session()->flash('status', 'Profile updated!');
By using flash data we have stored a temporary message in the session. This message is accessible only on the next request, and then it will be removed automatically. It is ideal for short-lived notifications or feedback.
Deleting Data
You can remove specific data items from the session using the forget method. It takes the key of the data you want to remove as its argument.
session()->forget('key');
Here, we’ve used Session::forget to remove a specific data item identified by its key. This helps manage session data and remove information that’s no longer required.
Regenerating the Session ID
For security reasons, you might want to regenerate the session ID occasionally. It can help mitigate session hijacking attempts. Laravel provides the regenerate method on the session object to achieve this.
session()->regenerate();
By using Session::regenerate, we’ve created a new session ID for the current user’s session. It improves security by invalidating any existing session IDs that might have been compromised.
Managing session interactions in Laravel allows flexible handling of user data across requests, improving overall user experience. Along with session handling, understanding cookies in Laravel helps manage persistent user data effectively, enabling developers to build sites with enhanced session management and reliability.
Add-on Steps For Securing Laravel Sessions
Securing sessions in Laravel is essential to protect user data and prevent attacks. Here are the key steps you should follow:
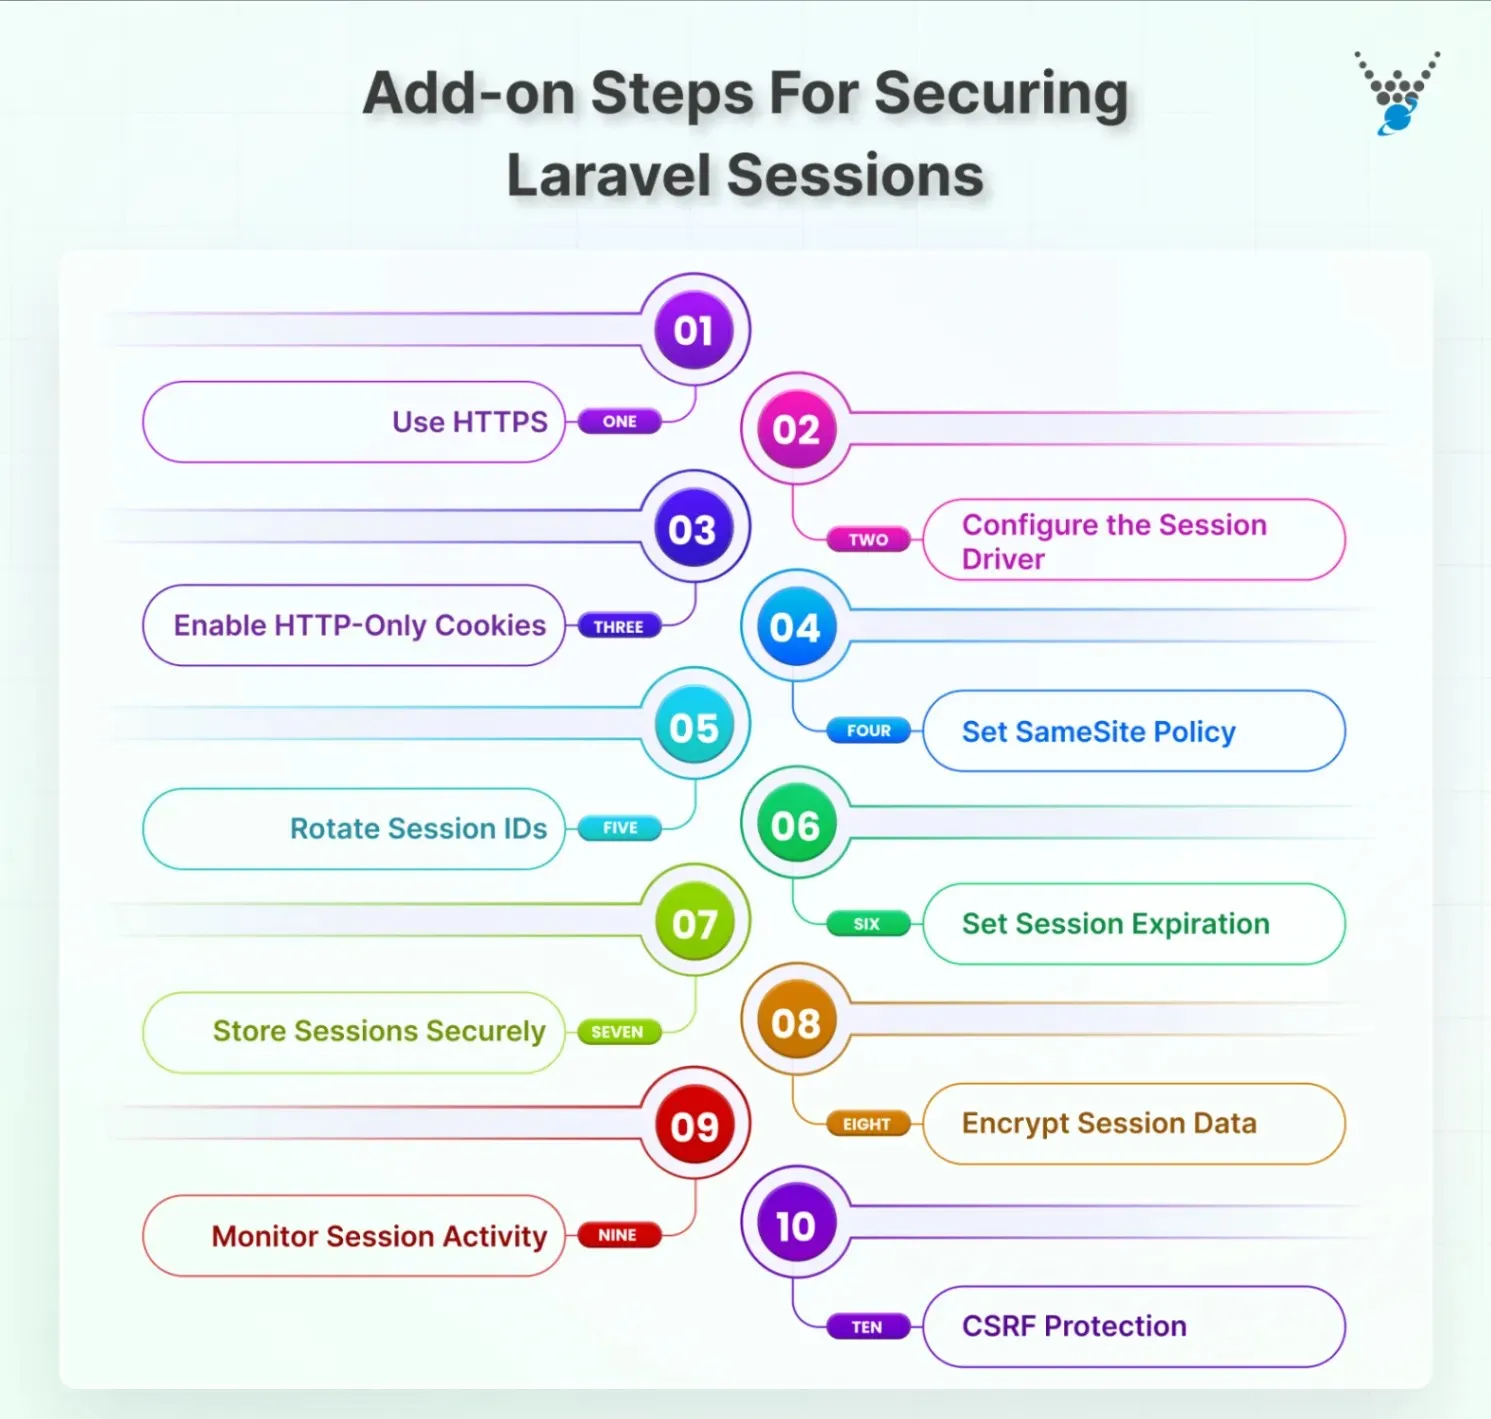
- Use HTTPS: Always serve your site over HTTPS. This ensures that session cookies are transmitted securely between the user and the server. Without HTTPS, cookies can be intercepted by attackers.
- Configure the Session Driver: Choose a secure session driver based on your application’s needs. For small apps, a file is okay, but for larger apps, use a database or Redis. Secure drivers reduce the risk of unauthorized access.
- Enable HTTP-Only Cookies: Set the http_only option to true in config/session.php. This prevents JavaScript from accessing session cookies, reducing the risk of XSS attacks.
'http_only' => true,
- Set SameSite Policy: Use the same_site cookie option to limit cross-site request sharing. Options include lax or strict. This helps prevent CSRF attacks.
'same_site' => 'lax', // or 'strict'
- Rotate Session IDs: Regenerate the session ID after sensitive actions like login or password change. This prevents session fixation attacks.
session()->regenerate();
- Set Session Expiration: Control Laravel session lifetime using SESSION_LIFETIME in .env. Shorter lifetimes improve security, while longer ones improve convenience.
SESSION_LIFETIME=120
- Store Sessions Securely: If using database or Redis drivers, make sure the storage is secure and properly configured. Limit access to session tables or Redis keys to authorized services only.
- Encrypt Session Data: Laravel can encrypt session data automatically. Enable encryption in config/session.php to ensure sensitive information is not exposed:
'encrypt' => true,
- Monitor Session Activity: Regularly check session usage and detect suspicious activity, such as multiple logins from different locations. Monitoring helps identify potential threats early.
- CSRF Protection: Laravel’s session system integrates with CSRF protection. Always use CSRF tokens for forms to prevent unauthorized actions from external sites.
Example .env Configuration
Here’s a recommended example for secure session settings:
SESSION_DRIVER=database
SESSION_CONNECTION=mysql
SESSION_LIFETIME=120
SESSION_SECURE_COOKIE=true
SESSION_HTTP_ONLY=true
SESSION_SAME_SITE=lax
This setup balances security and usability for most Laravel applications.
Laravel Session Errors & Troubleshooting
Even with proper configuration, you may occasionally encounter Laravel session errors. Understanding common issues and their solutions helps keep your app running smoothly.
Common Errors in Laravel Sessions
Some frequent Laravel session errors include:
- Session data not saving or disappearing unexpectedly.
- Invalid or expired session IDs causing users to get logged out.
- Misconfigured session drivers leading to database or Redis connection errors.
These errors can affect user experience and app reliability if not appropriately handled.
Session Not Persisting Issue
If session data is not persisting across requests:
- Check your session driver and ensure it’s correctly configured in .env.
- Verify folder permissions if using the file driver. Laravel needs write access to storage/framework/sessions.
- Ensure middleware is applied. The web middleware group is required for sessions.
Example check:
Route::middleware(['web'])->group(function () {
    // routes that need sessions
});
Invalid or Expired Session IDs
Sessions can expire or become invalid due to:
- Reaching the Laravel session lifetime limit.
- Manual deletion or flushing of sessions.
- Users opening multiple tabs or browsers after a long inactivity period.
Solution:
- Set a reasonable SESSION_LIFETIME in .env.
- Use session()->regenerate() after login to prevent session fixation.
Debugging Tips & Solutions
When troubleshooting session issues:
- Check Logs: Look for errors in storage/logs/laravel.log.
- Verify Configuration: Make sure config/session.php matches your .env settings.
- Test Different Drivers: Switch temporarily to file driver to isolate driver-related issues.
- Clear Config Cache: Run php artisan config:cache to ensure changes take effect.
- Inspect Cookies: Ensure the browser is accepting cookies, and they match your domain settings.
Following these steps usually resolves common session issues and prevents unexpected Laravel session errors.
Laravel Sessions Use Cases
Laravel sessions are versatile and help developers manage user data efficiently. Here are the most common ways sessions are used in real-world applications:
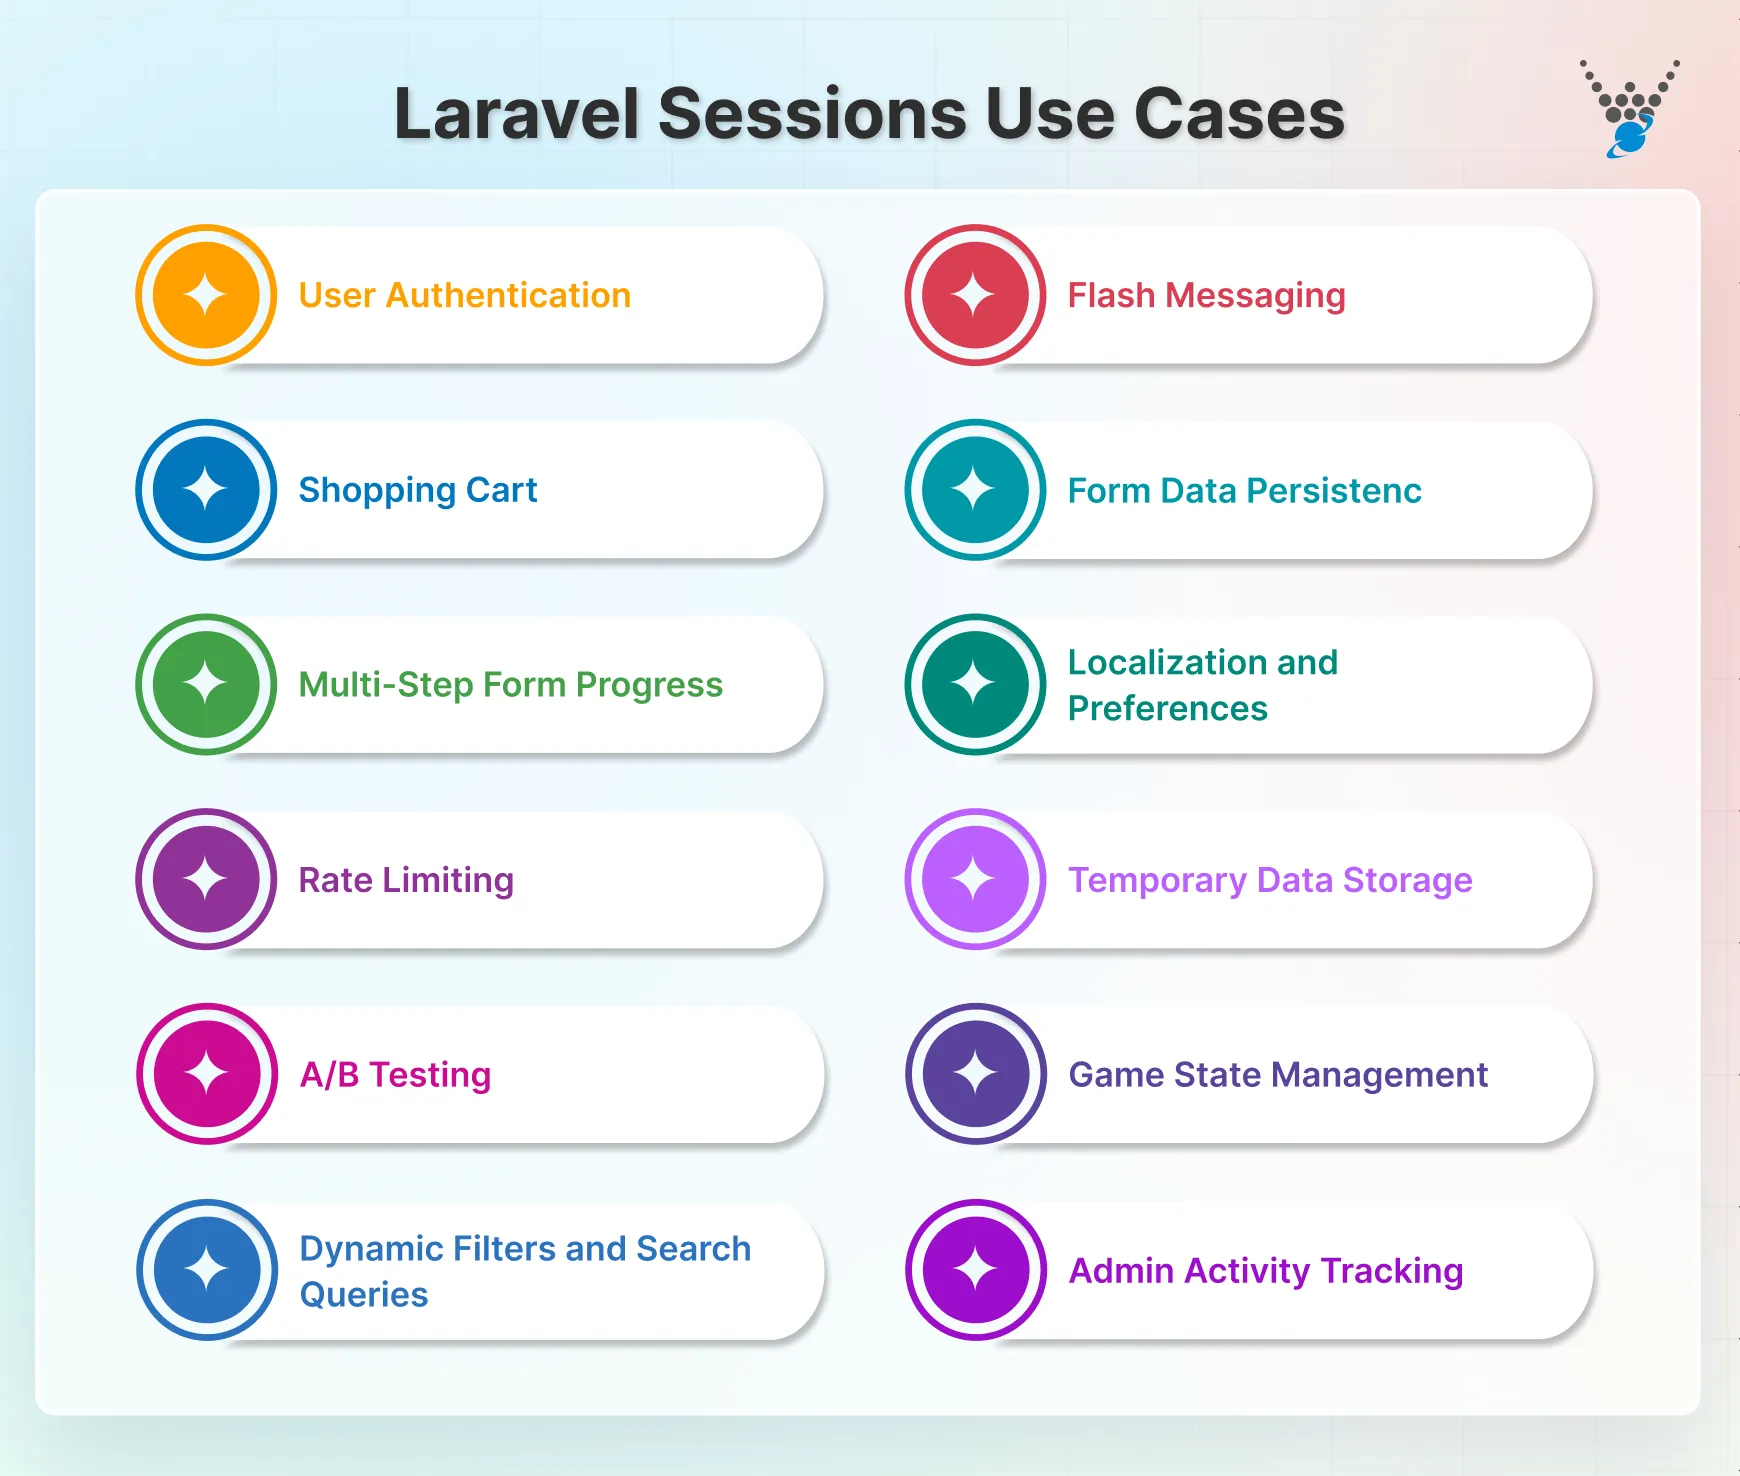
- User Authentication: Sessions store login information so users stay signed in across multiple pages. After login, Laravel keeps track of the user ID and authentication state until the session expires.
- Flash Messaging: Flash data allows temporary messages to appear once, such as “Profile updated” or “Password changed successfully.” Laravel removes these messages automatically after the subsequent request.
- Shopping Cart: Sessions store items in a shopping cart, allowing users to browse products, make selections, and keep them until checkout.
- Form Data Persistence: Sessions can temporarily hold form data if a page reloads due to validation errors, preventing users from re-entering information.
- Multi-Step Form Progress: For forms that span multiple pages, sessions save data between steps, making it easy to collect information progressively without losing previous inputs.
- Localization and Preferences: Sessions store user language choices, theme preferences, or layout settings. This allows the app to remember user settings across visits.
- Rate Limiting: Sessions can help track requests per user, preventing abuse by limiting the number of actions allowed in a given time frame.
- Temporary Data Storage: Sessions are ideal for storing small amounts of temporary data, such as verification codes, tokens, or short-lived flags.
- A/B Testing: You can use sessions to assign users to different variants of a feature and track which version they interact with during their visit.
- Game State Management: In gaming or interactive applications, sessions can store temporary game progress, scores, or player state between requests.
- Dynamic Filters and Search Queries: When users apply filters or search queries, sessions can hold their selections so results remain consistent as they navigate between pages.
- Admin Activity Tracking: Sessions allow administrators to track activities like pages visited, actions performed, and access logs during their session. This improves monitoring and accountability.
In summary, Laravel sessions are more than just temporary storage. They enable smooth user experiences, secure authentication, and dynamic app behavior. From shopping carts to multi-step forms and A/B testing, sessions are essential for modern web applications.
Best Practices for Working with Laravel Sessions
When working with Laravel sessions, following the best practices can ensure your site’s performance, security, and maintainability. Here are some recommended best practices:
- Choose the Right Driver: Select the session driver that aligns with your application’s needs. For simple applications, the file driver might suffice. For performance-critical applications, consider options like Redis or Memcached.
- Clear Sessions on Logout: When a user logs out, explicitly destroy their session data to prevent unauthorized access. This ensures proper session handling and prevents potential security issues.
- Set Appropriate Lifetime: Define a session lifetime that balances user experience and security. A long lifetime can be convenient for users but might have security risks if compromised. A shorter lifetime enhances security but requires more frequent logins.
- Store Only Necessary Data: Sessions are not meant for large amounts of data. Store only essential user information that needs to persist across requests. This helps optimize performance and reduces the risk of session data exceeding size limitations.
- Consider Session Regeneration: For extended sessions or security-sensitive applications, consider regenerating the session ID to reduce the risk of session hijacking.
- Use HTTPS for Secure Communication: When storing sensitive data, ensure you’re using HTTPS for encrypted communication. This adds an extra layer of security for session data in transit.
- Utilize Laravel’s Session Helper: Laravel provides a convenient session helper for interacting with sessions. It simplifies your code and promotes consistency in your application.
The above practices not only ensure the security but also maintain the integrity of the data. For building a site with enhanced performance. Using sessions, they can manage user state to offer a better user experience.
Conclusion
Laravel sessions are crucial for maintaining user state, authentication, and a personalized user experience. Setting up sessions involves configuring the session.php file and defining the session lifetime to suit your application.
If you’re working with Laravel sessions, you should be comfortable with:
- Maintaining user state across HTTP requests.
- Configuring various session drivers like database or Redis for your project.
- Using the Session facade and helper to store, retrieve, and manage session data in controllers, views, and middleware.
- Implementing best practices like session encryption and ID regeneration for enhanced security.
With the right setup, Laravel sessions can make your application more reliable, secure, and user-friendly. If you’re looking to build a custom Laravel website or web application, then you should hire Laravel developers for the best results.
FAQs About Laravel Sessions
How do I interact with sessions in my code?
Laravel offers a clean API for working with sessions. Use the Session helper methods:
– put to store data with a key-value pair.
– get to retrieve data associated with a key.
– forget to remove specific data items.
– flash for one-time messages that disappear after the next request.
– regenerate to create a new session ID for security purposes.
Using these session methods, you can manage sessions effectively and securely.
When should I not use Laravel sessions?
While Laravel sessions offer advantages, there are scenarios where they might not be the best fit:
– Simple Data Persistence: If you only need to store a small amount of data for a short duration, local storage might be a simpler option.
– Long-Term Data Management: For data that needs to persist beyond the user’s session, consider database storage for better scalability.
The choice between sessions and other options depends on your site needs and the type of data you are managing.
Are Laravel sessions secure?
Laravel encrypts session data by default, adding a layer of security. However, it’s still important to follow best practices like cleaning user input and regenerating session IDs to reduce security risks.
What is the default session driver in Laravel?
The default session driver in Laravel is file. It stores session data as files in the storage/framework/sessions directory. This driver works well for small applications or local development. For larger apps, you can switch to drivers like database or redis for better performance and scalability.
How do I change session lifetime in Laravel?
You can change the session lifetime using the SESSION_LIFETIME value in your .env file. This value is set in minutes and determines how long a session remains active. For example, SESSION_LIFETIME=120 keeps sessions alive for 2 hours. Don’t forget to clear the config cache (php artisan config:cache) after making changes.
Build Powerful Laravel Applications
Learn how to leverage Laravel's powerful features for efficient and scalable web development.


