Table of Contents
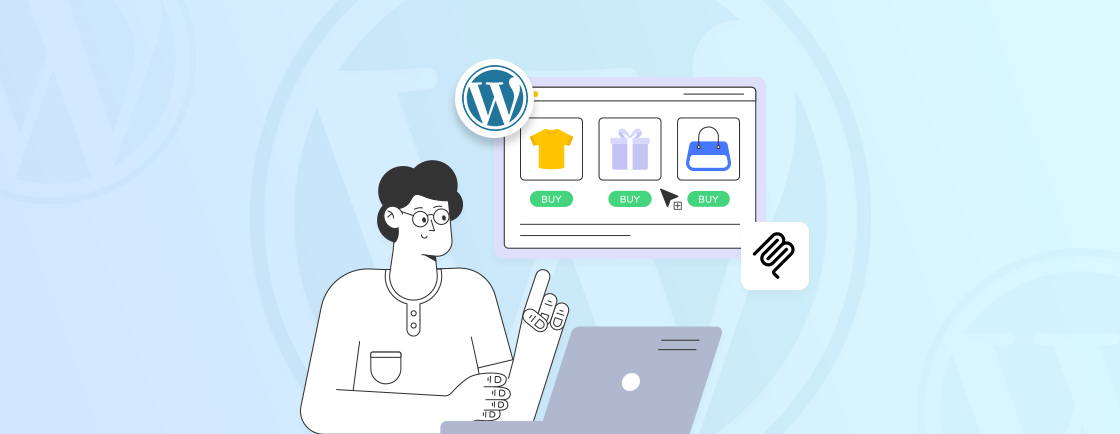
Although initially launched as a blogging platform, WordPress has revolutionized the way we build, customize, and manage websites. At the heart of its success as the best CMS lie a range of innovative features that can help build everything from simple blogs to complex eStores.
From dynamic content and customization to marketing, performance, and security, WordPress offers you the best features as per your requirements.
In this blog, I’ll talk to you about the top features used by the experts in building the best websites. Let’s begin.
Top Interesting & Useful Features of WordPress
WordPress offers a range of features to streamline the website development and deliver the best outcomes. Let’s take a look at a few best ones.
Docked Toolbar
The Docked Toolbar in WordPress is a user-friendly feature designed to streamline your editing process. Essentially, it’s a floating toolbar that follows you as you navigate through your website’s content.

How to Use the Docked Toolbar?
Step 1: Navigate to the top right corner of the editor when editing a page or post and click on the Three-dot menu.

Step 2: In the menu, you’ll see the option “Top Toolbar”. Click on it and the toolbar will be docked at the top of the editor.

This feature enhances the user-friendliness of WordPress Block Editor. With it, you get essential editing tools like bold, italics, links, etc. for the content on your pages and posts. Having the toolbar docked will save time and increase efficiency in content editing.
Distraction Free Mode
The “Distraction free” feature in WordPress is meant to help you concentrate on writing the content without any visual clutter. When activated, it minimizes the WordPress interface, removing sidebars, toolbars, and other elements that might divert your attention.

How to Use the Distraction Free Mode?
Step 1: Navigate to the top right corner of the editor when editing a page or post and click on the Three-dot menu.

Step 2: In the menu, you’ll see the option “Distraction Free”. Click on it and all editing options will be hidden from the interface. The online thing you’ll see

Whether you are creating a website or setting up a WordPress blog, this feature can significantly boost your writing efficiency and overall productivity.
Spotlight Mode
Let’s continue with the focused experience on WordPress. To that end, comes the Spotlight Mode. This relatively newer feature is designed to provide an even more focused writing experience than the previous feature.

It helps you concentrate on a single block without distractions. When activated, all other blocks on the page are dimmed, so you can focus solely on the selected block.
How to Use the Spotlight Mode?
Step 1: Navigate to the top right corner of the editor when editing a page or post and click on the Three-dot menu.

Step 2: In the menu, you’ll see the option “Distraction Free”. Click on it and the toolbar will be docked at the top of the editor.

By isolating a specific block, you can edit and refine the content efficiently. You won’t be overwhelmed by surrounding elements. This feature is particularly useful for complex layouts needing more precise adjustments.
Drag-and-Drop Image Placement
Another intuitive feature of WordPress is the drag-and-drop image placement. This functionality is part of how you work with WordPress blocks in the block editor, making it ideal for anyone who prefers a visual approach to content creation. You can easily and intuitively place images within your posts and pages without delving into complex code or formatting.

How to Use Drag-and-Drop Image Placement?
Step 1: Open the folder on your PC where you have saved the image to be used in the content.

Step 2: Click and hold the image, then move it to your desired location within the content.
Step 3: Release the mouse button to place the image in its new position.

With drag-and-drop image placement, you can create more captivating pages and posts with minimal effort.
Schedule Posts
This WordPress feature is a powerful tool that allows you to create content in advance and set a specific date and time for its publication. This is especially useful for maintaining a consistent posting schedule and managing your workload efficiently. You can ensure the content reaches your audience at optimal times.

How to Schedule your Post?
Step 1: Create the content for your page or post, add the images, and set the format as desired.
Step 2: Look for the “Publish” button in the top-right corner of your editing screen. Click on “Immediately” to reveal the publishing options.
Step 3: Then you can choose the date and time for the post to be published.
Step 4: After that, instead of “Publish”, you will see the “Schedule” button on the top. Click on it and the post or page will be scheduled to be published at that date and time.
With this WordPress feature, you can optimize the content strategy and improve the website performance.
Dashboard Widgets
WordPress offers you customizable blocks on the admin dashboard. There, you can display the widgets for the functionalities you most frequently use. If you want a deeper understanding of how these elements work, you can explore more about WordPress widgets to see how they enhance both the backend and frontend experience.
These dashboard elements like Quick Draft, At a Glance, and Activity give you a quick overview of important website data, helping you stay informed and manage your site more easily.

How to Add Dashboard Widgets in WordPress?
Step 1: Log in to your WordPress admin area and navigate to your dashboard.
Step 2: The right sidebar of your dashboard usually contains a section called “Screen Options.” Click on it to reveal a list of available widgets.
Step 3: Check the boxes next to the widgets you want to display on your dashboard. These widgets will appear in the main dashboard area.
Step 4: You can drag and drop widgets to rearrange their position on the dashboard for better organization.
Step 5: Some widgets offer customization options. Click on the widget title to access its settings and adjust its behavior.
Some of the common dashboard widgets include At a Glance, Recent Comments, Recents Posts, WordPress News, Plugins, etc.
Sticky Posts
Sticky posts are a handy feature in WordPress that allows you to highlight specific posts at the top of your blog or page, regardless of their publication date. This is useful for keeping important announcements, popular content, or evergreen information prominently displayed for your visitors.

How to Create a Sticky Post?
Step 1: Go to the “Posts” section in your WordPress dashboard and click on the post you want to make sticky.
Step 2: While editing the post or page, you will see the settings section (near the three-dots menu.). Click on it and you’ll see a sidebar with two sections, “Post” and “Block”.
Step 3: Within the “Posts” menu, you’ll see the “Sticky” toggle. Turn it on and off as you desire.
Step 4: Save your changes by clicking “Save” or “Publish”.
Sticky posts can help enhance your site’s navigation, so the users can access the crucial info more easily.
Effortless Media Embed
WordPress makes it incredibly simple to incorporate various media formats into your posts and pages. The “Effortless Media Embed” feature allows you to seamlessly integrate content from external sources, such as videos, images, tweets, and more, directly into your website.
How to Embed Media in WordPress Posts?
Step 1: When you find a piece of media you want to embed, look for the “Embed” or “Share” button. You’ll find these options on popular social platforms, like Youtube, Twitter, Instagram, etc.
Step 2: Copy the Embed code (often an HTML code) or supported URL pointing to the media.
Step 3: In the WordPress editor, add a new block and paste the URL or embed code.
That’s it; the media file will be ready on your page. Now you can create dynamic and engaging content that enriches your website’s overall appeal.
Inline Linking
Inline linking refers to the process of creating hyperlinks within the text of your WordPress content. These links can point to other pages on your website, external websites, or specific anchor points within the same page.
Earlier, you would have had to select the text and select the ‘link’ icon. But now, it’s become much easier.

How to do Inline Linking?
Step 1: Copy the URL you want to link in your text.
Step 2: Now, select the text you want the link on.
Step 3: Simply paste the link, it will be linked to the selected anchor text.
This feature ensures a subtle user-friendliness in your content editing process.
Responsive Previews
Responsive Previews is a crucial feature in WordPress that allows you to visualize how your website will appear on different devices and screen sizes. As more and more people access the internet through smartphones and tablets, it’s essential to create websites that adapt seamlessly to various screen dimensions.

How to Use Responsive Previews?
Step 1: Open the page or post you want to preview in the WordPress editor.
Step 2: On the top of the editor interface, you will see the responsive preview icon.
Step 3: Click on this icon and choose between Desktop, Mobile, and Tablet. Then click “Preview in New Tab”.
That will open the page preview according to your selected format. You can check the design, layout, and content through this option after every edit to make sure everything is as intended.
With it, you can try and ensure a seamless user experience across all platforms.
Site Revisions
WordPress automatically saves multiple versions of your posts and pages as you edit them. This feature, known as Site Revisions, acts as a safety net. So you can revert to previous versions if you accidentally delete or modify content, or if you simply prefer an earlier version.

How to Use Site Revisions?
Step 1: Go to the “Posts” section in your WordPress dashboard and click on the post you want to make sticky.
Step 2: While editing the post or page, you will see the settings section (near the three-dots menu.). Click on it and you’ll see a sidebar with two sections, “Post” and “Block”.
Step 3: Within the “Posts” menu, click on the number in front of the “Revisions” option.

That will take you to the revision comparison page.
Step 4: Now, you can select the revision you wish to go back to and click “Restore This Autosave”.
This feature will help you protect your content from accidental loss and easily revert to previous versions when needed.
If you want to leverage the best of these features to ensure the best results for your website, hire WordPress experts who have the skills and years of experience with this CMS and know how to use it effectively.
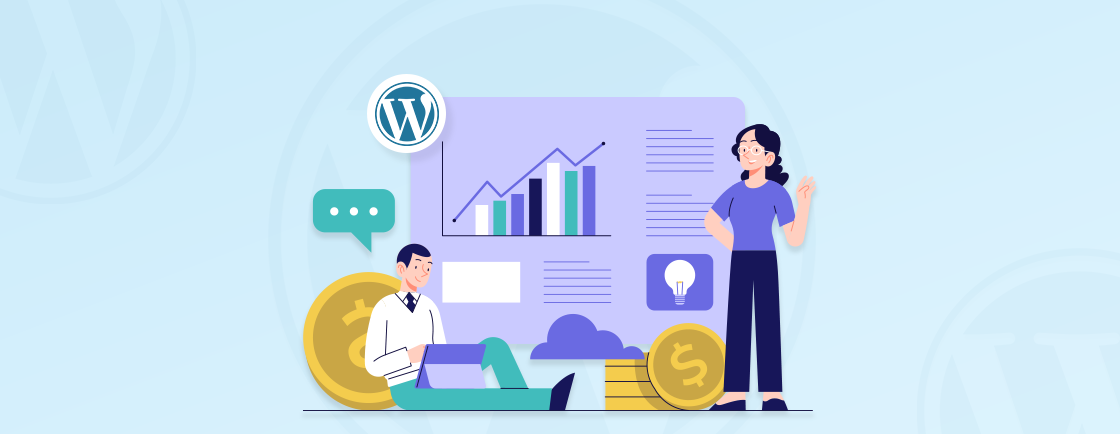
Benefits of Using WordPress
WordPress is the go-to CMS for millions of websites around the world, and for good reason. Here are some of its key benefits:
- Intuitive interface: WordPress, with its Gutenberg block editor, is designed with users in mind. That makes it easy to navigate and use even for beginners.
- No coding required: You don’t need to know HTML, CSS, or PHP to create and manage your website.
- Themes: A vast library of free and premium themes allows you to change the entire look and feel of your website without touching a line of code.
- Plugins: Extend your website’s functionality with thousands of WordPress plugins for everything from SEO to eCommerce.
- Scalability: Whether you’re setting up a blog or building a large website, WordPress can grow with your needs.
- Built-in SEO features: You can follow the WordPress SEO checklist to help you optimize your content for search engines.
- Plugin support: Numerous SEO plugins offer advanced features to improve your website’s visibility.
- Open-source: WordPress is free to use, saving you money on software costs.
- Affordable hosting: There are many outstanding WordPress hosting providers that can help you build the best website.
- Built-in mobile optimization: WordPress websites are designed as mobile-responsive. So they look great and function well on all devices.
- Regular updates: WordPress is constantly updated to address security vulnerabilities.
- Security plugins: You can further enhance your website security with various plugins.
With these benefits, you can best believe in forming a professional, engaging, and successful website. If needed, you can opt for our WordPress development services for the best outcomes.
Let’s Leverage the Best Features of WordPress!
WordPress is more than just a content management system. It’s a versatile platform packed with features that can transform your website into a dynamic and engaging online presence.
With features like Docked Toolbar, Distraction-Free Mode, Dark Mode, Schedule Posts, Sticky Posts, etc., you can streamline your workflow and create best visually-appealing websites.
Remember, WordPress is constantly evolving, so it’s essential to stay updated on the latest features and best practices. So, if you want to get the latest WordPress features for your website, contact us
today and let our experts help you build a modern, engaging, and high-performing site.
FAQs on Interesting WordPress Features
What are some of the most useful WordPress features for beginners?
For beginners, focus on mastering the basics like:
– Dashboard: Understanding its components and how to use widgets.
– Posts and Pages: Creating and managing content.
– Media Library: Uploading and managing images and other media.
– Comments: Moderating and responding to comments.
– Themes: Choosing and customizing a theme to match your website’s style.
How can I optimize my website for mobile devices using WordPress features?
Ensure your chosen theme is responsive and mobile-friendly. Test your website on different devices to identify and fix any issues. Use plugins specifically designed for mobile optimization.
How do I protect my website’s content using WordPress features?
Utilize site revisions to keep track of changes and revert to previous versions if needed. Install a strong security plugin and keep WordPress and your plugins updated.

Create with WordPress CMS
Build flexible and scalable websites using WordPress's powerful content management system.