
Quick Summary
Laravel provides a structured, efficient path for building modern, database-driven websites. This guide details the process from initial setup to deployment. You will learn to configure your environment, design a database with Eloquent ORM, implement business logic in controllers, and craft dynamic views using Blade. The result is a scalable, secure, and maintainable web application on a powerful PHP framework.
Table of Contents
When trying to build a new website, you want a platform that can streamline the operations and help deliver robust, scalable digital experiences. Laravel is an outstanding choice for that. It effectively bridges the gap between idea and functional, secure, and professional-grade product.
Laravel is an open-source PHP web framework known for its simplicity and ability to facilitate rapid web development. It follows the Model-View-Controller (MVC) architectural pattern, so developers can organize and structure code more efficiently. That makes it easier and more suitable to build complex web applications.
This blog showcases how to build a website using Laravel, from the prerequisites and project setup to testing and deployment. We will also take a look at an example of Laravel-based to-do app. Let’s begin.
Key Features of Laravel
Laravel is a dominant PHP framework by all accounts. And its popularity is driven by a suite of top features designed to make web development efficient, secure, and enjoyable. Here are a few of its core components.
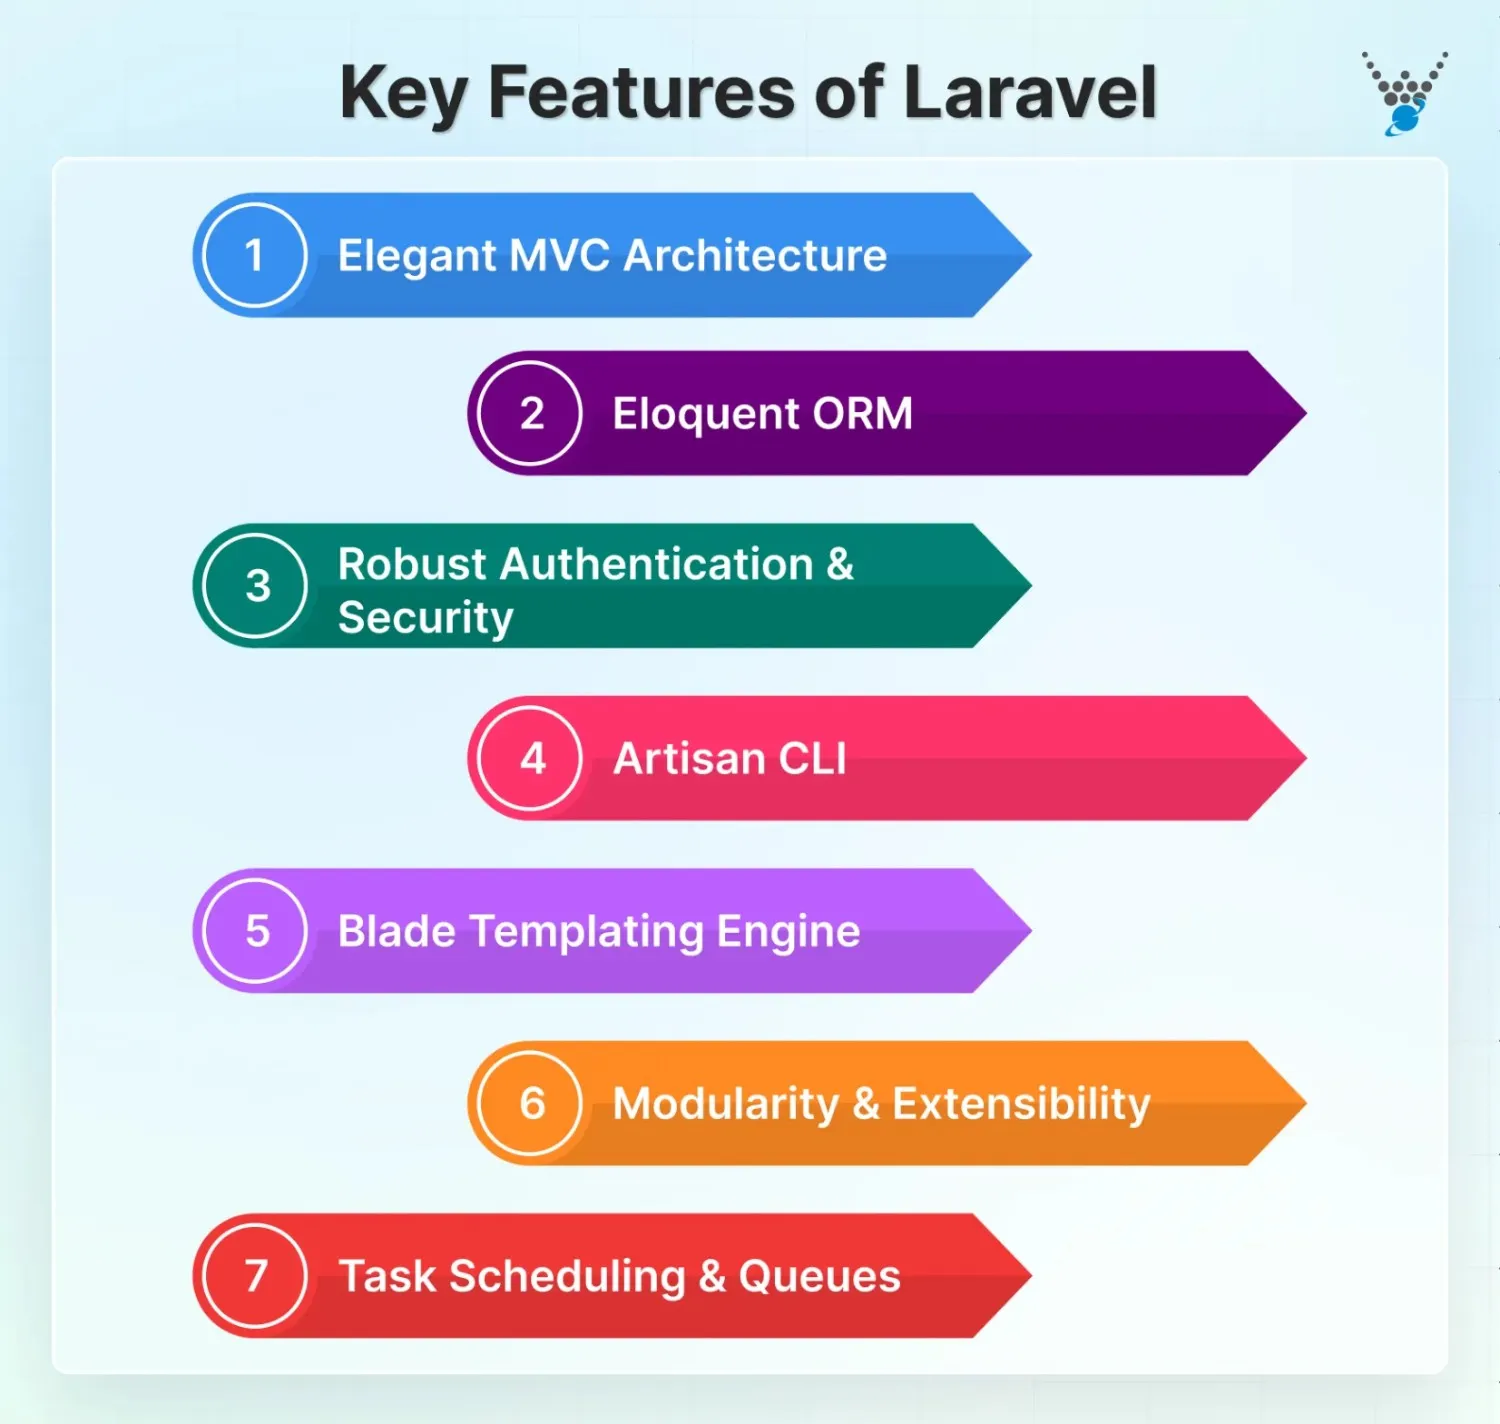
Elegant Syntax & MVC Architecture
Laravel is built on the Model-View-Controller (MVC) pattern. It organizes code for clarity and scalability. That means your application logic (Model), user interface (View), and request handling (Controller) are separate. That makes code easier to manage, test, and update as your project grows.
Eloquent ORM
Eloquent ORM is Laravel’s built-in Object-Relational Mapping tool. It allows you to interact with your database using simple, intuitive PHP syntax instead of writing complex SQL queries.
For example, you can fetch a user with User::find(1); instead of writing a full SQL statement. It makes your code cleaner and more readable.
Robust Authentication & Security
Laravel provides a complete, out-of-the-box authentication system. With just a few commands, you can have user registration, login, and password reset functionality. It also proactively handles common security threats like SQL injection, cross-site request forgery (CSRF), and cross-site scripting (XSS). So you don’t have to build these protections from scratch.
Artisan CLI
Artisan is Laravel’s powerful command-line tool. It automates repetitive and tedious programming tasks. You can use it to generate boilerplate code for models and controllers, run database migrations, clear caches, and even create custom commands. It significantly speeds up the development timeline.
Built-in Blade Templating Engine
Blade is a lightweight yet powerful templating engine. It lets you create dynamic, reusable HTML layouts using simple, elegant syntax. Key features like template inheritance and creating Blade components allow you to build a consistent site structure (e.g., a common header and footer) without repeating code in every file.
Modularity & Extensibility
Laravel is highly modular. Through its package system, you can easily add new functionality to your application. A vast ecosystem of pre-built packages (for things like payment processing or API management) is available. That means you don’t have to reinvent the wheel for common features.
Task Scheduling & Queues
For long-running or resource-intensive tasks (like sending bulk emails or processing images), Laravel offers a clean API for task scheduling and queues. Instead of making a user wait, you can push these tasks to a background “queue” to be processed later. It results in a much faster and more responsive experience for your users.
These features work in tandem to help you build websites using Laravel successfully and efficiently. But is there a particular reason to use Laravel for building sites and web apps?
Why Build Websites With Laravel?
Laravel prioritizes developer experience and long-term maintainability, which directly translates to business value. To understand why it stands out among other frameworks, check out why choose Laravel for web development. Let’s look at a few benefits.
Rapid Development
Laravel is designed for developer efficiency. Built-in features and tools, including Eloquent ORM tactics, handle common tasks automatically. It offers you a powerful command-line tool, pre-built authentication systems, and an intuitive syntax. With that, you can transform an idea into a functional prototype much faster than by coding everything from scratch.
Scalability
Websites built with Laravel are engineered to grow with your user base and data. The framework efficiently supports techniques like database caching, load balancing, and queuing for background jobs.
This allows your application to handle increased traffic and complex operations without compromising performance.
Security
Laravel proactively addresses critical web security vulnerabilities. It provides built-in protection against threats like SQL injection, cross-site request forgery (CSRF), and cross-site scripting (XSS). By handling these concerns at the framework level, Laravel gives you a secure foundation, reducing the risk of costly security oversights.
Integration With Other Tools
Laravel works seamlessly with a wide array of other technologies and services. It has first-party support for popular tools like Redis for caching, MySQL/PostgreSQL for databases, and Amazon S3 for cloud storage.
This flexibility allows seamless integration of your application with third-party services for mail, payments, and analytics. Developers seeking different frameworks or ecosystems, Laravel alternatives find options that best suit their project requirements.
Community & Ecosystem
As one of the most popular PHP frameworks, Laravel is backed by a massive, active global community. This means extensive documentation, thousands of free tutorials, and a rich ecosystem of packages to add almost any functionality you need.
If you encounter a problem, chances are a solution is already just a search away.These are just a few reasons that make Laravel an outstanding platform for website development.
Prerequisites for Building Laravel-based Websites
Before building the website, there are a few prerequisites to consider. Follow them to the tee, so you’ll be ready for the development phase.
Core Fundamentals of Laravel & PHP
- Proficiency in PHP: Laravel is built on PHP, so foundational knowledge of PHP programming and object-oriented principles is essential.
- MVC Fundamentals: Familiarity with the Model-View-Controller (MVC) design pattern helps with Laravel’s application architecture and routing.
- Database Skills: Experience with relational databases like MySQL, PostgreSQL, or SQLite. Plus, you should know how to write and optimize SQL queries are important for managing application data.
- Basic Front-End Knowledge: Knowing HTML, CSS, and JavaScript enables integration with Laravel’s Blade templating engine. It enhances user interface development.
System Requirements
- PHP Version: Laravel requires PHP 8.1 or higher, along with extensions such as OpenSSL, Mbstring, Tokenizer, Ctype, and PDO.
- Composer: This dependency manager for PHP is mandatory for installing Laravel and managing packages.
- Web Server: Apache, Nginx, or similar servers are recommended for running Laravel environments.
- Database Management System: MySQL, PostgreSQL, SQLite, or SQL Server are supported and should be configured for the application.
- Node.js & npm: Required for compiling frontend assets and utilizing modern JavaScript workflows.
These prerequisites are key to building the best website with Laravel as the foundation. With these all in check, the process from Laravel installation to website deployment will be streamlined.
How to Build a Website Using Laravel?
Now, let’s examine the fundamental workflow of creating a basic Laravel web application, such as a simple blog or product listing. To develop a complete blogging platform from scratch, you can build a blog with Laravel, leveraging its powerful MVC structure and elegant syntax.
Step 1: Install Laravel via Composer
First off, install Laravel via Composer and then create a new project via this command.
composer create-project laravel/laravel my-website
This downloads the Laravel framework and all its dependencies into a my-website directory.
Step 2: Set Up the Development Environment
Once Laravel is installed, navigate into your project directory using the cd command:
cd website
After that, start the Laravel’s built-in development server:
php artisan serve
This will launch a local server at http://localhost:8000, where you can view your Laravel website.
Step 3: Configure the Database
Create a new database (e.g., my_website_db) using your database manager (like phpMyAdmin or MySQL command line). Then, update your .env file with its credentials:
DB_CONNECTION=mysql
DB_HOST=127.0.0.1
DB_PORT=3306
DB_DATABASE=my_website_db
DB_USERNAME=your_username
DB_PASSWORD=your_password
Step 4: Create Models and Migrations (Reordered)
Models interact with your database tables. Use Artisan to generate a model and its corresponding database migration simultaneously. For a “Post” model:
php artisan make:model Post -m
This creates two files: app/Models/Post.php and database/migrations/…_create_posts_table.php. Edit the migration file to define your table schema:
// In the migration's up() method
public function up()
{
    Schema::create('posts', function (Blueprint $table) {
        $table->id();
        $table->string('title');
        $table->text('body');
        $table->timestamps(); // Creates created_at and updated_at columns
    });
}
Run the migration to create the table in your database:
php artisan migrate
Step 5: Define Routes
Routes define the URLs of your application. Edit routes/web.php to add a new route that points to a controller method.
use App\Http\Controllers\PostController;
Route::get('/posts', [PostController::class, 'index']);
Step 6: Create Controllers
Controllers handle the application logic. Generate a controller and define a method to fetch posts and pass them to a view.
php artisan make:controller PostController
—-------------   (Next block. Keep these snippets separate.)
// In app/Http/Controllers/PostController.php
public function index()
{
    $posts = Post::all(); // Fetch all posts using Eloquent ORM
    return view('posts.index', compact('posts'));
}
Step 7: Create Views Using Blade Templating
Views are Blade templates that present the data. Create a new file resources/views/posts/index.blade.php.
<h1>All Posts</h1>
@foreach ($posts as $post)
    <article>
        <h2>{{ $post->title }}</h2>
        <p>{{ $post->body }}</p>
    </article>
@endforeach
Step 8: Handle Form Submissions and Validation
Create a form in a view to submit new posts. In your controller, handle the POST request and validate the data.
// In PostController.php
public function store(Request $request)
{
    $validated = $request->validate([
        'title' => 'required|max:255',
        'body' => 'required',
    ]);
    Post::create($validated);
    return redirect('/posts');
}
Step 9: Authentication and Authorization
Laravel’s starter kits make adding login/registration trivial. For a basic setup, run:
php artisan make:auth
This command generates all the necessary controllers, views, and routes for a full authentication system.
Step 10: Testing Your Application
Laravel is built with testing in mind. You can write feature tests to ensure your routes work correctly.
php artisan make:test PostTest
Step 11: Deploying the Laravel Website
For deployment, you must:
- Point your web server’s root to the public directory of your Laravel project.
- Generate an application key: php artisan key:generate
- Run migrations on the production server: php artisan migrate –force
- Optimize the installation for production.
Laravel Forge will be helpful for managing server environments. Or you can use Laravel Vapor for serverless applications on AWS
.If you need further help with optimizing the website or adding features and functionalities, get our dedicated Laravel development services.
Example Project: Build a To-Do App in Laravel
Let’s explore a project on creating a basic to-do list where users can view, add, and delete tasks. Here’s how you go about it.
Step 1: Create a New Laravel Project
Start by creating a new Laravel application named todo-app.
composer create-project laravel/laravel todo-app
cd todo-app
Step 2: Set Up the Database
Create a new database (e.g., laravel_todo). Then, update your .env file with your database credentials.
DB_DATABASE=laravel_todo
DB_USERNAME=your_db_username
DB_PASSWORD=your_db_password
Step 3: Generate the Model and Migration
We need a Task model and a tasks table. The -m flag creates a migration file.
php artisan make:model Task -m
Open the newly created migration file (database/migrations/…_create_tasks_table.php) and define the schema.
// In the migration's up() method
public function up()
{
    Schema::create('tasks', function (Blueprint $table) {
        $table->id();
        $table->string('title');
        $table->boolean('completed')->default(false);
        $table->timestamps();
    });
}
Run the migration to create the table.
php artisan migrate
Step 4: Define Routes
We’ll need three routes: one to display all tasks, one to store a new task, and one to delete a task. Add these to routes/web.php.
use App\Http\Controllers\TaskController;
Route::get('/', [TaskController::class, 'index']);
Route::post('/task', [TaskController::class, 'store']);
Route::delete('/task/{task}', [TaskController::class, 'destroy']);
Step 5: Create the Controller
Generate a controller to handle our logic.
php artisan make:controller TaskController
Now, implement the index, store, and destroy methods in app/Http/Controllers/TaskController.php.
<?php
namespace App\Http\Controllers;
use App\Models\Task;
use Illuminate\Http\Request;
class TaskController extends Controller
{
    public function index()
    {
        // Get all tasks and pass them to the 'tasks.index' view
        $tasks = Task::latest()->get();
        return view('tasks.index', compact('tasks'));
    }
    public function store(Request $request)
    {
        // Validate the incoming request
        $request->validate([
            'title' => 'required|max:255'
        ]);
        // Create a new task
        Task::create([
            'title' => $request->title,
        ]);
        // Redirect back to the homepage
        return redirect('/');
    }
    public function destroy(Task $task)
    {
        // Delete the specific task (Laravel uses Route Model Binding)
        $task->delete();
        return redirect('/');
    }
}
Step 6: Build the View with Blade
Create a new file resources/views/tasks/index.blade.php. This view will display a form and the list of tasks.
<!DOCTYPE html>
<html lang="en">
<head>
    <meta charset="UTF-8">
    <meta name="viewport" content="width=device-width, initial-scale=1.0">
    <title>Laravel To-Do App</title>
    <script src="https://cdn.tailwindcss.com"></script>
</head>
<body class="bg-gray-100 p-10">
    <div class="max-w-md mx-auto bg-white rounded-lg shadow p-6">
        <h1 class="text-2xl font-bold mb-4">My To-Do List</h1>
        <!-- Form to Add a New Task -->
        <form action="/task" method="POST" class="mb-6">
            @csrf <!-- CSRF Protection Token -->
            <div class="flex">
                <input type="text" name="title" placeholder="Add a new task..." class="flex-grow p-2 border rounded-l focus:outline-none" required>
                <button type="submit" class="bg-blue-500 text-white p-2 rounded-r">Add</button>
            </div>
        </form>
        <!-- List of Tasks -->
        <ul>
            @foreach ($tasks as $task)
                <li class="flex justify-between items-center p-2 border-b">
                    <span>{{ $task->title }}</span>
                    <!-- Form to Delete a Task -->
                    <form action="{{ url('/task/'.$task->id) }}" method="POST">
                        @csrf
                        @method('DELETE')
                        <button type="submit" class="text-red-500 hover:text-red-700">Delete</button>
                    </form>
                </li>
            @endforeach
        </ul>
    </div>
</body>
</html>
Step 7: Run the Application
Start the Laravel development server.
php artisan serve
Visit http://localhost:8000 in your browser. You can now add and delete tasks, which will be stored in your database.
This simple project showcases the core MVC patterns in Laravel: the Model (Task), the View (index.blade.php), and the Controller (TaskController). They are all connected by defined Routes.
Wrapping Up
Using the Laravel framework might be one of the best decisions for building robust, scalable, and secure dynamic sites. In the beginning, it may be overwhelming, but the features Laravel offers are equally valuable.
Larvel’s Eloquent ORM, easy routing, blade templating engine, and more enable rapid websites. If you are new to Laravel development, you can begin with small websites like blogs, to-do, and so on. The steps to create a site begin with installing Laravel and finally deploying your site.
If you are looking to build a site with complex needs and customizations, hire Laravel developers with us today!
FAQs About Building a Website Using Laravel
Do I need to know PHP before learning Laravel?
Yes, having a basic understanding of PHP is essential for working with Laravel, as it’s built on PHP. Understanding PHP’s syntax and concepts will make it easier to grasp Laravel’s features and conventions.
Is Laravel good for web development?
Yes, Laravel is an excellent choice for web development. It simplifies complex tasks such as routing, authentication, session management, and caching, making the development process more efficient. Its expressive syntax, rich feature set, and active community make it a good choice for developers to build secure and scalable websites.
What is the Laravel framework used for, frontend or backend?
Laravel is a backend framework designed to handle the server-side logic of web applications. While it provides tools for routing, databases, and authentication, it works well with frontend technologies like Vue.js, React, or any JavaScript frameworks to manage user interface.


